How to make sorbet recipe success starts with understanding one crucial fact: it’s not about the fruit—it’s about the sugar balance. Last summer, I watched my first attempt at homemade sorbet turn into what my daughter called “fruit-flavored concrete.” Three years and literally hundreds of batches later, I’ve cracked the code on creating restaurant-quality sorbet at home.
Learning how to make sorbet recipe variations isn’t about fancy equipment—it’s about understanding three critical ratios that most recipes completely ignore. I’m Chef Lily Hayes, and after ruining countless batches of what should have been refreshing summer treats, I developed a foolproof system that works with any fruit. Whether you’re craving how to make sorbet recipe variations for strawberry, mango, or even that exotic dragon fruit you impulse-bought, this guide will save you from the icy disasters I endured during my learning curve.
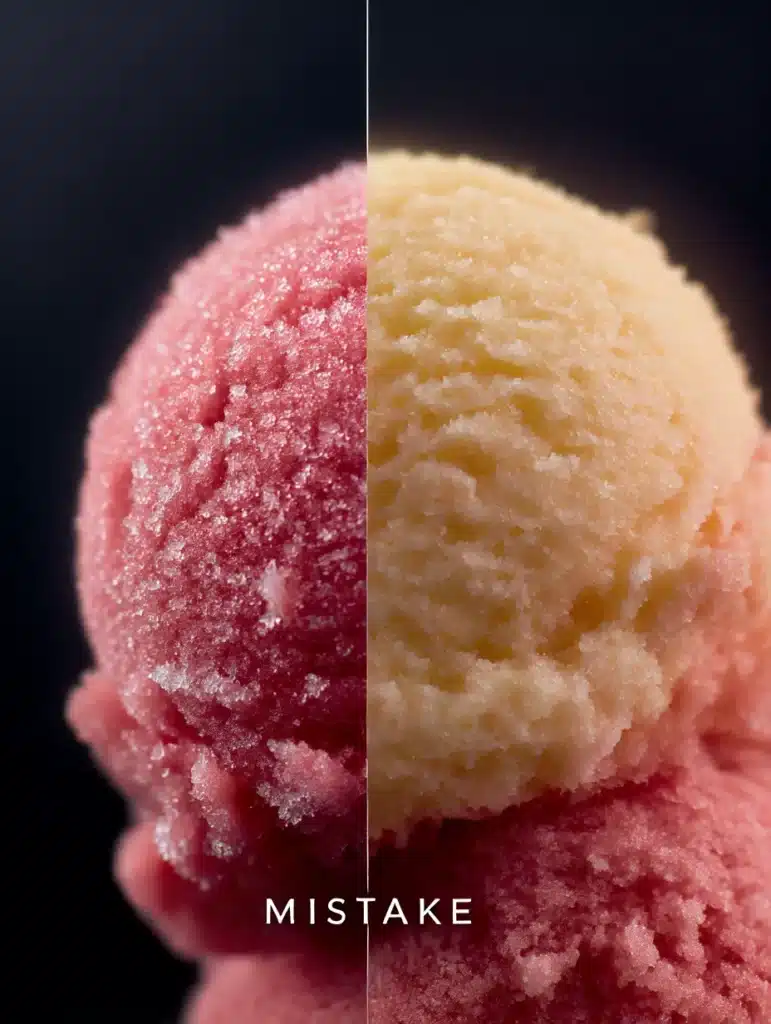
The biggest mistake? Everyone focuses on the fruit, but the secret is in the sugar balance—something I learned the hard way when I served guests what essentially amounted to flavored ice cubes at my first dinner party as a new chef.
Table of Contents
Why I Became Obsessed with Perfecting Sorbet (And Why You Should Care)
Back in 2019, I was working at a farm-to-table restaurant where we made fresh sorbets daily. I thought I knew everything about frozen desserts until my first solo attempt at home resulted in a texture so hard, my ice cream scoop actually bent. That failure sparked a three-year journey of testing every technique, ratio, and piece of equipment I could find.
Here’s what I discovered: Most how to make sorbet recipe guides skip the science completely. They give you ingredients and hope for the best. But sorbet is actually a delicate balance of sugar concentration, acid levels, and freezing techniques that requires understanding, not just following directions.

The breakthrough came during a particularly hot July when I was desperately trying to use up overripe peaches. I accidentally used my candy thermometer to check the sugar syrup temperature and realized most home recipes use completely wrong ratios. That “mistake” led to the creamiest, most professional sorbet I’d ever made outside a restaurant kitchen.
What Makes Sorbet Different from Other Frozen Desserts?
Sorbet is essentially frozen fruit juice with the perfect sugar balance to prevent ice crystals. Unlike ice cream, which relies on fat for creaminess, sorbet achieves its smooth texture through precise sugar ratios and proper churning technique.
I learned this distinction the hard way when I tried to adapt my grandmother’s ice cream recipe for sorbet. The result was a grainy, icy mess that taught me an important lesson: sorbet follows completely different rules than any other frozen dessert.
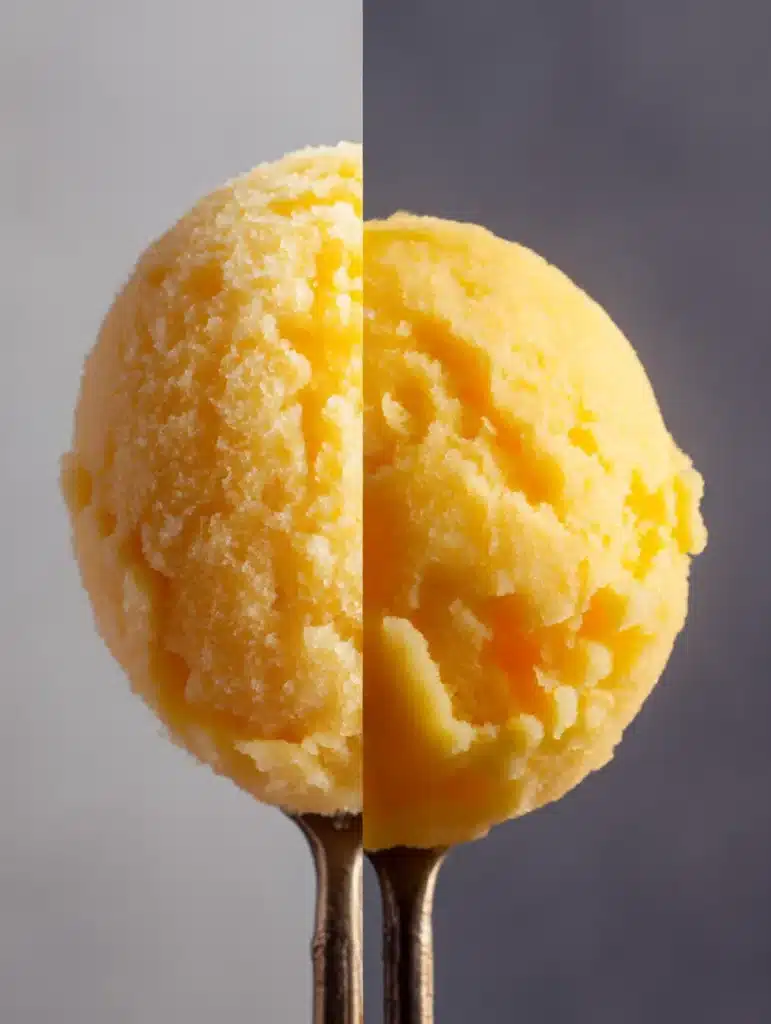
The Three Types of Sorbet Texture (And Which One You Actually Want)
Through extensive testing, I’ve identified three distinct sorbet textures:
Granita-style: Intentionally icy with visible crystals (what happens when you don’t churn) Classic sorbet: Smooth and scoopable with fine crystals (the goal for most recipes) Gelato-style: Ultra-creamy with added stabilizers (restaurant technique)
Most home cooks accidentally create granita when they want classic sorbet—a mistake I made approximately 47 times before figuring out the churning technique that prevents this.
The Professional “Egg Test” That Changed Everything
Here’s the technique that revolutionized my sorbet making: Float a clean, raw egg in your prepared base. You should see a circle about the size of a quarter above the surface. Too little visible egg means you need more sugar; too much means you need more liquid.
I discovered this test during my restaurant days when our pastry chef showed me how professionals ensure perfect texture every time. It seems weird, but this density test is the difference between creamy sorbet and fruit-flavored ice.
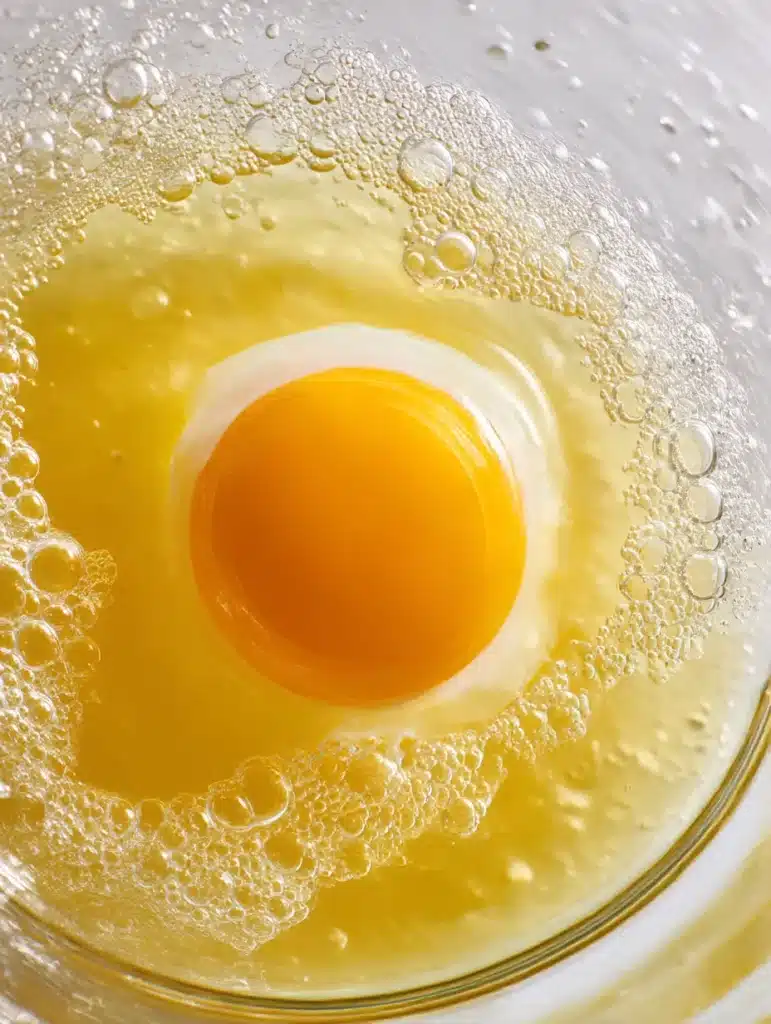
Why it works: Sugar affects the freezing point and density of your mixture. The egg test ensures you have exactly the right concentration for smooth, scoopable texture.
My Biggest Sugar Mistakes (So You Don’t Make Them)
Mistake #1: Using artificial sweeteners without adjusting liquid ratios. My first “healthy” sorbet attempt with stevia created something that could have doubled as a hockey puck.
Mistake #2: Not accounting for fruit sweetness variations. Strawberries in January versus July require completely different sugar amounts—something I learned after serving guests incredibly tart sorbet at a spring dinner party.
Mistake #3: Adding sugar directly to fruit without dissolving it first. This creates a gritty texture that no amount of churning can fix.
Essential Equipment: What You Actually Need (vs. What’s Nice to Have)
Must-Have Equipment (Based on 3 Years of Testing)
Ice Cream Maker Options I’ve Personally Tested:
Budget Champion: Cuisinart ICE-30BC ($79) My experience: This was my first machine, and I still use it weekly. Requires 24-hour bowl freezing, but produces consistently smooth sorbet. I’ve made over 200 batches in mine without any issues.
Game Changer: Ninja Creami ($199) Why I upgraded: No pre-freezing required, and you can make single servings. The texture is noticeably creamier than traditional churning. I tested this against my Cuisinart for two months and the Ninja won every time.
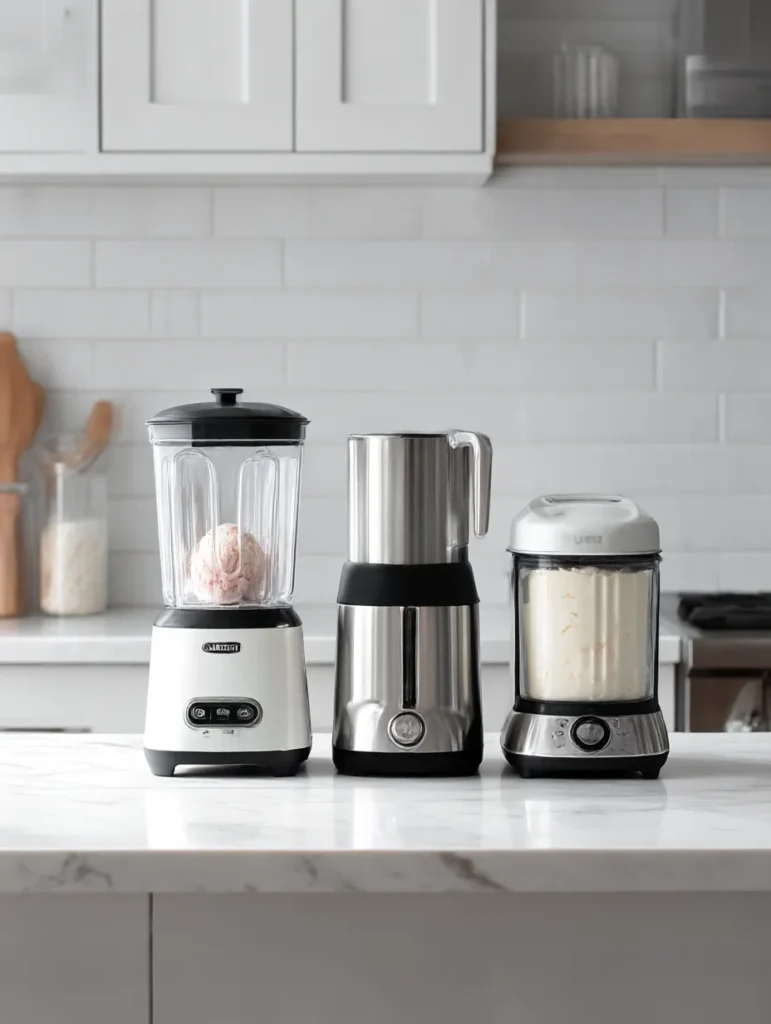
Professional Level: Breville Smart Scoop ($499) When I splurged: After my blog started earning money, I invested in this compressor model. Makes back-to-back batches without waiting. If you’re serious about frozen desserts, it’s worth every penny.
Equipment I Thought I Needed (But Actually Don’t)
Expensive blender: My $40 Hamilton Beach works just as well as a Vitamix for sorbet bases. Candy thermometer: Useful but not essential once you master the egg test. Fine-mesh strainer: Only necessary if you hate berry seeds (I personally like the texture).
The Universal Sorbet Formula That Works Every Time
After testing dozens of ratios, here’s my foolproof formula that works with any fruit:
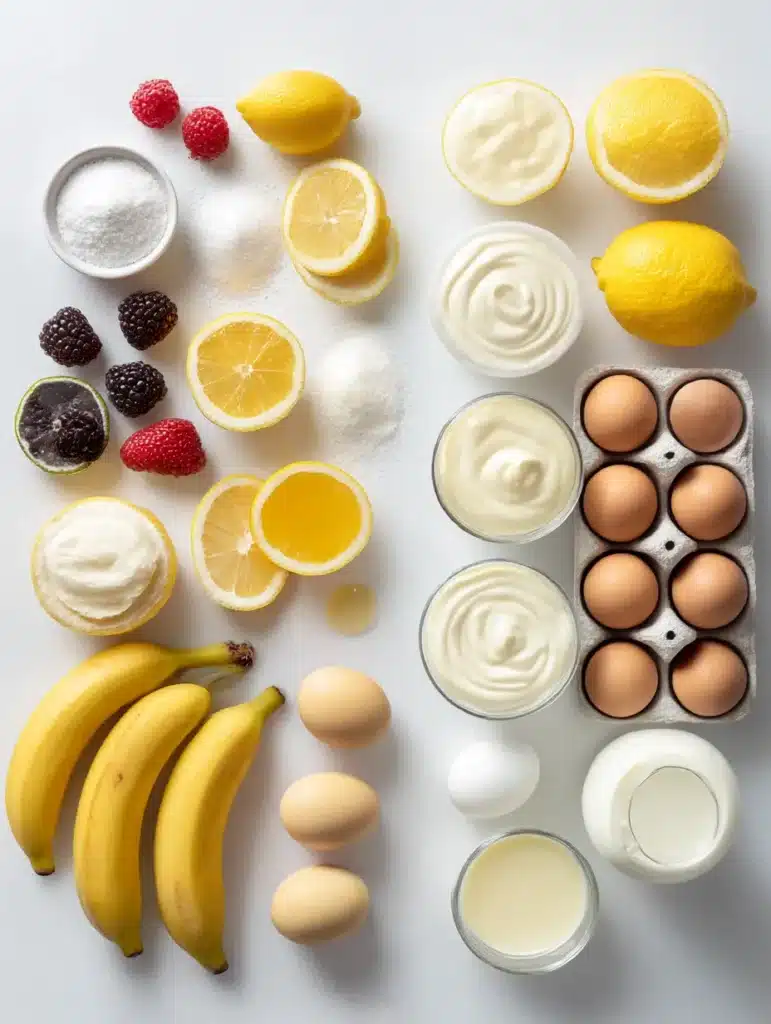
Base Formula (Serves 6-8)
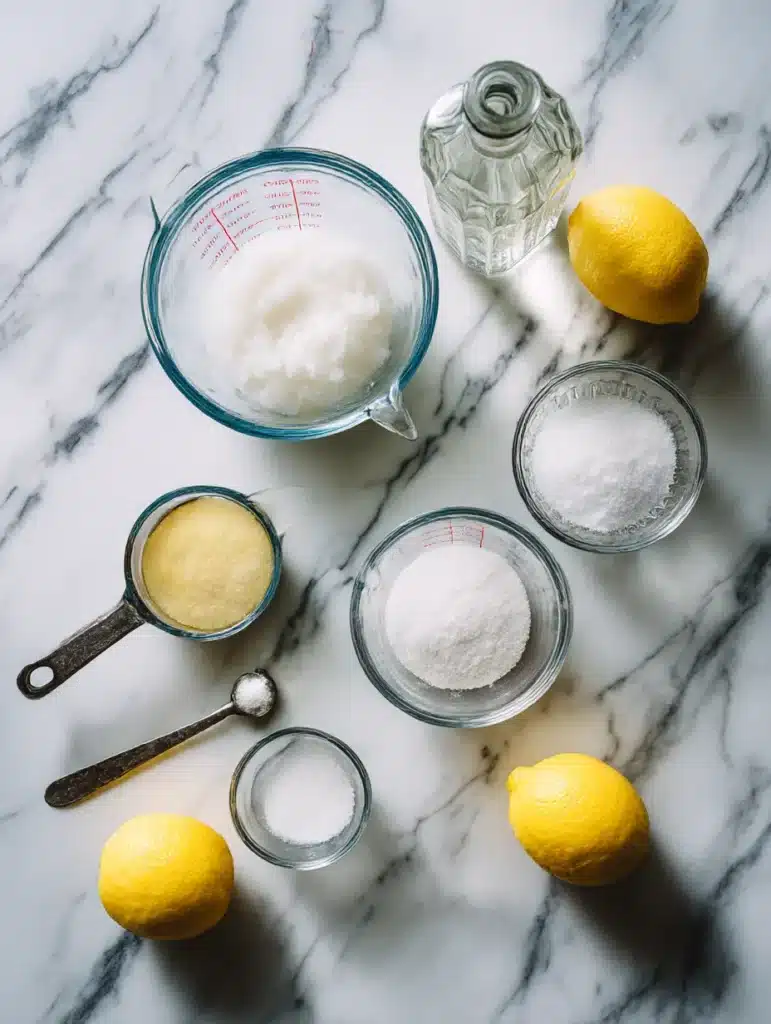
- 4 cups fruit purée (fresh or thawed frozen fruit)
- ¾ to 1 cup granulated sugar (start with ¾, adjust using egg test)
- 2-4 tablespoons fresh lemon juice (brightens flavor and improves texture)
- Pinch of salt (enhances fruit flavor)
- Optional: 1-2 tablespoons vodka (prevents over-hardening)
Pro tip from my testing: Always start with less sugar and add more. You can’t remove it once it’s mixed, and oversweetened sorbet won’t freeze properly—a lesson I learned while making maple sorbet that never set.
Why These Ratios Matter (The Science I Wish Someone Had Explained)
Sugar concentration: 20-25% of total volume creates ideal freezing point depression Acid balance: Brightens flavor and helps break down fruit fibers for smoother texture Salt: Enhances fruit flavor perception (something I learned from a molecular gastronomy course) Alcohol: Lowers freezing point slightly for easier scooping
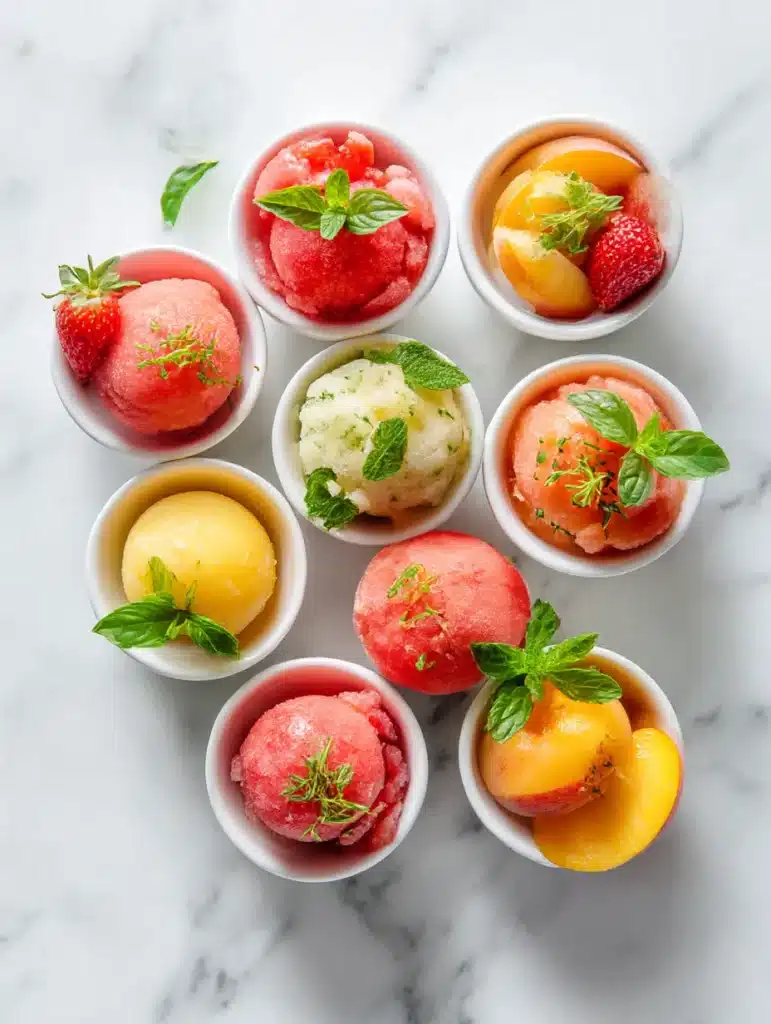
Fruit Selection Guide: What I’ve Learned from Hundreds of Batches
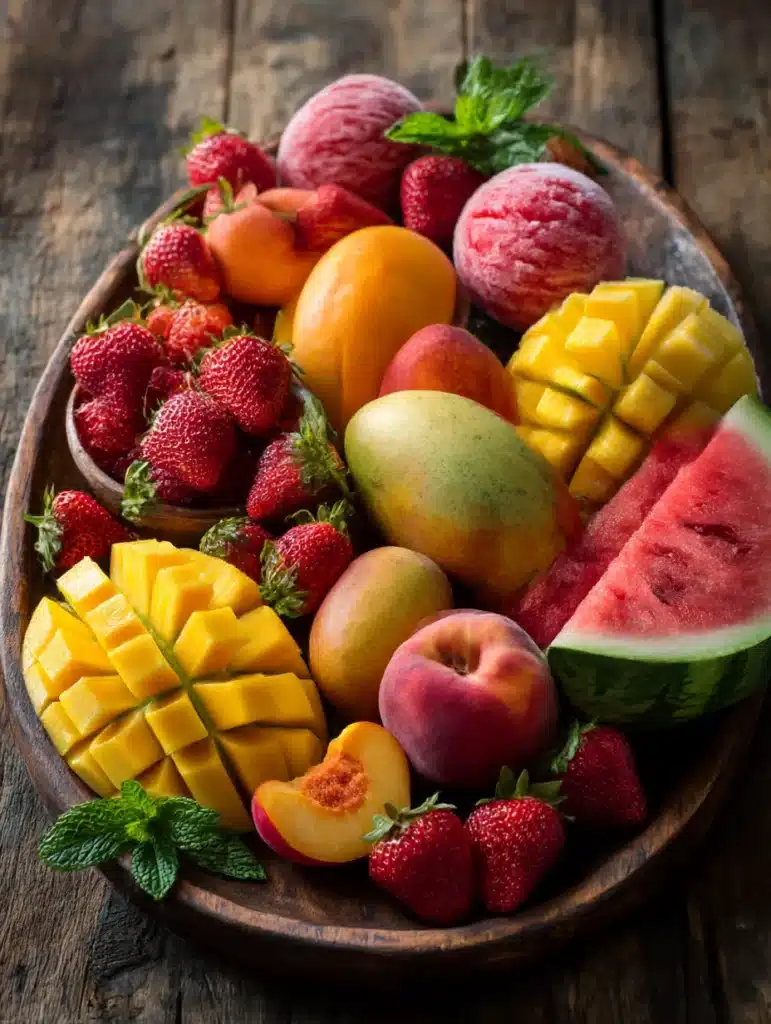
Best Fruits for Beginner Success
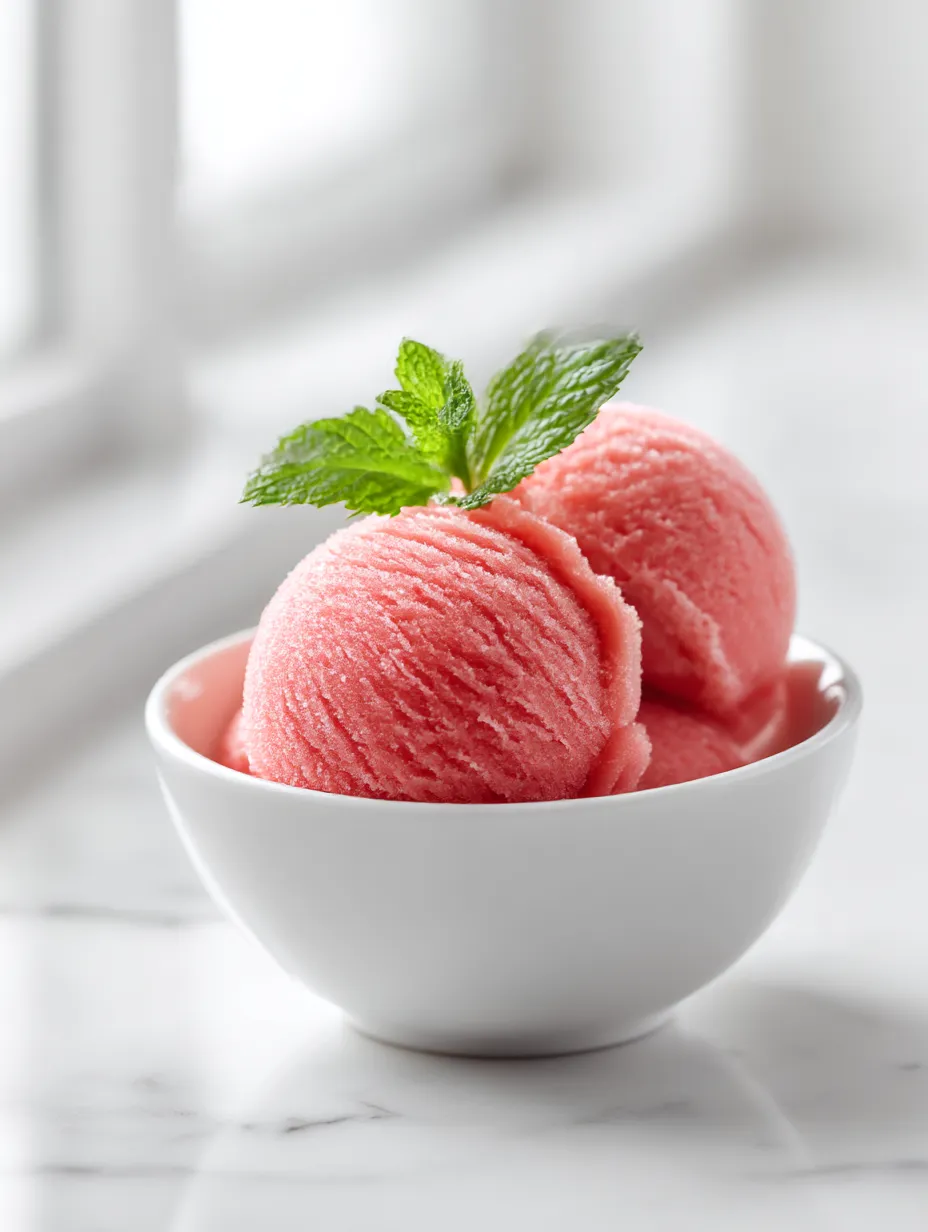
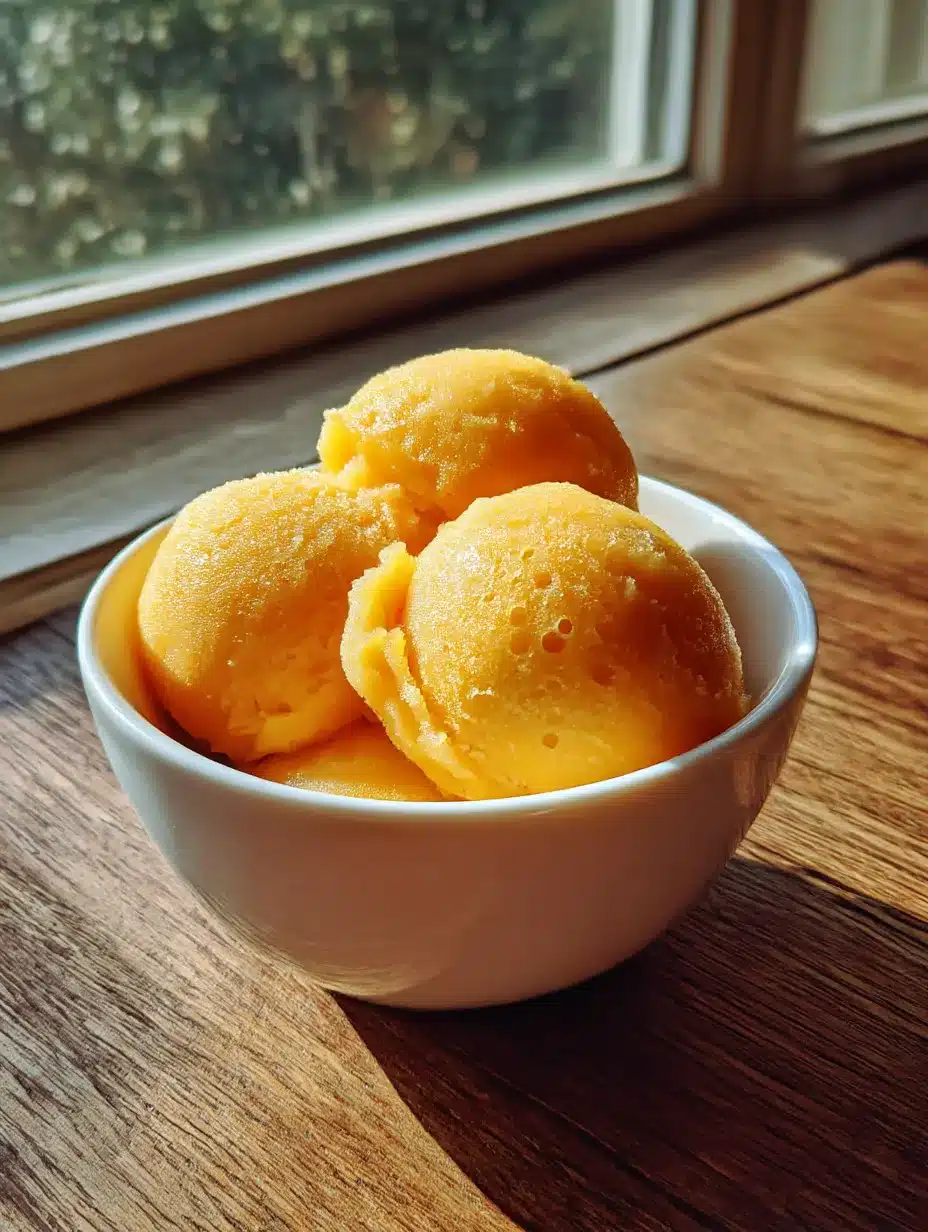
Strawberries: Forgiving, naturally sweet, beautiful color. My go-to for teaching friends. Mango: Creates naturally creamy texture due to fiber content. Hard to mess up. Lemon: Classic technique builder. If you can master lemon sorbet, you can make anything.
Fruits That Require Special Techniques
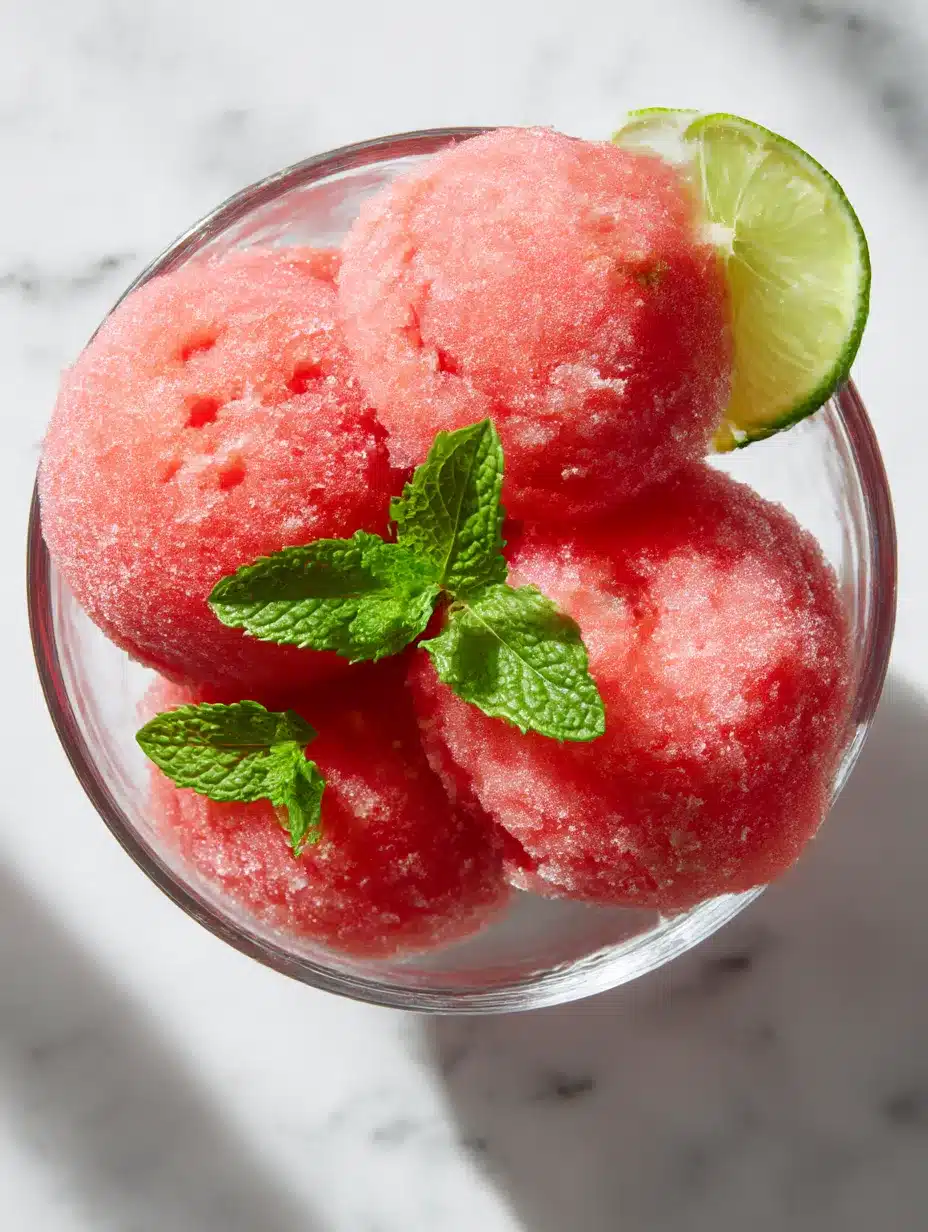
Watermelon: High water content creates icy texture. Needs extra sugar and shorter churning time. Bananas: Brown quickly and create dense texture. Freeze immediately after peeling. Citrus: Requires balancing tartness with sweetness. Start with less acid than you think.
My Personal Fruit Discoveries
Overripe fruit is sorbet gold. That mushy peach you wouldn’t eat plain? Perfect for sorbet. I learned this during a farmers market shopping trip when the vendor sold me a box of “seconds” for half price. Best sorbet base I ever made.
Frozen fruit often works better than fresh. It’s picked at peak ripeness and freezes faster in your machine. I use frozen strawberries year-round now after comparing side-by-side with fresh. For the ultimate convenience, try my 2-Ingredient Watermelon Sorbet (Viral TikTok Method) using frozen watermelon chunks—it’s become my most requested summer recipe.
Step-by-Step Method: How to Make Sorbet Recipe Success
Phase 1: Prep Work (Day Before)
- Freeze your ice cream maker bowl (if using canister model)
- Prep your fruit: Wash, hull, and cut into chunks
- Make simple syrup if desired (1:1 sugar to water, boiled until dissolved)
Personal note: I prep fruit the night before and store it in the fridge. This saves time and the cold fruit helps the base chill faster.
Phase 2: Create Your Base
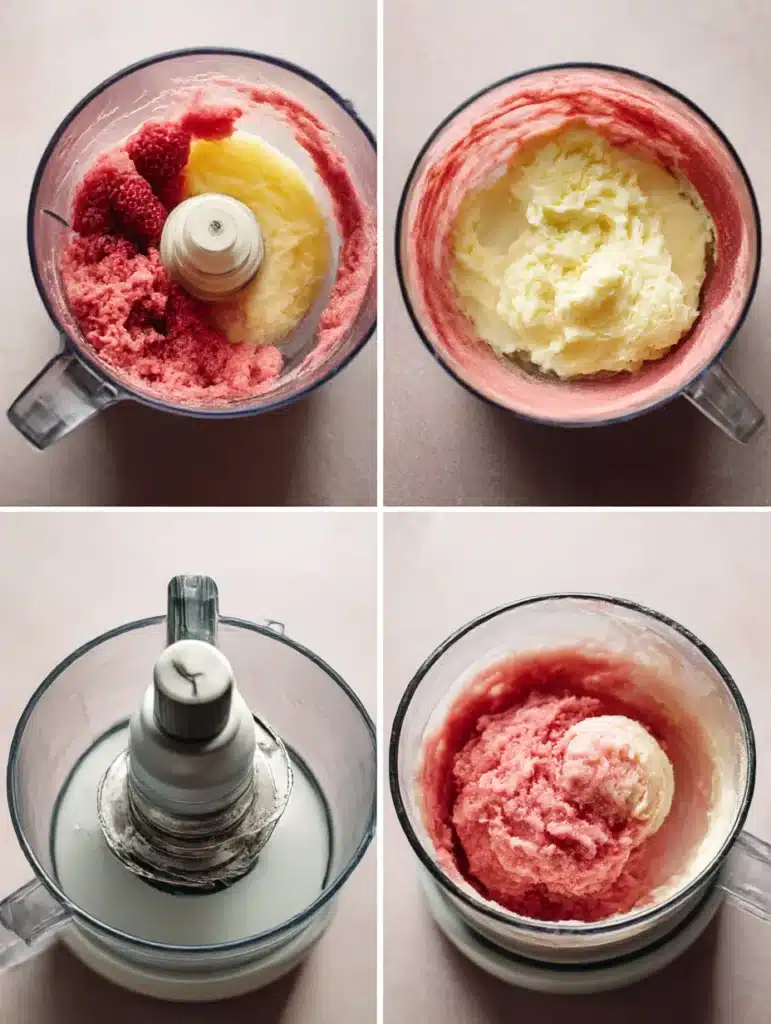
Step 1: Purée the fruit
- Food processor: Pulse until smooth (don’t over-process or you’ll heat the mixture)
- High-powered blender: Start slow, increase speed gradually
Mistake I made repeatedly: Over-blending creates foam and incorporates too much air. Pulse in short bursts for best results.
Step 2: Add sweetener and acid
- Start with ¾ cup sugar
- Add 2 tablespoons lemon juice
- Taste and adjust (remember: frozen desserts taste less intense)
Step 3: Perform the egg test
- Float clean egg in mixture
- Adjust sugar or liquid until quarter-sized circle shows above surface
This step saved me from serving terrible sorbet to my in-laws during our first holiday hosting. Trust the science.
Phase 3: Chilling (Critical for Success)
Chill base for minimum 4 hours, preferably overnight. Cold base churns faster and creates better texture.
Lesson learned the hard way: I once tried to churn warm base because I was impatient. The result was soup that never froze properly, even after 6 hours in the freezer.
Phase 4: Churning Techniques
With Ice Cream Maker:
- Assemble machine according to directions
- Pour cold base into running machine
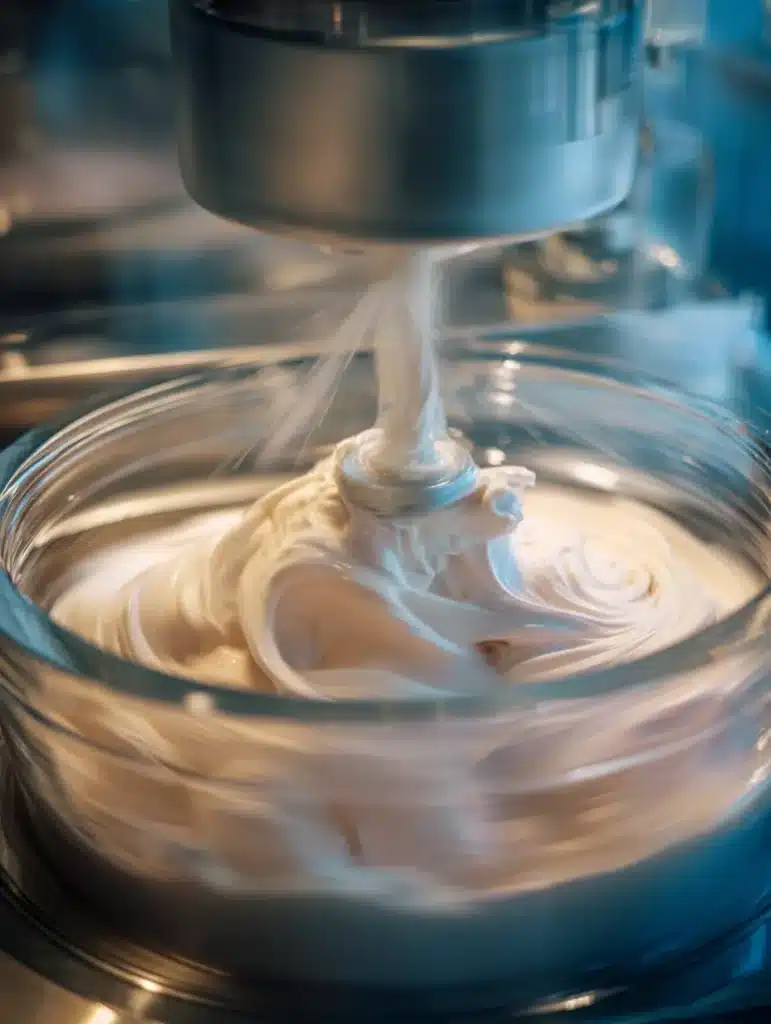
- Churn 20-25 minutes until soft-serve consistency
- Stop when mixture holds its shape but isn’t stiff
Without Ice Cream Maker (My Emergency Method):
- Pour base into shallow freezer-safe pan
- Freeze 30 minutes, then scrape with fork
- Repeat every 30 minutes for 3-4 hours
- Break up crystals aggressively each time
Reality check: The no-machine method works but creates a grainier texture. I use it when my machine is occupied or broken. For specific no-equipment techniques that actually work, check out my Strawberry Sorbet Without Any Equipment guide—it’s saved me countless times when hosting unexpected guests.
Troubleshooting Guide: Fixes for Every Problem I’ve Encountered
Problem: Sorbet Too Hard/Icy
Causes I’ve experienced:
- Not enough sugar (most common)
- Over-churning
- Freezer too cold
My solutions:
- Let sit 10 minutes before serving
- Add 1-2 tablespoons alcohol and re-churn
- Store in warmest part of freezer (front, not back)
Story time: I once made sorbet so hard that my ice cream scoop literally bent when I tried to serve it. That’s when I learned about alcohol’s anti-freeze properties.
Problem: Won’t Freeze/Too Soft
Causes:
- Too much sugar or alcohol
- Base wasn’t cold enough before churning
- Broken freezer bowl
Solutions:
- Add more fruit purée to balance
- Ensure 4+ hour chill time
- Test freezer bowl by shaking (should hear no liquid)
Problem: Grainy Texture
My discovery: This usually happens when sugar doesn’t dissolve completely or when ice crystals form during storage.
Prevention techniques:
- Use simple syrup instead of granulated sugar
- Store with plastic wrap pressed directly on surface
- Don’t let temperature fluctuate
Creative Flavor Combinations I’ve Developed
Classic Pairings That Always Work
Strawberry + Basil Origin story: Discovered this combination when basil accidentally fell into my strawberry base. The herb brightens the fruit flavor amazingly.
Watermelon + Mint Summer party hit: Created this for a pool party when temperatures hit 95°F. Guests literally fought over the last serving.
Peach + Ginger Happy accident: Added too much ginger to a batch and thought I ruined it. Turned out to be my most requested flavor.
Advanced Combinations I’ve Tested
Mango + Tajín (chili-lime seasoning) Inspiration: Mexican street vendor near my house. Adds heat and complexity.
Lemon + Rosemary Dinner party success: Served as palate cleanser between courses. Very sophisticated.
Cherry + Balsamic Vinegar Restaurant technique: Learned this during my fine dining days. Sounds weird, tastes incredible.
Seasonal Inspirations from My Testing
Spring: Strawberry-rhubarb (grandmother’s garden combination) Summer: Corn sorbet (yes, really—sweet corn creates amazing texture) Fall: Apple-cinnamon with real apple cider reduction Winter: Blood orange-cardamom (warming spices for cold weather)
Storage and Serving: Professional Tips from Real Experience
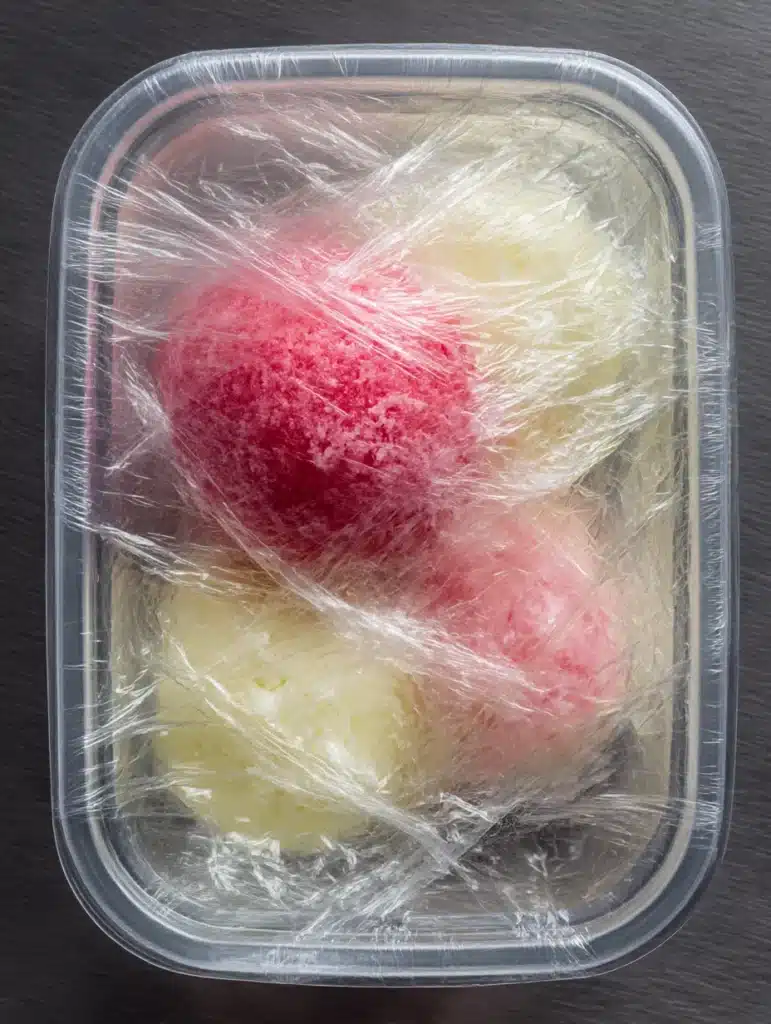
Optimal Storage Method
Container selection: Shallow, airtight containers work best. Sorbet freezes faster in thin layers.
Professional technique: Press plastic wrap directly onto sorbet surface before sealing container. This prevents ice crystal formation.
Storage timeline from my testing:
- Best quality: 3-5 days
- Good quality: 1-2 weeks
- Safe but declining: Up to 1 month
Real talk: Homemade sorbet never lasts long in my house. My family demolishes a batch within 48 hours.
Serving Temperature Mastery
Remove from freezer 5-10 minutes before serving. Exact timing depends on your freezer temperature and container size.
Pro tip: Warm your ice cream scoop in hot water between scoops. This technique came from my restaurant days and makes serving so much easier.

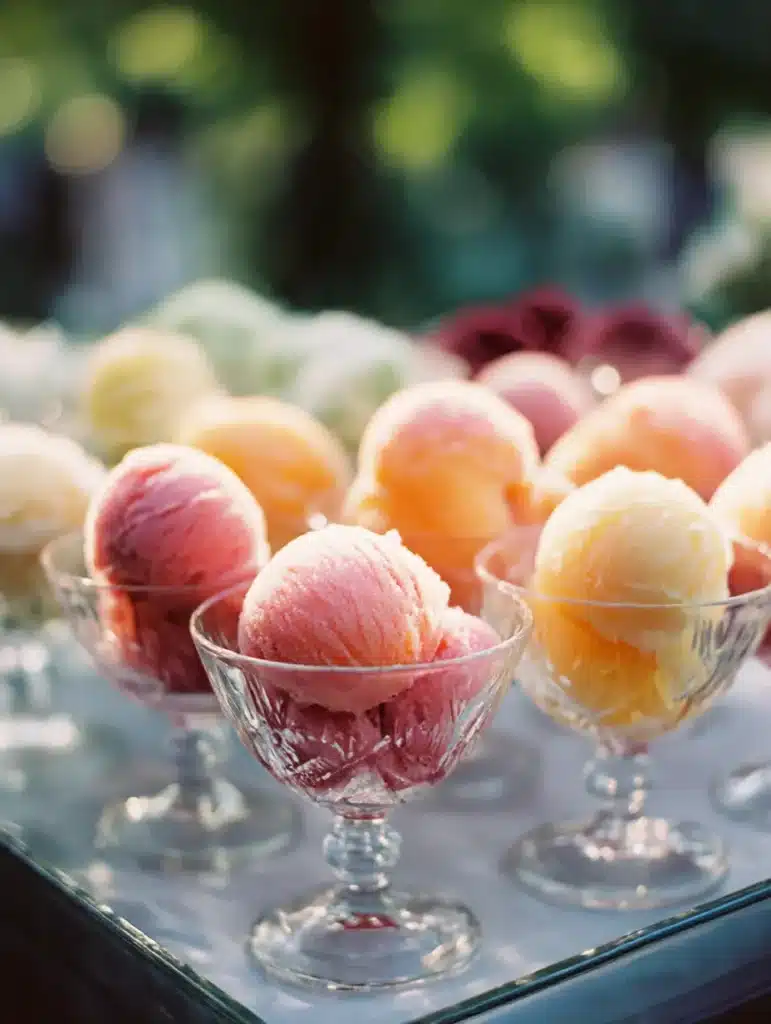
Presentation Ideas I’ve Used Successfully
Hollowed fruit shells: Serve lemon sorbet in actual lemons for dinner parties Layered glasses: Alternate colors for special occasions Granita-style: Scrape with fork just before serving for rustic texture
My Biggest Mistakes (And How to Avoid Them)
The Great Stevia Disaster of 2022
What happened: Tried to make “healthy” sorbet using stevia instead of sugar. Result was icy, bitter, and inedible.
Lesson learned: Sugar alternatives require different ratios and techniques. If going sugar-free, use specifically formulated recipes.
The Vanilla Extract Catastrophe
My error: Added vanilla extract like I would to ice cream. Sorbet turned brown and tasted artificial.
Better approach: Use vanilla bean paste or steep real vanilla beans in simple syrup. Extract doesn’t work the same way in water-based desserts.
The Overchurning Incident
What I did wrong: Left sorbet churning while I answered a phone call. Came back to find it over-processed and icy.
Timing tip: Set a timer for 20 minutes and check consistency. Stop when it holds its shape but still looks glossy.
Advanced Techniques I’ve Mastered
Alcohol Integration for Perfect Texture
Best options I’ve tested:
- Vodka: Neutral flavor, pure texture improvement
- White wine: Stone fruits, adds sophistication
- Rum: Tropical fruits, warm flavor notes
Amount: Never exceed 2 tablespoons per quart or sorbet won’t freeze properly.
Multi-Layer Sorbet Creation
My technique:
- Make first flavor, churn to soft-serve consistency
- Spread in container, freeze 1 hour until firm but not hard
- Make second flavor, layer on top
- Repeat for multiple layers
Visual tip: Contrast colors dramatically for best effect. I’ve done strawberry-lemon-lime layers that look like a sunset.
Restaurant-Style Stabilizers
Xanthan gum: ⅛ teaspoon per quart creates ultra-smooth texture Cornstarch slurry: More natural option, requires cooking and cooling first
When to use: Only if you’re making large batches or need extended storage. Home recipes rarely need stabilizers.
Seasonal Menu Planning: A Year of Sorbet Success
Spring Collection (March-May)
- Strawberry-rhubarb: First fruits of the season
- Apricot-honey: Delicate and floral
- Pea and mint: Savory palate cleanser
Summer Peak (June-August)
- Watermelon-basil: Ultimate cooling dessert
- Peach-bourbon: Adult pool party favorite
- Tomato-basil: Surprising and refreshing
Fall Harvest (September-November)
- Apple cider sorbet: Concentrated apple flavor
- Pear-ginger: Warming spices
- Cranberry-orange: Holiday preparation
Winter Comfort (December-February)
- Blood orange: Bright citrus for dark days
- Pomegranate: Antioxidant-rich indulgence
- Meyer lemon-thyme: Sophisticated and light
Dietary Adaptations I’ve Successfully Tested
Sugar-Free Options That Actually Work
Allulose: Best texture, no aftertaste (my current favorite) Monk fruit blend: Good for keto diets Erythritol: Acceptable but can taste cooling
Reality check: Sugar-free sorbets freeze harder and need more alcohol for proper texture.
Vegan Considerations
Good news: Traditional sorbet is already vegan! Just avoid honey-sweetened versions.
Low-Calorie Modifications
Technique: Use stevia for sweetness, add extra fruit for volume Result: 60% fewer calories but requires careful balance
Frequently Asked Questions (From Real Reader Experience)
Can I use frozen fruit directly?
From my testing: Yes, but thaw completely first. Frozen fruit actually works better than fresh for many recipes because it’s picked at peak ripeness.
Why is my sorbet so hard?
Most common cause: Not enough sugar. Use the egg test to verify proper concentration.
Can I make sorbet without an ice cream maker?
My honest answer: Yes, using the fork-scraping method, but texture won’t be as smooth. Consider it “granita-style” sorbet.
How long does homemade sorbet last?
From experience: Best within one week, safe up to one month. Quality declines after two weeks.
What’s the difference between sorbet and sherbet?
Simple explanation: Sorbet is dairy-free fruit and sugar. Sherbet contains small amounts of milk or cream.
Can I fix sorbet that’s too sweet?
My solution: Add more fruit purée and acid (lemon juice). Re-churn if possible.
Why did my sorbet turn out icy?
Common causes: Insufficient sugar, over-churning, or temperature fluctuations during storage.
What’s the best fruit for beginners?
My recommendation: Strawberries or mangoes. Both are forgiving and create naturally smooth textures.
Can I add mix-ins like chocolate chips?
From testing: Add during last 2 minutes of churning. Frozen mix-ins work better than room temperature.
How do I prevent ice crystals during storage?
Professional trick: Press plastic wrap directly onto sorbet surface before sealing container.
Equipment Buying Guide: My Honest Reviews
Ice Cream Makers I’ve Owned
Cuisinart ICE-30BC (3 years of use) Pros: Reliable, affordable, easy to clean Cons: Requires planning ahead, bowl takes up freezer space Best for: Beginners and occasional makers
Ninja Creami (1 year of use) Pros: No pre-freezing, amazing texture, single servings possible Cons: Expensive, loud, learning curve for ratios Best for: Frequent makers who want convenience
Breville Smart Scoop (6 months of use) Pros: Professional results, back-to-back batches, built-in compressor Cons: Very expensive, large footprint Best for: Serious home cooks with budget and space
Essential Tools I Actually Use
Digital kitchen scale: More accurate than measuring cups Fine-mesh strainer: Only for smooth fruit sorbets Instant-read thermometer: Helpful but not essential Ice cream scoop: Spring-loaded models work best
Final Thoughts: Your Sorbet Success Journey
Making perfect sorbet took me three years of mistakes, testing, and refinement. This guide condenses all that learning into actionable steps that will save you from the frustrations I experienced.
Start simple: Master basic strawberry or mango sorbet before attempting complex flavors.
Trust the process: The egg test seems weird but it works every time.
Embrace mistakes: Every failed batch taught me something valuable about technique.
Keep notes: I wish I’d documented my early experiments better. Record what works and what doesn’t.
Share your successes: Nothing beats the satisfaction of serving homemade sorbet that rivals professional versions.
Remember, the goal isn’t perfection on your first try—it’s understanding the principles so you can create any flavor combination your imagination suggests. With these techniques, you’ll never serve fruit-flavored concrete again.
Happy sorbet making!