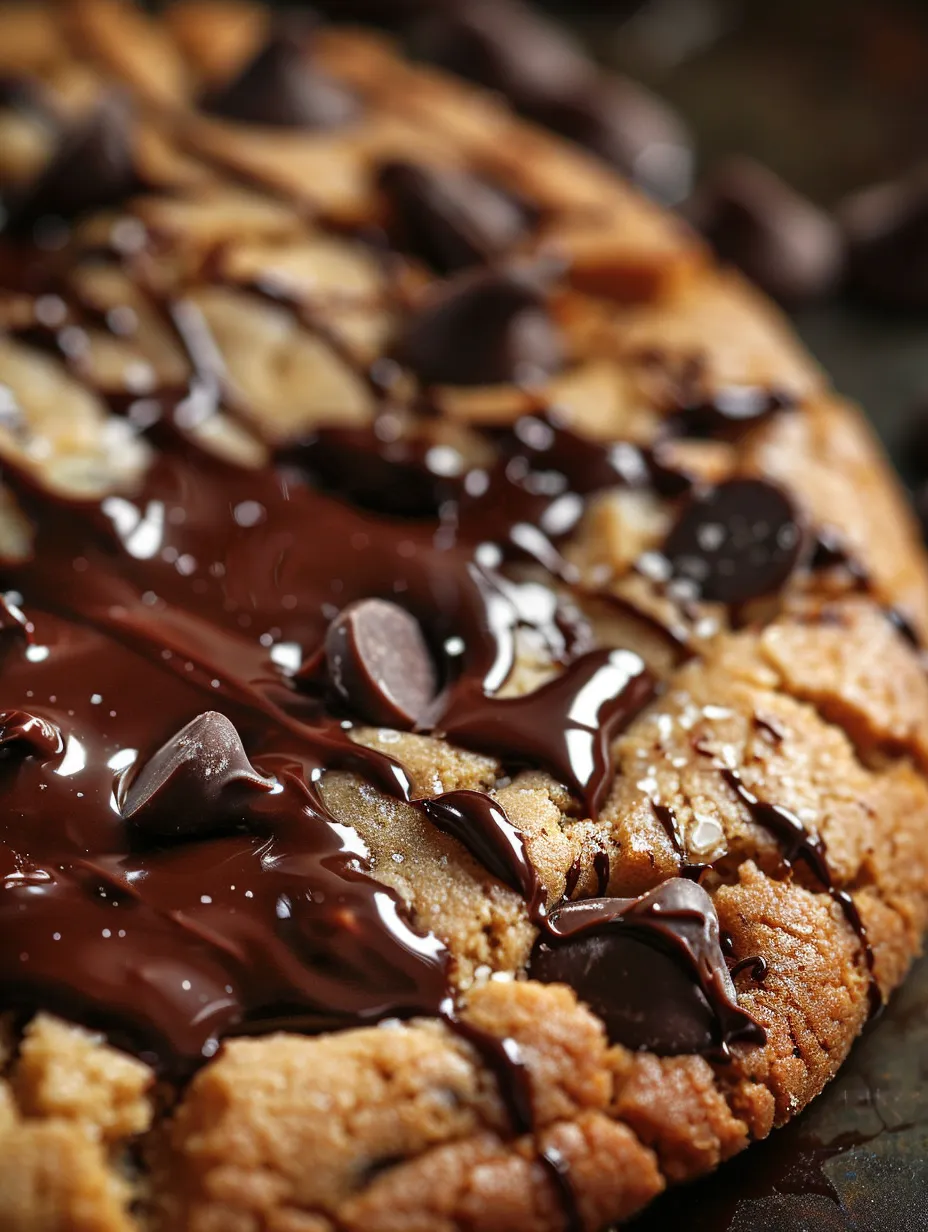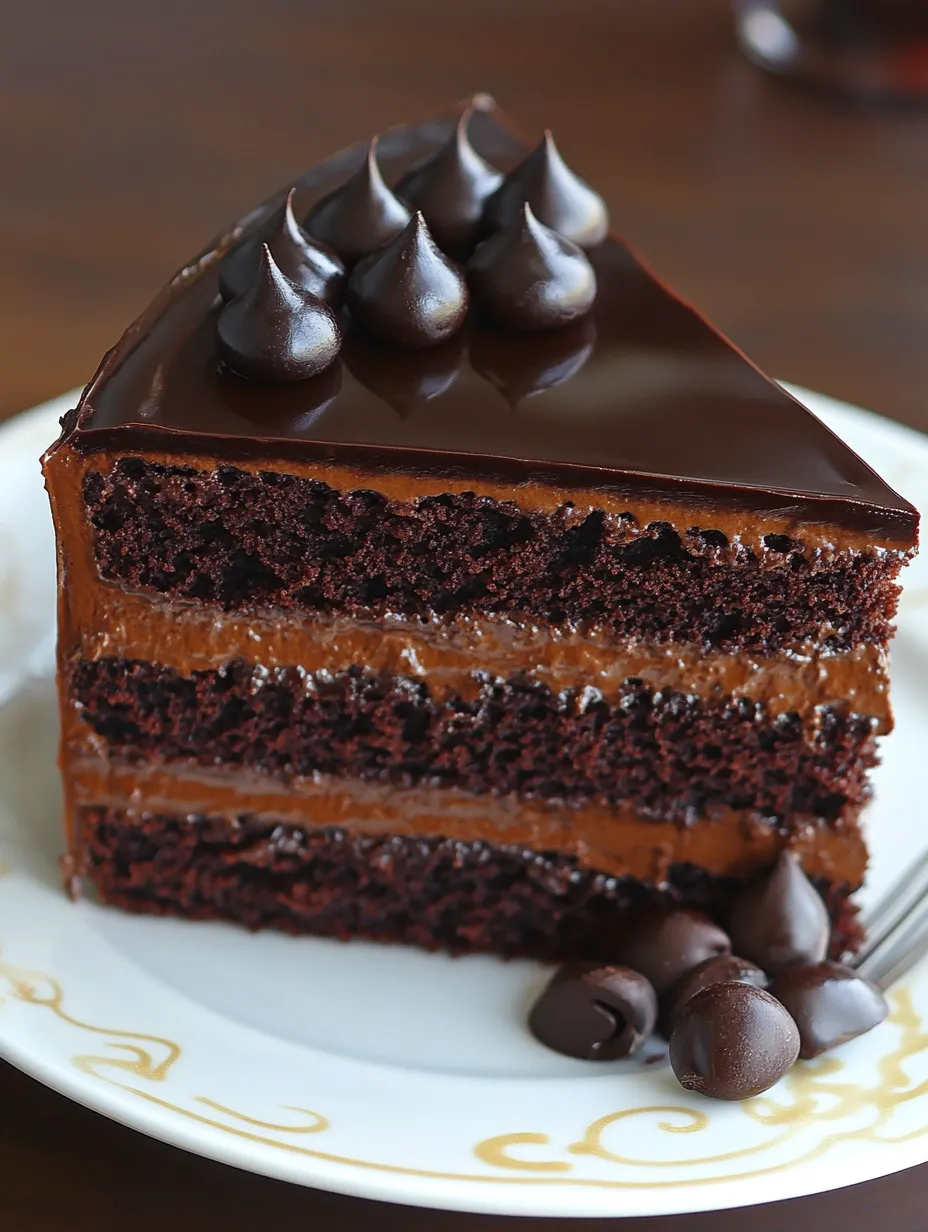
There’s something undeniably magical about a perfectly executed chocolate cake. When that cake incorporates coffee to enhance its chocolatey goodness? Pure bliss. This recipe for moist chocolate cake with coffee isn’t just another dessert – it’s an experience that brings together deep chocolate flavor, incredible moisture, and that special touch that coffee adds to chocolate baked goods.
Whether you’re an experienced baker or just beginning your baking journey, this recipe is designed to deliver spectacular results every time. The secret lies in understanding not just the steps but the science behind what makes a chocolate cake truly exceptional. Let’s dive into everything you need to know to create the most indulgent, moist chocolate cake from scratch.
Why Coffee Makes Chocolate Cake Better
Before we get to the recipe itself, let’s talk about the game-changing ingredient: coffee. According to food scientists at America’s Test Kitchen, coffee and chocolate are natural flavor companions. Coffee doesn’t make your chocolate cake taste like a mocha – instead, it enhances and deepens the chocolate flavor.
This happens because coffee and chocolate share similar flavor compounds. When combined, coffee amplifies the chocolate’s natural richness while cutting through its sweetness. The result is a more complex, sophisticated chocolate flavor that simply can’t be achieved with chocolate alone.
Even more interesting, according to research published in the Journal of Agricultural and Food Chemistry, certain compounds in coffee can actually bind with flavor receptors in ways that enhance our perception of chocolate’s taste notes.
The best part? Even if you don’t like coffee as a beverage, you’ll likely love what it does for chocolate cake. The coffee flavor itself isn’t detectable in the finished product – just an intensified chocolate experience that will have everyone asking for your secret.
Ingredients for Perfect Chocolate Cake with Coffee
For the Cake:
- 2 cups all-purpose flour (250g)
- 2 cups granulated sugar (400g)
- ¾ cup premium unsweetened cocoa powder (75g)
- 2 teaspoons baking soda
- 1 teaspoon baking powder
- 1 teaspoon salt
- 2 large eggs, room temperature
- 1 cup buttermilk, room temperature (240ml)
- ½ cup vegetable oil (120ml)
- 2 teaspoons pure vanilla extract
- 1 cup hot coffee (240ml) (freshly brewed and strong)
For the Chocolate Coffee Frosting:
- 1 cup unsalted butter, softened (226g)
- 3½ cups powdered sugar, sifted (420g)
- ½ cup premium unsweetened cocoa powder, sifted (50g)
- ¼ cup strong brewed coffee, cooled (60ml)
- 2 tablespoons heavy cream
- 1 teaspoon pure vanilla extract
- ¼ teaspoon salt
- 4 oz semisweet chocolate, melted and cooled (optional, for extra richness)
Equipment You’ll Need
- Two 9-inch round cake pans
- Parchment paper
- Mixing bowls (large and medium)
- Electric mixer (stand or hand)
- Measuring cups and spoons
- Rubber spatula
- Cooling rack
- Cake turntable (optional but helpful for frosting)
- Offset spatula for frosting
Step-by-Step Instructions
Preparing Your Space and Ingredients
- Preheat and prepare pans: Set your oven to 350°F (175°C). Grease two 9-inch round cake pans, line the bottoms with parchment paper, then grease the paper and dust with cocoa powder.
- Check ingredient temperatures: Ensure eggs and buttermilk are at room temperature. This promotes even mixing and a better rise. If you’ve forgotten to take them out ahead of time, place eggs in warm water for 5 minutes and microwave buttermilk in 10-second intervals, testing until just room temperature.
- Brew your coffee: Make it fresh and strong. A dark roast works wonderfully here. Let it stay hot, as you’ll be adding it hot to the batter.
Making the Cake Batter
- Combine dry ingredients: In a large bowl, whisk together flour, sugar, cocoa powder, baking soda, baking powder, and salt until well combined with no cocoa lumps.
- Mix wet ingredients: In a separate medium bowl, whisk eggs, buttermilk, oil, and vanilla extract until smooth and well combined.
- Combine wet and dry: Gradually add the wet ingredients to the dry ingredients, mixing on low speed if using an electric mixer, or whisking gently by hand until just combined. Don’t overmix – this develops gluten and can make your cake tough.
- Add coffee: Slowly pour in the hot coffee while stirring gently. The batter will be very thin – this is exactly what you want! According to King Arthur Baking, this thin batter creates a cake with an extra-moist crumb.
Baking to Perfection
- Divide and bake: Pour the batter evenly between the prepared pans. Tap the pans gently on the counter to remove air bubbles. Bake in the preheated oven for 30-35 minutes, or until a toothpick inserted in the center comes out with a few moist crumbs (not wet batter).
- Test properly: Don’t rely solely on the toothpick test. The cake should also spring back slightly when touched in the center, and you may see the edges just beginning to pull away from the pan. According to baking experts at Sally’s Baking Addiction, these multiple tests help ensure the perfect doneness.
- Cool properly: Allow cakes to cool in pans for 10 minutes, then run a knife around the edges and invert onto cooling racks. Carefully peel off parchment paper and allow cakes to cool completely before frosting. This takes at least 1-2 hours – rushing this step can melt your frosting.
Making the Chocolate Coffee Frosting
- Beat butter until fluffy: In a large bowl, beat the softened butter with an electric mixer on medium speed until creamy and lightened in color, about 3-4 minutes. Don’t skip this step – it’s crucial for smooth, fluffy frosting.
- Add dry ingredients: Reduce mixer speed to low. Gradually add sifted powdered sugar and cocoa powder, mixing until incorporated after each addition to prevent a powdery explosion.
- Add liquids and flavor: Pour in cooled coffee, heavy cream, vanilla extract, and salt. Beat on low until combined, then increase to medium-high speed and beat for 2-3 minutes until smooth and fluffy. If using melted chocolate, fold it in now for an extra rich frosting.
- Adjust consistency: If the frosting seems too thin, add more powdered sugar, 2 tablespoons at a time. If too thick, add more cream, 1 teaspoon at a time, until you reach your desired consistency.
Assembling Your Cake
- Level cakes if needed: If your cakes have domed tops, use a long serrated knife to carefully level them for even stacking.
- Build the cake: Place one cake layer on your serving plate or cake stand. Spread about 1 cup of frosting evenly over the top. Place the second layer on top, flat side up.
- Crumb coat: Apply a thin layer of frosting all over the cake to seal in crumbs. Refrigerate for 15-20 minutes to set this layer.
- Final frosting: Apply the remaining frosting to the top and sides of the cake. For a smooth finish, use an offset spatula dipped in hot water and dried between smoothing strokes.
- Decorate: If desired, decorate with chocolate shavings, chocolate-covered espresso beans, or a light dusting of cocoa powder for an elegant finish.
Expert Tips for Chocolate Cake Success
Getting the Perfect Texture
- Don’t overmix: Mix just until ingredients are combined to avoid developing too much gluten, which can make your cake tough.
- Measure flour correctly: Spoon flour into measuring cups and level off rather than scooping directly from the container, which can pack too much flour into your measurements. Better yet, use a kitchen scale for precise measurements.
- Room temperature ingredients: This isn’t just baking lore – eggs and dairy at room temperature incorporate more air into the batter, creating a lighter texture.
- Fresh leavening agents: Baking soda and powder lose potency over time. Test baking soda by dropping a small amount in vinegar (it should fizz vigorously). Test baking powder by mixing a teaspoon with hot water (it should bubble immediately).
Enhancing Flavor
- Use Dutch-processed cocoa: For a richer, deeper chocolate flavor, Dutch-processed cocoa powder works wonderfully in this recipe. It’s less acidic than natural cocoa and has a smoother flavor profile.
- Quality vanilla: Real vanilla extract makes a noticeable difference in flavor compared to imitation varieties.
- Espresso option: For an even more intense chocolate enhancement, use espresso instead of regular coffee (same volume). The stronger coffee flavor creates an even more pronounced chocolate taste.
- Add a pinch of cinnamon: An optional ¼ teaspoon of cinnamon added to the dry ingredients can further enhance the chocolate flavors without adding a detectable cinnamon taste.
Troubleshooting Common Issues
- Cake sinking in the middle: Usually caused by underbaking, opening the oven door too early, or using expired leavening agents. Ensure your oven is properly preheated and avoid opening the door during the first 20 minutes of baking.
- Dry cake: Often the result of overbaking or inaccurate flour measurement. Remember that the cake continues to cook slightly as it cools, so remove it when a few moist crumbs still cling to a toothpick.
- Cracked top: Usually caused by too high an oven temperature. Consider using an oven thermometer to verify your oven’s accuracy.
- Frosting too runny: Your butter might be too warm or you may need more powdered sugar. Chill the frosting for 15-20 minutes, then beat again until it reaches the proper consistency.
Variations to Try
Mocha Chocolate Cake
Increase the coffee in the frosting to ⅓ cup and add 1 tablespoon of instant espresso powder to the dry ingredients for a more pronounced coffee flavor.
Mexican Chocolate Cake
Add 1 teaspoon of cinnamon and a pinch of cayenne pepper to the dry ingredients for a subtle spiced chocolate experience.
Black Forest Variation
Split each cake layer horizontally and fill with cherry preserves and whipped cream for a Black Forest-inspired dessert.
Gluten-Free Version
Substitute the all-purpose flour with a high-quality cup-for-cup gluten-free flour blend. According to the Celiac Disease Foundation, many gluten-free flour blends now perform similarly to regular flour in baking.
Vegan Adaptation
Replace eggs with flax eggs (1 tablespoon ground flaxseed + 3 tablespoons water per egg), use plant-based milk with 1 tablespoon vinegar in place of buttermilk, and choose vegan butter for the frosting.
Storage and Make-Ahead Tips
- Counter storage: The frosted cake can be stored at room temperature, covered, for up to 3 days.
- Refrigeration: For longer storage, refrigerate for up to 5 days. Bring to room temperature before serving for best texture and flavor.
- Freezing unfrosted layers: Wrap completely cooled cake layers tightly in plastic wrap, then aluminum foil, and freeze for up to 3 months. Thaw in refrigerator overnight before frosting.
- Freezing frosted cake: Place uncovered in freezer until frosting hardens, then wrap carefully in plastic wrap followed by foil. Freeze for up to 2 months. Thaw in refrigerator overnight, then bring to room temperature before serving.
Nutritional Information (Per Serving, based on 12 servings)
- Calories: 520
- Total Fat: 25g
- Saturated Fat: 12g
- Cholesterol: 75mg
- Sodium: 380mg
- Total Carbohydrates: 72g
- Dietary Fiber: 3g
- Sugars: 54g
- Protein: 5g
Note: These values are approximate and will vary based on specific ingredients used.
Frequently Asked Questions
Can I make this cake without coffee?
Yes, but you’ll miss out on the flavor enhancement coffee provides. If you must avoid coffee, use hot water instead, and consider adding an extra tablespoon of cocoa powder to maintain chocolate intensity.
Can I make this cake in advance for a special occasion?
Absolutely! This cake actually tastes even better on day two, as the flavors have time to meld. You can bake the layers up to three days ahead and store them well-wrapped at room temperature, or freeze them for up to three months. The frosting can be made a day ahead and stored in the refrigerator; just bring it to room temperature and beat briefly before using.
Why is my cake dry even though I followed the recipe?
The most common causes are overbaking, incorrectly measuring flour (too much), or your oven running hot. Invest in an oven thermometer and remember that visual cues for doneness are just as important as time – look for the edges just starting to pull away from the pan and a few moist crumbs (not wet batter) on a toothpick.
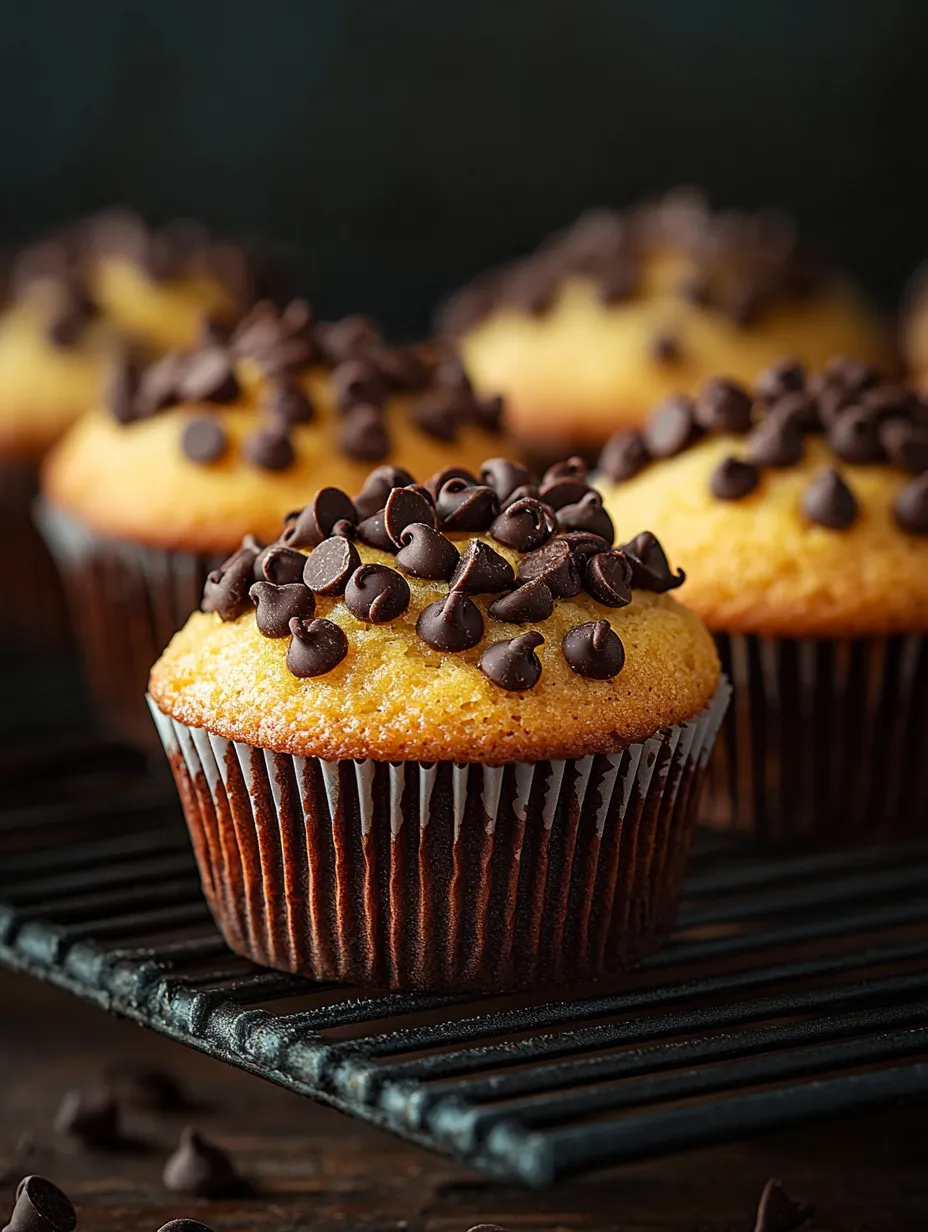
Can I turn this into cupcakes?
Definitely! Fill cupcake liners about ⅔ full and bake at 350°F for 18-22 minutes. This recipe will yield approximately 24-28 cupcakes.
How do I ensure my cake layers are even?
For perfectly even layers, use a kitchen scale to divide the batter equally between pans. Additionally, cake strips (dampened strips wrapped around the outside of pans) help cakes bake more evenly with less doming.
Why This Recipe Works
This chocolate cake with coffee stands out from other recipes for several key reasons:
- The hot coffee technique: Adding hot liquid to the batter creates a smoother, more homogenous mixture that bakes into an incredibly tender cake.
- Balanced leavening: The combination of baking soda and powder creates the perfect rise and texture.
- Oil instead of butter: Using oil rather than butter keeps the cake moister for longer and creates a more tender crumb.
- The buttermilk factor: The acidity in buttermilk not only adds flavor but tenderizes the crumb by inhibiting gluten formation.
- Coffee in both cake and frosting: This creates depth of flavor and consistency throughout the dessert.
The Science Behind Moist Chocolate Cake
What exactly makes a chocolate cake “moist”? According to Scientific American, moisture in cakes comes from several sources:
- Sugar’s hygroscopic properties: Sugar attracts and holds moisture, keeping your cake from drying out.
- Fat coating flour proteins: The oil in this recipe coats flour proteins, preventing them from forming too much gluten and resulting in a tender texture.
- Proper protein structure: The right balance of eggs provides structure while maintaining tenderness.
- Liquid-to-dry ratio: This recipe has a higher proportion of liquid ingredients, contributing to its exceptional moisture.
Understanding these principles helps explain why this particular recipe creates such a consistently moist cake that stays fresh longer than butter-based cakes.
Serving Suggestions
This chocolate cake pairs beautifully with:
- A cold glass of milk
- Fresh berries on the side
- Vanilla bean ice cream
- A dollop of lightly sweetened whipped cream
- Coffee (naturally!) or espresso
- A dessert wine like Ruby Port
For special occasions, consider serving thin slices with raspberry coulis drizzled on the plate and a few fresh raspberries for a restaurant-quality presentation.
Conclusion
This ultimate moist chocolate cake with coffee isn’t just a recipe – it’s a reliable method for creating a truly exceptional dessert every time. The combination of quality ingredients, proper technique, and the secret power of coffee creates a chocolate cake that stands above the rest in flavor, texture, and keeping quality.
Whether you’re baking for a special celebration or simply craving an extraordinary chocolate dessert, this recipe delivers results that will have everyone asking for seconds – and for your secret. The best part? It’s completely achievable for home bakers at any skill level.
Remember that great baking combines both science and art. Once you understand the principles behind what makes this cake so special, you can adapt it with confidence to suit your preferences while maintaining its remarkable moisture and chocolate intensity.
Happy baking!
Meta Title and Description Suggestions
Meta Title Options:
- The Ultimate Moist Chocolate Cake with Coffee: Foolproof Recipe & Tips
- Best Ever Moist Chocolate Cake Recipe with Coffee: Baker’s Guide
Meta Description Options:
- Discover the secrets to making the most incredible moist chocolate cake with coffee from scratch. This comprehensive guide includes expert tips, science-backed techniques, and foolproof instructions for perfect results every time.
- Learn how to make an exceptionally moist chocolate cake enhanced with coffee that stays fresh for days. Our detailed recipe includes troubleshooting tips, variations, and the food science behind perfect chocolate cake.