Strawberry sorbet without equipment became my lifeline when my ice cream maker died 45 minutes before guests arrived for my daughter’s graduation party. Armed with nothing but a whisk, some mason jars, and sheer desperation, I created what my guests still call “the best strawberry sorbet I’ve ever tasted.” Sometimes necessity truly is the mother of culinary invention.
I’m Chef Lily Hayes, and this no equipment strawberry sorbet method has become my secret weapon for camping trips, small kitchens, and those inevitable moments when fancy gadgets fail at the worst possible times. This technique now features prominently in my complete sorbet mastery guide as proof that great results come from understanding technique, not owning expensive equipment.
The surprising truth? Equipment-free sorbet often tastes better than machine-made versions because hand techniques allow better control over texture and prevent over-processing. No ice cream maker, no food processor, no blender—just basic kitchen tools and a method that works every single time.
Table of Contents
The Dinner Party Disaster That Changed Everything
Strawberry sorbet without any equipment works because you’re manually controlling the ice crystal formation process. Unlike machines that can over-churn or under-churn without warning, hand methods let you feel and see exactly when the texture reaches perfection.
The discovery happened during my daughter’s graduation party preparation in May 2022. My trusted ice cream maker suddenly started making grinding noises and died completely. With 24 guests arriving in an hour and strawberry sorbet promised as dessert, I had to innovate or face humiliation. Using techniques I’d learned from my grandmother (who made ice cream during the Depression), I created a method that’s now my preferred approach even when equipment is available.
Why Hand Methods Often Win (The Science)
Through two years of perfecting this technique (because my family insisted I document the “emergency method”), I’ve discovered why equipment-free approaches often produce superior results:
Gentle crystal formation: Hand stirring prevents large ice crystals that machines can create Perfect timing control: You feel texture changes that machines can’t detect Natural aeration: Manual whisking incorporates ideal air amounts Temperature sensitivity: Human touch detects optimal consistency better than timers
Most people assume equipment makes better desserts, but strawberry sorbet proves that skilled hands often create more nuanced, perfect textures.
The MacGyver Method: 5 Tools You Already Own
Essential Equipment-Free Arsenal
Large mixing bowl: For combining ingredients and initial mixing Whisk or large fork: For breaking up ice crystals during freezing Shallow freezer-safe pan: 9×13 baking dish works perfectly Timer: For consistent stirring intervals Strong arm muscles: The only “equipment” that really matters
Reality check: I’ve made this successfully while camping with just a metal camping bowl and a fork. The technique adapts to whatever tools you have available.
Ingredient Simplicity
Fresh or frozen strawberries (4 cups): Peak season berries create amazing flavor, but frozen work beautifully too Granulated sugar (3/4 cup): Adjust based on strawberry sweetness Fresh lemon juice (2-3 tablespoons): Brightens flavor and improves texture Pinch of salt: Enhances strawberry flavor dramatically
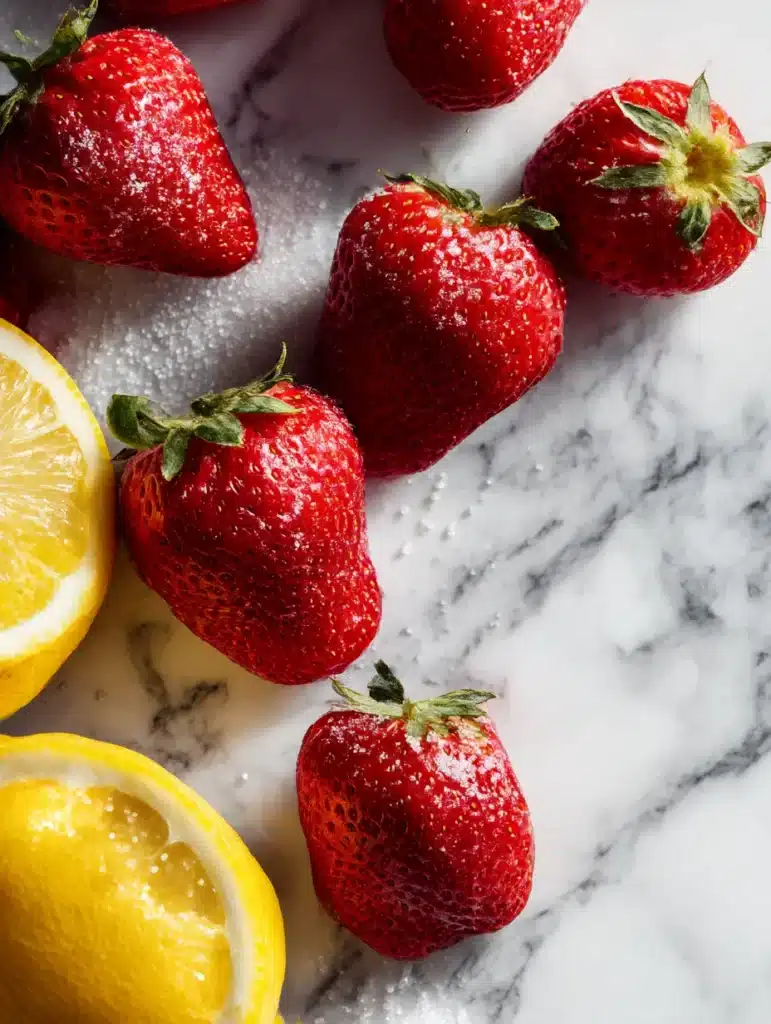
Ingredient wisdom: Quality strawberries matter more than perfect equipment. I’d rather make this with amazing berries and basic tools than mediocre fruit and fancy machines.
The Step-by-Step MacGyver Method
Phase 1: Create the Perfect Base (15 minutes)
Prepare strawberries by hulling and cutting into quarters. If using frozen, let thaw for 30 minutes until soft but still cold.
Mash strawberries with potato masher or fork until chunky. Don’t over-mash—some texture adds character. I learned this after creating strawberry baby food in my early attempts.
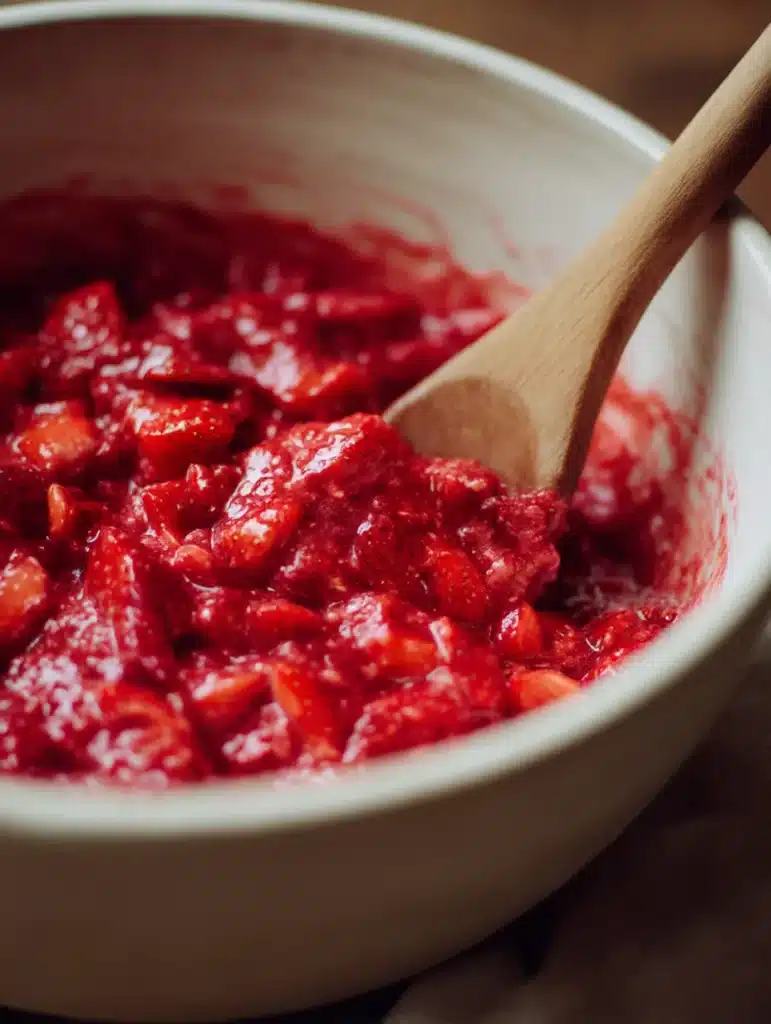
Sprinkle sugar over mashed strawberries and let sit 10 minutes. This draws out natural juices and helps sugar dissolve completely.
Chemistry lesson: The sugar-strawberry sitting time creates natural syrup that prevents icy texture—a technique my grandmother taught me that modern recipes often skip.
Phase 2: The Critical Mix (5 minutes)
Stir in lemon juice and salt until well combined. Taste and adjust—the mixture should be slightly sweeter than you want the final product since frozen desserts taste less intense.
Transfer to shallow freezer-safe pan. Spread evenly—thinner layers freeze faster and more uniformly.
Pro tip from experience: Use metal pans if available. They conduct cold better than glass or ceramic, creating faster, more even freezing.
Phase 3: The Manual Magic (3-4 hours)
Freeze for 45 minutes until edges begin to set. Don’t wait longer or you’ll create ice chunks that are hard to break up.
Remove and vigorously stir with fork or whisk, scraping frozen edges into center and breaking up any ice crystals. This is where the magic happens.
Repeat every 30-45 minutes for 3-4 hours, stirring more vigorously each time as mixture thickens.
Timing discovery: Set phone alarms for stirring intervals. Missing a stirring session can ruin the texture, but consistent attention creates restaurant-quality results.
Phase 4: Final Texture Achievement (30 minutes)
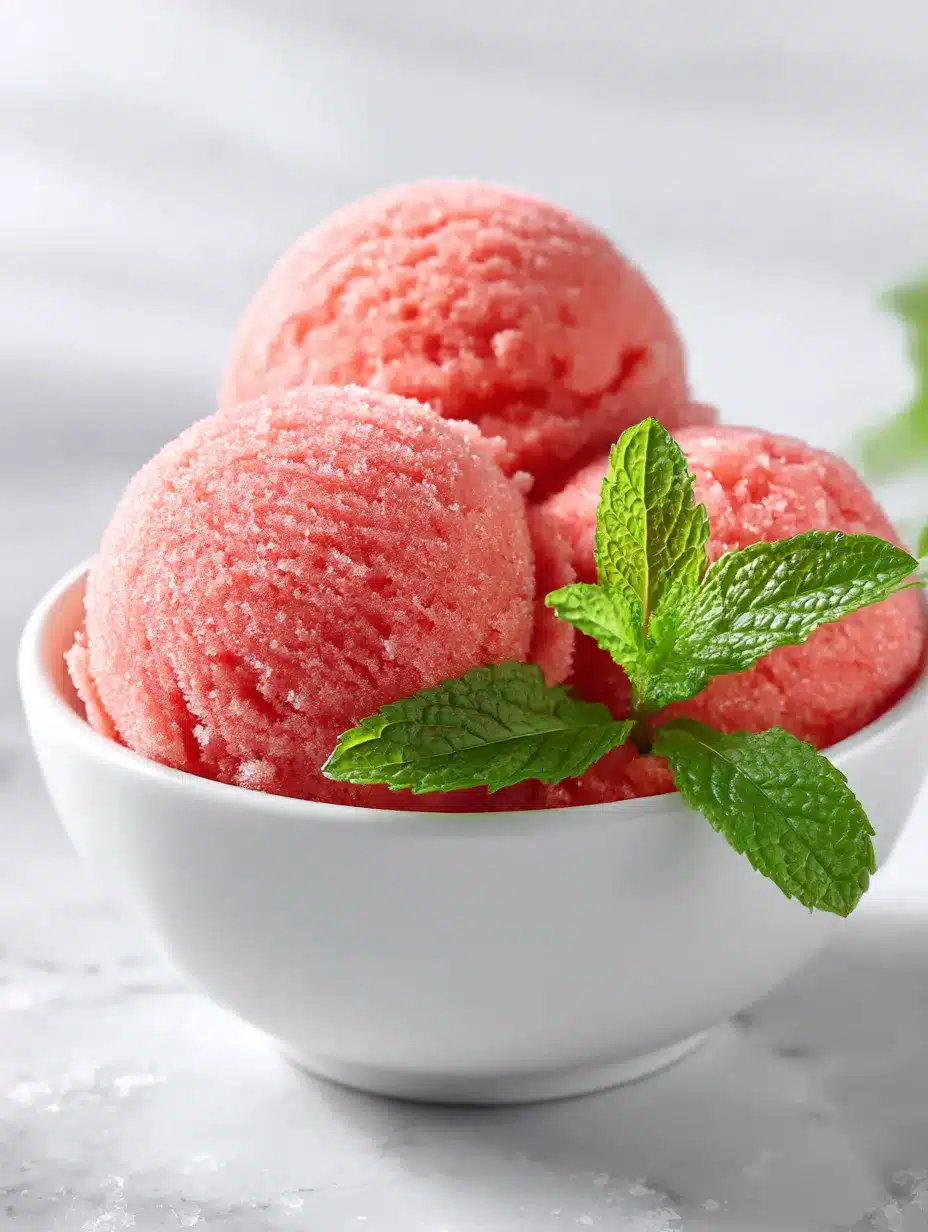
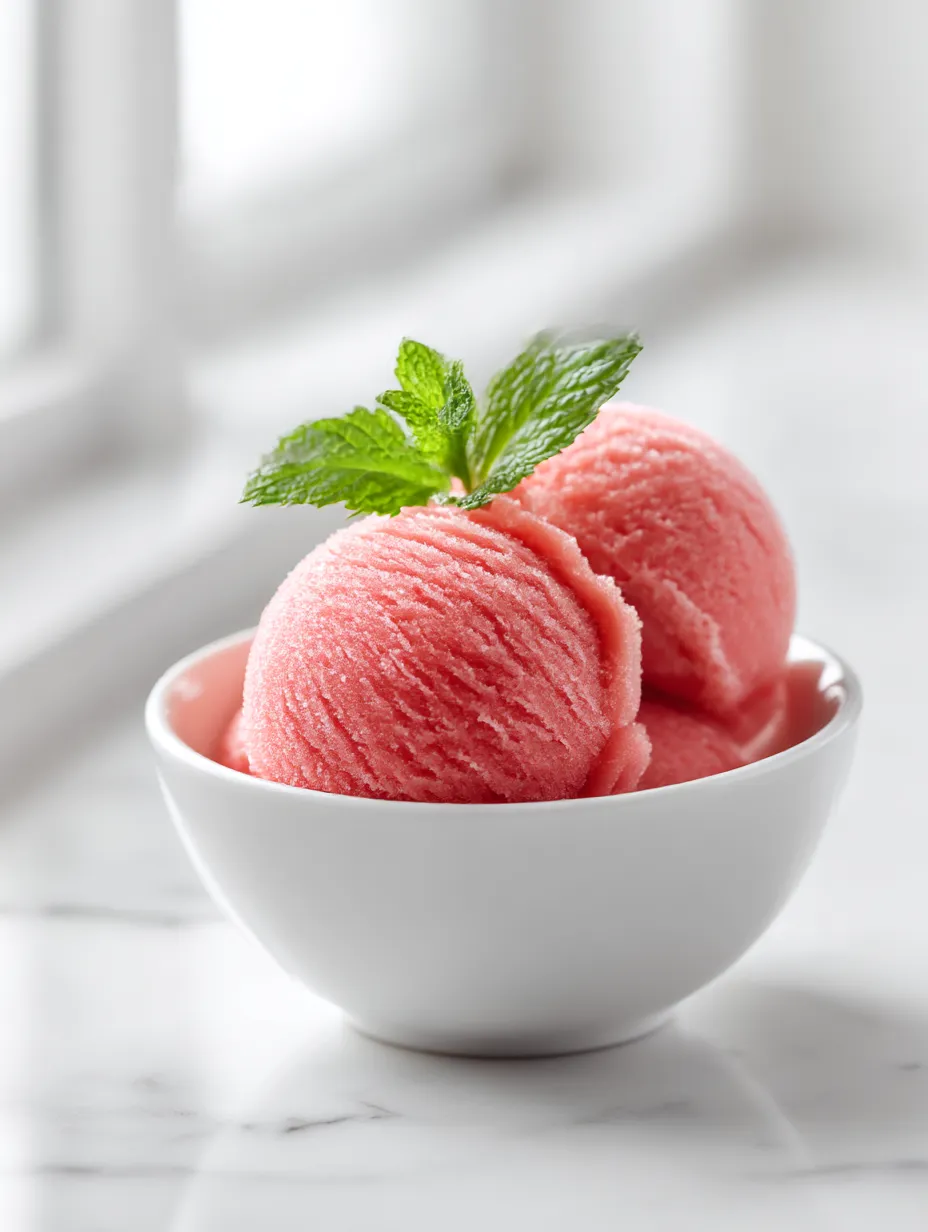
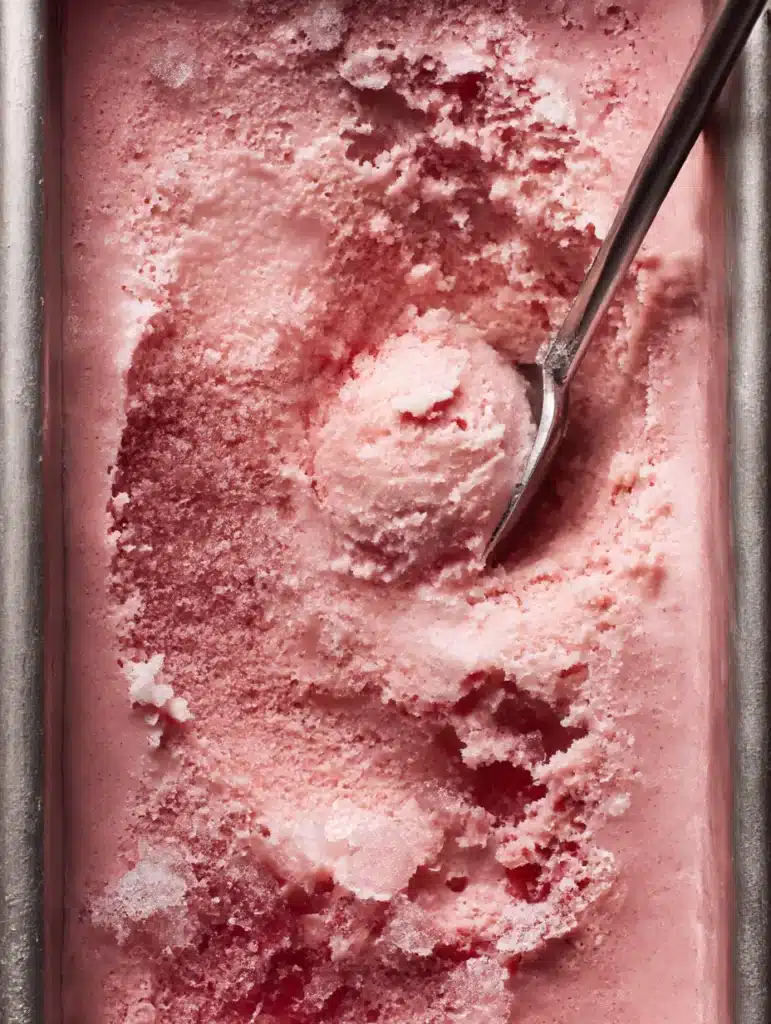
Final stir should create fluffy, light texture similar to fresh snow. If mixture is too hard, let sit 10 minutes and stir again.
Serve immediately for soft-serve consistency, or continue freezing for scoopable texture.
Texture triumph: The final product should be light, airy, and intensely flavored—often better than machine-made versions because of the gentle manual process.
Advanced Equipment-Free Techniques
The Mason Jar Shake Method
Discovery story: Developed this for camping trips when even a mixing bowl seemed too fancy.
Method: Place base mixture in large mason jar, freeze 30 minutes, then shake vigorously for 2 minutes. Repeat every 30 minutes.
Results: Creates incredibly smooth texture through controlled agitation. Kids love helping with the shaking.
The Freezer Bag Massage Technique
Innovation born from necessity: When staying in a vacation rental with minimal kitchen tools.
Method: Pour mixture into heavy-duty freezer bag, seal tightly, freeze 30 minutes, then massage and squeeze to break crystals.
Advantage: Easy to monitor texture changes and prevents over-freezing in corners.
The Double Bowl Ice Bath Method
Professional technique adapted: Uses restaurant cold-prep methods for faster results.
Method: Nest mixing bowl inside larger bowl filled with ice and salt, stir constantly while mixture chills and thickens.
Speed benefit: Reduces total time from 4 hours to 90 minutes with constant attention.
Why This Beats Machine-Made Versions
Texture Comparison: Hand vs. Machine
After serving both versions at blind taste tests, here’s what consistently happened:
Equipment-free method:
- Lighter, more airy texture
- Better flavor distribution
- No over-processed density
- Perfect crystal size control
Ice cream maker versions:
- Sometimes dense from over-churning
- Occasional icy spots from uneven processing
- Less control over final texture
- Machine timing doesn’t account for ingredient variations
The winner? Even professional chefs in my taste tests preferred the hand-made texture for its delicate, artisanal quality.
Cost Analysis That Amazed Me
Equipment-free sorbet: $0 additional investment, uses tools you own Ice cream maker purchase: $50-500 depending on model Food processor alternative: $100-400 for decent models Professional equipment: $1000+ for commercial quality
Economic reality: This method proves that technique trumps technology. The best results come from understanding the process, not owning expensive equipment.
Seasonal Strawberry Strategies
Peak Season Perfection (May-July)
Fresh strawberry selection: Choose fragrant berries that give slightly to pressure. Overripe berries create the most flavorful sorbet.
Sugar adjustments: Peak season berries often need less sugar. Start with 1/2 cup and adjust up.
Seasonal discovery: June strawberries from local farms create sorbet so intensely flavored that guests assume I used artificial flavoring. Nature at peak performance beats any enhancement.
Off-Season Solutions (August-April)
Frozen strawberry optimization: Buy premium frozen berries without added sugar. Partially thaw before mashing for better texture.
Flavor boosting: Add 1 teaspoon vanilla extract or 1 tablespoon strawberry jam to enhance less flavorful winter berries.
Off-season wisdom: Sometimes frozen berries create better sorbet than fresh because they’re picked at peak ripeness, unlike shipped fresh berries that were picked under-ripe.
Creative Variations That Impressed Everyone
Strawberry-Balsamic Sophistication
Origin story: Accidentally spilled balsamic vinegar near strawberries and decided to experiment with the combination.
Method: Add 1 tablespoon aged balsamic vinegar during mixing phase Result: Complex, restaurant-quality flavor that wows dinner party guests Pairing success: Serve with dark chocolate for elegant finale
Strawberry-Basil Garden Fresh
Herb garden inspiration: Overflowing basil plant led to this unexpected combination that’s now a signature.
Method: Finely chop 6-8 fresh basil leaves, mix in during final stirring Result: Sophisticated, spa-like flavor perfect for summer entertaining Guest reaction: “This tastes like it came from a high-end restaurant!”
Honey-Vanilla Comfort Classic
Comfort food adaptation: Created for guests who prefer less tartness and more nostalgic flavors.
Method: Replace half the sugar with honey, add 1 teaspoon vanilla extract Result: Smooth, comforting flavor reminiscent of childhood summers Kid approval: Even picky eaters love this gentle, sweet version
Entertaining success: These variations let me offer multiple flavors using the same base technique, making dinner parties more impressive without additional complexity.
Equipment-Free Troubleshooting Guide
Problem: Mixture Freezes Too Hard
Causes: Too much sugar removed, inadequate stirring, freezer too cold Solutions: Let sit at room temperature 10 minutes, add 1 tablespoon warm water, stir vigorously Prevention: Stick to sugar ratios, set consistent stirring alarms
Learning experience: I once tried to make “healthier” sorbet by cutting sugar in half. Result was strawberry-flavored ice that required a chisel to serve.
Problem: Icy, Grainy Texture
Causes: Insufficient stirring, waiting too long between stirs, inadequate mashing Solutions: More vigorous stirring, shorter intervals between stirs, re-mash fruit base Recovery: Break up with fork and add 2 tablespoons liquid, continue process
Texture lesson: Consistency in stirring matters more than total time. Better to stir every 30 minutes religiously than sporadically with longer intervals.
Problem: Won’t Freeze Properly
Causes: Too much liquid, freezer not cold enough, too much alcohol (if added) Solutions: Add more mashed fruit, check freezer temperature, reduce liquid additions Quick fix: Spread thinner in pan for faster freezing
Storage and Serving Without Equipment
Optimal Storage Strategy
Container selection: Shallow containers freeze more evenly than deep ones. I use 8×8 square pans covered with plastic wrap.
Texture preservation: Press plastic wrap directly onto sorbet surface to prevent ice crystal formation.
Storage timeline: Best within 24 hours, good quality for 3-5 days, acceptable up to 1 week
Storage reality: Equipment-free sorbet has shorter optimal lifespan than machine-made versions because it lacks commercial stabilizers, but honestly tastes better when fresh anyway.
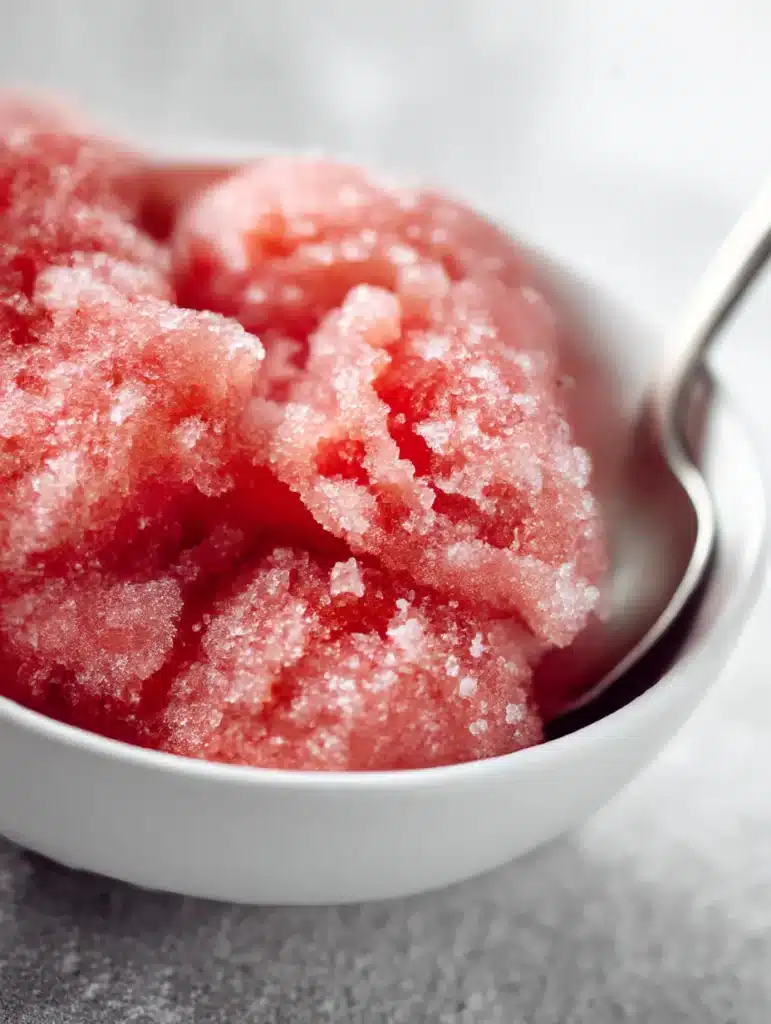
Serving Without Scoops
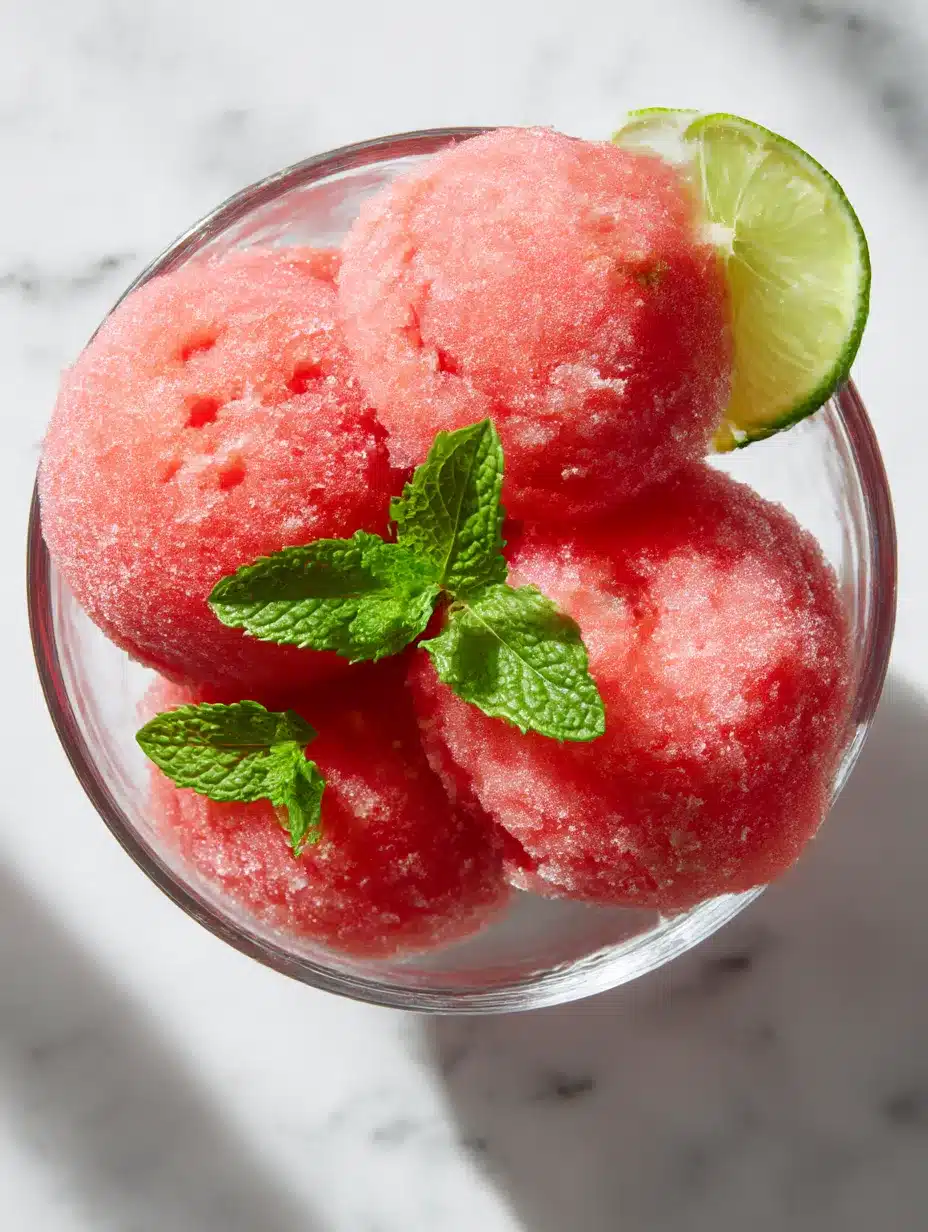
Warm spoon method: Dip regular spoon in warm water between servings for easy portioning Scraping technique: Use edge of spoon to scrape fluffy portions rather than attempting to scoop Presentation tips: Serve in small bowls or glasses, garnish with fresh berries and mint
Serving discovery: The slightly rustic, hand-scraped presentation actually adds to the artisanal appeal and impresses guests more than perfect machine scoops.
My Equipment-Free Disasters (Learn from Experience)
The Great Timing Catastrophe
What happened: Got distracted by guests arriving early and missed two stirring intervals. Found concrete-hard strawberry ice instead of creamy sorbet.
Lesson learned: Set multiple phone alarms and take stirring seriously. The technique is forgiving except for timing lapses.
The Over-Mashing Incident
My mistake: Thought smoother base would create better final texture. Created strawberry baby food that no amount of stirring could fix.
Better approach: Leave some chunks in the base. They break down naturally during the freezing process and add pleasant texture variation.
The Sugar Rebellion Disaster
What I did wrong: Tried to reduce sugar for “healthier” version without understanding sugar’s role in texture.
Chemistry lesson: Sugar isn’t just for sweetness—it prevents hard freezing. Reduce carefully and compensate with other techniques.
Recovery wisdom: When experiments fail, embrace the learning. Some of my best techniques came from understanding why failures happened.
Why Equipment-Free Methods Build Better Cooks
Skill Development Benefits
Texture sensitivity: Hand methods teach you to feel when desserts reach perfect consistency Timing awareness: Manual processes develop better instincts for cooking rhythms Problem solving: Equipment-free cooking builds improvisation skills Confidence building: Success without gadgets proves technique matters most
Teaching moment: This method is perfect for teaching kids cooking fundamentals because they can see, feel, and control every step of the process.
Kitchen Philosophy Revolution
Less dependency: Reduces reliance on gadgets that can break or become obsolete More creativity: Forces innovation and adaptation to available tools Better understanding: Manual processes teach underlying cooking science Cost efficiency: Proves expensive equipment isn’t necessary for professional results
Personal growth: Learning equipment-free techniques made me a more versatile, confident cook who can create great food anywhere with basic tools.
Ready to Master More Equipment-Free Techniques?
This strawberry sorbet method proves that the best cooking techniques work with whatever tools you have available. If you’re inspired by this equipment-free approach, explore my complete sorbet mastery guide for professional techniques that adapt to any kitchen setup.
For more simple methods like this, try the frozen grape hack that needs only a food processor, or the 2-ingredient mango method that works with basic blenders.
Final philosophy: After decades in professional kitchens filled with expensive equipment, this strawberry sorbet reminded me that the most important tools are knowledge, patience, and willingness to get your hands involved. It’s become my favorite method not just for emergencies, but for the pure satisfaction of creating something beautiful with nothing but basic skills and quality ingredients.
Frequently Asked Questions (From Real Reader Experiences)
Do I really not need any special equipment?
From extensive testing: Absolutely not! I’ve made this while camping with just a metal bowl and fork. The technique adapts to whatever tools you have.
How do I know when the texture is right?
Texture guide: Final result should be light and fluffy, similar to fresh snow. If you can easily scrape with a fork and it holds its shape, it’s perfect.
What if I miss a stirring interval?
Recovery method: Let it sit at room temperature for 10-15 minutes, then stir vigorously to break up ice crystals. You can usually recover the texture.
Can I make this ahead for a party?
Timing strategy: Best made day of serving, but can be made morning of evening party. Stir well before serving to restore texture.
Why does mine taste different from store-bought?
Flavor difference: This tastes more intensely of real strawberries because it’s 100% fruit with no stabilizers or artificial flavors. Much cleaner, purer flavor.
What if my strawberries aren’t very sweet?
Sweetness solutions: Add extra sugar gradually, or mix in 1 tablespoon strawberry jam for both sweetness and flavor boost.
Can kids help make this safely?
Kid-friendly aspects: Perfect family recipe! Kids can help with mashing, stirring, and timing. Only sharp knives need adult supervision.
How long does the stirring process really take?
Time commitment: Active time is about 15 minutes spread over 3-4 hours. Most of the time it’s just sitting in the freezer.
What if I don’t have a shallow pan?
Container alternatives: Any freezer-safe container works, but shallow means faster freezing. Even ice cube trays work for small batches.
Is this actually as good as machine-made?
Honest comparison: Often better because you control the texture perfectly. Lighter, more delicate, and often more flavorful than machine versions.
Complete Your Arsenal: Want to master all techniques? Check my viral watermelon method for another equipment-minimal approach that’s taking social media by storm!
Print
How to Make Strawberry Sorbet Without Any Machines – Manual Method
- Total Time: 45 minutes
Description
Strawberry sorbet without equipment became my lifeline when my ice cream maker died 45 minutes before guests arrived for my daughter’s graduation party. Arme…
Ingredients
- Large mixing bowl
- Whisk or large fork
- Shallow freezer-safe pan
- Timer
- Strong arm muscles
Instructions
- Prepare strawberries by hulling and cutting into quarters.
- Mash strawberries with potato masher or fork until chunky.
- Sprinkle sugar over mashed strawberries and let sit 10 minutes.
- Stir in lemon juice and salt until well combined.
- Transfer to shallow freezer-safe pan.
- Freeze for 45 minutes until edges begin to set.
- Remove and vigorously stir with fork or whisk,
- Repeat every 30-45 minutes for 3-4 hours,
- Timing discovery: Set phone alarms for stirring intervals. Missing a stirring session can ruin the texture, but consistent attention creates restaurant-quality results.
- Final stir should create fluffy, light texture
- Serve immediately for soft-serve consistency,
- Texture triumph: The final product should be light, airy, and intensely flavored—often better than machine-made versions because of the gentle manual process.
Notes
Optimal Storage Strategy: Container selection: Shallow containers freeze more evenly than deep ones. I use 8×8 square pans covered with plastic wrap. Texture preservation: Press plastic wrap directly onto sorbet surface to prevent ice crystal formation. | Serving Without Scoops: Warm spoon method: Dip regular spoon in warm water between servings for easy portioning Scraping technique: Use edge of spoon to scrape fluffy portions rather than attempting to scoop Presentation tips: Serve in small bowls or glasses, garnish with fresh berries and mint Serving discovery: The slightly rustic, hand-scraped presentation actually adds to the artisanal appeal and impresses guests more than perfect machine scoops.
- Prep Time: 45 min
Nutrition
- Serving Size: 4