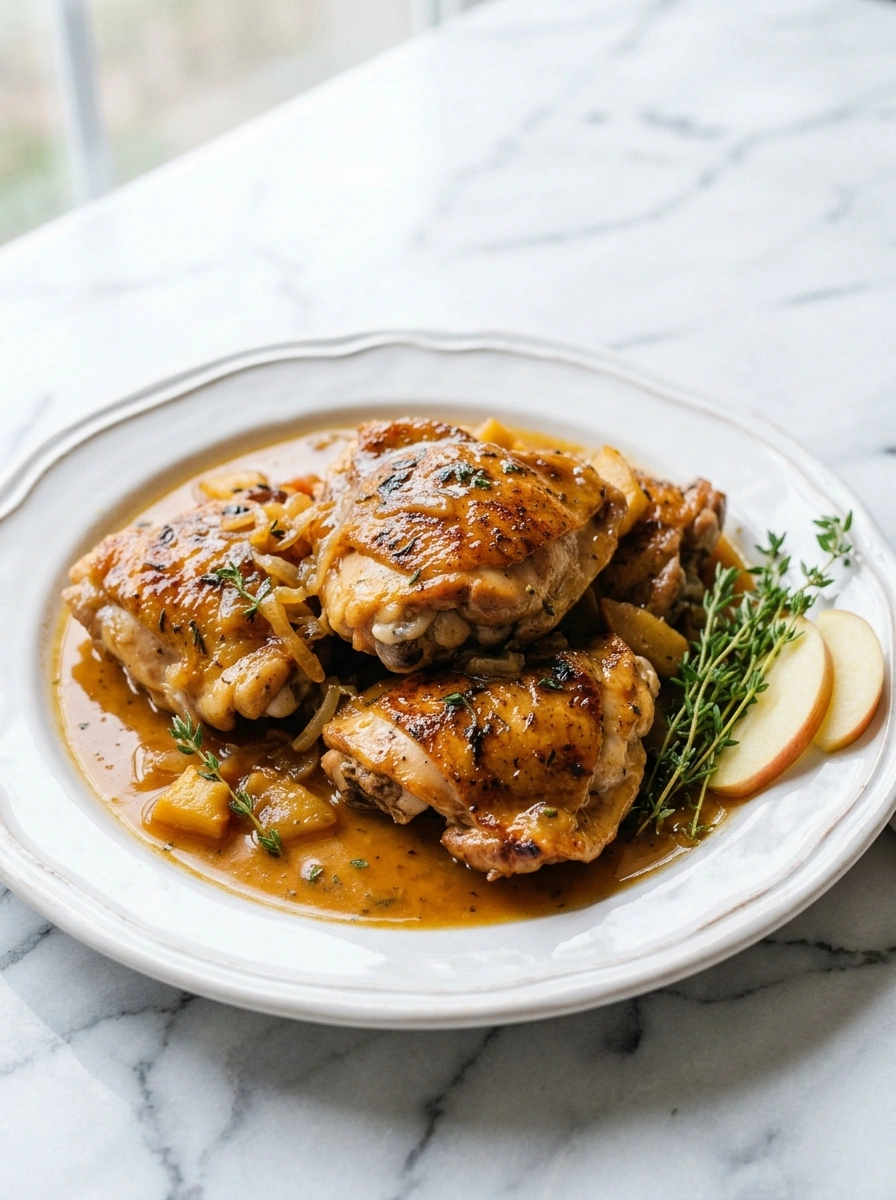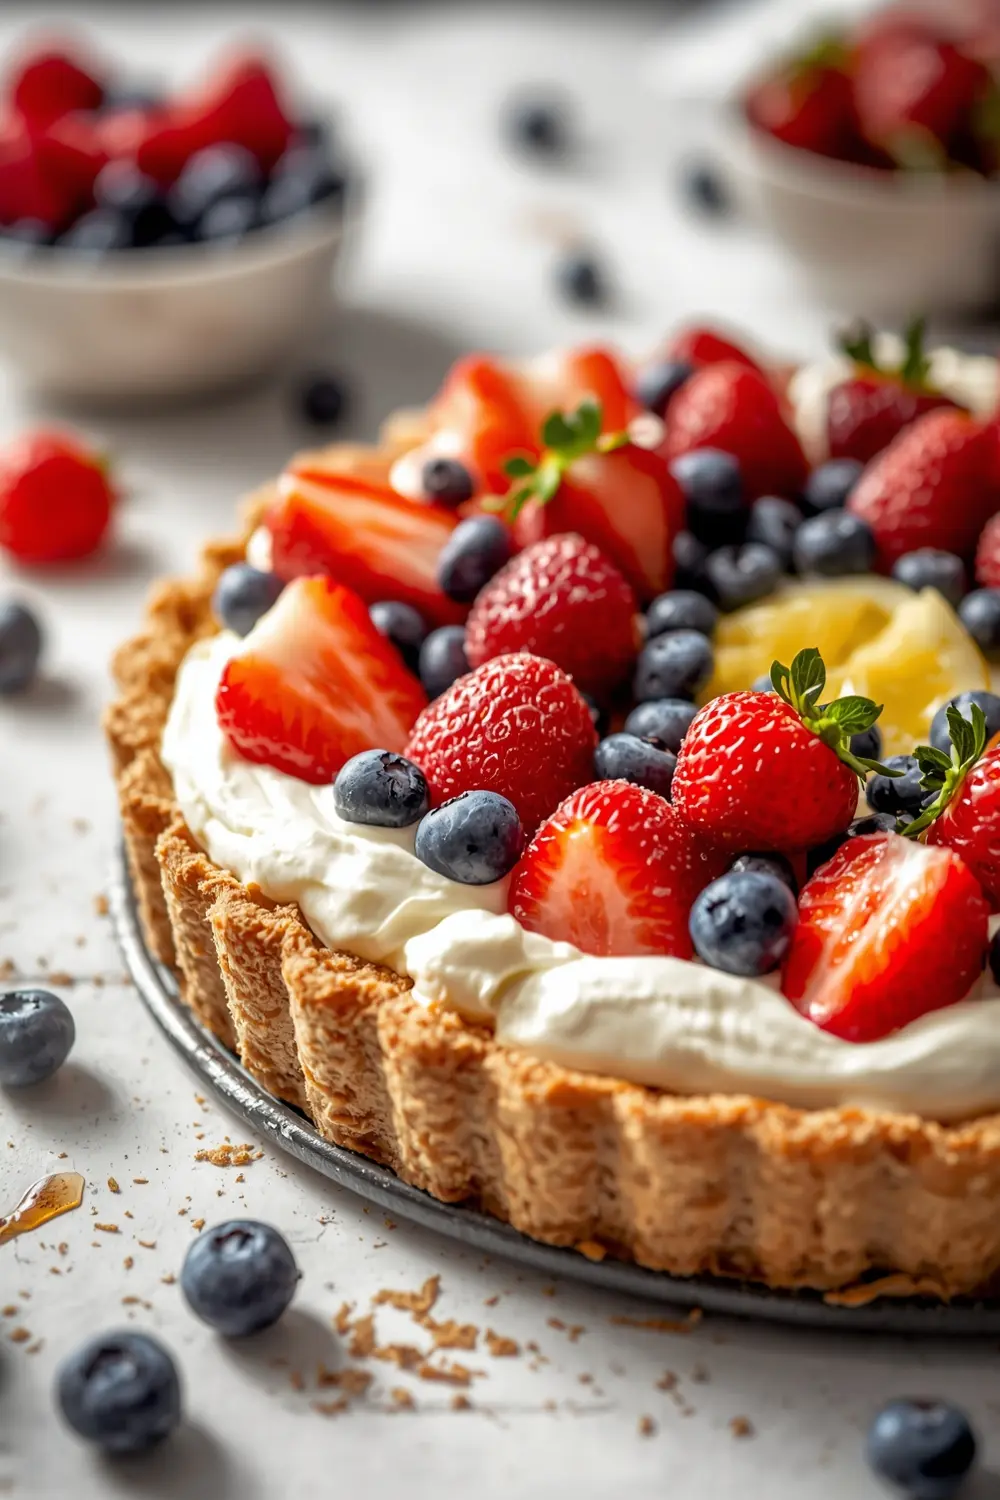
An Easter fruit tart recipe is basically spring dessert magic on a plate. I’m talking buttery crust, silky pastry cream filling, and those gorgeous fresh berries on top. Here’s the thing—this elegant spring dessert looks absolutely stunning but comes together way easier than you’d think. Plus you can make most of it the day before, which is clutch for holiday hosting. Save this for later because it’s definitely becoming your new Easter go-to.
Want to impress your guests without spending all day in the kitchen? This fresh berry tart delivers that impressive look in about an hour of actual work. I tested about five different crust recipes before landing on this one, and honestly it’s foolproof.
The best part? Everyone thinks you slaved away for hours. You didn’t, and they’ll never know.
Why this Easter fruit tart recipe works
Ever wonder why some tarts look bakery-perfect while others fall flat? This recipe nails it because the pastry cream stays thick and the crust stays crispy even with all those fresh berries on top. I burned my first batch because I walked away for two minutes during the blind baking phase, so I learned real quick to stay present.
- Ultra-flaky crust that stays crispy even loaded with berries and cream filling
- Silky pastry cream filling that’s not too heavy and balances the fruit perfectly
- Minimal ingredients means you probably have most of this in your kitchen already
- Make-ahead friendly so you’re not stressed on Easter morning
| Prep Time | Cook Time | Calories | Servings | Cuisine |
|---|---|---|---|---|
| 25 minutes | 35 minutes | 285 per serving | 8 servings | American |
Ingredients for Easter fruit tart recipe
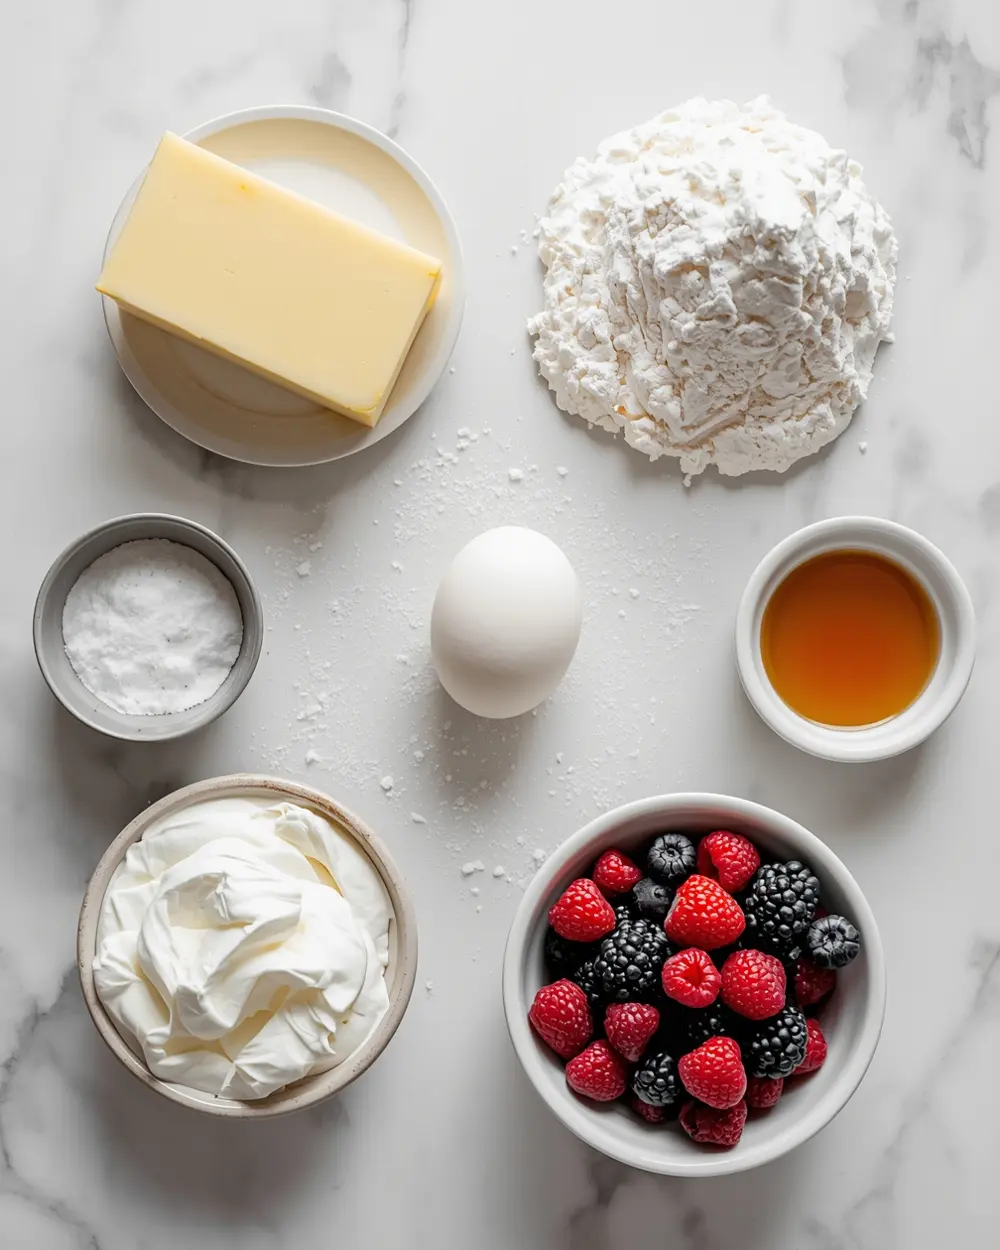
- 1 1/2 cups all-purpose flour
- 1/2 cup unsalted butter, cold and cubed
- 1/4 cup powdered sugar
- 1 large egg
- 1/4 teaspoon salt
- 8 ounces cream cheese, softened
- 1/4 cup granulated sugar
- 1 teaspoon vanilla bean paste
- 1/2 cup heavy cream
- 1 cup mixed fresh berries (strawberries, blueberries, raspberries)
- 1 tablespoon honey
- 2 tablespoons fresh lemon juice
Cold butter is non-negotiable here—seriously don’t use softened butter or your crust won’t be flaky. If you can’t find vanilla bean paste, regular vanilla extract works just fine (use 1 teaspoon). The cream cheese must be softened but not warm, or your filling gets weepy.
For the berries, mix whatever’s freshest at your store. Strawberries and raspberries are gorgeous, but honestly any combo works. Skip the lemon juice if you’re not a citrus fan, though it really does brighten the whole thing up.
Step-by-step instructions
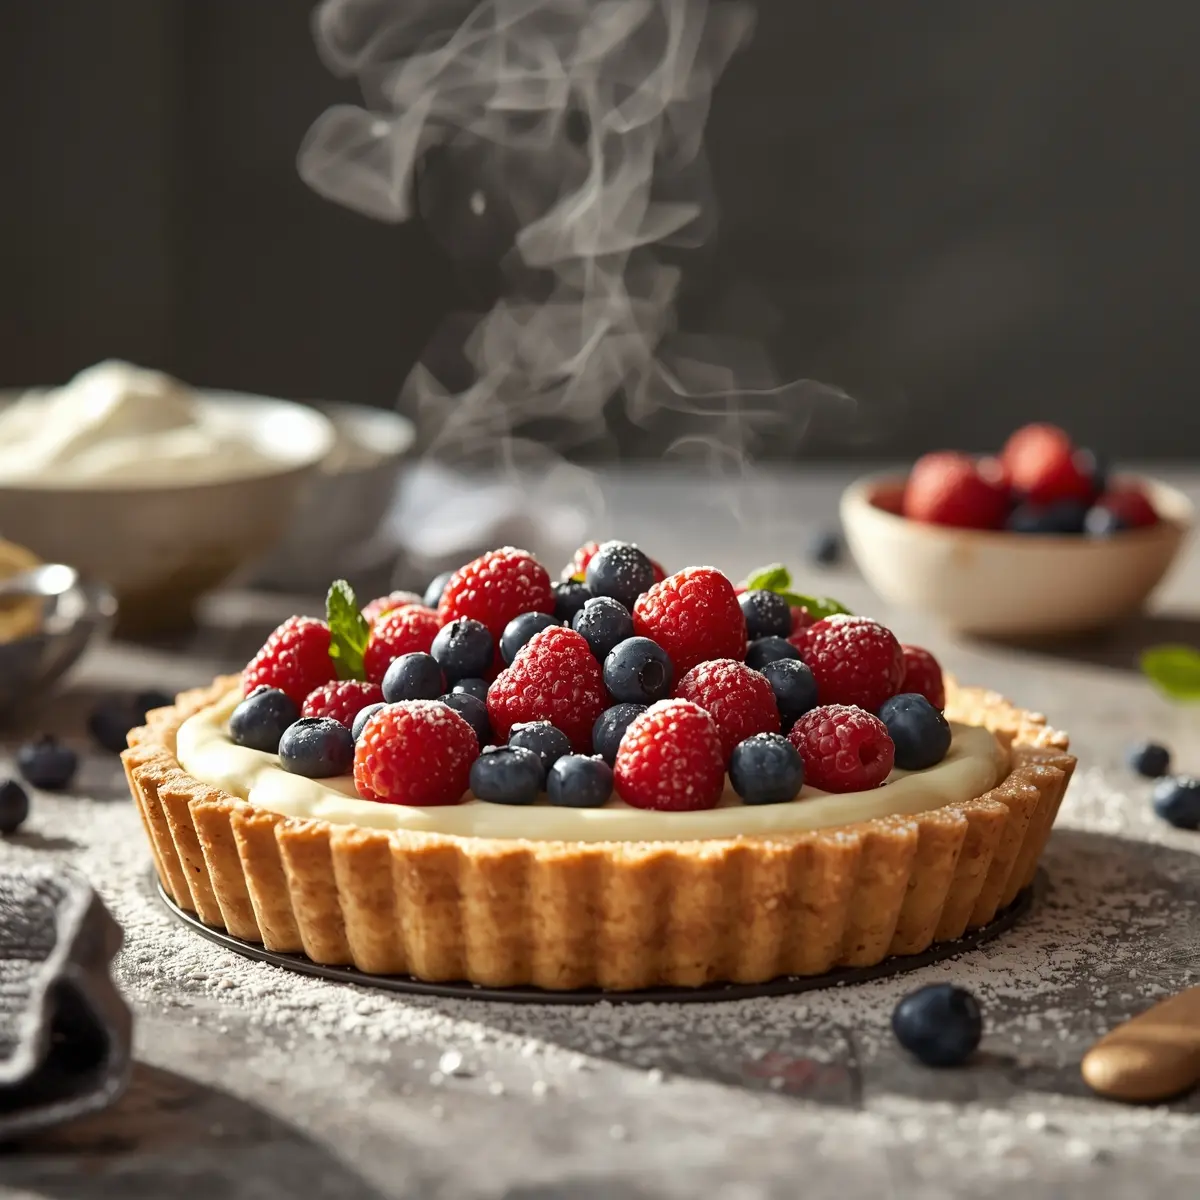
1. Combine flour, powdered sugar, and salt in a medium bowl. Cut in cold butter with a pastry cutter or fork until the mixture looks like coarse breadcrumbs (about 2 minutes). Beat egg in a small bowl, then add to flour mixture and stir until dough just comes together. Don’t overmix—lumpy dough actually makes the flakiest crust. Form into a disk, wrap in plastic wrap, and refrigerate for 15 minutes.
2. Preheat oven to 375°F. Roll dough between two sheets of parchment paper until it’s about 1/8 inch thick. Transfer to a 9-inch tart pan (fluted edges make it look fancy). Trim edges and poke the bottom all over with a fork to prevent puffing. Line with parchment and fill with pie weights or dried beans.
3. Blind bake for 12-15 minutes until the edges are light golden. Remove weights and parchment carefully—mine always sticks a little and that’s totally fine. Bake another 3-5 minutes until the bottom looks set but not dark. The crust should look pale golden, not brown. Let cool on a wire rack for 10 minutes.
4. While crust cools, make the pastry cream filling. Beat softened cream cheese and granulated sugar together in a medium bowl for about 2 minutes until fluffy and light. Stir in vanilla bean paste. In a separate bowl, whip heavy cream until stiff peaks form (this takes about 3-4 minutes with an electric mixer).
5. Gently fold whipped cream into the cream cheese mixture until no white streaks remain. You want this to stay airy, so fold it gently and don’t overmix. Taste it here and add a tiny pinch of salt if it tastes flat—trust me on this. Spread filling evenly into cooled tart shell and smooth the top with an offset spatula.
6. Arrange fresh berries on top in whatever pattern makes you happy. I like to group them by color, but honestly any way looks beautiful. Mix honey and lemon juice together in a small bowl, then lightly brush over the berries for a professional-looking shine.
7. Refrigerate the finished Easter fruit tart for at least 30 minutes before slicing. This helps everything set and makes cutting so much cleaner. Use a hot, wet knife between each slice and wipe it clean—this keeps the presentation gorgeous. Serve cold and watch your guests go crazy.
Serving ideas for Easter fruit tart recipe
This spring dessert shines on its own, but here are my favorite ways to present it:
With Whipped Cream and Extra Berries
Top each slice with a small dollop of fresh whipped cream and a few extra berries scattered on the plate. The contrast between cold tart and fluffy cream is absolutely perfect, plus it makes every plate look Instagram-worthy without extra effort.Alongside Spring Tea Pairings
Serve this fresh berry tart with hot tea—chamomile, peony, or green tea all work beautifully. The lightness of the pastry cream pairs amazingly with delicate spring teas. This combo feels fancy and elegant without screaming “I spent hours cooking.”With Lemon Curd or Berry Coulis
Drizzle a little homemade lemon curd or berry sauce around each slice for extra flavor dimension. This pushes the whole thing from “nice dessert” to “chef move” instantly. The tartness of lemon curd against the sweet pastry cream is genuinely incredible.Pro tips for perfect Easter fruit tart recipe
Storage tips
– Keep tart in an airtight container in the fridge for up to 2 days (the crust softens after that) – Don’t freeze the whole assembled tart—berries get weepy and crust gets soggy – You can freeze the crust shell alone for up to 1 month, baked or unbakedMake-ahead instructions
– Bake the crust up to 2 days ahead; store covered at room temperature – Make pastry cream filling up to 1 day ahead; cover and refrigerate – Add berries and honey glaze no more than 4 hours before servingVariations
– Use chocolate pastry cream instead of vanilla for a decadent twist – Try almond flour mixed into the crust for extra crunch and flavor – Swap berries for stone fruit (peaches, plums, nectarines) in summerTroubleshooting
– Crust cracking? You over-worked the dough or used warm butter—chill dough longer next time – Filling too runny? Cream cheese wasn’t fully softened or you skipped the whipping step—start over – Crust gets soggy? Make sure to cool it completely before adding filling and serve coldFrequently asked questions
Can I make this Easter fruit tart ahead of time?
You absolutely can make the crust and filling separately up to 1 day ahead. Keep the crust covered at room temperature and the filling refrigerated. Assemble with berries about 4 hours before serving so the crust stays crispy and the berries look fresh.
The only part you can’t do way ahead is adding the berries, since they’ll start releasing juice and the crust will get soggy after several hours. The beauty of this timing is you get that fresh, just-assembled look when people see it.
What if I can’t find vanilla bean paste?
Regular vanilla extract works perfectly fine as a one-to-one swap. Use 1 teaspoon vanilla extract instead of 1 teaspoon vanilla bean paste. You’ll lose those tiny vanilla specks, but the flavor is basically identical.
If you want that speckled look without vanilla bean paste, you can scrape seeds from an actual vanilla pod, but honestly that’s extra work for this dessert.
Can I use frozen berries for this fresh berry tart?
Frozen berries will release a ton of liquid and make your filling soggy really fast, so I’d skip them for this particular recipe. They work great in baked tarts, but this one needs the structure of fresh berries on top.
However, if you absolutely must use frozen, thaw them completely and pat super dry with paper towels before adding to the tart. Your crust won’t be quite as crispy, but it’ll still taste good.
Can I make an Easter fruit tart without dairy?
You could use dairy-free cream cheese and coconut cream as replacements for both the cream cheese and heavy cream. The flavor will be a little different, but it’ll still work as a spring dessert with solid structure.
The main challenge is the filling won’t get quite as thick without regular heavy cream, so whip the coconut cream extra well and maybe add a tablespoon of cornstarch to help it set.
Final thoughts
This Easter fruit tart recipe is hands-down my favorite spring dessert to make when I want to impress without the stress. The combination of crispy pastry, silky filling, and bright berries just screams elegant without requiring fancy equipment or complicated techniques. My family requests it every Easter now, and honestly I love that it’s become our tradition.
The best part? Most of your friends will ask for the recipe, convinced you’re secretly a pastry chef. You can just smile and tell them other elegant spring desserts are cool, but this tart is where it’s at.
Bookmark this one for your next brunch or holiday gathering. Your guests are gonna flip.