Crispy golden air fryer garlic bread recipe delivers restaurant-quality results in just 15 minutes, making it the ultimate weeknight side. James discovered this shortcut last month and now requests it weekly. Forget soggy oven versions—this healthy air fryer side uses intense circulating heat for maximum crunch. You’ll taste the difference immediately: golden edges, buttery centers, and zero greasiness.
Air fryer garlic bread transforms ordinary Italian loaves into crispy perfection using minimal oil. The circulating heat browns each slice uniformly without the burnt bottoms traditional toasters create. Nora was skeptical until she tried this method—now she makes double batches. Most home cooks don’t realize the air fryer’s unique advantage: dry-heat circulation that crisps bread without oil-soaking.
Why this air fryer garlic bread works
The air fryer’s intense dry-heat circulation creates that coveted golden crust while keeping interiors tender. Here’s what makes this method superior to conventional ovens and toasters:
- Perfectly even browning: Hot air circulates from all angles, eliminating soggy spots and burnt patches
- Faster cooking: Reaches golden-brown perfection in just 5 minutes versus 12-15 minutes in traditional ovens
- Minimal oil needed: Uses only 6 tablespoons butter for 8 slices versus heavily oiled stovetop versions because circulating heat does the work
- Customizable doneness: Watch closely and adjust timing—you control whether you want light toast or deep caramelization
The garlic powder combined with fresh minced garlic creates multi-dimensional flavor depth because two different applications hit your palate at different intensities.
Prep 10 minutes | Cook 5 minutes | Cal 185 | Serves 8 servings | Cuisine Italian |
Ingredients for crispy golden air fryer garlic bread recipe
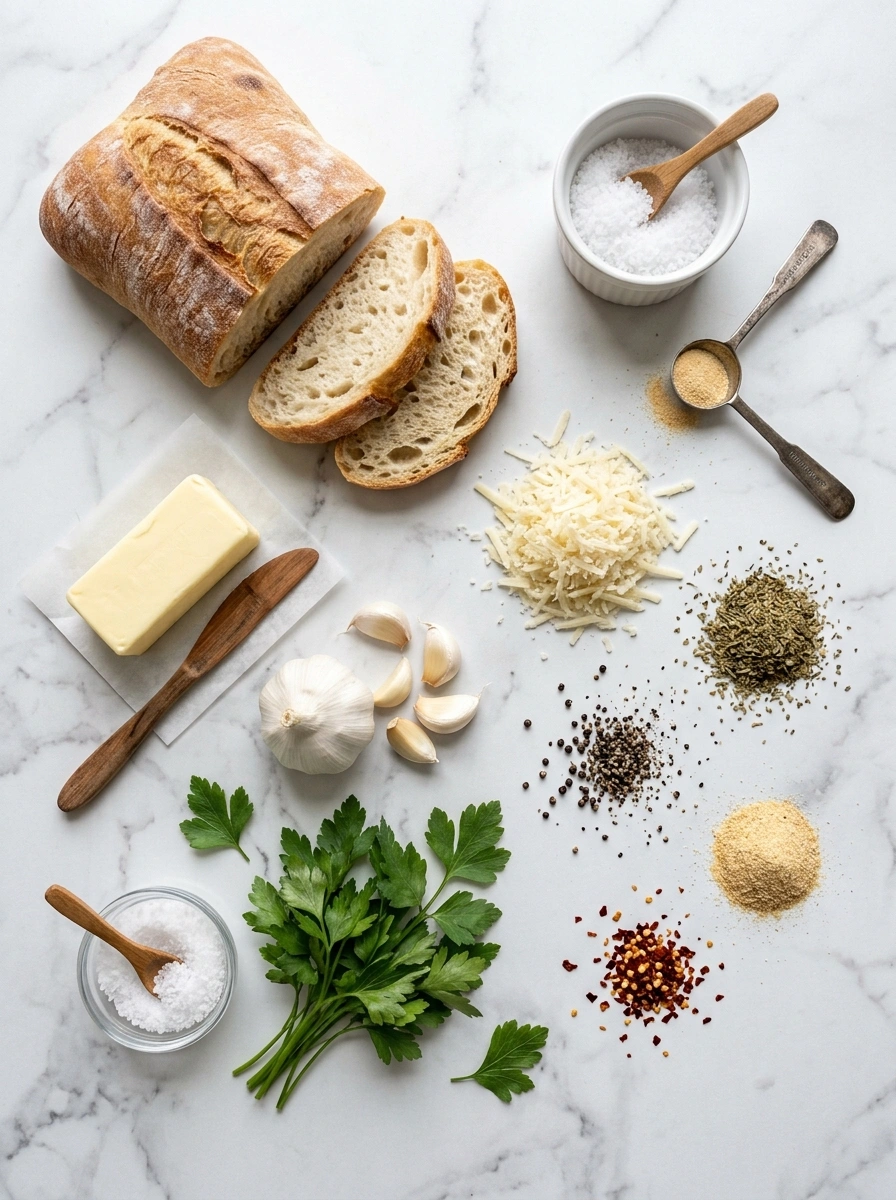
- 1 loaf Italian bread
- 6 tbsp butter
- 6 cloves garlic, minced
- 2 tbsp fresh parsley, chopped
- 1 tsp salt
- ½ tsp black pepper
- ¼ tsp garlic powder
- 2 tbsp grated Parmesan cheese
- ½ tsp Italian seasoning
- ¼ tsp red pepper flakes
Fresh garlic makes an enormous difference compared to jarred minced versions, which oxidize and develop metallic notes over time. If you only have jarred garlic, use ¼ the amount because jarred concentrations are much stronger. Parmesan adds umami depth—don’t skip it. For a milder kick, reduce red pepper flakes to ⅛ teaspoon or omit entirely. You can substitute fresh dill or basil for parsley depending on what pairs with your main course.
Step-by-step air fryer garlic bread instructions
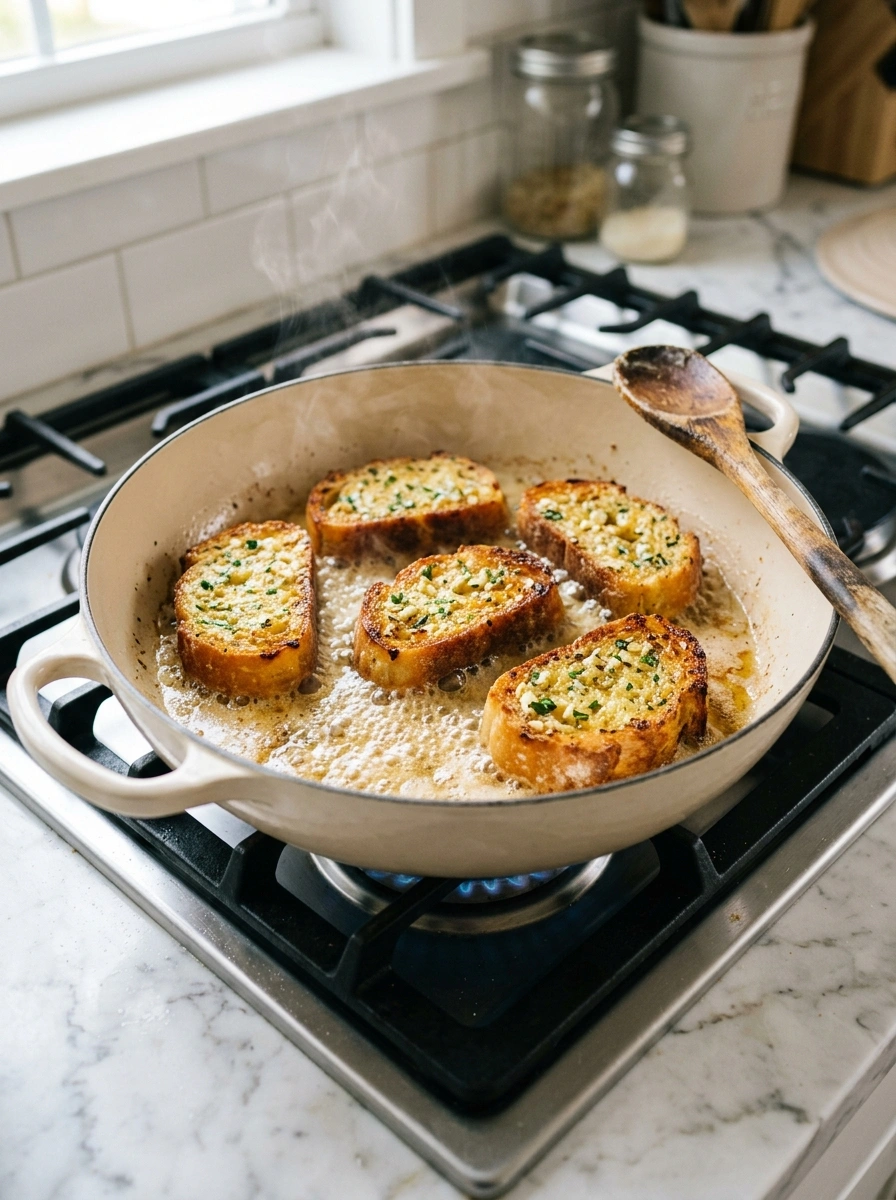
1. Slice your Italian loaf diagonally into ½-inch thick pieces—this angle creates more surface area for that golden exterior. Don’t cut too thin or they’ll dry out completely in the air fryer. You should get approximately 8 slices because thicker bread slices hold their structure better during high-heat cooking.
2. Melt 6 tablespoons butter in a small saucepan over medium heat, then add your minced garlic. Let it sizzle for exactly 1-2 minutes until fragrant and golden, stirring constantly—this blooms the garlic flavor. Never let it brown or it becomes bitter. Watch for a light golden color because that signals peak flavor extraction.
3. Remove the pan from heat and stir in 1 tsp salt, ½ tsp black pepper, ¼ tsp garlic powder, 2 tbsp fresh parsley, ½ tsp Italian seasoning, and ¼ tsp red pepper flakes. Let this mixture cool for 30 seconds so you can handle it comfortably. This seasoning base is your golden ticket to restaurant-quality crispy golden air fryer garlic bread because balanced spices matter more than any single ingredient.
4. Using a pastry brush, generously coat both sides of each bread slice with the garlic butter mixture. Don’t be shy—you want visible seasoning specks on every piece. Place each slice directly in your air fryer basket in a single layer without overlapping. If they stack, the hidden sides won’t crisp properly.
5. Set your air fryer to 375°F and cook for exactly 5 minutes. Check at the 4-minute mark and watch for deep golden edges and slight char. The first batch might finish in 4 minutes 30 seconds depending on your air fryer model, so stay nearby. Remove when edges are dark golden and the surface feels crispy when you tap it lightly with a fork.
6. Let slices cool for 1-2 minutes on a paper towel to absorb residual moisture. Sprinkle 2 tablespoons grated Parmesan cheese over all pieces while still warm because the residual heat helps it adhere. Serve immediately while the exterior crunch is at its peak, typically within 5 minutes of cooling.
Serving ideas for crispy golden air fryer garlic bread recipe
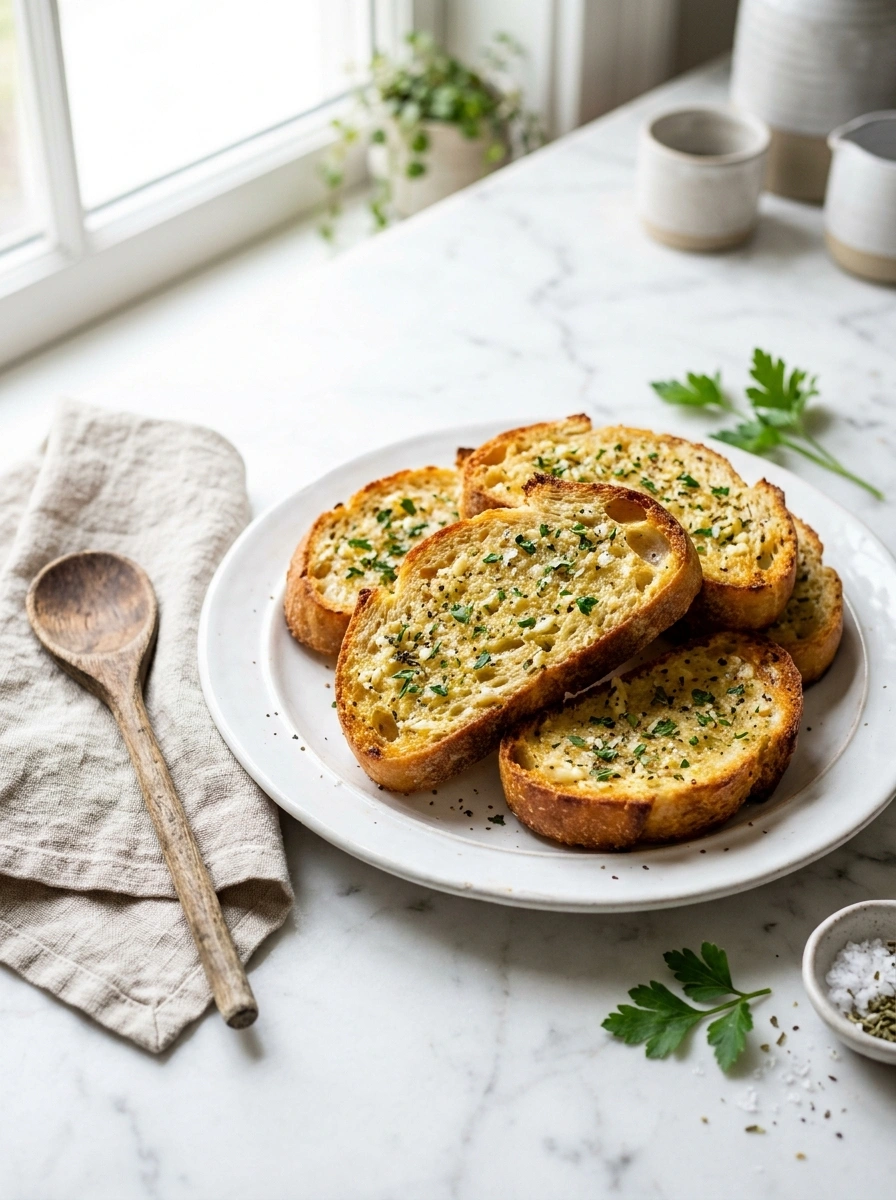
This air fryer sides option pairs perfectly with Italian classics and soup-based dinners. Here are three tested combinations that work beautifully:
Alongside marinara-based pasta
Serve alongside spaghetti or penne with your favorite red sauce because the crispy exterior provides textural contrast against soft pasta. James requests this combination every Sunday dinner. The garlic flavors complement tomato-forward sauces without competing for attention. One slice dipped into leftover marinara becomes an addictive bite.With creamy tomato soup
Pair with a warm bowl of tomato or creamy chicken soup for dunking because that’s where garlic bread truly shines. The crispy texture holds up to liquid without disintegrating immediately. Nora serves this combo on cold weeknights and her kids actually eat vegetables hidden in the soup. The contrast between crunchy bread and steaming soup is unbeatable.With Italian wedding soup or minestrone
Float a slice in hearty minestrone or Italian wedding soup because the broth softens it slightly while maintaining some structural integrity. This approach transforms garlic bread from side dish into an active soup component. The absorbed broth flavors meld with the garlic seasonings, creating something entirely new.Frequently asked air fryer garlic bread questions
Can I freeze crispy golden air fryer garlic bread?
Yes, absolutely. Cool slices completely, layer them between parchment paper, and freeze in an airtight bag for up to 2 months.You can reheat directly from frozen at 350°F for 3-4 minutes until warmed through. This method preserves crispiness better than thawing first.
What if I don’t have fresh garlic?
You can substitute garlic powder, though the flavor will be less vibrant. Use ¾ teaspoon garlic powder instead of 6 fresh cloves because powdered concentrations are stronger.Fresh garlic provides more complex flavor, but powdered versions work in a pinch for quick weeknight sides.
How do I reheat leftover pieces?
Place cooled slices back in the air fryer at 350°F for 2-3 minutes to restore crispiness without drying them out completely.This method works better than microwave reheating, which creates soggy, rubbery results every single time regardless of timing.
Should I make this air fryer garlic bread recipe if I’m new to air frying?
Absolutely yes—this recipe is perfect for beginners because it teaches timing without complex techniques or temperature management. The 5-minute window gives you practice without high stakes or expensive ingredients at risk.This easy family side builds confidence while delivering restaurant-quality results that impress everyone at your table.
Final thoughts on air fryer garlic bread
This weeknight side has permanently replaced my traditional oven method after comparing results side-by-side multiple times. Crispy golden air fryer garlic bread recipe delivers everything you want: crispy exterior, tender interior, and maximum garlic flavor in minimal time. James now makes this twice weekly instead of waiting for special occasions. The 15-minute total time means you can prepare it while your main dish finishes cooking.
Stop settling for store-bought frozen garlic bread that never crisps properly or tastes stale straight from the bag. This air fryer sides approach transforms basic ingredients into something special that tastes homemade and restaurant-worthy. Your family will request it constantly, and you’ll never go back to conventional methods. For more inspiration, explore air fryer veggie recipes that pair beautifully with this showstopping side.
Make this recipe this week and share your golden, crispy results in the comments below—I’d love to hear how it turns out!