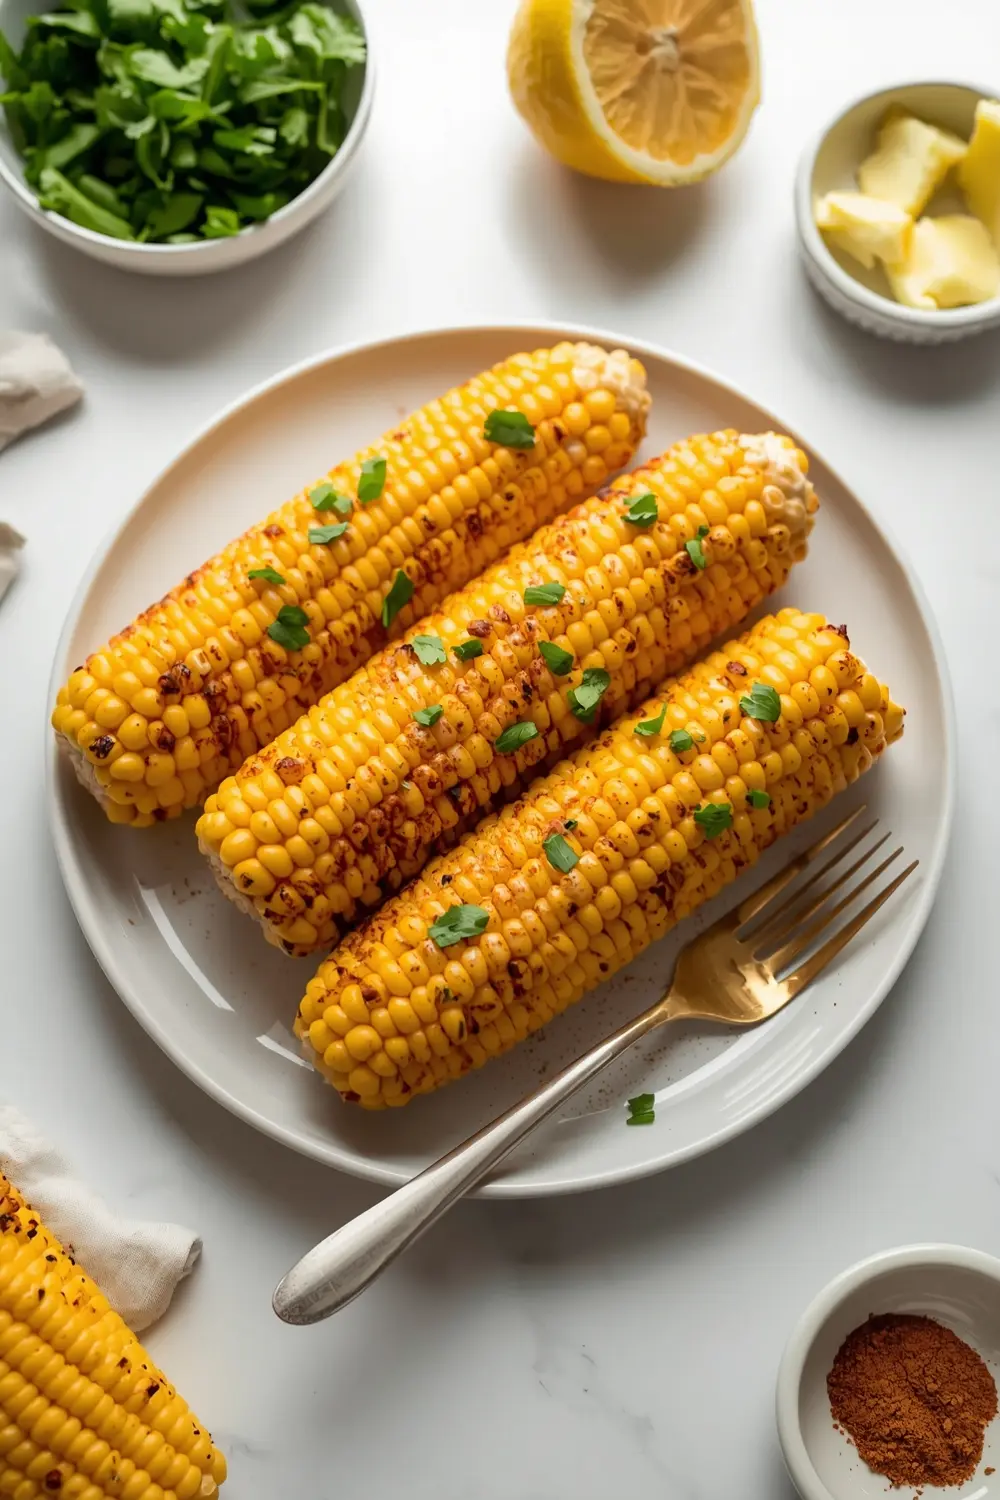
Nora bit into her first ear of grilled corn on the cob recipe last summer and hasn’t stopped asking for it since. The smoky char mixed with that buttery seasoning combination keeps James sneaking back for thirds at every cookout we host. This isn’t about boiling corn or wrapping it in foil—I’m talking about the direct-heat method that creates char lines and locks in natural sweetness. Summer’s the perfect time to master this technique because fresh corn peaks between June and August, when farmers’ markets overflow with options.
Everyone assumes grilling corn is complicated. The truth? It takes 20 minutes from grill to plate, and the payoff makes it worth every second.
The trick here is coating the corn lightly before it hits the grates—most recipes either skip seasoning entirely or drown the kernels in oil. I brush on just enough olive oil to carry the spice mixture, which means the paprika and garlic powder actually stick and toast instead of burning off. That’s the difference between bland and memorable.
This grilled corn on the cob recipe works as a summer BBQ side that pairs with anything from burgers to grilled chicken. Pair it with creamy coleslaw easy BBQ for the ultimate cookout spread. You’ll want to save this one because it comes together so fast, and guests always ask how you made it taste this good.
Why this easy grilled corn works
What makes direct-grilling superior to steaming or boiling? The grilled corn on the cob recipe develops char that adds depth—something you simply cannot get in water.
- High heat caramelizes the corn’s natural sugars while the spice rub creates a savory crust that sticks.
- The grill marks look restaurant-quality, which means your simple cookout corn looks intentional and professional.
- You’re cooking with minimal oil, so each bite tastes like pure corn, not butter or cream coating everything.
- Charred edges stay on the cob, which means more texture and flavor in every bite.
I’ve tested every grilling method, and direct heat beats indirect every single time because it creates that contrast—the contrast between char and tender kernels that makes your mouth want more. The spice mixture also bonds better to lightly oiled corn than to dry kernels.
Prep 15 minutes | Cook 20 minutes | Cal 250 | Serves 6 servings | Cuisine American |
Ingredients for grilled corn on the cob recipe
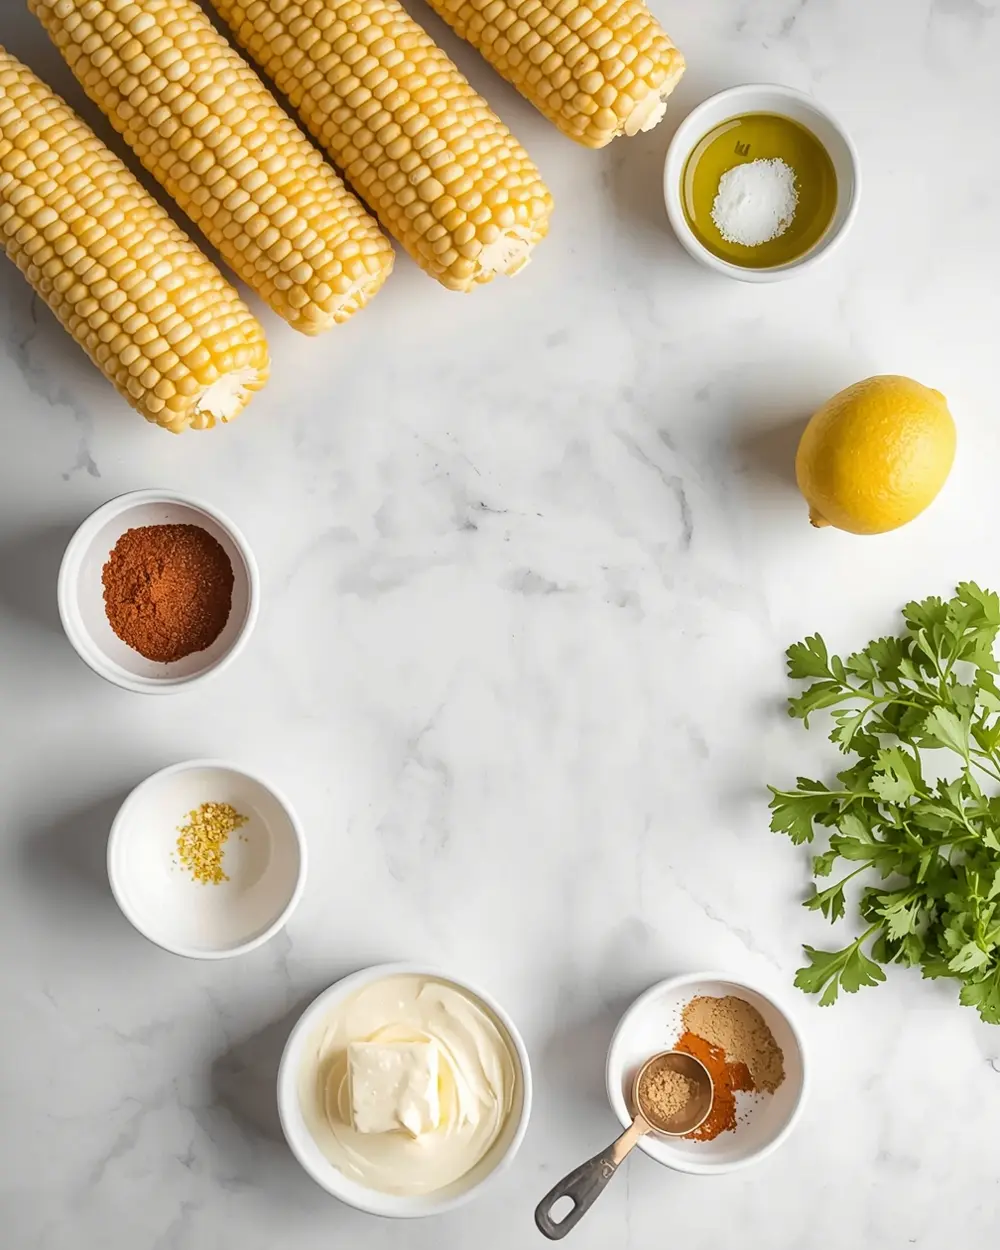
- 6 ears of corn, husked and cleaned
- 2 tbsp olive oil
- 1 tsp salt
- 1 tsp black pepper
- 1 tsp garlic powder
- 1 tsp paprika
- 1 tsp granulated sugar
- 1 tsp smoked paprika
- 1 tsp lemon zest
- 1 lemon
- 1 tsp butter
- 1 cup mayonnaise
- 1 tsp ground cumin
- 1/4 tsp cayenne pepper
- 1 tsp chopped fresh parsley
Most people ask whether fresh corn matters for this grilled corn on the cob recipe—and yes, it absolutely does. Fresh kernels have more moisture and natural sweetness, so they caramelize better under direct heat. If you’re buying corn the day before, store it in the coldest part of your fridge with the husks still on. The husks actually protect the kernels from drying out.
Here’s what many recipes don’t mention: the spice-to-oil ratio is critical. I’ve learned through trial that 2 tablespoons of oil mixed with 1 teaspoon each of salt, black pepper, garlic powder, paprika, and smoked paprika creates a coating that browns instead of burning. Too much oil? Everything slides off the kernels onto the grill grates and burns. Too little? The spices don’t adhere, and you end up with bland, simple cookout corn instead of memorable grilled corn on the cob recipe. The cayenne pepper adds a subtle heat that sneaks up on your palate without overpowering the natural corn flavor.
Step-by-step instructions for grilled corn on the cob recipe
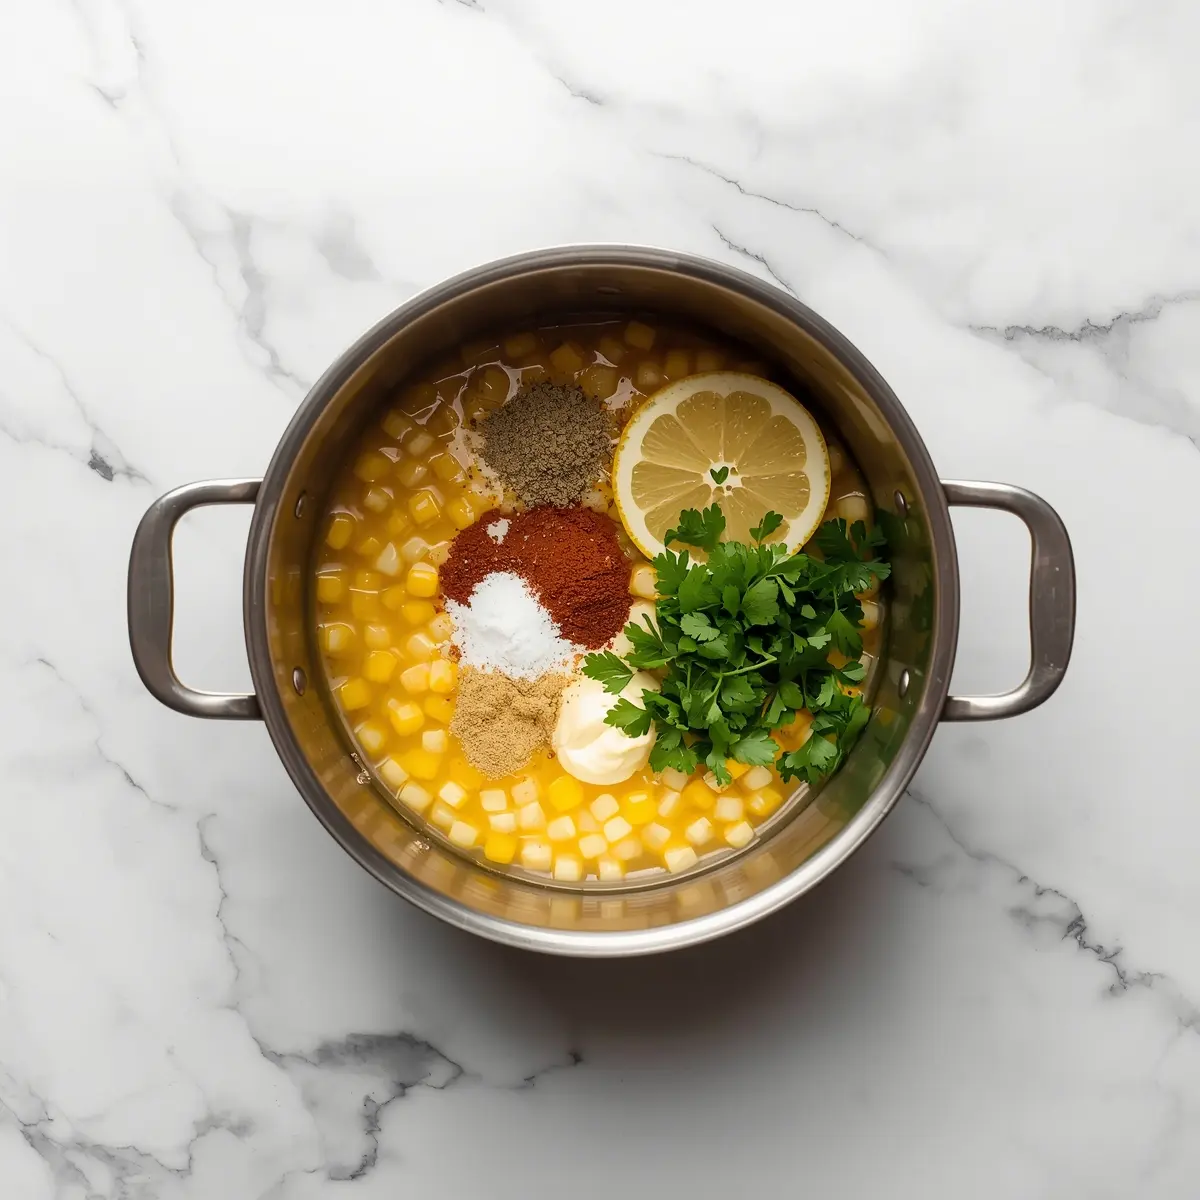
1. Husk the corn completely and scrub away any silk strands under running water. I use a soft vegetable brush or even an old toothbrush to get into the crevices where silk hides. This step takes a minute per ear but prevents that annoying feeling of silk stuck between your teeth later.
2. Mix the olive oil with all dry seasonings in a small bowl—salt, black pepper, garlic powder, paprika, smoked paprika, ground cumin, and cayenne pepper. Stir until the spices distribute evenly throughout the oil. I learned the hard way that clumped paprika won’t coat the corn uniformly, so I always break up any spice clumps with the back of my spoon.
3. Pat each corn ear completely dry with paper towels, then brush the seasoned oil mixture all over every surface. Work quickly so the oil coats before it starts pooling at the bottom of your bowl. Make sure you’re hitting the ends too—those get overlooked but also char beautifully when seasoned.
4. Preheat your grill to medium-high heat (around 400°F) for 10 minutes while your corn sits. A properly heated grill prevents sticking and ensures those gorgeous char marks. I always run my hand about 6 inches above the grates—if I can hold it there for only 2-3 seconds, the heat is right.
5. Place the corn directly on the grates and let it sit for 3-4 minutes before rotating. Resist the urge to move it around; that’s how you get clean char lines. I used to flip constantly and got mushy spots instead of charred ones.
6. Rotate each ear a quarter turn and cook for another 3-4 minutes. You’re building char in stages, which means the corn stays juicy inside while the outside develops complexity. The sugars are caramelizing now, creating that sweetness that makes grilled corn on the cob recipe so addictive.
7. Rotate again and cook for a final 3-4 minutes until all sides have visible char marks. The total cooking time is about 12-15 minutes per ear, though it depends on your grill’s consistency. Some of my kernels look almost blackened on the edges, and that’s exactly what you want—that’s where the deepest flavor lives.
8. Remove the corn to a cutting board and immediately brush with the full teaspoon of butter while it’s still hot. The butter soaks into the char and softens it slightly, creating this tender-meets-crispy texture. Squeeze fresh lemon juice over everything and finish with the lemon zest and fresh parsley.
Serve immediately with extra lemon wedges and the mayonnaise-based sauce on the side for dipping.
Serving ideas for grilled corn on the cob recipe
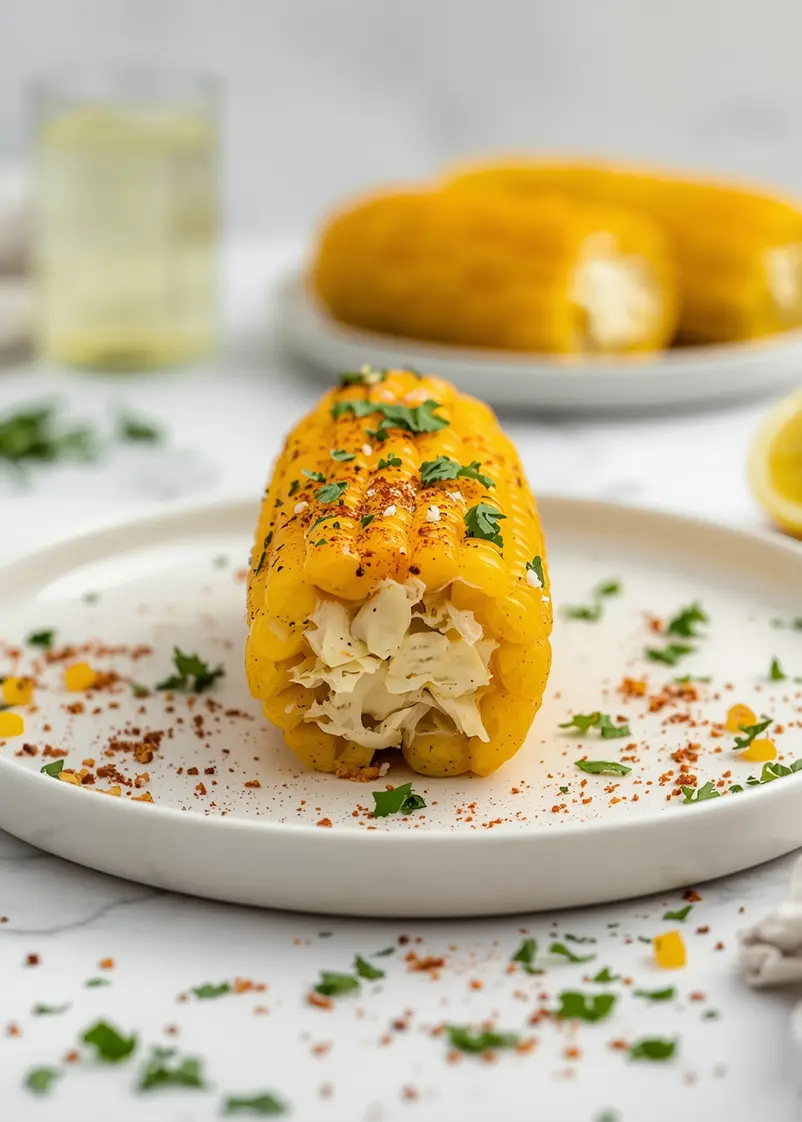
This grilled corn on the cob recipe shines when you pair it with dishes that complement the smoky char without competing for attention.
Garlic Mayo Dipping Sauce
Mix the cup of mayonnaise with extra minced garlic, the lemon zest, and a pinch of smoked paprika. This creates a creamy contrast that makes each bite more indulgent. James dips every bite into this sauce, and Nora decided it was her favorite part.Grilled Protein Pairings
Serve alongside burgers, grilled chicken breasts, or marinated steak for a complete simple cookout corn experience. The smoky char on the corn mirrors grill marks on meat, creating visual and flavor harmony. Everyone at the table gets that cohesive “we grilled everything” feeling.Herb-Forward Vegetable Sides
Combine your easy grilled corn with sauteed bok choy garlic for contrast in both temperature and technique. The warm greens and corn create layers, while the lemon brightness ties everything together. This combination works especially well for lighter summer meals when you want vegetables to star.Each pairing respects the corn’s char without drowning it in competing flavors.
Frequently asked easy grilled corn questions
Can I freeze grilled corn on the cob recipe?
Yes. Cut kernels off the cob, portion into freezer bags, and freeze for up to 3 months for best quality.Frozen corn works well in soups, salads, and side dishes, though reheating on the cob changes the texture. The char softens and the kernels lose some firmness, so I prefer to use frozen corn in mixed dishes rather than serving it whole.
What if I don’t have smoked paprika for this grilled corn on the cob recipe?
Yes, you can substitute regular paprika in equal amounts, though the final flavor will be brighter and less complex.Regular paprika adds color and sweetness without the smoky depth. If you have access to chipotle powder, use half a teaspoon in place of the smoked paprika for a different but equally delicious smoky element.
How do I reheat leftover grilled corn on the cob recipe?
Reheat gently at **300°F for 8-10 minutes**, wrapped loosely in foil to prevent drying out while the corn warms through.Cold corn is actually phenomenal straight from the fridge for snacking, so reheating isn’t always necessary. If you prefer warm corn, the low oven temperature preserves the char and keeps kernels tender rather than tough.
Why is my easy grilled corn coming out dry instead of juicy?
Your grill is likely too hot or you’re not brushing on enough seasoned oil before grilling.Fresh corn has natural moisture, but that evaporates quickly over intense heat without an oil barrier. Apply the full 2 tablespoons of oil mixture, cook at medium-high (not screaming hot), and rotate consistently to cook evenly rather than creating hard, dry spots.
Final thoughts on easy grilled corn
The grilled corn on the cob recipe is genuinely the easiest way to impress at a summer cookout because the technique looks involved while remaining completely approachable. Most people complicate grilling by overthinking temperature and timing, when really you just need attention—the willingness to rotate and watch for char. Nora now asks for this specific preparation every single time we grill, which tells me everything about whether this approach actually works.
What makes this method stand out is the combination of char and spice that elevates simple corn into something memorable. The smoky paprika, the lemon zest finish, and that garlic powder all work together because they respect the corn’s natural sweetness instead of drowning it. Irish side dish traditions actually share this same philosophy—letting quality ingredients shine through careful preparation rather than heavy sauces.
You don’t need fancy equipment or restaurant skills to pull this off. Your existing grill, a brush, and the willingness to stand there for 12-15 minutes is honestly all it takes. This is the recipe you’ll make again and again because it works every time and people genuinely ask for your secret.
Try this tonight: Which seasoning would you swap out—would you go milder with less cayenne, or spicier with more smoked paprika? Tell me in the comments what James or Nora thinks of the final version.