
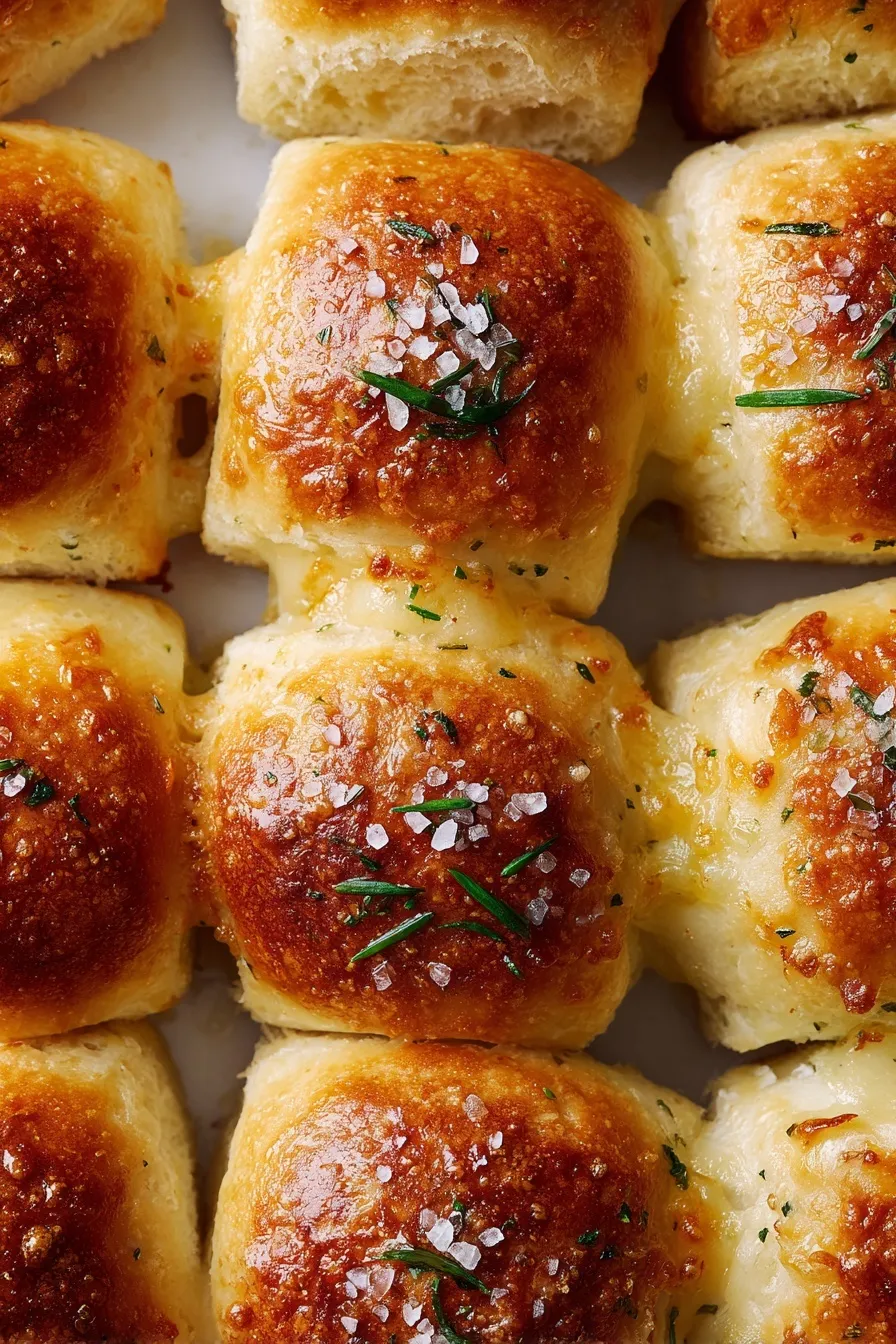
These pillowy-soft garlic rolls will make your kitchen smell like heaven and disappear from the table faster than magic.
Since you are here, make sure to check out these amazing recipes:
- Homemade Cheese Bread Recipe
- Homemade Garlic Bread with Sliced Bread Recipe
- Easy Cheesy Garlic Cruffins Recipe
- Perfect Grilled Focaccia Bread Recipe
- Easy Cinnamon Twists Recipe
Why These Garlic Rolls Will Change Your Life
Okay, dramatic much? Maybe. But seriously, once you taste these homemade garlic rolls, you’ll understand why I’m getting all worked up. We’re talking about soft, fluffy dinner rolls that are absolutely loaded with fresh garlic both in the dough AND brushed on top with more garlic herb butter.
These aren’t your basic dinner rolls that you forget about five minutes after eating them. These are the rolls that make people stop mid-conversation to ask what that incredible smell is. They’re the rolls that disappear so fast you’ll wish you’d made a double batch (trust me, always make a double batch).
The best part? They’re surprisingly easy to make, and you probably have most of the ingredients sitting in your kitchen right now. Plus, there’s something incredibly satisfying about making bread from scratch that’ll make you feel like a total kitchen rockstar.
Ingredients
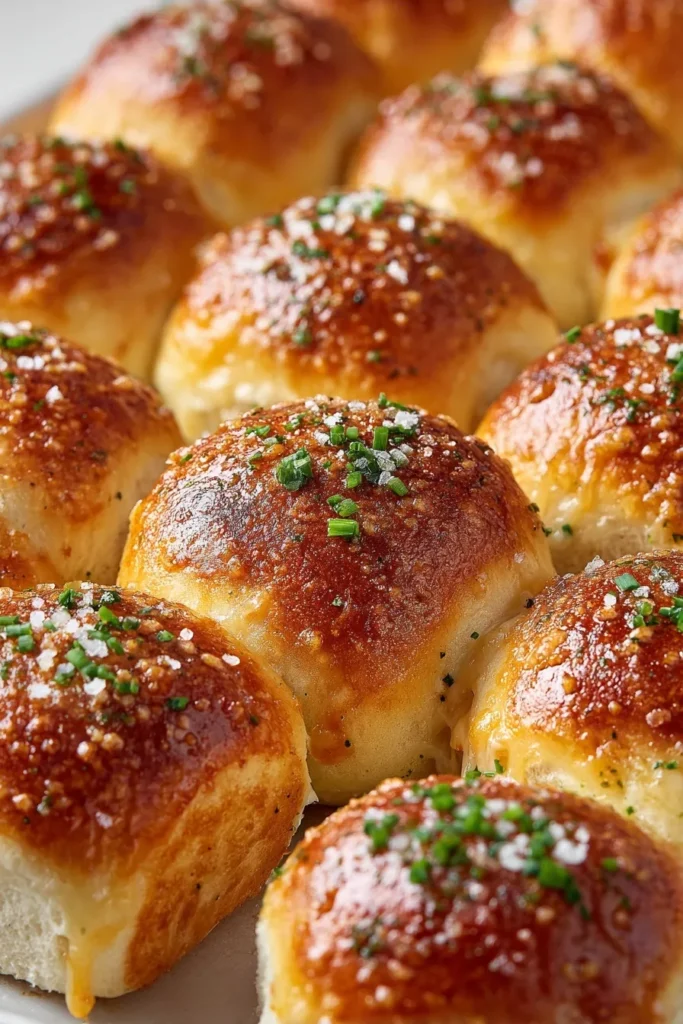
Here’s everything you need to create these aromatic beauties:
For the Rolls:
- 4 1/2 tbsp unsalted butter – high-quality makes a difference
- 2 tbsp minced garlic – fresh is absolutely essential
- 3 1/2 cups + 1 tbsp all-purpose flour – measure correctly!
- 3 tbsp fresh parsley – chopped fine for color and flavor
- 1 tbsp granulated sugar – feeds the yeast
- 2 1/4 tsp instant yeast – not active dry
- 1 tsp fine sea salt – for that perfect balance
- 1 cup whole milk – warmed to 110°F
- 1 large egg – room temperature
- 1 beaten egg – for that golden egg wash
For the Garlic Butter Finish:
- 2 tbsp unsalted butter – melted
- 1 tbsp minced garlic – because more garlic is always better
- 1 tbsp fresh parsley – chopped
- Flaky sea salt – for finishing
Instructions
Ready to fill your house with the most incredible aroma? Let’s do this:
Step 1: Create the Garlic Magic
Start by melting 4 1/2 tablespoons of butter in a small saucepan over medium heat. Add 2 tablespoons of minced garlic and cook for about 1-2 minutes until it’s sizzling and fragrant. Set this aside to cool – this is going right into your dough!
Step 2: Mix Your Dry Ingredients
In your stand mixer bowl, combine the flour, parsley, sugar, yeast, and salt. Give it a quick whisk to distribute everything evenly.
Step 3: Bring It All Together
Add your warm milk, egg, and that gorgeous garlic butter to the dry ingredients. Using the dough hook attachment, knead on low speed for about 10-12 minutes until you have a smooth, soft, slightly tacky dough. If it’s too sticky, add flour one tablespoon at a time.
Step 4: Shape Those Beautiful Rolls
Here’s where the magic happens! Divide the dough into 12 equal portions (use a scale if you have one – about 67 grams each). Cup your hand around each portion and move in a clockwise direction, applying gentle pressure until you have perfect round balls.
Step 5: Let Them Rise
Place the shaped rolls in a buttered 9×13 pan, cover with plastic wrap, and let them rise in a warm place for 1-2 hours until doubled in size. This is when you can sit back and enjoy the anticipation!
Step 6: Bake to Golden Perfection
Preheat your oven to 350°F. Brush the tops with beaten egg for that gorgeous golden color, then bake for 20-30 minutes until they’re beautifully golden brown.
Step 7: The Grand Finale
While they’re baking, make your finishing garlic butter by melting 2 tablespoons butter with 1 tablespoon garlic and 1 tablespoon parsley. The second those rolls come out of the oven, brush them with this mixture and sprinkle with flaky salt. Serve immediately while they’re still warm!
The Secret to Perfect Garlic Rolls
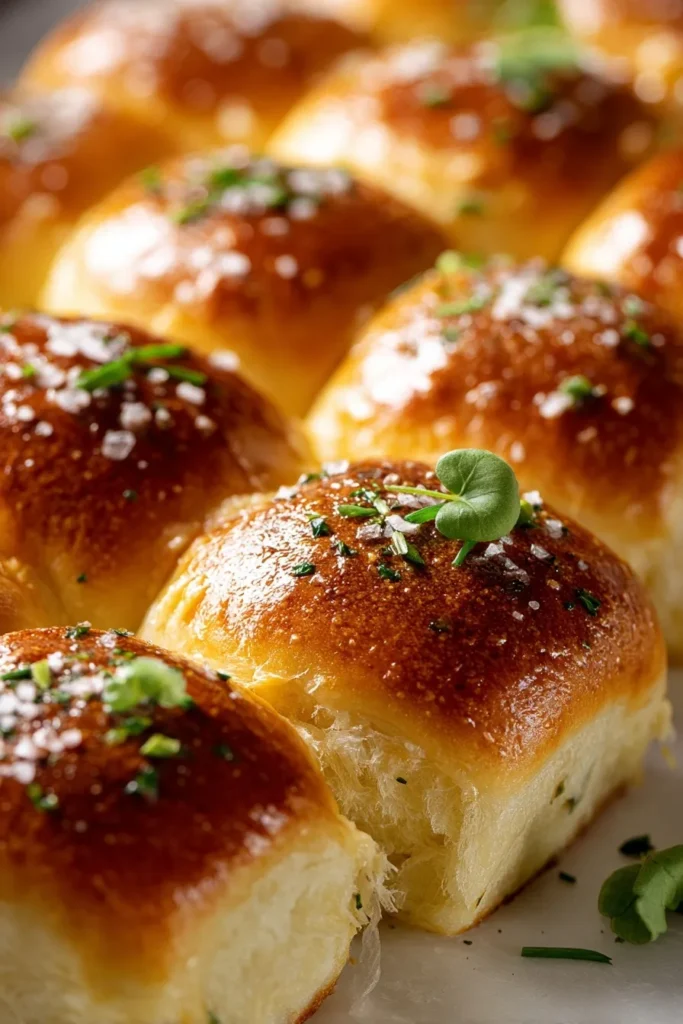
The key to these incredible rolls is not rushing the process. That rising time is crucial for developing the fluffy texture that makes these rolls so special. And here’s a pro tip: use fresh garlic instead of garlic powder – the flavor difference is absolutely night and day.
Temperature matters too. Your milk should be around 110°F – warm to the touch but not hot enough to kill the yeast. And that room temperature egg? It incorporates much better into the dough than a cold one straight from the fridge.
The double garlic hit is what makes these rolls extraordinary. You get garlic cooked into the dough for that deep, mellow flavor, plus fresh garlic butter brushed on top for that bright, punchy finish.
Why Everyone Will Go Crazy for These
These rolls hit every single comfort food note perfectly. They’re soft and pillowy on the inside with just enough garlic flavor to make them interesting without being overwhelming. The fresh parsley adds this beautiful color and herbaceous note that makes them feel fancy.
Texture-wise, they’re absolutely perfect – soft enough to pull apart with your hands but substantial enough to hold up to sopping up pasta sauce or soup. And that golden, buttery top? Pure perfection.
The aroma alone will have people gathering in your kitchen asking when dinner’s ready. It’s that incredible smell of fresh bread mixed with garlic and herbs that just screams “home cooking at its finest.”
Perfect for Any Occasion
These rolls are incredibly versatile. They’re fancy enough for holiday dinners (hello, Thanksgiving and Christmas!), but easy enough for weeknight pasta dinners. They’re also amazing for entertaining – you can make them ahead and just warm them up before serving.
Make-ahead tip: You can shape the rolls and let them rise overnight in the fridge. Just bring them to room temperature and let them finish rising before baking. Perfect for busy holiday mornings!
Storage and Reheating
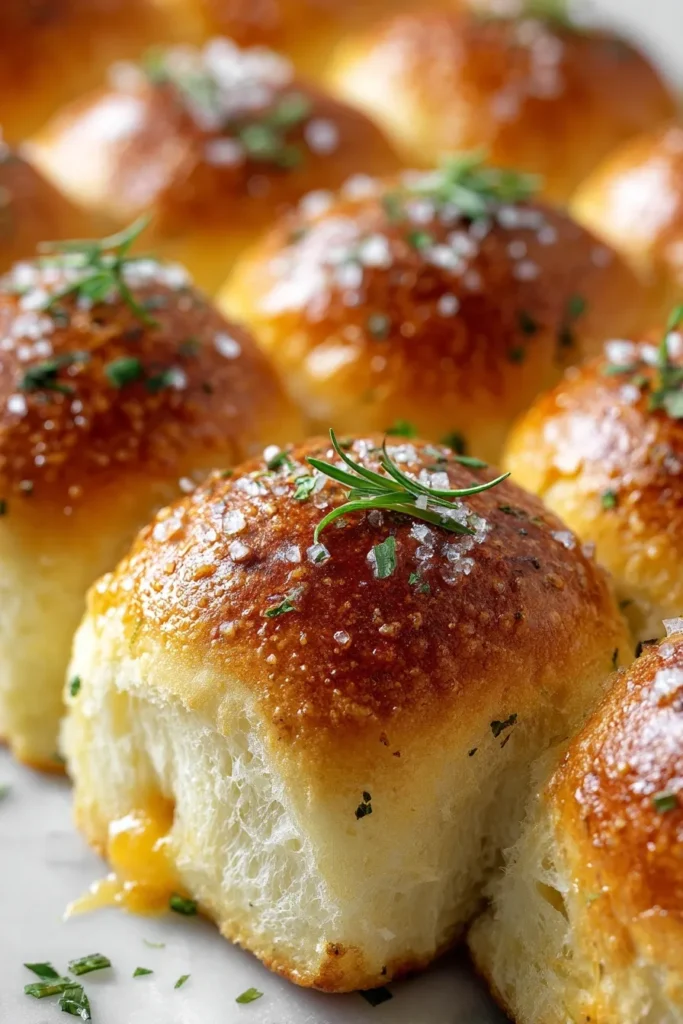
These rolls are definitely best the day they’re made, but they’ll keep for 2-3 days in an airtight container. To reheat, wrap them in foil and warm in a 350°F oven for about 10 minutes, or pop them in the microwave for 20-30 seconds.
You can also freeze them after baking – just let them cool completely, then store in an airtight container for up to a month. Thaw at room temperature and reheat as above.
Easy Variations
Cheesy Garlic Rolls: Add 1/4 cup shredded Parmesan to the dough and sprinkle more on top before baking. Because cheese makes everything better!
Herb Lovers: Swap the parsley for fresh thyme or oregano, or use a combination of all three.
Spicy Kick: Add a pinch of red pepper flakes to the garlic butter for some heat.
Sweet & Savory: Try a drizzle of honey mixed into the finishing butter for an unexpected twist.
Frequently Asked Questions
Can I use active dry yeast instead of instant? Yes, but you’ll need to activate it first in the warm milk until foamy, then proceed with the recipe.
What if I don’t have a stand mixer? You can knead by hand, but it’ll take longer – about 15-20 minutes of good kneading to get that smooth texture.
Can I make these dairy-free? You can substitute plant-based milk and vegan butter, but the texture and flavor will be slightly different.
Why are my rolls dense? Usually this means too much flour, expired yeast, or not letting them rise long enough. Make sure to measure flour correctly!
Can I freeze the dough before baking? Yes! Shape the rolls, place on a tray to freeze, then transfer to a bag. Thaw overnight in the fridge before letting them rise and bake.
Here’s the Real Deal
These homemade garlic rolls are one of those recipes that’ll become part of your cooking repertoire for life. They’re the kind of rolls that make people think you’re some sort of bread-making wizard, but honestly, they’re much easier than they look.
The combination of soft, fluffy texture and incredible garlic flavor makes them absolutely irresistible. Plus, there’s something so satisfying about making bread from scratch – it connects you to generations of home cooks who knew that nothing beats homemade.
Whether you’re serving them with Sunday pasta dinner, holiday meals, or just because you want to make your house smell amazing, these rolls deliver every single time. And trust me, once you make them, you’ll never want to buy dinner rolls from the store again. The homemade version is just that much better! 🙂







