
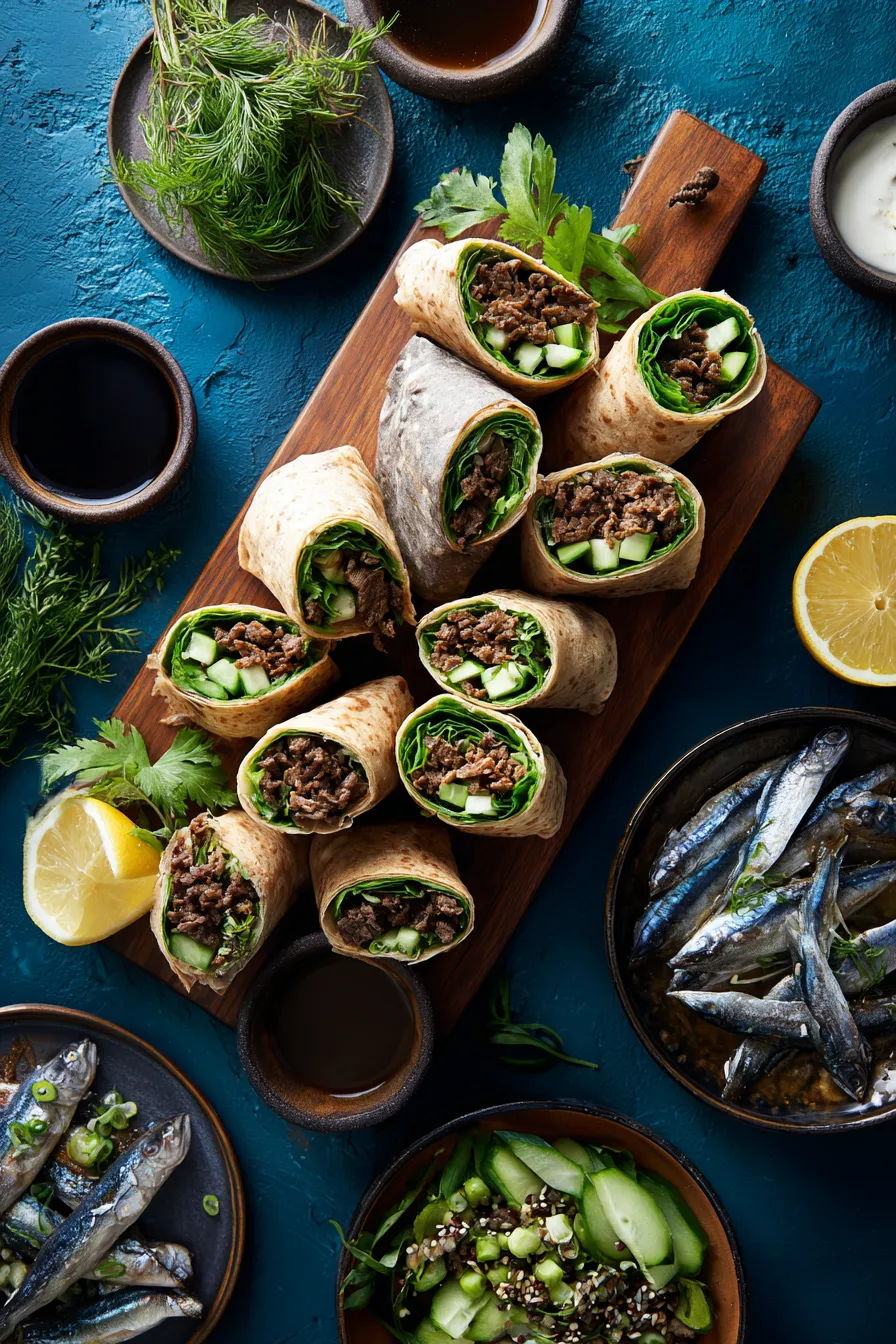
Transform ordinary beef into an extraordinary dinner with these tender, herb-stuffed beef rolls that look impressive but are surprisingly simple to make – perfect for date nights or family dinners that need a special touch!
During my culinary training, I learned from a European chef that beef rolls, or “rouladen” as they’re traditionally called, represent the perfect marriage of technique and comfort food. After making countless variations for family dinners and special occasions, I’ve developed a foolproof method that delivers restaurant-quality results without intimidating techniques. These rolls have become my go-to when I want to serve something that looks elegant but doesn’t require hours in the kitchen.
Why These Beef Rolls Work Every Time
The secret technique: Properly pounding the beef to an even thickness and rolling it tightly with the grain creates tender, evenly cooked rolls that slice beautifully and stay together during cooking. This method, learned from my European mentor, prevents tough, uneven results.
Flavor development mastery: Browning the rolls before braising creates incredible depth of flavor while the slow braising process ensures fork-tender meat that practically melts in your mouth.
What Makes Beef Rolls So Special
Beef rolls elevate humble ingredients into something truly spectacular through technique and presentation. The combination of tender beef wrapped around savory filling creates individual portions that feel elegant and special, making them perfect for entertaining or when you want to make an ordinary weeknight feel more luxurious.
The brilliant concept: Each roll contains its own perfect bite of seasoned beef, aromatic vegetables, and herbs, creating a complete flavor experience in every slice that’s both satisfying and visually stunning.
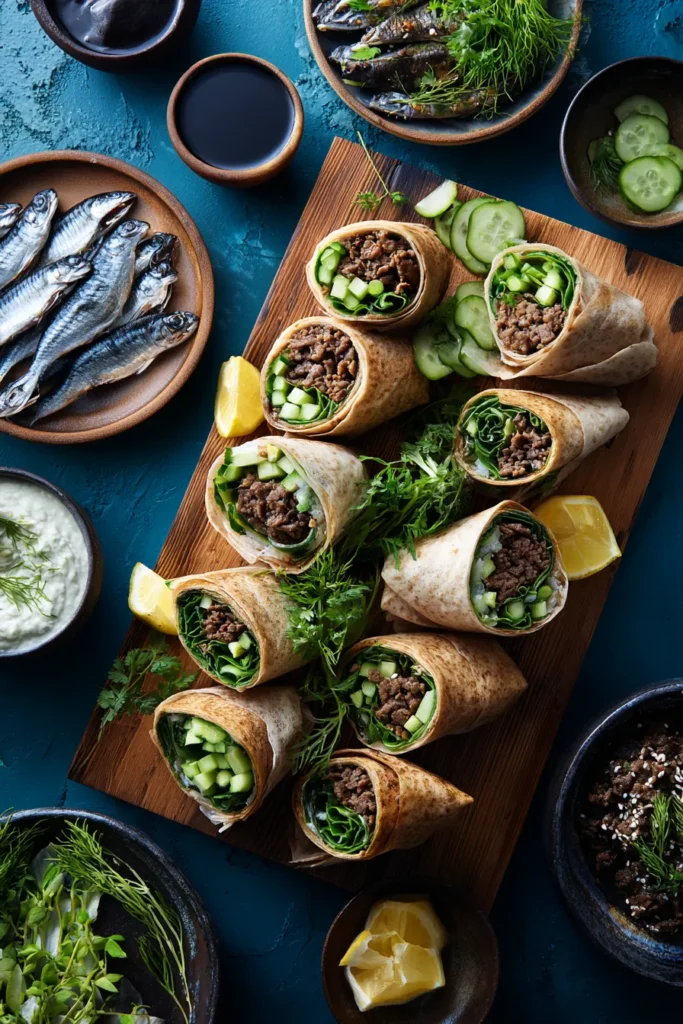
Essential Ingredients for Perfect Beef Rolls
For the Beef Rolls:
2 lbs beef flank steak – Or use top round, sliced thin by butcher
8 strips bacon – Adds smoky richness and helps bind filling
1 large onion, finely diced – Creates aromatic base for filling
2 large carrots, finely diced – Adds sweetness and texture
3 celery stalks, finely diced – Essential for classic mirepoix flavor
4 cloves garlic, minced – Fresh garlic is crucial for depth
Herb and Seasoning Blend:
¼ cup fresh parsley, chopped – Brightens the entire filling
2 tablespoons fresh thyme – Or 2 teaspoons dried thyme
2 bay leaves – Essential for braising liquid
1 teaspoon paprika – Adds warmth and beautiful color
Salt and black pepper to taste – Season generously
2 tablespoons Dijon mustard – Spread inside rolls for tang
For the Braising Liquid:
2 tablespoons olive oil – For browning the rolls
2 cups beef broth – Creates rich braising environment
1 cup red wine – Optional but adds incredible depth
2 tablespoons tomato paste – Concentrates flavor and adds richness
2 tablespoons flour – For thickening the final sauce
Professional insight from my meat cookery training: Ask your butcher to slice the flank steak into ¼-inch thick pieces – this saves time and ensures even thickness for perfect rolling.
Step-by-Step Beef Roll Mastery
Perfect Beef Preparation
Step 1: Meat Preparation Excellence
Place beef slices between plastic wrap and gently pound to even ¼-inch thickness using a meat mallet. This tenderizes the meat and creates uniform cooking. Season both sides generously with salt and pepper.
Step 2: Filling Creation Perfection
Cook bacon in a large oven-safe Dutch oven until crispy. Remove bacon and crumble, reserving 2 tablespoons of fat. Sauté diced onion, carrots, and celery in bacon fat for 8-10 minutes until softened and lightly caramelized.
Step 3: Aromatic Enhancement
Add minced garlic, thyme, and paprika to vegetables, cooking for 1 minute until fragrant. Remove from heat and stir in crumbled bacon and fresh parsley. Let cool slightly before assembly.
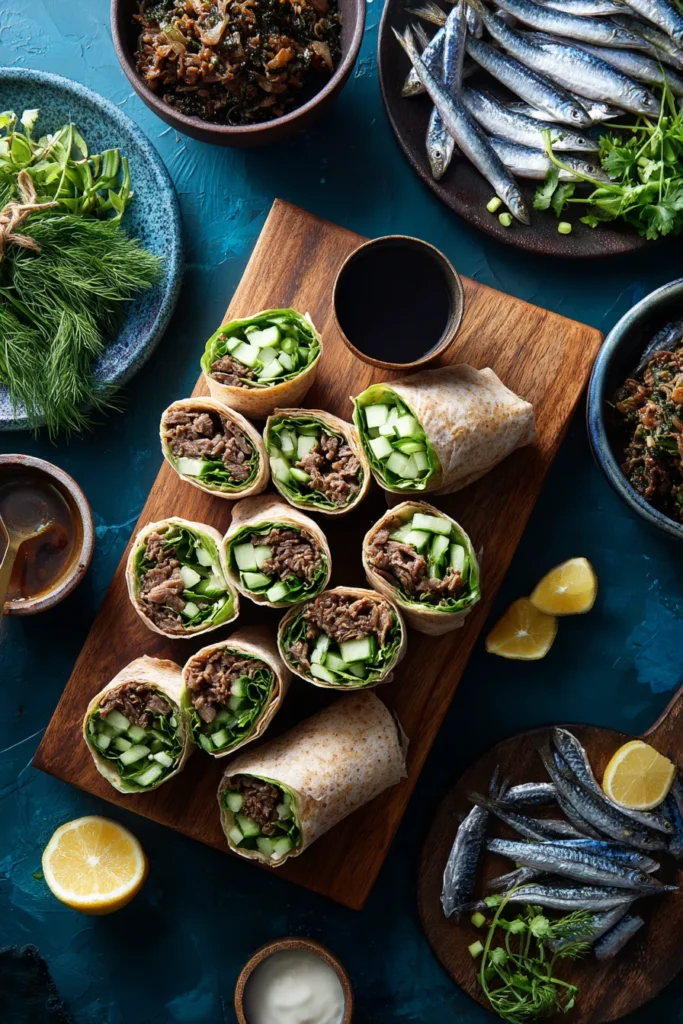
Rolling and Assembly Technique
Step 4: Roll Assembly Mastery
Spread a thin layer of Dijon mustard on each beef slice. Place 2-3 tablespoons of filling mixture on one end of each beef slice, leaving a 1-inch border. Roll tightly from filled end, securing with toothpicks or kitchen twine.
Step 5: Browning Excellence
Heat olive oil in the same Dutch oven over medium-high heat. Brown beef rolls on all sides until golden brown – about 6-8 minutes total. This step develops incredible flavor through the Maillard reaction.
Step 6: Braising Liquid Creation
Remove rolls from pot and add tomato paste, cooking for 1 minute. Whisk in flour, then gradually add beef broth and red wine, scraping up any browned bits. Add bay leaves and return rolls to pot.
Critical technique from my braising experience: The liquid should come halfway up the sides of the rolls – add more broth if needed. Too little liquid results in tough, overcooked beef.
Braising Perfection
Step 7: Low and Slow Excellence
Cover Dutch oven and transfer to 325°F oven. Braise for 1½ to 2 hours until beef is fork-tender and easily pierced. The internal temperature should reach 145°F for medium-rare or 160°F for medium.
Step 8: Sauce Finishing Touch
Remove rolls and strain braising liquid. Reduce liquid on stovetop for 5-10 minutes until slightly thickened. Taste and adjust seasoning – this becomes your serving sauce.
Pro Tips for Beef Roll Success
Make-Ahead Excellence: Beef rolls can be assembled up to 24 hours ahead and refrigerated. Bring to room temperature before browning and braising.
Wine Selection: Use a wine you’d enjoy drinking – the flavor concentrates during cooking. Pinot Noir or Merlot work beautifully, but beef broth alone creates excellent results too.
Securing Technique: Kitchen twine creates the most professional appearance, but toothpicks work perfectly for casual family dinners.
After making these for my book club’s dinner party, I learned that slicing the rolls before serving creates stunning presentation – each slice shows the beautiful spiral of filling that makes guests think you’re a culinary genius.
Creative Beef Roll Variations
Mediterranean Style: Fill with sun-dried tomatoes, pine nuts, and fresh basil for Italian-inspired flavors similar to caprese combinations.
Asian-Inspired: Use soy sauce, ginger, and scallions in the filling, creating flavors reminiscent of Korean beef dishes.
Mushroom Lover’s: Add sautéed mushrooms to the filling for earthy richness that pairs beautifully with the beef.
Cheese-Stuffed: Include cream cheese or goat cheese in the filling for extra richness and flavor complexity.
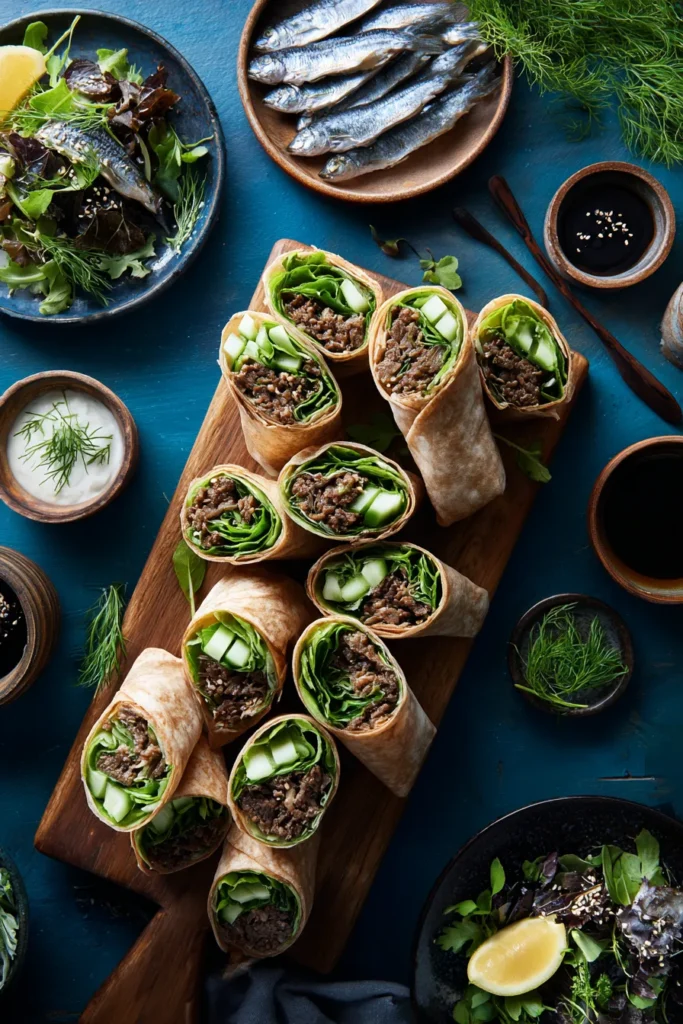
Perfect Pairings and Serving Ideas
These beef rolls pair beautifully with roasted vegetables or creamy mashed potatoes. The rich braising sauce is perfect for drizzling over sides or serving with crusty bread for sopping.
Entertaining insight from my catering days: Beef rolls slice beautifully for elegant presentation – arrange slices on a platter to show off the spiral filling, and drizzle with the reduced braising sauce for restaurant-quality plating.
Wine Pairing and Entertainment
Wine Recommendations: Serve with the same red wine used in braising, or choose Cabernet Sauvignon or Malbec for complementary flavors.
Make-Ahead Strategy: Complete cooking up to 2 days ahead and gently reheat in the braising liquid. The flavors actually improve with time, making this perfect for entertaining.
Portion Planning: Each person typically enjoys 2-3 rolls depending on size, making this recipe perfect for 4-6 people as a main course.
When I serve these for dinner parties, I always prepare them the day before – the flavors meld beautifully overnight, and reheating in the braising liquid keeps them incredibly moist and flavorful.
Storage and Reheating Excellence
Refrigerator Storage: Store rolls in their braising liquid for up to 4 days. The liquid keeps them moist and continues developing flavor.
Freezer Option: Freeze completely cooled rolls in braising liquid for up to 3 months. Thaw overnight and reheat gently on stovetop.
Reheating Technique: Always reheat in the braising liquid over low heat to prevent drying out. Add splash of broth if liquid has reduced too much.
Health Benefits of Braised Beef
Braising transforms tougher cuts of beef into tender, nutritious meals rich in protein, iron, and B-vitamins. The slow cooking process breaks down connective tissue, making the meat easier to digest while concentrating flavors.
Nutritional value: Each serving provides approximately 35 grams of high-quality protein along with vegetables for vitamins and minerals – a complete, satisfying meal that supports muscle health and sustained energy.
Frequently Asked Questions
Q: Can I use a different cut of beef?
A: Top round, bottom round, or even thin-cut sirloin work well. Ask your butcher to slice it thin for easier rolling.
Q: How do I know when the beef rolls are done?
A: They should be fork-tender and easily pierced. Internal temperature should reach 145°F for medium-rare or 160°F for medium.
Q: Can I make these without wine?
A: Absolutely! Use additional beef broth or substitute with grape juice for similar acidity and sweetness.
Q: Why do my rolls fall apart during cooking?
A: Make sure to secure them tightly with toothpicks or twine, and don’t skip the browning step which helps set the shape.
Q: Can I prepare these in a slow cooker?
A: Yes! Brown the rolls first, then transfer to slow cooker with braising liquid. Cook on low for 6-8 hours until tender.
This beef roll recipe has been refined through years of making elegant dinners for family and guests. The combination of simple technique and sophisticated results makes it perfect for anyone wanting to elevate their dinner game without complicated processes or exotic ingredients.







