
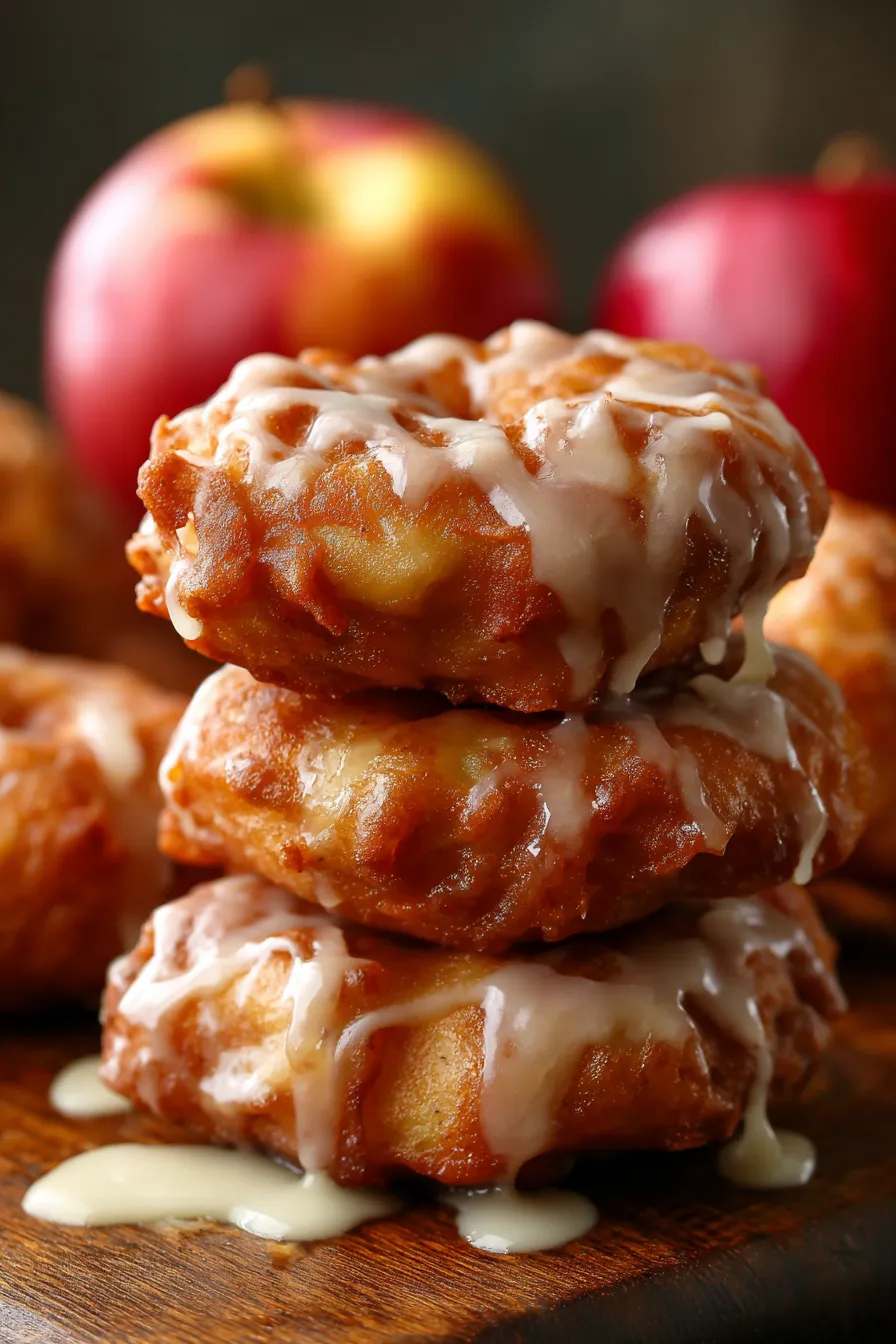
These incredible baked apple fritters taste exactly like your favorite bakery version – but with way less guilt and mess in your kitchen!
During my years working in professional kitchens, I learned that the secret to amazing fritters isn’t always about deep frying. When I developed this baked version for my family’s Sunday brunch tradition, I discovered something magical: these baked apple fritters are actually MORE flavorful than their fried counterparts because the apples have time to caramelize beautifully in the oven.
After testing this recipe dozens of times (and having my neighbor’s kids declare them “better than Dunkin'”), I can confidently say this is the perfect fall breakfast that’ll have your whole house smelling like a cozy apple orchard.
Why This Baked Apple Fritters Recipe Works
The Game-Changing Technique: Instead of deep frying, we’re using a unique baking method that creates crispy edges while keeping the centers perfectly tender. My culinary training taught me that proper moisture balance is everything – and these fritters nail it every single time.
What Makes These Special:
- Healthier than traditional fried fritters without sacrificing taste
- Ready in just 25 minutes from start to finish
- Perfect for meal prep – they freeze beautifully
- Kid-approved and adult-obsessed flavor
- Budget-friendly using simple pantry ingredients
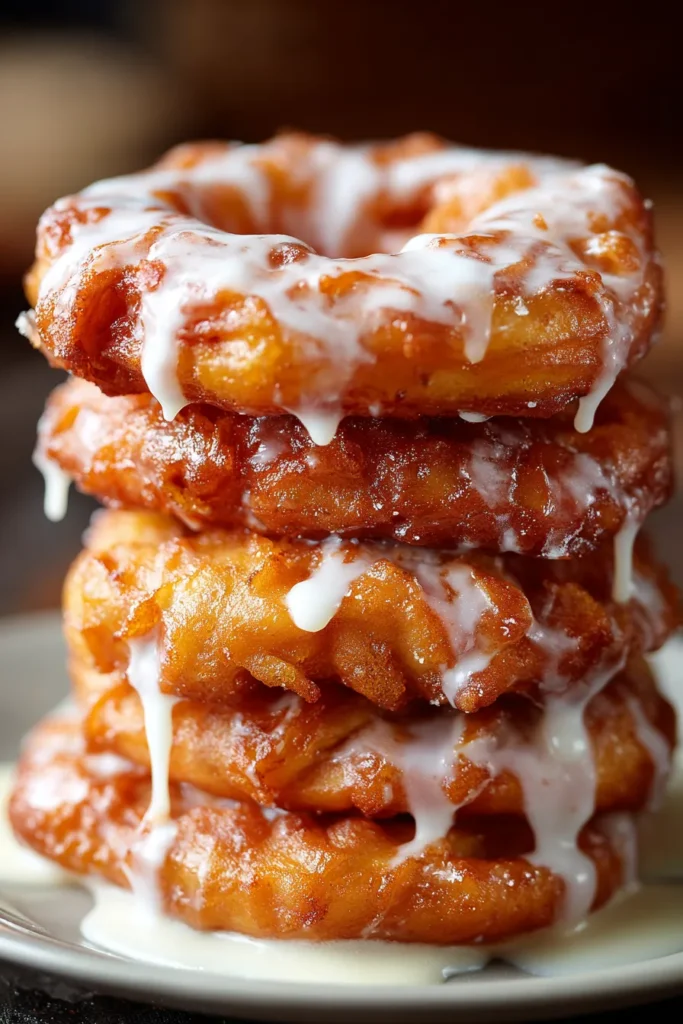
Essential Ingredients for Perfect Apple Fritters
For the Fritter Base:
- 2 cups all-purpose flour (the foundation for tender texture)
- 1/2 cup granulated sugar (balances the tartness perfectly)
- 2 teaspoons baking powder (creates that perfect lift)
- 1 teaspoon cinnamon (warm spice that screams fall)
- 1/2 teaspoon salt (enhances all the flavors)
- 1/2 teaspoon nutmeg (secret ingredient for bakery taste)
For Moisture & Richness:
- 1/3 cup melted butter (adds incredible flavor depth)
- 2/3 cup whole milk (creates tender crumb)
- 1 large egg (binds everything together beautifully)
- 1 teaspoon vanilla extract (pure vanilla makes all the difference)
Star Ingredient:
- 2 medium Honeycrisp apples, diced (holds shape during baking)
For the Irresistible Glaze:
- 1 1/2 cups powdered sugar
- 3-4 tablespoons milk
- 1/2 teaspoon vanilla extract
Pro Tip from My Restaurant Days: Always use room temperature ingredients for the smoothest batter. I learned this the hard way during my first week as a pastry cook!
Step-by-Step Baking Instructions
Prep Your Kitchen (5 minutes)
Preheat your oven to 425°F and line a large baking sheet with parchment paper. This higher temperature is crucial for creating those coveted crispy edges that make these fritters absolutely irresistible.
During my years of testing breakfast pastries, I discovered that proper prep makes all the difference. Having everything ready means you can work quickly and efficiently.
Create the Perfect Batter (10 minutes)
Step 1: Mix Dry Ingredients In a large mixing bowl, whisk together flour, sugar, baking powder, cinnamon, salt, and nutmeg. Make sure there are no lumps – a wire whisk works perfectly here, though a stand mixer with the paddle attachment makes this effortless.
Step 2: Combine Wet Ingredients In a separate bowl, whisk together melted butter, milk, egg, and vanilla until completely smooth. This is where the magic starts happening – you’ll smell that incredible vanilla-butter combination.
Step 3: Gentle Mixing Magic Pour the wet ingredients into the dry ingredients and stir just until combined. Don’t overmix! This was one of the first lessons I learned in culinary school – overmixed batter creates tough, dense fritters.
Step 4: Fold in the Star Gently fold in the diced apples, making sure they’re evenly distributed throughout the batter. I always tell my readers: treat this batter like you’re folding silk – gentle movements preserve that tender texture.
Baking to Golden Perfection (15 minutes)
Shape with Confidence Using a large spoon or ice cream scoop, drop generous mounds of batter onto your prepared baking sheet. Leave about 2 inches between each fritter – they’ll spread slightly as they bake.
The Perfect Bake Bake for 12-15 minutes until the edges are golden brown and a toothpick inserted in the center comes out with just a few moist crumbs. Don’t overbake – they’ll continue cooking slightly as they cool.
Cooling Strategy Let them cool on the baking sheet for 5 minutes before transferring to a wire rack. This prevents them from falling apart while ensuring they don’t get soggy on the bottom.
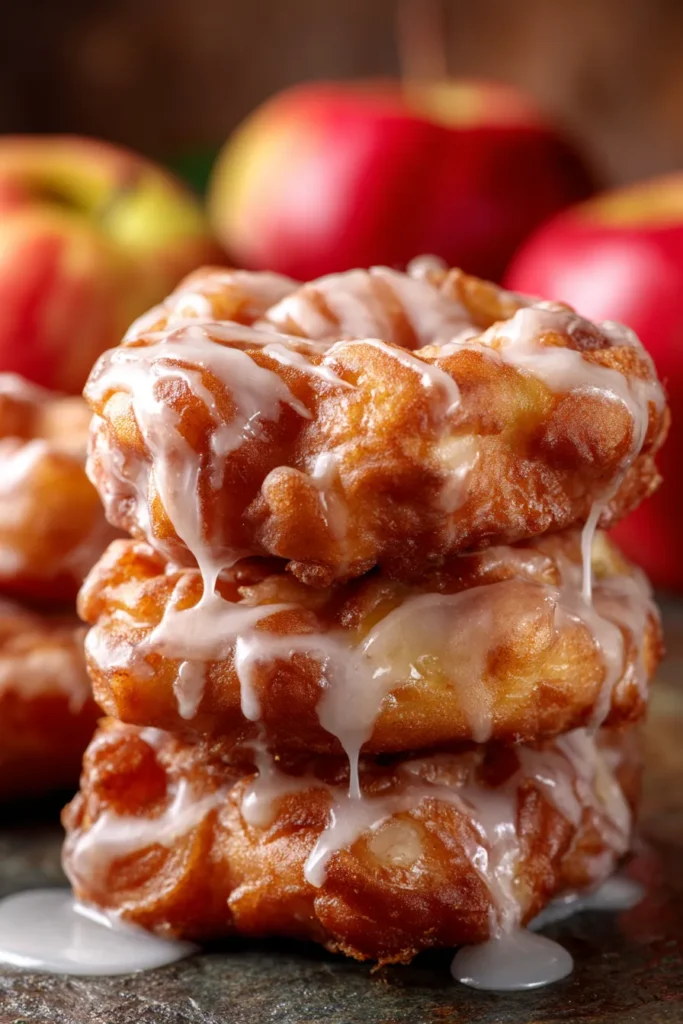
Creating the Perfect Glaze
While your fritters cool, whisk together powdered sugar, milk, and vanilla until smooth. The consistency should coat the back of a spoon but still drizzle easily.
My Secret Technique: I add the milk one tablespoon at a time until I get that perfect consistency. Too thick? Add more milk. Too thin? Whisk in more powdered sugar.
Drizzle the glaze over the slightly warm fritters for that bakery-perfect finish that’ll have everyone asking for your recipe!
Expert Tips for Fritter Success
Apple Selection Secrets
Honeycrisp apples are my go-to choice because they hold their shape beautifully and provide the perfect sweet-tart balance. Granny Smith works wonderfully too if you prefer more tartness. Avoid soft apples like Red Delicious – they’ll turn to mush during baking.
Texture Perfection
The key to tender fritters? Don’t overmix the batter once you add the wet to dry ingredients. I learned this during my pastry training – gluten development is the enemy of tender baked goods.
Make-Ahead Magic
These fritters are perfect for busy morning meal prep! Bake them the night before and store in an airtight container. They stay fresh for up to 3 days.
Freezer-Friendly Option
Freeze unglaized fritters for up to 3 months. Thaw overnight and warm in a 300°F oven for 5 minutes, then add fresh glaze. Perfect for holiday entertaining prep!
Delicious Variations to Try
Seasonal Twists
Fall Spice Blend: Add 1/4 teaspoon ground ginger and a pinch of cardamom for a warming spice profile that’s absolutely divine.
Caramel Apple: Fold in 1/3 cup caramel chips with the apples for an extra indulgent treat that reminds me of apple cider season.
Dietary Adaptations
Gluten-Free Version: Substitute with a 1:1 gluten-free flour blend. I’ve tested this with several brands, and they work beautifully.
Dairy-Free Option: Use plant-based milk and melted coconut oil instead of butter. The texture is slightly different but still absolutely delicious.
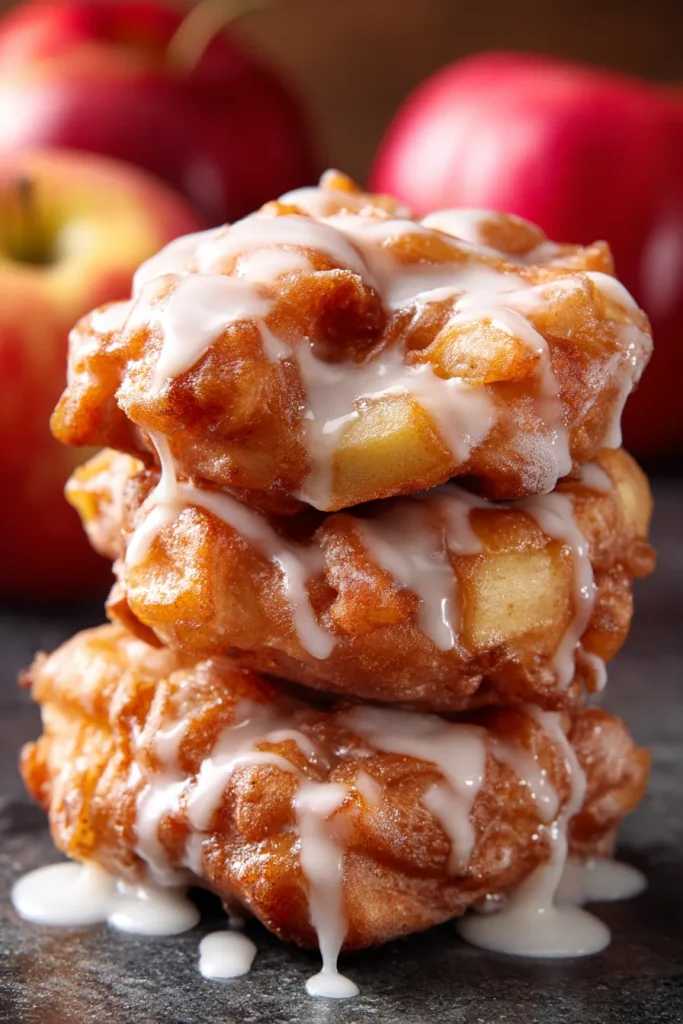
Serving Suggestions & Pairings
These baked apple fritters are incredible on their own, but they pair beautifully with:
- Hot coffee or energizing matcha lattes for the perfect morning treat
- Fresh fruit salad for a balanced breakfast spread
- Vanilla turmeric golden milk for a cozy fall afternoon
- Vanilla ice cream for an amazing dessert transformation
Storage & Freshness Tips
Room Temperature: Store covered for up to 3 days. The glaze may soften slightly, but the flavor remains incredible.
Refrigeration: These keep well refrigerated for up to a week. Let them come to room temperature or warm slightly before serving.
Freezing Strategy: Freeze without glaze for best results. Wrap individually in plastic wrap, then store in freezer bags for up to 3 months.
Troubleshooting Common Issues
Fritters Too Dense?
This usually means overmixing the batter. Remember – lumps are your friend when it comes to tender baked goods!
Apples Sinking to Bottom?
Toss diced apples in a tablespoon of flour before folding into the batter. This coating helps them stay suspended throughout.
Glaze Too Runny?
Add powdered sugar one tablespoon at a time until you reach the perfect consistency. It should coat the fritters but not puddle at the bottom.
Why This Recipe Works Every Time
After years of developing recipes for busy families, I’ve learned that consistency is everything. This recipe works because:
- Proper ingredient ratios create tender, flavorful fritters
- Higher baking temperature ensures crispy edges
- Minimal mixing preserves texture
- Quality apple choice maintains structure during baking
My friend Sarah, a working mom of three, tested this recipe and said it’s become her go-to weekend breakfast because it’s impressive enough for guests but easy enough for busy mornings.
Perfect Occasions for Apple Fritters
These baked beauties are perfect for:
- Weekend family brunches when you want something special
- Holiday morning breakfast alongside sourdough French toast
- Bake sale contributions that always sell out first
- Coffee date treats that impress without stress
- Fall entertaining paired with apple cider drinks
Frequently Asked Questions
Can I use frozen apples? Fresh apples work best for texture, but thawed and drained frozen apples can work in a pinch. Pat them completely dry before using.
How do I know when they’re perfectly done? Look for golden brown edges and a toothpick that comes out with just a few moist crumbs – not wet batter.
Can I make mini fritters instead? Absolutely! Use a small cookie scoop and reduce baking time to 8-10 minutes. Perfect for party appetizers.
What if I don’t have nutmeg? You can omit it or substitute with a pinch of ground ginger. The fritters will still be delicious!
How far ahead can I make the batter? For best results, bake immediately after mixing. The baking powder starts working right away, and you want that maximum lift.
The Bottom Line: These easy baked apple fritters deliver all the comfort and flavor of traditional fried versions with less mess and guilt. Whether you’re hosting a cozy fall brunch or just treating your family to something special, this recipe never fails to impress.
From my kitchen to yours – happy baking!







