
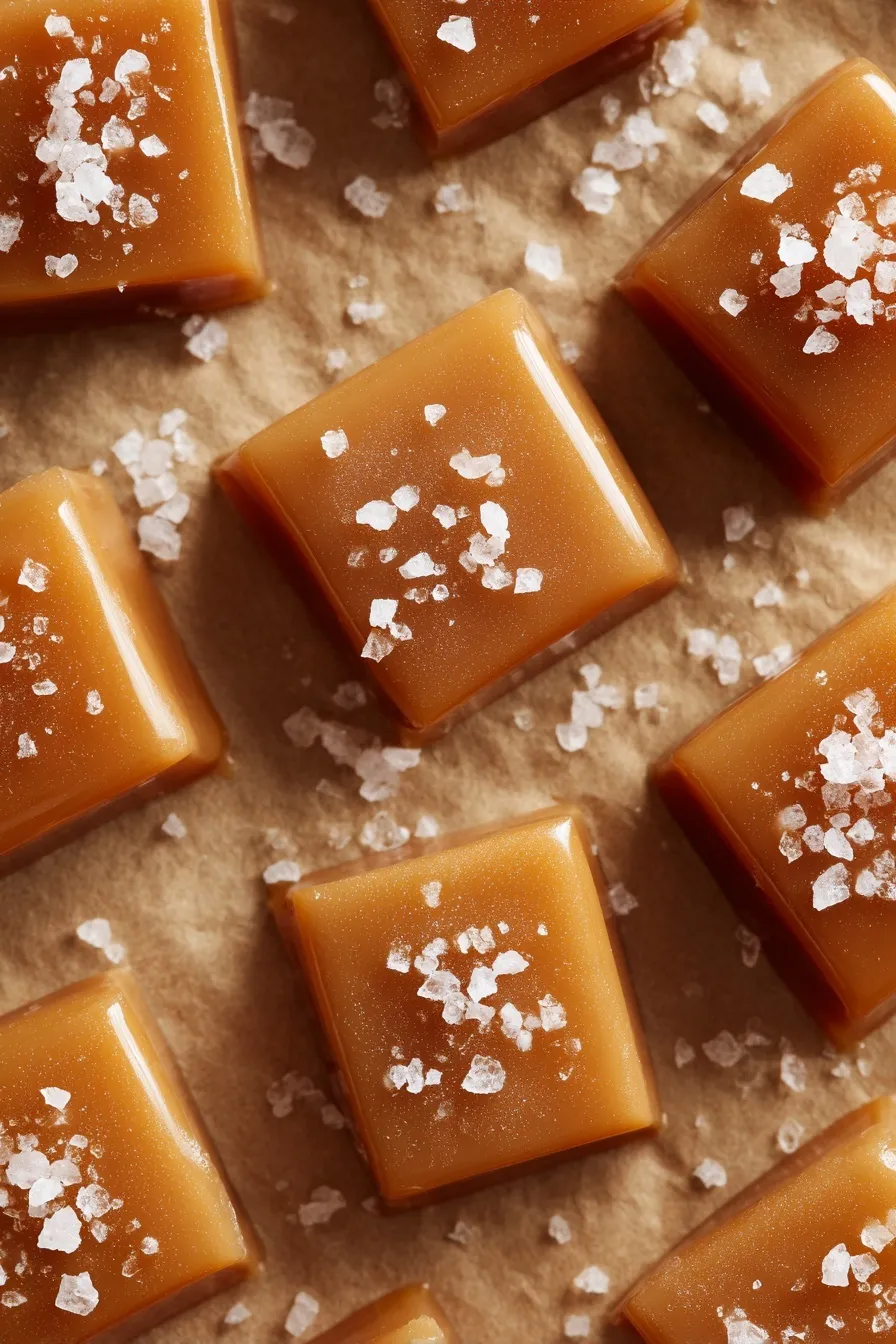
Looking for a homemade gift that looks fancy but uses simple ingredients? This sea salt caramels recipe creates soft, buttery candies with perfect sweet-salty balance—impressive presentation, surprisingly straightforward technique, and they disappear from holiday tins first.
Since you’re here, make sure to check out these related recipes:
- Easy Salted Caramel Pretzel Bark
- Best Salted Caramel Cracker Bites
- Classic Christmas Toffee Recipe
- Easy Caramel Chocolate Pretzels Recipe
- Caramel Apple Puppy Chow Recipe
Why This Sea Salt Caramels Recipe Works
Ever bite into caramels that taste exactly like expensive candy shop versions? These homemade ones deliver that same rich, buttery texture with perfect chewiness.
I’ve made this recipe at least 30 times for holiday gift-giving, and they’re always the first candies to disappear from my tins. The combination of brown sugar, butter, and condensed milk creates smooth caramels while flaky sea salt on top provides that addictive sweet-salty contrast.
What makes this recipe special:
- Uses simple pantry staples you probably already have
- Creates consistent results with proper candy thermometer technique
- Makes thoughtful homemade gifts wrapped in pretty packaging
- Tastes like professional candy shop quality
Ingredients
Want to know what creates that perfect chewy texture? Cooking to exactly 248°F and using corn syrup prevents crystallization.
For the caramels:
- 1 cup unsalted butter, room temperature
- 2 1/2 cups light brown sugar, packed
- 1 cup light corn syrup
- 1 (14 oz) can sweetened condensed milk
- 1 tbsp vanilla paste (or vanilla extract)
- 1/2 tsp coarse sea salt (like Maldon), divided
About the key ingredients:
Unsalted butter gives you control over salt levels so you can adjust the sea salt topping to taste. European-style butter with higher fat content creates richer flavor, but regular unsalted butter works perfectly fine.
Light corn syrup is essential for preventing sugar crystallization that would make your caramels grainy instead of smooth. Don’t skip this ingredient—it’s what keeps the texture silky and professional.
Sweetened condensed milk provides both sweetness and creamy texture that regular milk can’t replicate. The concentrated milk proteins create that perfect chewy consistency when cooked to proper temperature.
Coarse sea salt or flaky Maldon salt provides beautiful texture contrast on top. Regular table salt is too fine and makes caramels taste overly salty instead of creating that perfect sweet-salty balance.
Step-by-Step Instructions
1. Prepare the pan by lining a 9×13-inch pan with parchment paper, making sure it covers bottom and sides completely. Coat the parchment thoroughly with softened butter so caramels release easily after cooling.
2. Melt the butter in a large heavy-bottomed saucepan over medium heat until completely liquefied. Heavy-bottomed pans distribute heat evenly and prevent scorching during the long cooking time.
3. Mix the base ingredients by combining brown sugar, 1/4 teaspoon sea salt, corn syrup, and sweetened condensed milk in a medium bowl until well blended. Stir thoroughly before adding to melted butter.
4. Combine with butter by adding the sugar mixture to the melted butter in the saucepan. Stir well to incorporate everything before beginning the cooking process.
5. Bring to boil by increasing heat to medium-high and cooking, stirring occasionally, until mixture begins actively boiling—this takes about 10-15 minutes. Don’t rush this step by using high heat.
6. Reduce heat and monitor by lowering to medium once boiling starts, then attaching a candy thermometer to the side of the pan. Make sure the thermometer doesn’t touch the bottom of the pan.
7. Cook to firm ball stage by stirring constantly until mixture reaches 245-248°F—this takes 20-30 minutes of steady stirring. The constant stirring prevents scorching and ensures even cooking throughout.
8. Add vanilla carefully by removing pot from heat once temperature is reached, then stirring in vanilla paste. Be cautious—the mixture will bubble rapidly when you add vanilla.
9. Pour immediately into the prepared pan, working quickly before the caramel starts to set. Use a spatula to spread it evenly into all corners of the pan.
10. Cool and salt by letting caramel cool for 20-30 minutes, then sprinkling remaining sea salt evenly over the surface. Let cool completely at room temperature, ideally overnight, until firm enough to cut.
11. Cut into squares by lifting the cooled caramel slab from the pan using parchment paper. Place on a cutting board and cut into 1×1-inch squares with a sharp knife lightly coated with cooking spray.
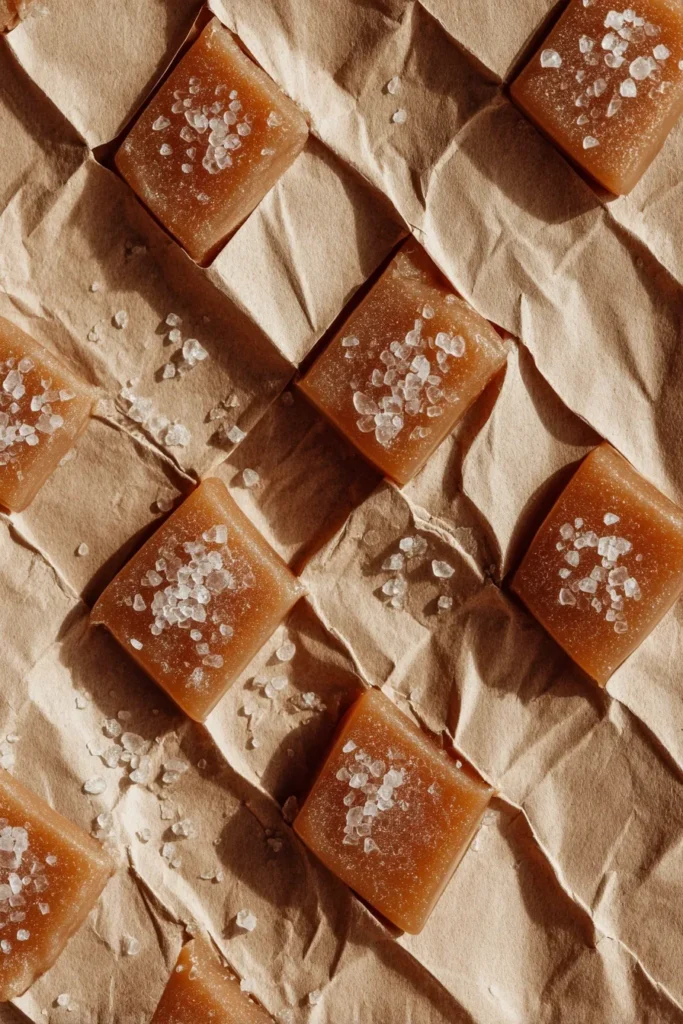
12. Wrap individually in wax candy wrappers or parchment paper squares for storage and gifting. Wrapped caramels stay fresh and don’t stick together in containers.
Essential Equipment
Candy Thermometer
A clip-on candy thermometer monitors exact temperature for perfect firm ball stage at 248°F. Digital thermometers with instant readings give you the most accurate results for consistent caramels every time.
Heavy-Bottomed Saucepan (4-Quart) (PREMIUM)
A thick-bottomed pan distributes heat evenly during the 30+ minute cooking time without hot spots. Professional-grade stainless steel or enameled cast iron prevents scorching and maintains steady temperature.
9×13-Inch Pan
A standard jelly roll pan creates the perfect thickness for chewy caramels. Metal pans cool faster than glass, helping caramels set properly without becoming too soft or too hard.
Sharp Chef’s Knife
An 8-inch chef’s knife cuts through cooled caramel cleanly when lightly coated with cooking spray. Sharp blades prevent tearing and create professional-looking square edges instead of ragged pieces.
What to Serve With Sea Salt Caramels
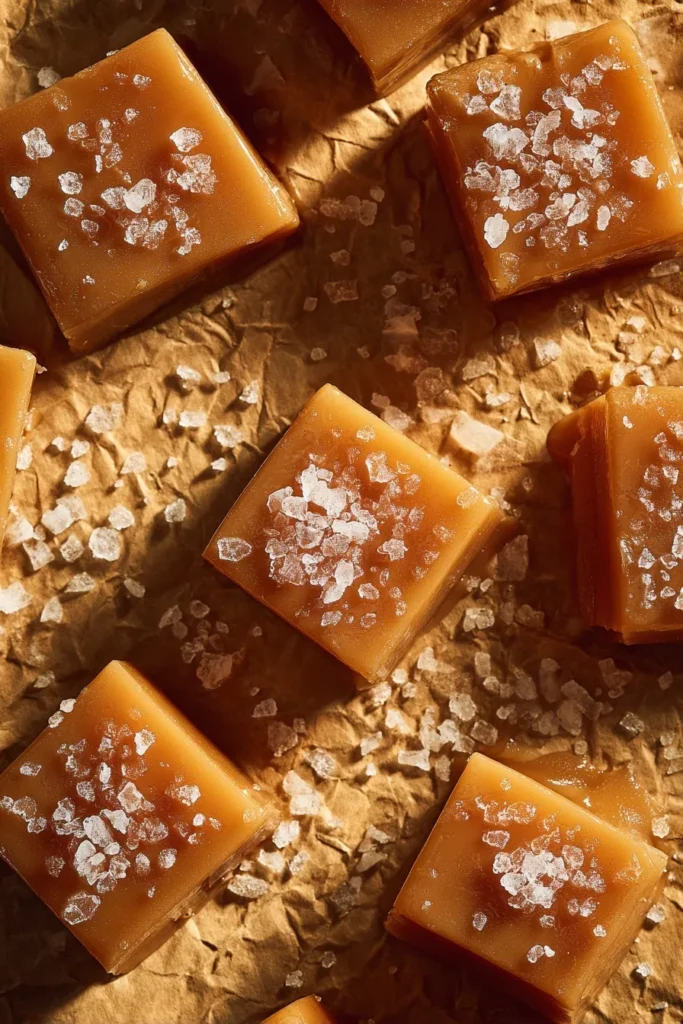
Looking for ways to present these caramels as part of a dessert spread? Simple accompaniments create elegant variety.
Dark chocolate squares pair beautifully with the sweet caramels for a classic sweet-salty-bitter combination. The rich chocolate balances the buttery sweetness perfectly.
Roasted nuts like almonds, pecans, or cashews add crunchy texture contrast. Try my Easy Salted Caramel Pretzel Bark for another sweet-salty treat to serve alongside.
Vanilla ice cream topped with chopped caramels creates an indulgent sundae. The cold ice cream and warm caramel sauce make an incredible texture combination.
Hot chocolate stirred with a caramel piece adds rich sweetness. Try Festive Christmas Chai Latte with a caramel melted at the bottom for extra decadence.
Storage and Reheating Guide
Room temperature storage
Store wrapped caramels in an airtight container at room temperature for up to 2 weeks. Individual wrapping prevents sticking and makes them easy to grab or gift.
Refrigerator storage
Keep refrigerated for up to 1 month in an airtight container. Let them sit at room temperature for 5 minutes before eating if you prefer softer, chewier texture instead of firm caramels.
Freezer storage
Freeze individually wrapped caramels for up to 3 months in freezer-safe containers. Thaw in the fridge overnight or at room temperature for 30 minutes before enjoying for best texture.
Sea Salt Caramels Recipe Variations
Want to customize these classic caramels with different flavors? The base recipe adapts beautifully.
Chocolate-dipped version: After cutting caramels, dip each square halfway in melted dark chocolate and place on parchment paper to set. Sprinkle with extra sea salt before chocolate hardens for elegant presentation.
Bourbon caramel twist: Replace vanilla with 2 tablespoons bourbon for sophisticated adult flavor. The alcohol cooks off but leaves behind complex caramel notes perfect for gifting to grown-ups.
Espresso sea salt caramels: Add 1 tablespoon instant espresso powder to the sugar mixture before cooking. Top with sea salt and a light dusting of cocoa powder for coffee-lover caramels like Classic Christmas Toffee.
Pro Tips & Tricks
Looking for ways to make this sea salt caramels recipe turn out perfect every time? These tips prevent common candy-making mistakes.
Use a candy thermometer because eyeballing temperature leaves you with soft, sticky caramels that never firm up—you need exactly 248°F for proper chewy texture.
Stir constantly after boiling starts because the sugar mixture scorches easily on the bottom of the pan, creating burnt flavor throughout the entire batch.
Cool completely before cutting by waiting at least 4 hours or overnight so caramels firm up properly—cutting too soon creates ragged edges and sticky, shapeless pieces.
Coat knife with cooking spray between cuts because caramel sticks to blades and tears instead of slicing cleanly through the slab.
Frequently Asked Questions
Can you make sea salt caramels recipe without corn syrup?
Not recommended because corn syrup prevents crystallization that makes caramels grainy instead of smooth. You can try honey or golden syrup, but texture won’t be quite as silky.
Why are my caramels too soft?
You didn’t cook them to the full 248°F, or your candy thermometer wasn’t calibrated correctly. Test your thermometer in boiling water (should read 212°F) and recalibrate if needed.
How do you cut caramels cleanly?
Let them cool completely overnight, then use a sharp knife lightly coated with cooking spray. Wipe the blade between cuts and re-spray as needed for clean edges.
Can I use salted butter instead of unsalted?
Yes, but reduce the sea salt in the recipe to just a pinch since salted butter already contains salt. The balance won’t be quite as perfect as using unsalted butter with measured salt.
Why did my caramels crystallize?
You stirred too vigorously before the mixture came to a boil, or sugar crystals formed on the sides of the pan. Brush down the sides with a wet pastry brush to prevent crystallization.
How long do homemade caramels last?
Individually wrapped caramels last 2 weeks at room temperature, 1 month refrigerated, or 3 months frozen. Proper wrapping prevents sticking and maintains texture like Best Salted Caramel Cracker Bites storage.
Why You’ll Love This Recipe
Ready to make candy shop-quality caramels that impress everyone? Sea salt caramels deliver that perfect sweet-salty combination in soft, buttery bites.
I’ve wrapped these as holiday gifts, brought them to parties, and kept stashes hidden in my kitchen for personal snacking. The rich, buttery flavor with flaky salt on top creates that addictive combination people can’t resist.
Try this sea salt caramels recipe this weekend and start your new gifting tradition!
📌 Save this sea salt caramels recipe for holiday gift-giving—they’re the homemade candy everyone loves!







