
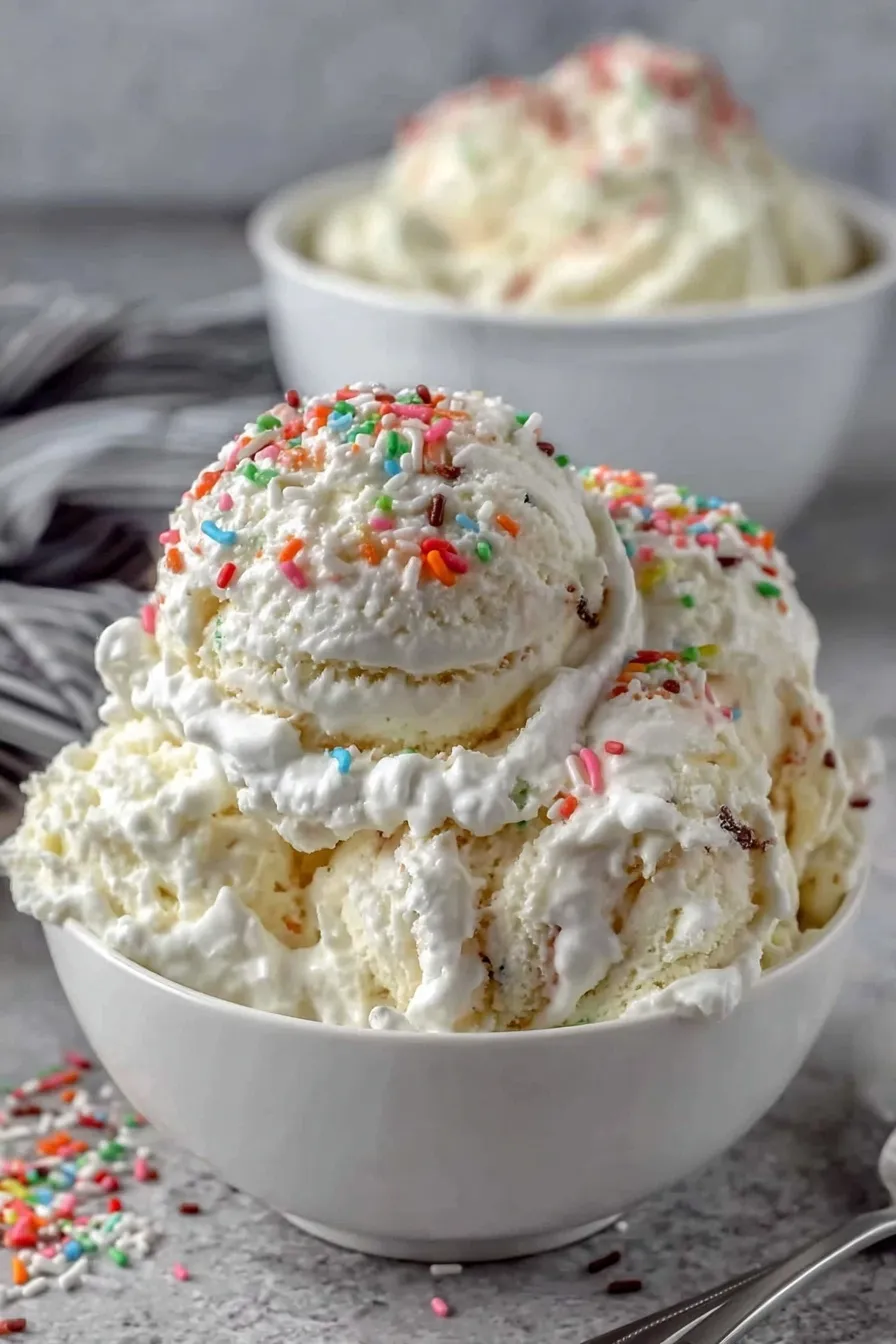
Snow ice cream turns fresh fallen flakes into a magical winter treat your kids will beg to make every time it snows. Using just milk, sugar, and vanilla, you’ll create creamy homemade ice cream in minutes without any special equipment or ice cream maker.
Ingredient Substitutions
| Original Ingredient | Substitution | Notes |
|---|---|---|
| Whole milk | Almond milk or oat milk | Use 1:1 ratio, dairy-free option |
| Whole milk | Sweetened condensed milk | Use 1 can, omit sugar completely |
| Granulated sugar | Maple syrup | Use ½ cup, adds slight maple flavor |
| Vanilla extract | Almond extract | Use ½ teaspoon, stronger flavor |
| Fresh snow | Shaved ice | Use food processor, won’t melt as fast |
Since you’re here, make sure to check out these related recipes:
Why This Snow Ice Cream Works
Ever wonder how something so simple can taste this incredible? Fresh snow creates the perfect icy texture that regular ice can’t match, giving you authentic ice cream consistency without churning or freezing time.
The milk base coats each snowflake evenly while the sugar dissolves instantly in the cold. Vanilla extract adds warmth that balances the chill. You’re making real ice cream using nature’s freezer—the snow itself keeps everything perfectly frozen while you mix.
- No special equipment needed – just bowls and a whisk you already own
- 5 minutes from snow to spoon – fastest homemade ice cream you’ll ever make
- Kid-approved winter activity – gets them outside collecting snow then creates memories in the kitchen
- Customizable flavors – add cocoa powder, fruit, or candy pieces for endless variations
Ingredients
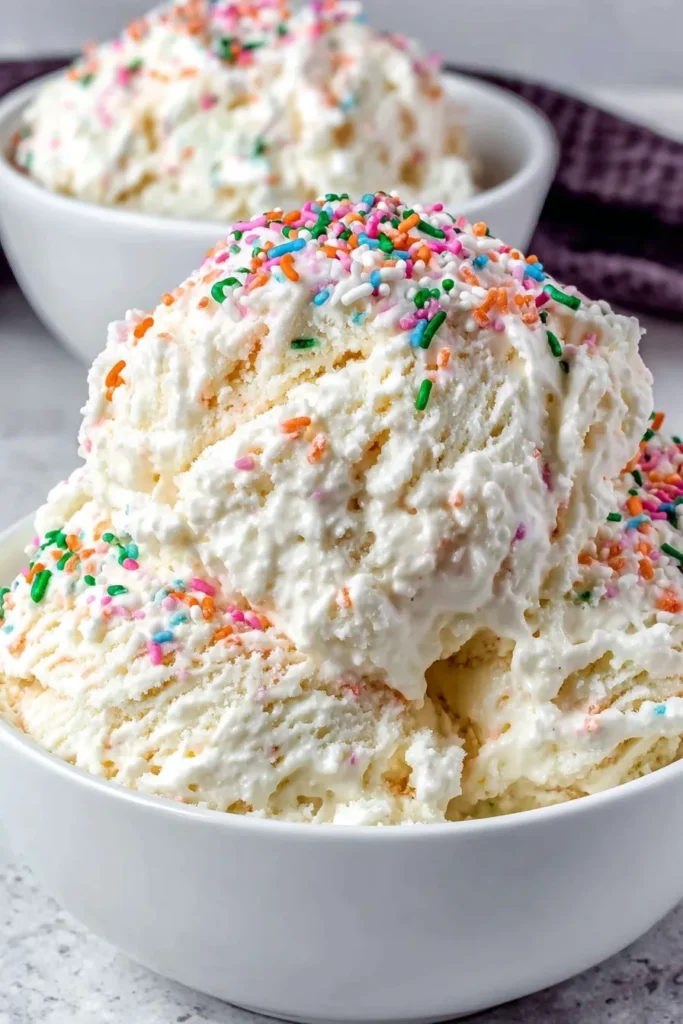
Want to know the secret to perfect creamy texture? The ratio of milk to snow matters more than you’d think—too little snow and it’s soupy, too much and it’s icy.
For the milk mixture:
- 1 cup whole milk
- ½ cup granulated sugar
- 1 teaspoon vanilla extract
- Pinch of salt
For assembly:
- 8-10 cups fresh clean snow
- Sprinkles (optional)
The whole milk provides richness that creates authentic ice cream mouthfeel. Sugar sweetens while helping prevent rock-hard freezing. Vanilla extract adds depth that makes this taste like premium vanilla ice cream instead of frozen milk. Salt enhances all the flavors and prevents that flat, one-note sweetness.
Fresh snow is crucial—grab it right after snowfall before it gets walked on or dirty. The fluffier the snow, the more you’ll need. Dense, wet snow requires less.
Step-by-Step Instructions

1. Prepare your work area by getting all ingredients measured and bowls ready before heading outside for snow. Cold snow melts fast indoors, so having everything prepped means better texture in your finished ice cream.
2. Whisk together milk, sugar, vanilla extract, and salt in a medium bowl until sugar dissolves completely. You’ll know it’s ready when no grains remain at the bottom and the mixture looks smooth.
3. Collect fresh snow in a large bowl, aiming for 8 cups to start. Look for the fluffiest, cleanest snow from the top layer—avoid anything touching the ground or near animal tracks.
4. Pour milk mixture over the snow and stir immediately with a large spoon. Work quickly, folding the milk through the snow like you’re making whipped cream. The snow will start melting slightly as the milk coats it.
5. Check consistency after mixing for 30 seconds. If it’s too soupy, add another cup or two of snow and stir again. If it’s too icy and dry, drizzle in 2-3 tablespoons more milk.
6. Scoop into bowls right away and top with sprinkles if desired. Serve immediately for best texture—this melts faster than regular ice cream since it’s already partially thawed from mixing.
Essential Equipment
Large Mixing Bowl (4-Quart Minimum)
You need space to fold snow and milk together without making a mess everywhere. A 4-quart bowl gives you room to mix vigorously while keeping ingredients contained as snow compresses down.
Medium Mixing Bowl (2-Quart)
This bowl is perfect for whisking your milk mixture until sugar dissolves completely. The smaller size makes whisking easier and faster than using an oversized bowl.
Balloon Whisk
A balloon whisk incorporates air while dissolving sugar crystals much faster than a fork. The wires break up any clumps and create the smoothest possible milk base in under a minute.
Large Serving Spoon or Rubber Spatula
You’ll need something sturdy to fold dense snow into liquid without breaking your utensil. Metal spoons work great for scooping finished ice cream into individual serving bowls quickly.
What to Serve With Snow Ice Cream
Looking for ways to make this snow day treat even more special? Pair your homemade snow ice cream with warm desserts for the ultimate temperature contrast that’ll have everyone going back for seconds.
Serve alongside warm Chocolate Chip Cookies fresh from the oven—the melty chocolate chunks against cold ice cream creates bakery-level magic. Try it with Churro Bites dusted in cinnamon sugar for carnival vibes. Make it fancy with Funnel Cake Bites drizzled with chocolate sauce.
For chocolate lovers, serve with warm Fudgy Brownies or Easy Cinnamon Twists. The warm pastry melts the ice cream slightly, creating the perfect creamy-crunchy texture combination kids and adults both love.
Top with fresh berries, chocolate chips, crushed cookies, or caramel sauce. Make it a build-your-own sundae bar with all the toppings you’d use for regular ice cream.
Storage and Reheating Guide
Refrigerator Storage
Honestly, snow ice cream doesn’t store well because it melts faster than regular ice cream. If you must save leftovers, transfer to an airtight container and freeze for up to 3 days maximum. The texture won’t be quite the same when refrozen since the snow crystals break down.
Freezer Storage
Store in a shallow airtight container in your coldest freezer section for up to 1 week. The texture becomes icier and harder than traditional ice cream because there’s no churning or stabilizers. Let it sit at room temperature for 2-3 minutes before scooping.
Reheating Instructions
No reheating needed—this is meant to be enjoyed frozen. Let frozen leftovers soften slightly on the counter for easier scooping. If it’s too hard, microwave for 5-10 seconds maximum just to soften edges.
Snow Ice Cream Variations
Ready to get creative with flavors beyond vanilla? The base recipe is just the beginning—you can transform it into any ice cream flavor you’re craving.
Chocolate Snow Ice Cream: Add 3 tablespoons cocoa powder to your milk mixture and increase sugar to ¾ cup. Stir in mini chocolate chips after mixing with snow for double chocolate heaven.
Strawberry Snow Ice Cream: Blend ½ cup fresh or frozen strawberries with the milk mixture before pouring over snow. The pink color looks magical and tastes like strawberry milkshake ice cream.
Cookies and Cream: Crush 6-8 Oreo cookies and fold into the finished ice cream. Try it with Sugar Cookie Cups crumbled on top for even more cookie flavor.
Pro Tips & Tricks
Work fast once snow is indoors because it starts melting immediately in your warm kitchen. Have ingredients pre-measured and bowls ready so you can mix and serve within 2-3 minutes.
Use the freshest snow possible from the very top layer of accumulation. Avoid snow near trees, roads, or anywhere animals could have walked—you want the purest, cleanest flakes.
Adjust snow amounts based on consistency since different snowfalls have different moisture levels. Light fluffy snow needs 10+ cups while dense wet snow works with just 8 cups.
Chill your mixing bowls in the freezer for 10 minutes before using. Cold bowls keep the snow frozen longer while you’re mixing, giving you better texture in your finished ice cream.
Frequently Asked Questions
Is eating snow ice cream safe?
Fresh, clean snow from the top layer is generally safe for most people, though you’re consuming it at your own risk. Avoid snow that’s been on the ground for days, near roads, or touched by animals. Use freshly fallen snow within the first few hours of a snowfall.
Can you make snow ice cream without milk?
Yes, substitute sweetened condensed milk or coconut cream for dairy-free options. Use ½ cup sweetened condensed milk and omit the sugar since it’s already sweet. Try Whipped Cottage Cheese blended smooth for a high-protein alternative.
How long does snow ice cream last?
It’s best eaten immediately but can be frozen for up to 1 week in an airtight container. The texture becomes icier and harder than traditional ice cream because there’s no churning involved. Let it soften at room temperature for 3-4 minutes before scooping.
What type of snow works best?
Light, fluffy snow creates the best texture—think powdery ski resort snow. Dense, wet snow works but you’ll need less of it since it’s more compressed. Avoid ice crystals, slush, or snow that’s started melting and refreezing.
Can you add chocolate to snow ice cream?
Absolutely! Mix 3 tablespoons cocoa powder with your milk mixture for chocolate snow ice cream. Stir in chocolate chips, crushed Oreo Cookies, or brownie chunks after mixing with snow for extra indulgence.
Why is my snow ice cream too watery?
You didn’t use enough snow or your snow was too wet and dense. Add another 1-2 cups of fresh snow and stir vigorously. Next time, start with 10 cups of light fluffy snow and adjust from there.
Why You’ll Love This Recipe
Ready to make the easiest homemade ice cream you’ve ever tried? Snow ice cream combines the magic of winter weather with creamy vanilla sweetness kids absolutely love. No ice cream maker, no overnight freezing, no complicated steps—just simple ingredients and fresh snow.
The whole family can get involved, from collecting snow outside to mixing and tasting inside. It’s the perfect snow day activity that ends with everyone enjoying a delicious frozen treat.
Grab your bowls and head outside the next time it snows!
Best Snow Ice Cream

This easy snow ice cream turns fresh fallen snow into creamy homemade vanilla ice cream in just 5 minutes! Made with whole milk, sugar, vanilla, and clean snow—no ice cream maker needed. Perfect winter treat kids will love making on snow days.
- 5 minutes from snow to spoon – fastest homemade ice cream you’ll ever make
- 1 cup whole milk
- ½ cup granulated sugar
- 1 teaspoon vanilla extract
- 8-10 cups fresh clean snow
- Prepare your work area by getting all ingredients measured and bowls ready before heading outside for snow. Cold snow melts fast indoors, so having everything prepped means better texture in your finished ice cream.
- Whisk together milk, sugar, vanilla extract, and salt in a medium bowl until sugar dissolves completely. You’ll know it’s ready when no grains remain at the bottom and the mixture looks smooth.
- Collect fresh snow in a large bowl, aiming for 8 cups to start. Look for the fluffiest, cleanest snow from the top layer—avoid anything touching the ground or near animal tracks.
- Pour milk mixture over the snow and stir immediately with a large spoon. Work quickly, folding the milk through the snow like you’re making whipped cream. The snow will start melting slightly as the milk coats it.
- Check consistency after mixing for 30 seconds. If it’s too soupy, add another cup or two of snow and stir again. If it’s too icy and dry, drizzle in 2-3 tablespoons more milk.
- Scoop into bowls right away and top with sprinkles if desired. Serve immediately for best texture—this melts faster than regular ice cream since it’s already partially thawed from mixing.







