
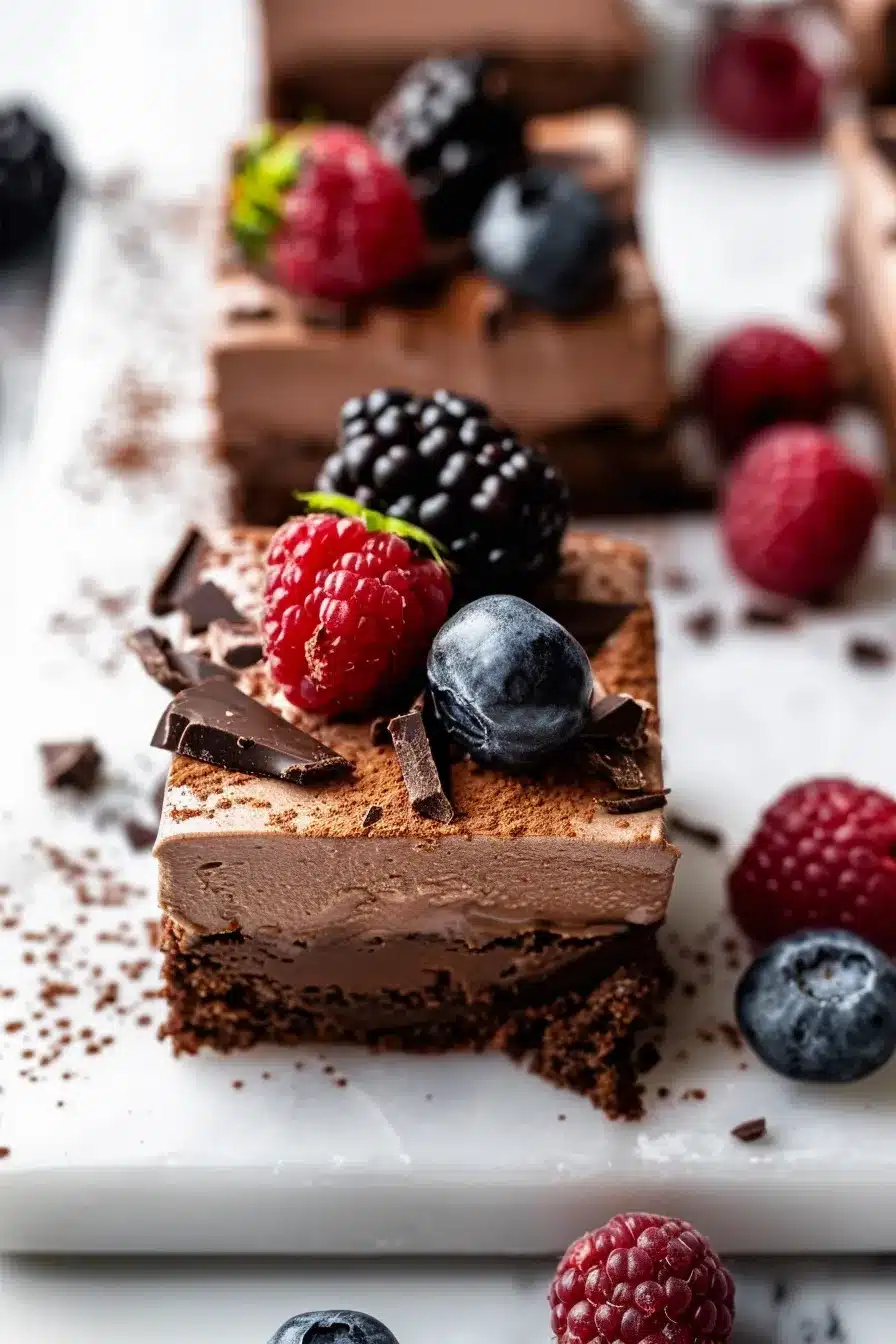
Chocolate mousse brownies that deliver triple chocolate luxury in every single bite! 🍫 These show-stopping bars feature a fudgy brownie base, silky chocolate mousse middle, and glossy ganache top that create the ultimate dessert experience in just 3 hours from start to finish.
Dreaming of dessert perfection that combines all your chocolate fantasies? These layered brownies deliver bakery-level sophistication with foolproof techniques that guarantee success. Each layer brings its own texture magic – chewy foundation, airy center, and mirror-smooth finish that photographs beautifully for social media sharing.
What Makes These Chocolate Mousse Brownies So Special?
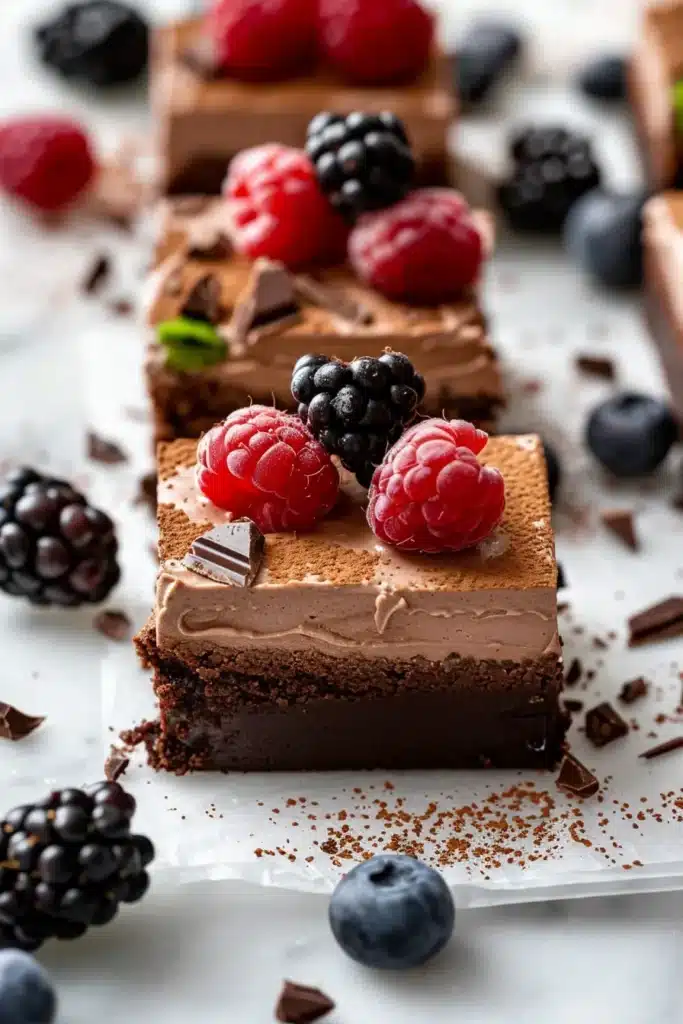
These aren’t just brownies with frosting – they’re an architectural masterpiece of chocolate engineering. Each layer is specifically designed to complement the others, creating a symphony of textures and intensities that elevate simple brownies into restaurant-quality dessert artistry.
The magic happens through three distinct techniques: First, the brownie base uses the perfect cocoa-to-flour ratio for fudgy density without heaviness. Second, the mousse layer incorporates temperature-controlled chocolate with whipped cream for ethereal lightness. Finally, the ganache provides mirror-like finish that seals in freshness while delivering visual drama.
What makes these better than regular brownies? Beyond the obvious triple-layer appeal, each component actually improves the others – the brownie provides structural support, the mousse adds moisture and airiness, while the ganache creates protective seal that keeps everything fresh for days.
Essential Chocolate Mousse Brownie Ingredients You Need
Perfect Fudgy Brownie Base:
• ½ cup (115g) unsalted butter, melted – creates rich, tender foundation
• 1 cup (200g) granulated sugar – provides sweetness and structure
• 2 large eggs – adds richness and binding power
• 1 teaspoon vanilla extract – enhances chocolate flavor depth
• ⅓ cup (40g) unsweetened cocoa powder – delivers intense chocolate base
• ½ cup (65g) all-purpose flour – creates perfect chewy texture
• ¼ teaspoon salt – amplifies chocolate flavors
• ¼ teaspoon baking powder – provides subtle lift
Silky Chocolate Mousse Layer:
• 1½ cups (350ml) heavy whipping cream, chilled – creates airy texture
• 8 oz (225g) semisweet chocolate, finely chopped – provides rich flavor
• 3 tablespoons (45ml) milk – helps chocolate melt smoothly
• 2 tablespoons (25g) powdered sugar – sweetens and stabilizes
Glossy Ganache Topping:
• 4 oz (115g) semisweet chocolate, finely chopped – creates mirror finish
• ½ cup (120ml) heavy cream – provides silky consistency
How to Make Perfect Chocolate Mousse Brownies (Step by Step)
Step 1: Prepare Your Baking Foundation
Preheat oven to 350°F (175°C) and line 8×8-inch baking pan with parchment paper, leaving overhang for easy removal. This step ensures clean, professional presentation.
Step 2: Create the Brownie Base
In large mixing bowl, whisk melted butter, sugar, eggs, and vanilla until smooth and glossy. The mixture should be completely combined with no sugar granules visible.
Step 3: Add Dry Ingredients
Sift cocoa powder, flour, salt, and baking powder directly into wet ingredients. Gently fold until just combined – overmixing creates tough brownies instead of fudgy texture.
Step 4: Bake the Foundation
Pour batter into prepared pan, smoothing top with spatula. Bake 20-25 minutes until toothpick inserted in center comes out with few moist crumbs. Cool completely in pan.
Step 5: Prepare Chocolate Base for Mousse
Heat milk in small saucepan until steaming. Pour over chopped chocolate in heatproof bowl, let sit 2 minutes, then stir until completely smooth. Cool to room temperature while preparing cream.
Step 6: Create the Mousse Magic
Whip heavy cream with powdered sugar until soft peaks form. Gently fold cooled chocolate mixture into whipped cream until no streaks remain. Work quickly but gently to maintain airiness.
Step 7: Assemble the Layers
Spread mousse evenly over cooled brownie base, creating smooth surface with offset spatula. Refrigerate 2 hours until mousse sets completely.
Step 8: Create Mirror Ganache
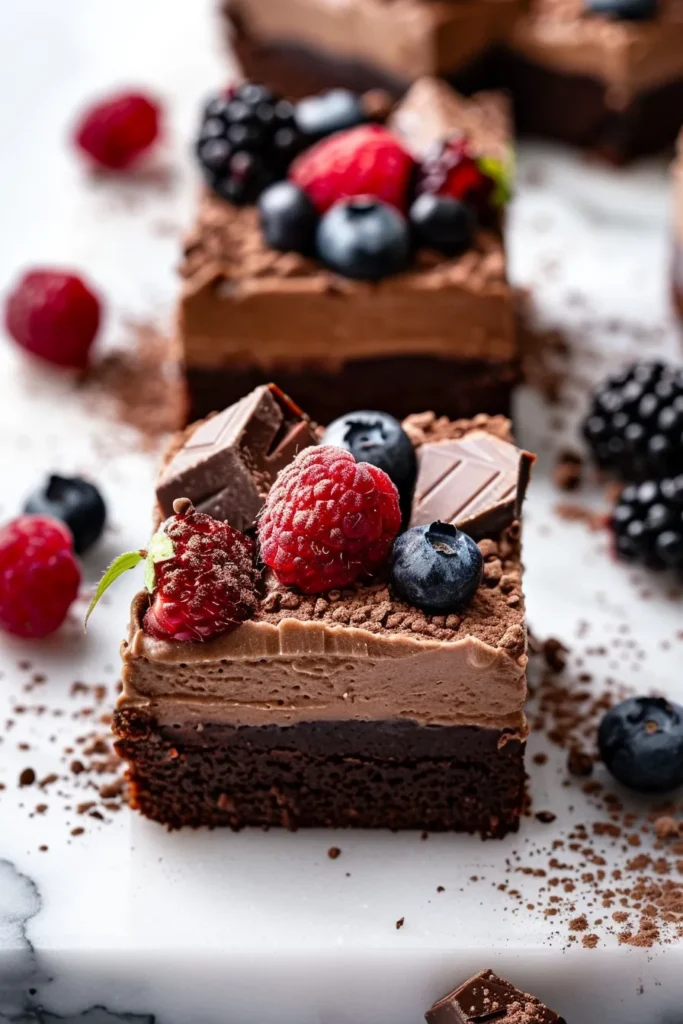
Heat cream in small saucepan until simmering. Pour over chopped chocolate, let rest 2-3 minutes, then stir until glossy and smooth. The ganache should coat spoon when ready.
Step 9: Finish with Elegance
Pour ganache over set mousse layer, spreading gently to edges for complete coverage. Refrigerate 1 hour until ganache firms up completely.
Step 10: Slice and Serve
Using parchment overhang, lift brownies from pan. Cut with warm, clean knife for professional-looking squares that showcase all three distinct layers.
Pro Tips for Perfect Chocolate Mousse Brownies
🔥 Chef’s Secret: Temperature Control Let chocolate mixture cool to room temperature before folding into whipped cream. Hot chocolate will deflate the cream and create dense mousse instead of airy texture.
⚠️ Common Mistake: Overwhipping Cream Stop whipping at soft peaks – overwhipped cream becomes grainy and difficult to fold. Perfect cream should hold gentle peaks that slightly droop when lifted.
💡 Folding Technique: Preserve Airiness Use gentle scooping motions from bottom to top when combining chocolate and cream. Aggressive stirring destroys air bubbles that create mousse’s signature lightness.
🍫 Chocolate Quality: Premium Results Use high-quality semisweet chocolate with 60-70% cacao content. Cheap chocolate creates grainy texture while premium chocolate melts into silk-smooth perfection.
❄️ Chilling Strategy: Patience Pays Each layer must set completely before adding the next. Rushing the process creates muddy layers instead of distinct, photogenic bands.
🔪 Clean Cutting: Warm Knife Method Dip knife in warm water and wipe clean between cuts. This prevents dragging and creates restaurant-quality presentation with sharp, defined edges.
📏 Pan Size Matters: Thickness Control Stick to 8×8-inch pan for optimal layer proportions. Larger pans create thin layers that don’t showcase the three-tier architecture properly.
Chocolate Mousse Brownie Serving Suggestions
Picture-Perfect Presentations:
Serve on white plates to maximize visual contrast between dark chocolate layers and clean presentation. The distinct bands create stunning photos for social media sharing.
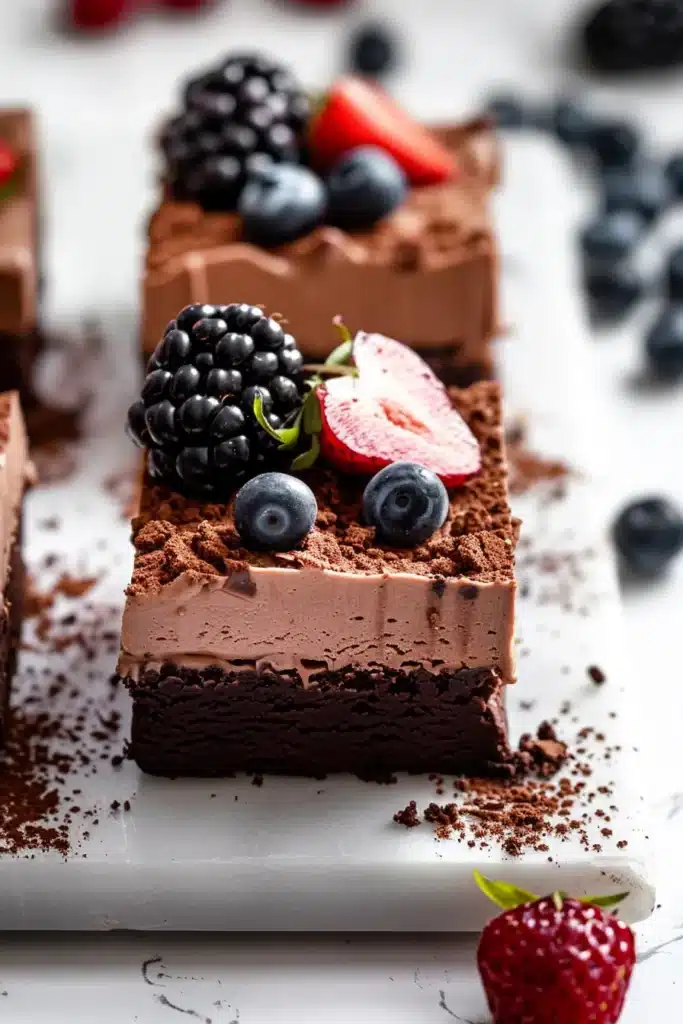
For special occasions: Dust with cocoa powder and add fresh berries for elegant restaurant-style plating. Raspberries provide tartness that cuts through rich chocolate beautifully.
Coffee pairing perfection: Serve alongside espresso or dark roast coffee to enhance chocolate complexity. The bitter notes complement the sweet richness without overwhelming the palate.
Entertaining elegance: Cut into smaller squares and arrange on tiered serving stands for party presentation. Mini portions allow guests to enjoy luxury without overwhelming richness.
Creative Variations and Flavor Twists
Flavor Enhancements:
Add 1 teaspoon instant espresso powder to brownie batter for mocha depth. Coffee intensifies chocolate flavor without creating coffee taste.
Liqueur luxury: Add 2 tablespoons Kahlúa or Bailey’s to mousse layer for adult sophistication. Alcohol adds complexity and makes dessert perfect for dinner parties.
Nutty additions: Fold chopped toasted hazelnuts or pecans into brownie batter for texture contrast. Nuts provide crunch that complements smooth mousse layers.
Fruit accents: Spread thin layer of raspberry jam on brownie before adding mousse. Fruit adds brightness that balances intense chocolate richness.
Dietary Adaptations:
- Gluten-Free: Replace flour with almond flour blend (texture will be denser)
- Reduced Sugar: Use sugar substitute in mousse layer only
- Dairy-Free: Substitute coconut cream for heavy cream (chill can overnight first)
Frequently Asked Questions About Chocolate Mousse Brownies
How far ahead can I make these brownies?
These brownies improve over 24 hours as flavors meld and textures set perfectly. Make up to 2 days ahead for optimal taste and easier slicing.
Can I freeze chocolate mousse brownies?
Yes! Freeze individual squares wrapped in plastic wrap for up to 3 months. Thaw in refrigerator overnight – texture remains excellent after freezing.
Why did my mousse layer deflate?
Usually caused by chocolate being too warm when folded into cream or overwhipping the cream. Room temperature chocolate folds smoothly without melting whipped cream.
How do I fix grainy ganache?
Strain ganache through fine mesh to remove lumps, or blend with immersion blender for 30 seconds. Temperature shock often causes graininess in chocolate.
Can I make these in different pan sizes?
8×8-inch pan provides ideal thickness for three-layer presentation. Larger pans create thin layers that don’t showcase the architectural design properly.
What’s the best way to store leftovers?
Cover tightly and refrigerate for up to 5 days. Bring to room temperature 15 minutes before serving for optimal texture and flavor.
Why is my brownie layer too cakey?
Overmixing or too much flour creates cakey texture instead of fudgy. Fold dry ingredients gently and measure flour accurately for best results.
Can I use milk chocolate instead of semisweet?
Semisweet provides better balance against sweet brownie base. Milk chocolate makes final result overly sweet and less sophisticated in flavor.
Storage and Make-Ahead Tips
Optimal Storage Methods:
- Room Temperature: Not recommended due to dairy content
- Refrigerated: Up to 5 days covered tightly
- Frozen: Individual squares for up to 3 months
Make-Ahead Strategy:
- Day 1: Bake brownie base, wrap tightly
- Day 2: Add mousse layer, refrigerate overnight
- Day 3: Add ganache, perfect for serving
Transportation Tips:
Keep chilled until 30 minutes before serving. Use insulated container for transporting to events while maintaining layer integrity.







