
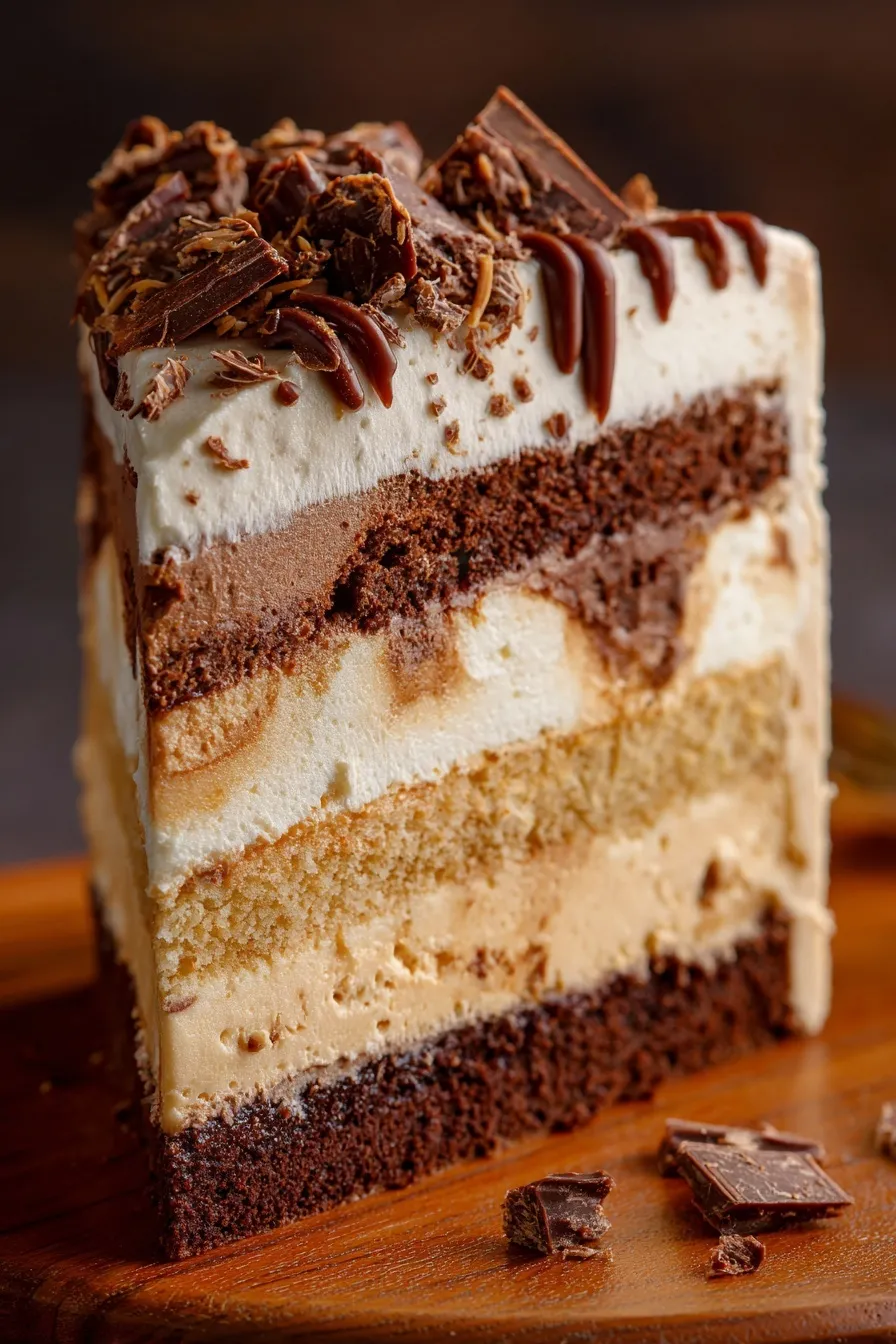
This no-bake chocolate peanut butter pie is basically heaven in a crust—creamy, rich, and ridiculously easy to make when you need a showstopper dessert without turning on the oven.
Since you are here, make sure to check out these related recipes:
- Ultimate No-Bake Oreo Cheesecake
- Foolproof Nutella Ferrero Rocher Cookie Pie
- Nutella Stuffed Cookie Pie Recipe
- Lemon Raspberry Swirl Cheesecake Recipe
- No-Bake Pumpkin Cheesecake
Why This Recipe Works
Listen, I’ve made my fair share of chocolate peanut butter desserts, and this pie? It’s the one that never disappoints. The combination of an Oreo crust, silky peanut butter filling, and chocolate ganache topping creates layers of texture and flavor that’ll have everyone asking for seconds.
The magic happens when cream cheese meets peanut butter. That smooth, dreamy filling holds its shape perfectly without needing gelatin or complicated techniques. Plus, you can whip this together in about 20 minutes of actual work time—the fridge does the heavy lifting.
What makes this pie different from others is the balance. It’s sweet but not cloying, rich but not overwhelming, and the Oreo crust adds just enough chocolate crunch to complement the creamy center. FYI, this has become my go-to dessert when I need to impress without stress.
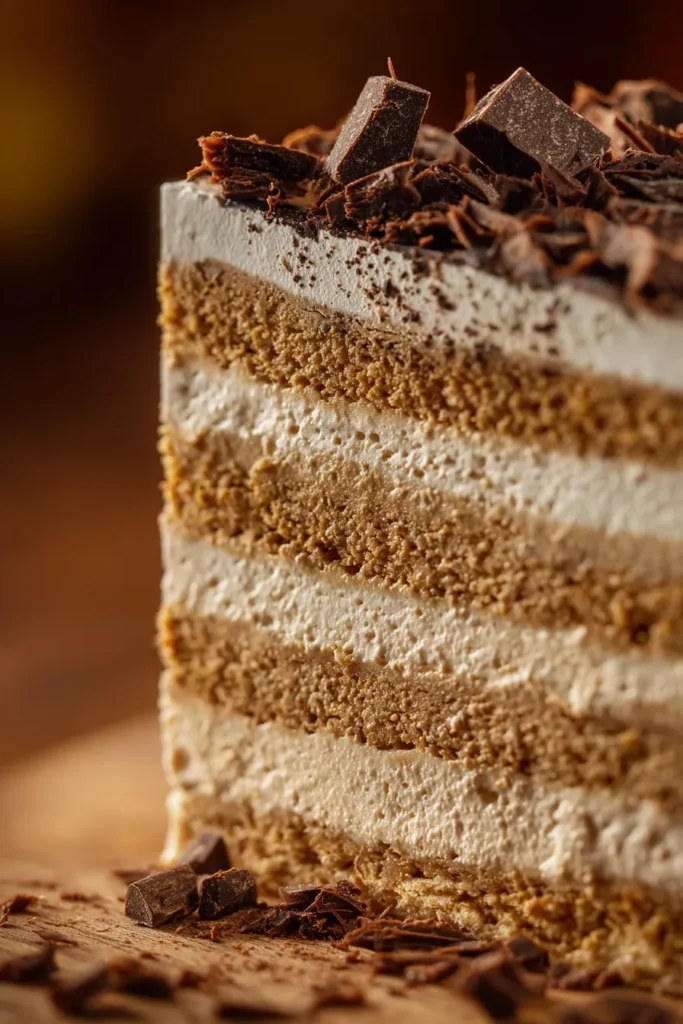
Ingredients
For the Oreo Crust:
- 24 Oreo cookies (about 1 package)
- 5 tablespoons unsalted butter, melted
For the Peanut Butter Filling:
- 8 oz cream cheese, softened to room temperature
- 1 cup creamy peanut butter (not natural style)
- 1 cup powdered sugar
- 1 teaspoon alcohol-free vanilla extract
- 1 cup heavy whipping cream, cold
For the Chocolate Ganache:
- 1 cup semi-sweet chocolate chips
- ½ cup heavy cream
For Topping (optional but recommended):
- Whipped cream
- Chopped peanut butter cups
- Chocolate shavings
P.S. Want more recipes like this? My new cookbook features more than 25 Thanksgiving sides with make-ahead tips. →Download now
Instructions
Make the Crust
Crush those Oreos. Toss the entire package (yes, cream filling and all) into a food processor and pulse until you’ve got fine crumbs. No food processor? No problem—throw them in a zip-top bag and go to town with a rolling pin. It’s therapeutic, trust me.
Mix with melted butter. Pour the melted butter over the cookie crumbs and stir until everything looks like wet sand. Press this mixture firmly into the bottom and up the sides of a 9-inch pie pan. I use the bottom of a measuring cup to really pack it down.
Chill it. Pop the crust in the freezer for 15 minutes while you make the filling. This helps it set up nicely so it won’t crumble when you slice it later.
Create the Peanut Butter Filling
Beat cream cheese until fluffy. Using an electric mixer, beat the softened cream cheese for about 2 minutes until it’s completely smooth. Any lumps now will show up in your final pie, and nobody wants that.
Add peanut butter and sugar. Mix in the peanut butter, powdered sugar, and vanilla extract until everything’s combined and silky smooth. Scrape down the sides of the bowl—there’s always some hiding there.
Whip the cream separately. In another bowl, beat the cold heavy cream until stiff peaks form. This usually takes 3-4 minutes. Don’t skip this step or try to add the cream directly—the separate whipping creates that incredible light texture.
Fold it together. Gently fold the whipped cream into the peanut butter mixture using a spatula. Use a figure-eight motion and be patient—you want to keep all that airiness you just created.
Fill the crust. Spread the filling evenly into your chilled crust, smoothing the top with an offset spatula or the back of a spoon.
Top with Chocolate Ganache
Heat the cream. Pour the heavy cream into a microwave-safe bowl and heat for 45-60 seconds until it’s just starting to steam (not boiling).
Pour over chocolate. Add the chocolate chips to the hot cream and let it sit for 2 minutes. Then stir gently until the chocolate melts completely and the mixture becomes glossy and smooth.
Cool slightly. Let the ganache cool for 5 minutes—if it’s too hot, it’ll melt your peanut butter layer. Nobody wants a muddy mess.
Pour over pie. Starting from the center, pour the ganache over the peanut butter filling, using a spatula to spread it to the edges if needed.
Chill and Serve
Refrigerate for at least 4 hours or overnight for best results. The pie needs this time to firm up properly. I know waiting is hard when something this delicious is in your fridge, but patience pays off here.
Add toppings before serving. Right before you’re ready to serve, add a ring of whipped cream around the edge, sprinkle with chopped peanut butter cups, or add chocolate shavings. This is your moment to make it Instagram-worthy 🙂
Slice with a hot knife. Run your knife under hot water, dry it off, then slice. Wipe the knife clean and reheat between cuts for those perfect, clean slices that’ll make you look like a professional baker.
Pro Tips for Perfect Results
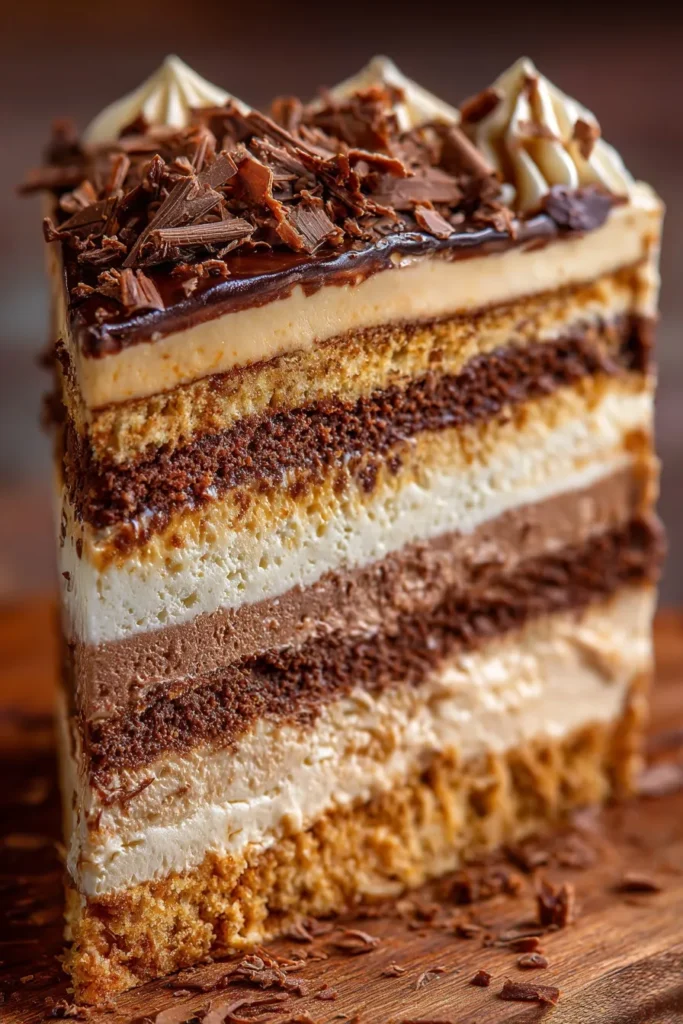
Temperature matters big time. Make sure your cream cheese is truly softened—not cold, not melted, just perfectly room temperature. This ensures a smooth filling without lumps.
Use regular peanut butter. Natural peanut butter with the oil separation won’t work here. Stick with the standard creamy stuff like Jif or Skippy for the best texture.
Don’t over-whip the cream. Stop beating when you see stiff peaks. If you go too far and it starts looking grainy, you’ve made butter—and while homemade butter is cool, it’s not what we’re going for here.
Make it ahead. This pie actually tastes better the next day after all the flavors meld together. Make it a day ahead for parties or holidays—one less thing to worry about.
Common Mistakes to Avoid
Skipping the crust chilling step. I get it, you’re excited to get this thing done. But that 15-minute freeze is crucial for a crust that holds together when you cut it.
Using warm ganache. Pour that chocolate too hot and you’ll have a swirly mess instead of distinct layers. Give it those few minutes to cool—scroll through your phone if you need a distraction.
Not softening the cream cheese enough. Cold cream cheese creates lumps that won’t mix out. Let it sit on the counter for an hour before starting, or microwave it in 10-second bursts (carefully!) until it’s soft.
Storage and Make-Ahead Tips
Refrigerator storage: This pie stays fresh in the fridge for up to 5 days when covered with plastic wrap. The texture actually improves after day one, IMO.
Freezer friendly: You can freeze this pie for up to 2 months. Wrap it tightly in plastic wrap, then aluminum foil. Thaw overnight in the refrigerator before serving.
Make individual portions: Use a muffin tin lined with cupcake liners to make mini versions. Press the Oreo crust into each cup, add filling, top with ganache, and chill. Perfect for portion control or parties!
Variations to Try
Swap the crust: Try a graham cracker crust or even a pretzel crust for a sweet-salty twist. Just use the same amount of crumbs and melted butter.
Add texture: Fold in some mini chocolate chips or chopped Reese’s pieces into the peanut butter filling for extra crunch and flavor pockets.
White chocolate version: Use white chocolate chips instead of semi-sweet for the ganache. It’s sweeter but absolutely delicious with the peanut butter.
Peanut butter drizzle: Melt some peanut butter and drizzle it over the chocolate ganache for a decorative touch that also adds extra peanut butter flavor.
FAQ
Can I use natural peanut butter? Honestly? I wouldn’t recommend it. Natural peanut butter has too much oil separation and won’t create that thick, stable filling we’re after. Save your fancy peanut butter for toast and use regular creamy peanut butter here.
How do I know when the pie is set? The pie is ready when the filling doesn’t jiggle much when you gently shake the pan. It should be firm to the touch but still creamy, not hard. Usually 4 hours minimum does the trick.
Can I make this without a food processor? Absolutely! Put those Oreos in a zip-top bag and crush them with a rolling pin, meat mallet, or even the bottom of a heavy pan. You want fine crumbs, so really go for it—no therapy bills required.
Why is my ganache not smooth? Usually this happens if the cream wasn’t hot enough to melt the chocolate. If it’s lumpy, pop it in the microwave for 10-15 seconds and stir again. The heat will smooth everything out.
Can I use milk chocolate instead of semi-sweet? Sure, but know that it’ll be sweeter. Semi-sweet provides nice balance against the sweet peanut butter filling, but if your crowd loves super sweet desserts, milk chocolate works fine.
What Makes This Special
Here’s the real deal: this pie is ridiculously easy but tastes like you spent hours in the kitchen. No baking, no stress—just crunchy Oreo crust, impossibly smooth peanut butter cream, and silky chocolate ganache in every bite. It’s basically foolproof, and when people ask for the recipe (they will), you can act like it was no big deal.
Looking for even more ideas? My Thanksgiving Sides Revolution cookbook has more than 25 elevated recipes. → Get instant access







