
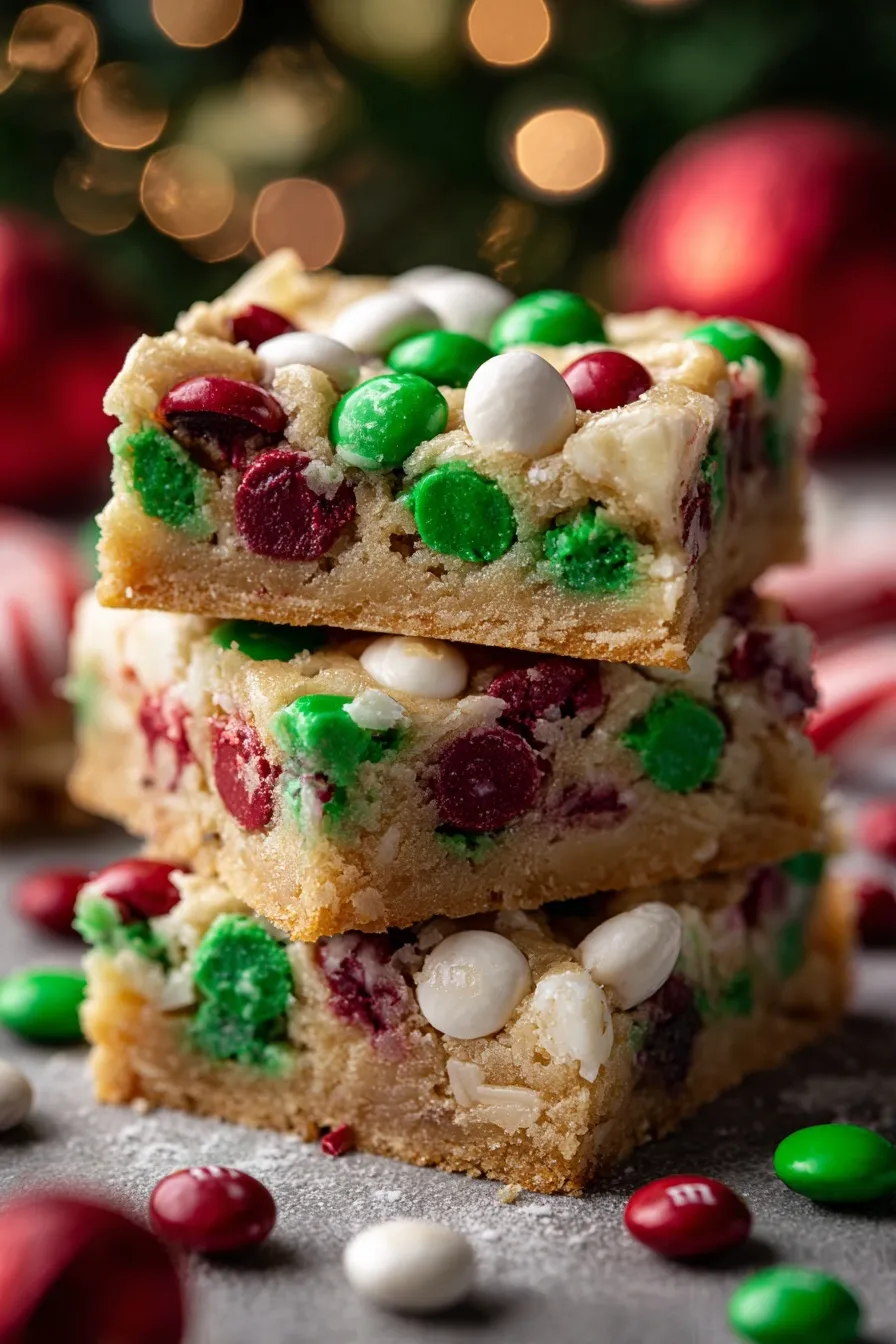
Craving cookies but dreading hours of scooping and baking batch after batch? These Christmas cookie bars recipe delivers all that soft, chewy cookie goodness in one easy pan with festive M&Ms and sprinkles baked right in.
Since you’re here, make sure to check out these related recipes:
- Christmas Sugar Cookie Bars Recipe (So Easy)
- Christmas Gooey Butter Cookies Recipe
- Best Salted Caramel Cracker Bites (Addictively Sweet)
- Brown Sugar Pop Tart Cookies Recipe (Nostalgic)
- Christmas Sprinkle Buttermilk Bread Recipe
Why This Christmas Cookie Bars Recipe Works
Ever find yourself exhausted after making dozens of individual cookies during the holidays? These blondie-style bars eliminate all that tedious scooping and rolling while delivering the exact same soft, chewy texture everyone loves.
The high brown sugar ratio creates that almost-toffee flavor and keeps bars incredibly moist for days. Baking powder works with the eggs to give you that perfect soft-yet-chewy texture you can’t get from regular cookie dough. Spreading everything in one 9×13 pan means you’ll finish in half the time with zero compromise on flavor.
- One-pan method cuts prep time in half compared to traditional cookie batches
- Brown sugar base creates deep toffee-like flavor and incredible moisture retention
- Underbaking technique ensures fudgy centers that stay soft for over a week
- Freezer-friendly nature lets you make ahead and pull out whenever cravings hit
Ingredients
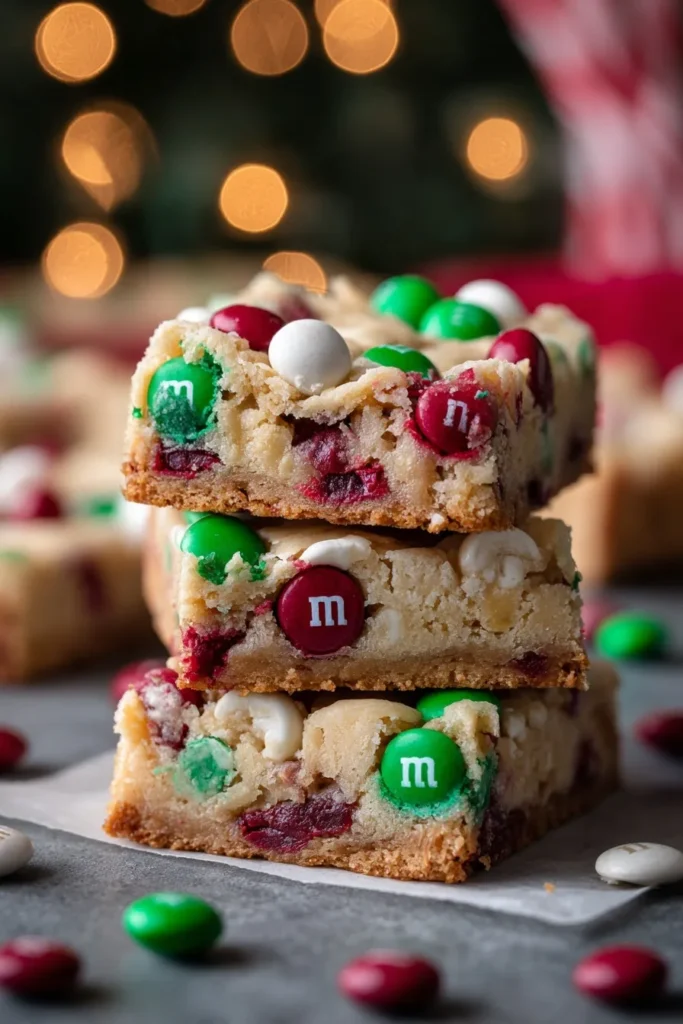
Want bars that stay soft and chewy for days instead of turning rock-hard overnight? The secret lies in that packed brown sugar and the right butter-to-flour ratio.
For the cookie bars:
- ½ cup unsalted butter, softened (113g)
- 2 cups packed brown sugar (400g)
- 2 large eggs, room temperature
- 1 teaspoon vanilla extract
- ½ teaspoon salt
- 1 teaspoon baking powder
- 2 cups all-purpose flour (248g)
- 1 cup Christmas M&Ms (any color)
- ½ cup Christmas sprinkles (jimmies work best)
The 2:1 ratio of brown sugar to butter creates maximum chewiness and that gorgeous toffee undertone. Room temperature eggs blend smoothly without creating lumps in the batter. Jimmies hold up better during baking than ball-shaped sprinkles which tend to melt and bleed colors everywhere.
Step-by-Step Instructions
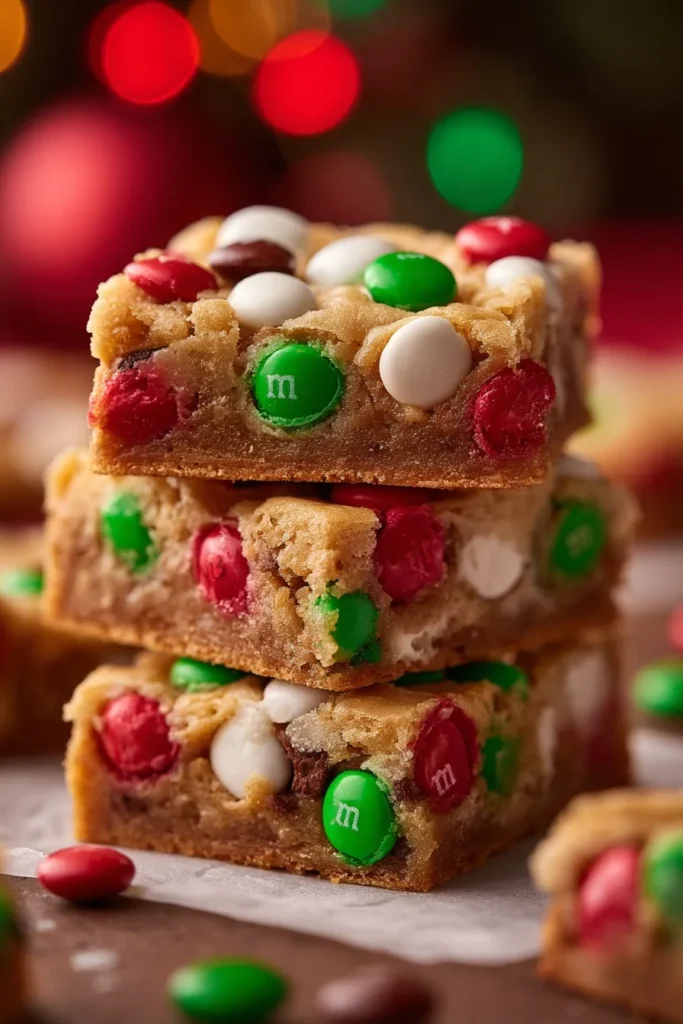
1. Preheat oven to 350°F and line a 9×13-inch metal pan with foil. Spray foil generously with cooking spray so bars lift out cleanly after baking without sticking.
2. Cream softened butter and packed brown sugar with electric mixer until mixture looks crumbly. This takes about 2 minutes and sets the foundation for that chewy texture.
3. Add eggs and vanilla extract to butter mixture and beat until completely smooth and creamy. The mixture transforms from crumbly to silky as you mix for another minute.
4. Mix in salt and baking powder first, then add flour gradually while mixing on low speed. Beat just until flour disappears and no white streaks remain in batter.
5. Stir M&Ms and sprinkles into batter using a wooden spoon or spatula. Reserve a handful of each for topping so you get that pretty decorated look on top.
6. Spread wet dough into prepared pan by spraying hands with cooking spray first. Press and smooth dough into even layer covering entire pan bottom without gaps.
7. Sprinkle reserved M&Ms and extra sprinkles over top of dough, pressing them gently into surface so they stick during baking.
8. Bake for 22-25 minutes until edges turn golden brown and center looks set but slightly underdone. Top should no longer look glossy or wet when ready.
9. Cool completely in pan on wire rack for at least one hour. Bars continue baking as they cool and cutting too early makes them fall apart.
10. Lift cooled bars out of pan using foil edges as handles. Peel foil away and cut into 24 squares using sharp knife for clean edges.
Essential Equipment
Metal 9×13-Inch Baking Pan
Metal conducts heat evenly so bars bake uniformly without overdone edges and raw centers. Glass pans take longer to heat up and cause uneven baking every single time.
Electric Hand Mixer or Stand Mixer
Creaming butter and sugar properly requires consistent beating power for at least 2 minutes. Your arm would give out trying to achieve that fluffy texture by hand.
Heavy-Duty Aluminum Foil
Restaurant-quality foil creates a non-stick barrier that lets you lift entire batch out for perfect cutting. Regular thin foil tears and leaves you scraping bars out of the pan.
Digital Kitchen Scale (PREMIUM)
Weighing flour and sugar eliminates measuring errors that cause dense, cakey bars instead of chewy ones. Professional bakers always weigh for consistent results every single time.
What to Serve With Christmas Cookie Bars
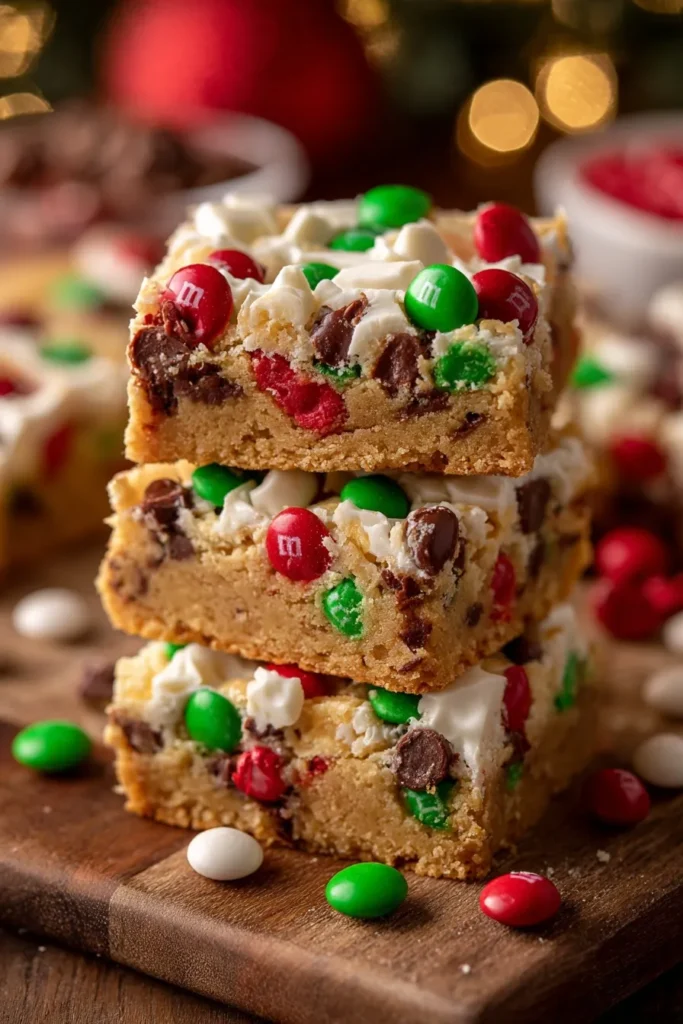
Planning your holiday dessert spread or looking for the perfect pairing? These festive bars work beautifully alongside both hot and cold beverages that balance their rich sweetness.
Serve with Festive Christmas Chai Latte for a warming combo that hits all those cozy holiday notes. The spiced tea cuts through the sweet toffee flavor perfectly. Add Peppermint Christmas Float Recipe to your dessert table for a fun minty contrast.
Create an impressive cookie platter by pairing with Christmas Cranberry Orange Cookies and Gingerbread Rice Krispie Treats. The variety in textures and flavors makes your spread memorable without requiring dozens of different complicated recipes.
Storage and Reheating Guide
Refrigerator storage
Store cooled bars in airtight container at room temperature for up to one week. Refrigeration actually makes them dry and hard so skip the fridge unless your kitchen is extremely hot. Layer parchment paper between stacked bars to prevent sticking.
Freezer storage
Freeze bars individually wrapped in plastic wrap, then grouped in freezer bags for up to 3 months. Thaw wrapped bars at room temperature for 2 hours before serving so they come back to that perfect chewy texture. Frozen bars make great grab-and-go lunchbox treats.
Serving instructions
Let bars come to room temperature before serving for best texture and flavor. Microwave individual bars for 10-15 seconds if you want that fresh-from-the-oven warmth. The M&Ms get slightly melty and the bars taste like you just baked them.
Christmas Cookie Bars Recipe Variations
Want to make these bars year-round or adapt for different celebrations? This versatile base works with literally any color scheme or flavor combination you can imagine.
Try Valentine’s Day bars using red and pink M&Ms with heart-shaped sprinkles for February parties. Easter cookie bars shine with pastel M&Ms and spring-colored jimmies. Halloween version works perfectly with orange and brown candies plus Halloween sprinkles.
Make sports team bars by matching M&M colors to your favorite team for game day watch parties. Add ½ cup chocolate chips along with M&Ms for extra chocolate intensity. Swap vanilla extract for almond extract to create a subtle nutty undertone that tastes amazing.
Pro Tips & Tricks
Looking for that perfect fudgy center with crispy edges? These insider techniques make the difference between good bars and absolutely incredible ones.
Use metal pan only because glass conducts heat differently and causes overdone edges with raw centers every time.
Underbake slightly so bars look barely set when you pull them out since they continue baking as they cool in the hot pan.
Spray your hands generously before spreading dough because the wet batter sticks to everything otherwise and drives you crazy.
Measure flour correctly using spoon-and-level method instead of scooping directly from bag which packs in too much and creates dense bars.
Frequently Asked Questions
Can you freeze Christmas cookie bars recipe for later?
Freeze bars for up to 3 months wrapped individually in plastic wrap then stored in freezer bags. Thaw at room temperature for about 2 hours before serving. They taste fresh-baked after thawing with no texture changes. Perfect for making ahead before busy holiday weeks.
Why do my Christmas cookie bars look raw in the middle?
These bars should have fudgy centers like brownies, not fluffy cake-like texture. They look underdone when you pull them from oven but set as they cool completely. Wait full hour before cutting. If still truly liquid after cooling, your oven temperature might be off or you used glass pan instead of metal.
How do you prevent Christmas cookie bars from sticking to pan?
Line pan with heavy-duty foil and spray generously with cooking spray before adding batter. Parchment paper works too but foil creates better non-stick surface. Let bars cool completely before lifting out using foil edges as handles. Cutting while warm causes sticking and crumbling.
Can you make Christmas cookie bars without brown sugar?
Brown sugar creates that signature toffee flavor and keeps bars incredibly moist and chewy. Substituting white sugar makes bars taste flat and dry out faster. If you must substitute, use 2 cups white sugar plus 2 tablespoons molasses to mimic brown sugar moisture and flavor.
What’s the difference between Christmas cookie bars and regular cookies?
Cookie bars use same base ingredients but bake in one pan instead of individual portions. The texture stays softer and chewier because bars don’t spread thin and crispy like regular cookies. You save tons of time not scooping dozens of cookie dough balls. Try our Soft Sugar Cookies Recipe to compare textures.
How long do Christmas cookie bars stay fresh?
Bars stay soft and chewy for up to one week stored in airtight container at room temperature. The high brown sugar content retains moisture better than regular cookies which dry out in 2-3 days. They actually taste better on day two after flavors meld together overnight.
Why You’ll Love This Recipe
Ready to simplify your holiday baking without sacrificing that homemade taste? This Christmas cookie bars recipe delivers maximum flavor and festivity with minimum effort and stress.
One pan replaces dozens of cookie batches while maintaining that soft, chewy texture everyone fights over. The make-ahead and freeze-friendly nature means you’ll actually enjoy the holidays instead of spending them chained to your oven.
📌 Save this Christmas cookie bars recipe for your holiday baking – they’re guaranteed to become your new tradition!







