
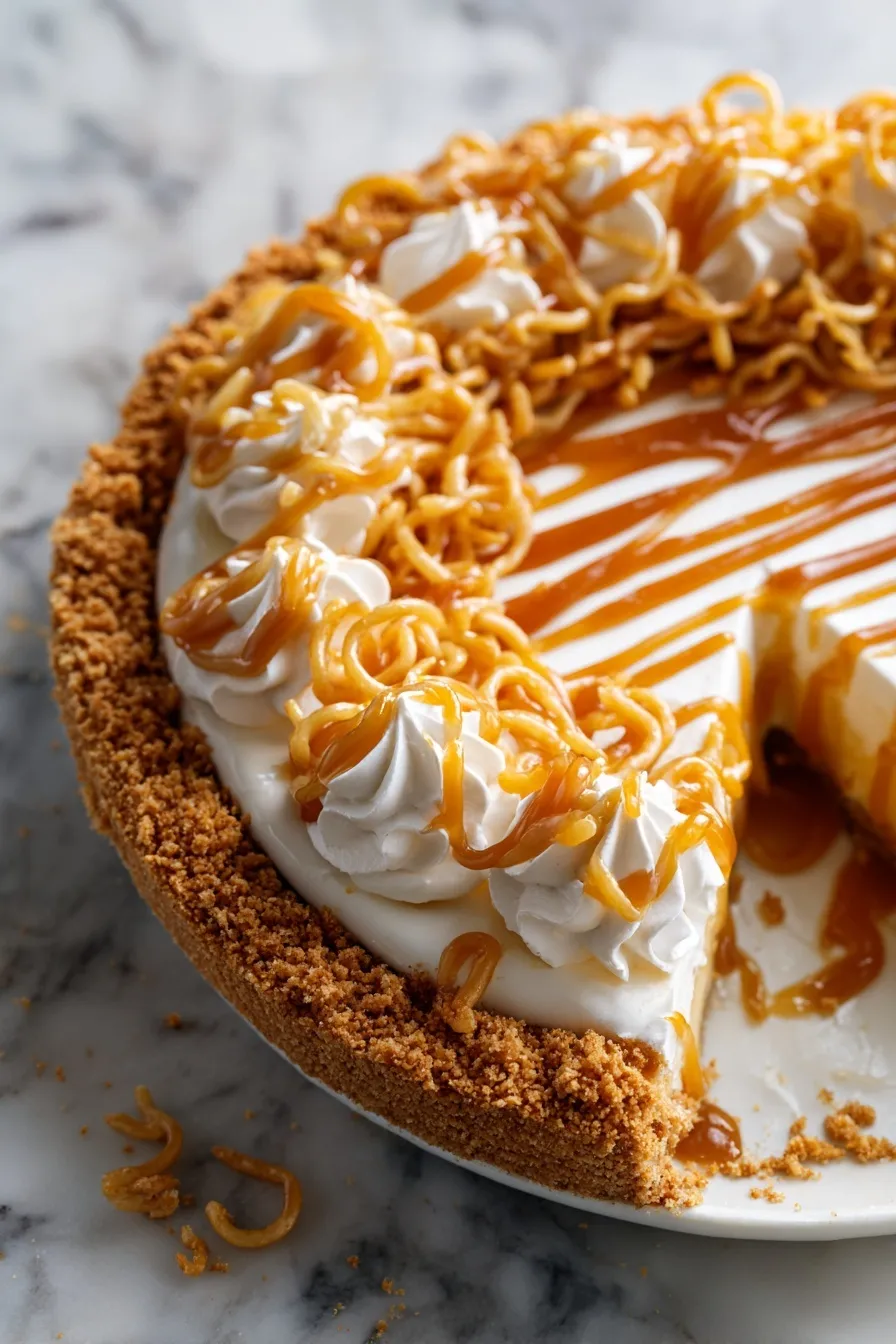
This legendary pie brings Southern charm and butterscotch bliss to your table!
Since you are here, make sure to check out these amazing comfort desserts:
- Perfect Peach Cobbler Recipe Easy Homemade
- Ultimate No Bake Oreo Cheesecake
- Lemon Raspberry Swirl Cheesecake Recipe
- Perfect Classic Peach Cobbler Recipe
- Bourbon Pumpkin Pie Brown Butter Pecan Streusel Recipe
Note: This recipe has been adapted to be halal-compliant using alcohol-free vanilla extract.
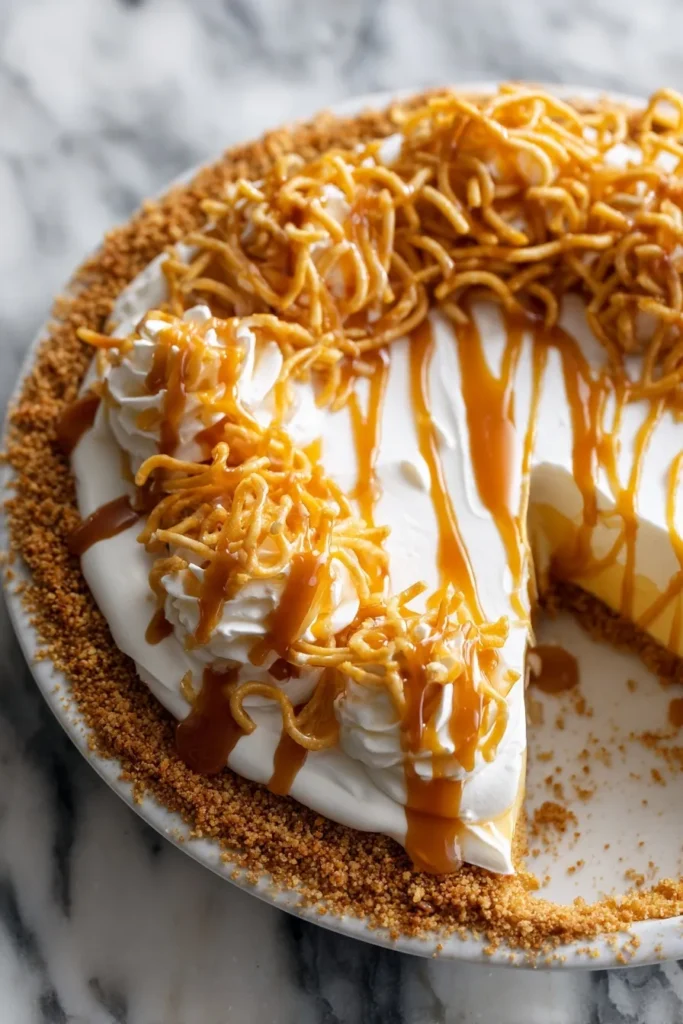
Y’all, when Dolly Parton shares a recipe, you listen. This isn’t just any butterscotch pie—this is the kind of dessert that makes people stop mid-conversation and ask for seconds before they’ve finished their first slice. We’re talking silky butterscotch filling topped with clouds of golden meringue that’ll make you believe in dessert magic again.
I’ll be honest—meringue can be a little temperamental (kind of like my Aunt Linda), but once you get the technique down, this pie becomes your secret weapon for impressing absolutely everyone. Plus, there’s something deeply satisfying about making a dessert that looks this fancy but uses ingredients you probably already have in your pantry.
Ingredients
The Foundation
- 1 (9-inch) pre-baked pie crust (Homemade or store-bought—no judgment here)
Butterscotch Filling That Dreams Are Made Of
- 1½ cups brown sugar, packed (Light or dark, your choice)
- ⅓ cup all-purpose flour
- ¼ teaspoon salt
- 1½ cups whole milk
- ½ cup unsalted butter
- 4 large egg yolks, beaten
- 1 teaspoon pure vanilla extract (alcohol-free)
Cloud-Like Meringue
- 4 large egg whites (Room temperature is key!)
- ¼ teaspoon cream of tartar
- 5 tablespoons granulated sugar
Real talk: Make sure your eggs are fresh and your mixing bowl is squeaky clean for the meringue. Any trace of grease or yolk will ruin your meringue dreams faster than you can say “9 to 5.”
Instructions
Step 1: Create the Butterscotch Magic
In a medium saucepan over medium heat, whisk together brown sugar, flour, and salt. This dry mixture is your butterscotch base, so don’t rush it.
Gradually add milk, whisking constantly to prevent lumps. We’re building smooth, creamy perfection here—patience pays off big time.
Add butter and stir until completely melted and incorporated. Your mixture should be getting gorgeously golden now.
Step 2: Master the Tempering Technique
Here’s where things get crucial. Take about ½ cup of your hot mixture and slowly drizzle it into your beaten egg yolks, whisking constantly. This tempering prevents scrambled eggs and ensures silky filling.
Pour the tempered yolk mixture back into the saucepan and cook for 2-3 minutes, stirring constantly until it thickens to pudding consistency.
Remove from heat and stir in vanilla extract. Your kitchen should smell like butterscotch heaven right about now.
Step 3: Assembly Time
Pour filling into your pre-baked crust and let it cool slightly while you work on the meringue. Don’t let it cool completely—warm filling helps the meringue adhere better.
Step 4: Meringue Mastery
Preheat oven to 350°F—you’ll need it ready to go.
In a clean, dry bowl, beat egg whites and cream of tartar on medium speed until foamy. Gradually increase speed and beat until soft peaks form.
Slowly add sugar, one tablespoon at a time, beating until stiff, glossy peaks form. The meringue should look like clouds that could support a small angel.
Step 5: The Final Flourish
Spread meringue over the warm butterscotch filling, making sure it touches the crust edges all around—this prevents shrinking.
Create decorative peaks with your spatula because we’re going for full Southern charm here.
Bake for 12-15 minutes until the meringue is golden brown. Watch it like a hawk—the line between “perfectly golden” and “burnt disaster” is thin.
Step 6: Cool and Chill
Cool completely at room temperature, then refrigerate for at least 2 hours before serving. This lets everything set up perfectly.
Why This Pie Is Pure Magic
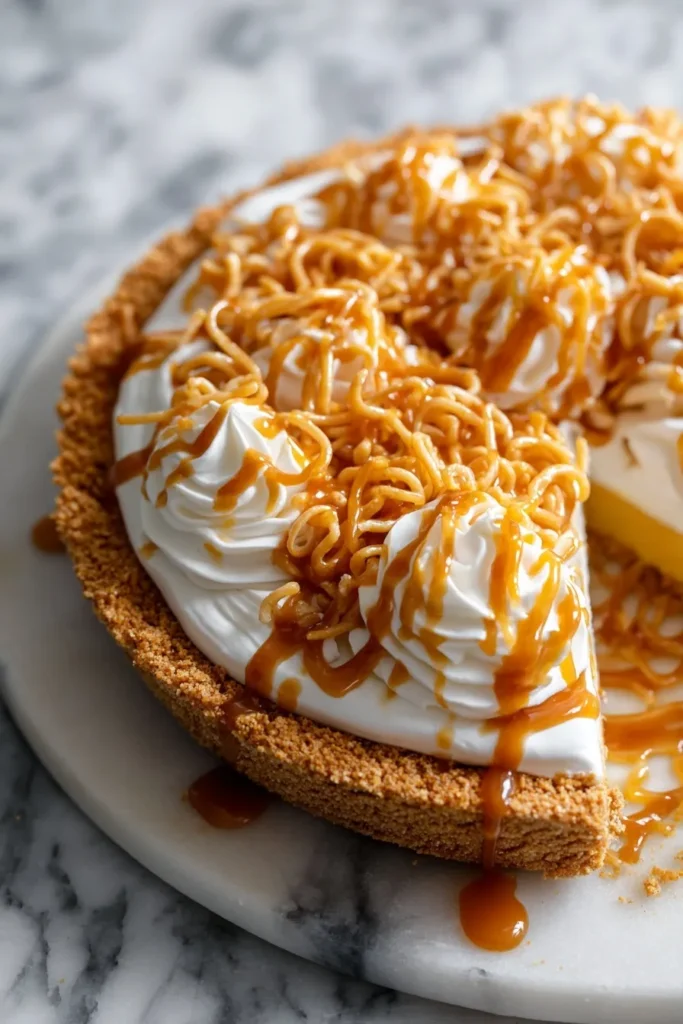
Dolly-approved: If it’s good enough for the Queen of Country, it’s good enough for your dinner table.
Make-ahead friendly: This actually improves overnight as flavors meld together beautifully.
Impressive but doable: Looks like you spent all day in the kitchen, but it’s actually pretty straightforward once you know the tricks.
Comfort food perfection: That butterscotch flavor hits all the nostalgic notes while the meringue adds elegance.
Pro Tips for Pie Perfection
Egg white temperature matters: Room temperature whites whip up better than cold ones. Take them out 30 minutes before you start.
Clean bowl obsession: Any fat (including egg yolk residue) will prevent proper meringue formation. Use a glass or metal bowl—never plastic.
Gradual sugar addition: Don’t dump all the sugar in at once. Slow and steady wins the meringue race.
Seal those edges: Make sure meringue touches the crust all around to prevent weeping and shrinking.
Watch that oven: Meringue can go from perfect to burnt in about 30 seconds. Stay close!
Complete FAQ
Can I make this without meringue?
You can top with whipped cream instead, but honestly, the meringue is what makes this pie special. It’s worth learning the technique!
Why did my meringue weep?
Usually from humidity, underbeaten whites, or not sealing the edges to the crust. Make sure meringue touches crust all around and bake immediately.
Can I make the filling ahead?
Yes! Make the filling up to a day ahead and keep it covered in the fridge. Just warm it slightly before adding meringue.
What if my filling is lumpy?
Strain it through a fine-mesh sieve. Prevention is better though—whisk constantly and cook slowly.
How long does this keep?
Best within 2-3 days stored covered in the refrigerator. The meringue may soften over time but it’ll still taste incredible.
This butterscotch pie embodies everything we love about Southern desserts—it’s rich, comforting, and made with love. Plus, there’s something magical about serving a dessert that’s connected to someone as beloved as Dolly Parton. Your guests will feel like they’re getting a little taste of music history with their dessert, and honestly, that’s pretty special! 🙂







