
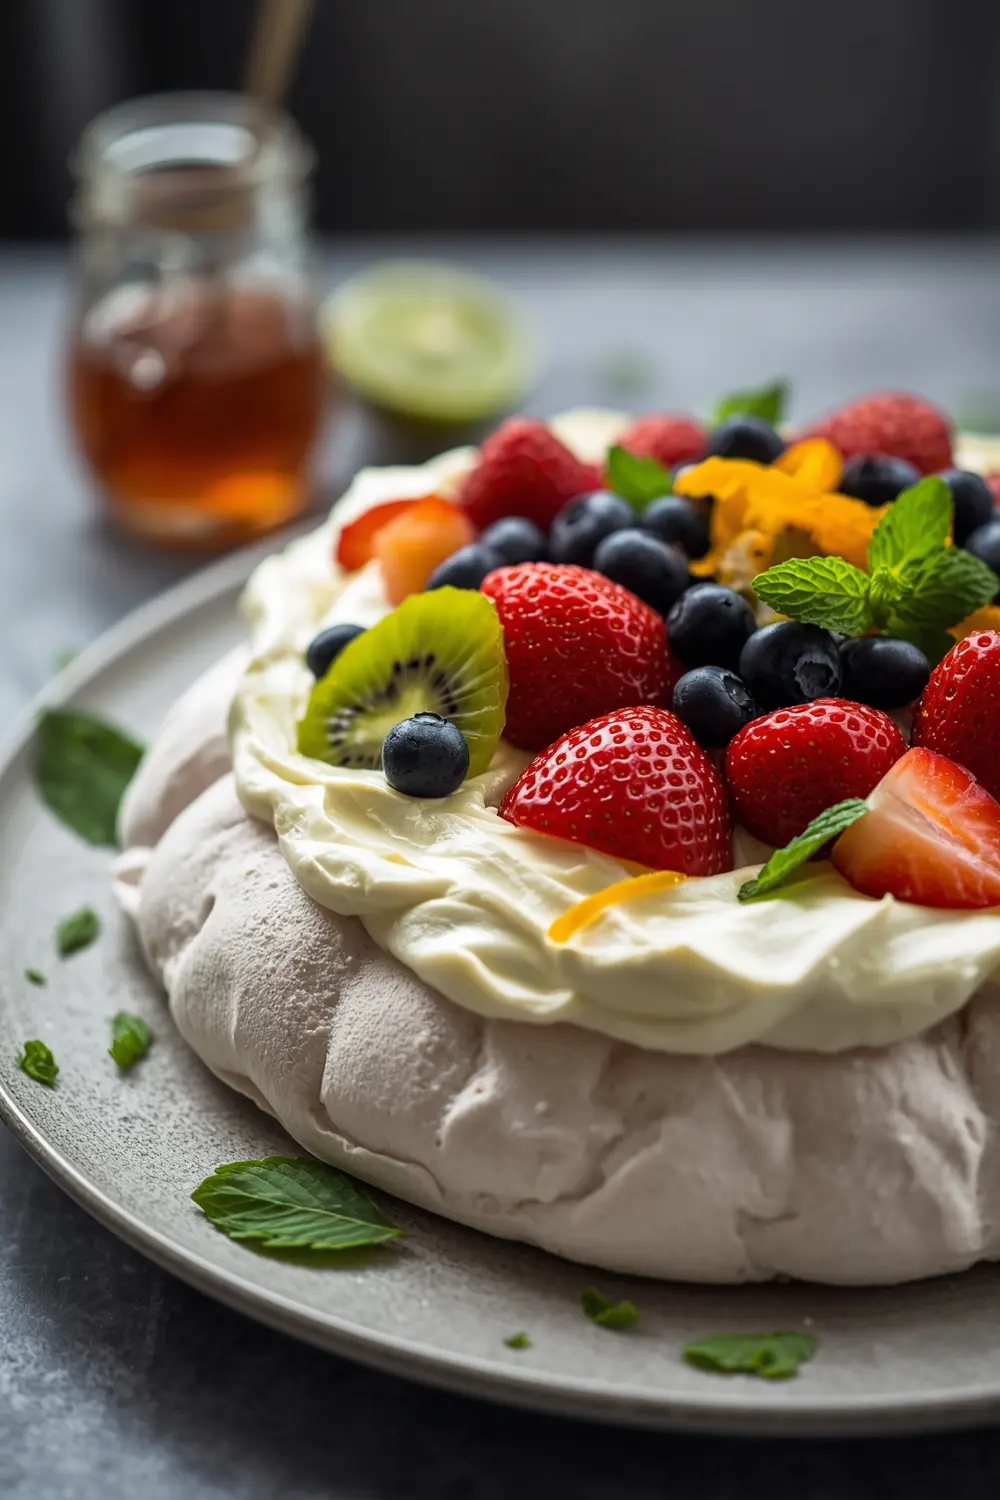
Easter pavlova recipe is honestly my go-to when I need something that looks fancy but won’t stress me out. The crispy-on-the-outside, marshmallow-soft-inside texture is pure magic, and nobody believes how simple it actually is to make. Plus, you’ll have this elegant meringue dessert ready in less than two hours total.
Ever had one of those desserts that makes everyone go “wow, you made this?” That’s exactly what happens with this pavlova. I’m not gonna lie—my first attempt went a little sideways because I opened the oven door at the 30-minute mark like an impatient mess, but even that didn’t ruin it completely.
Want to bookmark this recipe for your Easter brunch or spring celebration? Scroll down for the full instructions and my personal tips that’ll make yours turn out perfectly the first time.
Looking for more show-stopping desserts with similar elegant vibes? Check out our spring dessert collection for inspiration beyond traditional Easter meringue options.
Why this Easter pavlova recipe works
Ever wondered why meringues sometimes collapse and sometimes stay gorgeous and crispy? The secret’s honestly in the technique and the ingredients you use. I tested this Easter pavlova recipe three different ways, and this version nailed it every single time.
- Creates a show-stopping dessert that takes minimal actual hands-on time
- Naturally gluten-free and light enough for spring celebrations
- The crispy base holds fruit and whipped cream beautifully without getting soggy fast
- Makes 8 servings, so it’s perfect for feeding a crowd without stress
| Prep Time | Cook Time | Calories | Servings | Cuisine |
|---|---|---|---|---|
| 25 minutes | 1 hour 30 minutes | 245 per serving | 8 servings | Australian |
Ingredients for Easter pavlova recipe
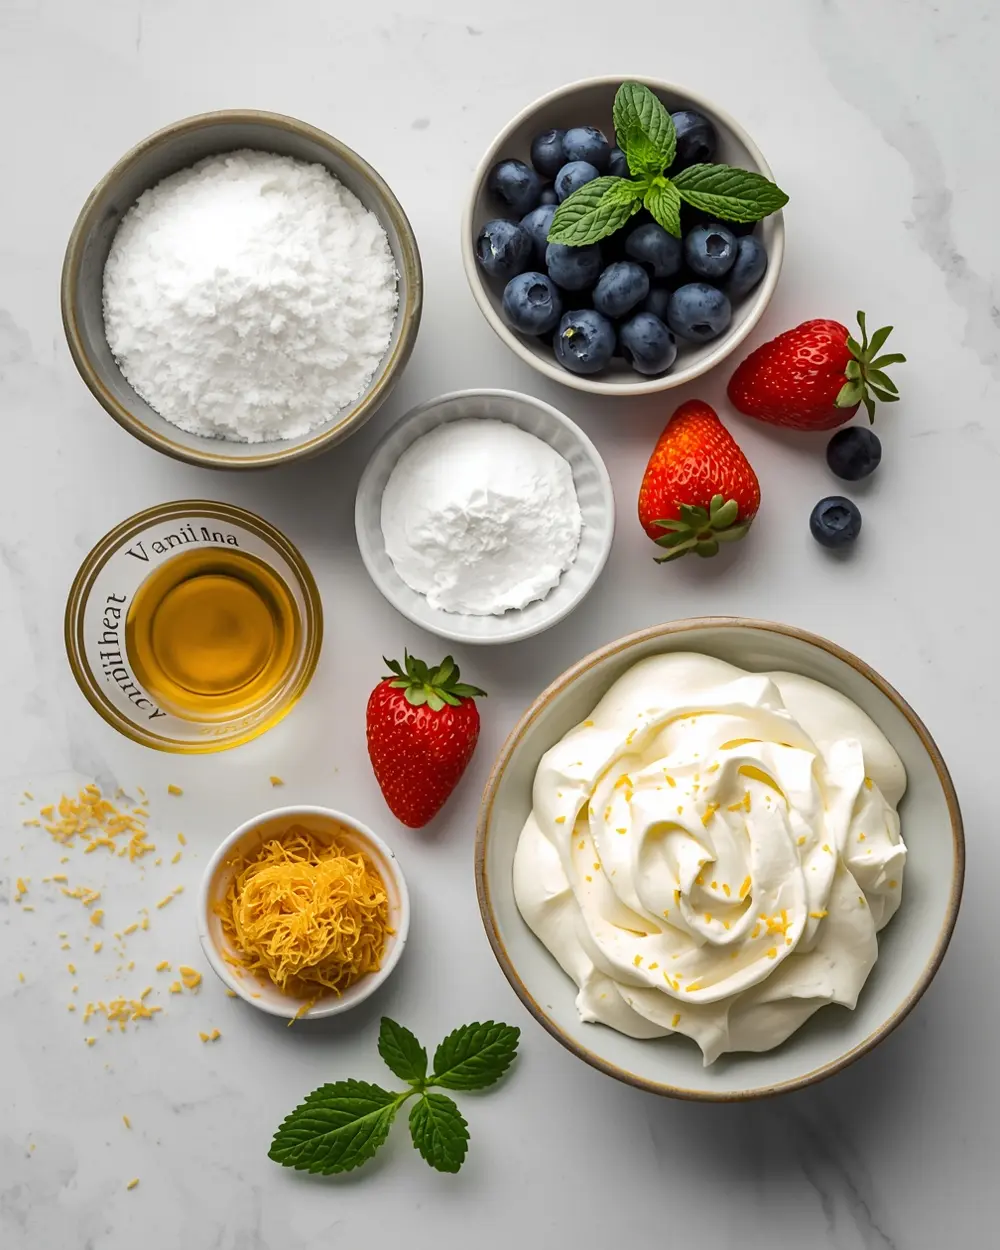
- 4 egg whites (room temperature—this matters!)
- 1 cup caster sugar
- 1 tsp cornstarch
- 1 tsp white vinegar
- 1 tsp vanilla extract
- 2 cups whipped cream
- 1/2 cup sliced strawberries
- 1 kiwi, sliced
- 1/2 cup blueberries
- 1 tbsp fresh mint leaves
- 1 tsp orange zest
- 1 tbsp honey
Don’t panic if you can’t find caster sugar—regular granulated sugar works, you’ll just need to pulse it in a food processor for 30 seconds to make it finer. The cornstarch and vinegar combo is what keeps this pavlova recipe from cracking, so honestly don’t skip those two ingredients.
You can absolutely swap the spring fruit for whatever’s fresh at your market right now. Raspberries, peaches, or even pomegranate seeds look gorgeous on top and taste amazing with that sweet meringue base.
Step-by-step instructions
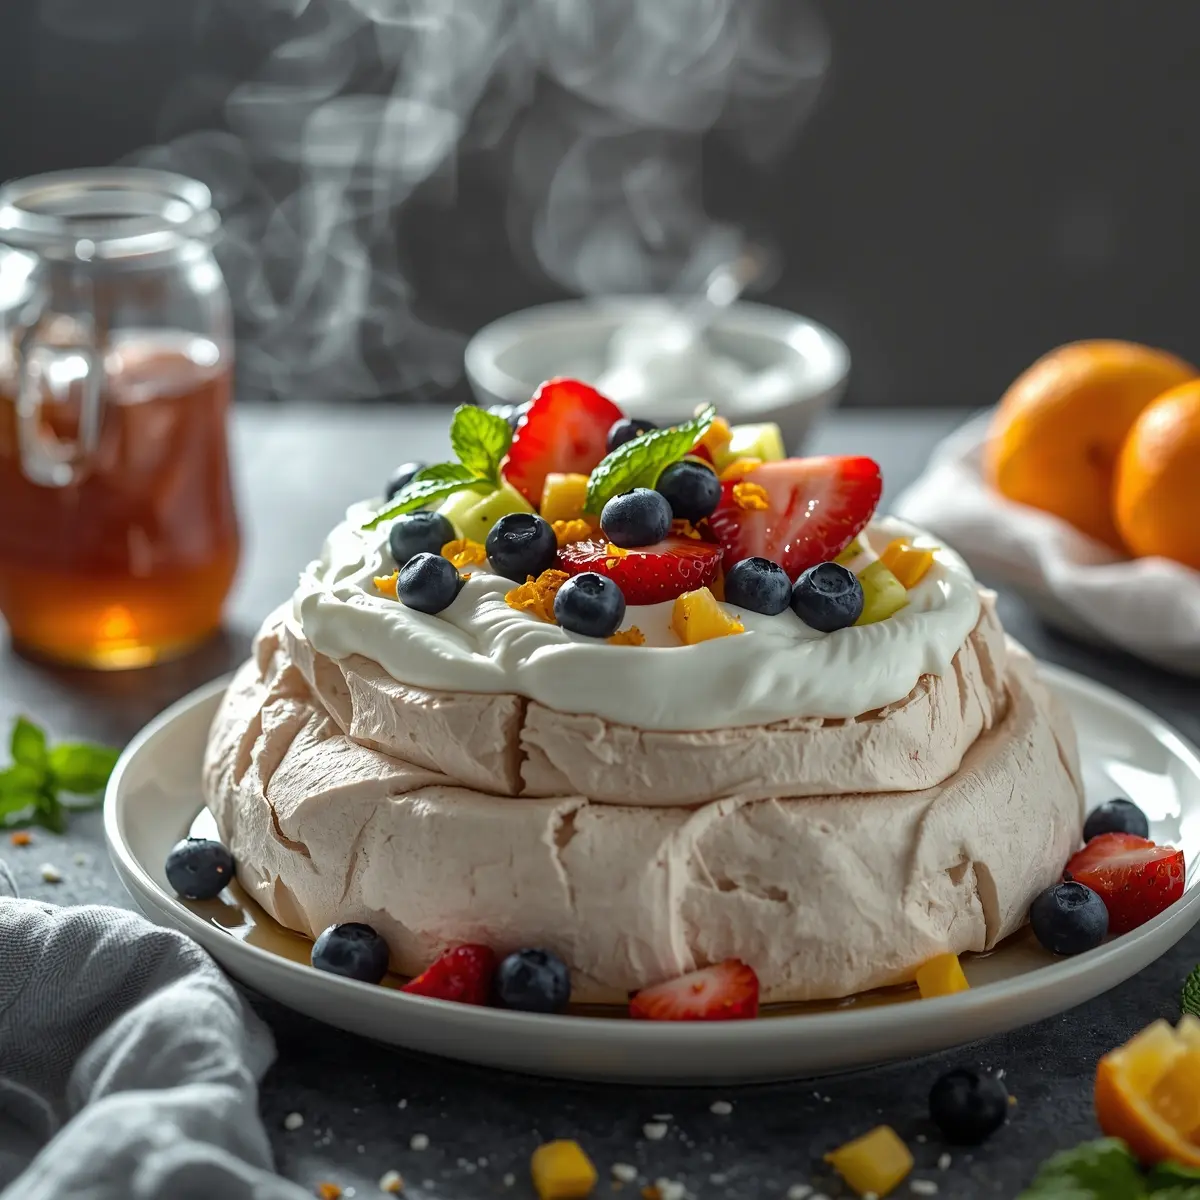
1. Preheat your oven to 275°F and line a large baking sheet with parchment paper. Using an electric mixer on medium speed, beat 4 room-temperature egg whites for about 2 minutes until they turn foamy and light. Trust me—room temperature eggs beat way faster than cold ones. This makes a huge difference in getting those soft peaks.
2. Gradually add 1 cup caster sugar one tablespoon at a time while the mixer runs on high speed. Keep beating for about 8-10 minutes until stiff, glossy peaks form when you lift the beaters. The mixture should look thick and shiny, kinda like clouds. Don’t rush this step—I learned that the hard way.
3. Gently fold in 1 tsp cornstarch, 1 tsp white vinegar, and 1 tsp vanilla extract using a rubber spatula. Fold carefully and slowly so you don’t deflate all that beautiful air you just whipped in. The mixture should look smooth and silky after about 20-30 gentle folds. Stop before you think you’re done—that’s the sweet spot.
4. Spread the meringue onto your prepared baking sheet into a rough circle about 10 inches wide. You can make it look rustic and organic, or smooth it out—either way looks gorgeous. Create a slight well in the center by pushing the meringue up around the edges. This little trick catches the whipped cream perfectly.
5. Bake for 1 hour 30 minutes until the pavlova is pale golden and feels crispy on the outside. The center should still feel slightly soft when you gently touch it. Turn off the oven and crack the door open about 2 inches, then let it cool inside for another 30 minutes. This gradual cooling prevents cracking, and yes, I learned this after my first disaster.
6. Remove from the oven and let it cool completely at room temperature for at least 15 minutes. Once it’s completely cool, carefully transfer it to a serving plate or leave it on the parchment if it feels fragile. Don’t stress if it cracks a little—you’re gonna cover it with cream and fruit anyway, so it won’t show.
7. Top your Easter pavlova recipe with 2 cups whipped cream, then arrange 1/2 cup sliced strawberries, 1 sliced kiwi, and 1/2 cup blueberries on top. Finish with 1 tbsp fresh mint, 1 tsp orange zest, and drizzle 1 tbsp honey over everything. Serve immediately so the pavlova stays crispy on the outside while you’re eating.
Serving ideas for Easter pavlova recipe
This dessert is picture-perfect on its own, but here’s how to make it even more special.
With Champagne or Sparkling Cider
Serve slices alongside a glass of bubbly for that elegant brunch vibe. The light, airy texture pairs beautifully with anything fizzy and celebratory.Alongside Lemon Curd
Layer a spoonful of tangy lemon curd under the whipped cream for extra brightness. The tartness cuts through the sweetness perfectly and adds another flavor dimension.As a Dessert Spread
Set out the pavlova and let guests build their own by choosing their favorite fruit toppings. This works amazingly for Easter gatherings and takes pressure off plating. You might also enjoy our fruit-forward spring desserts for other interactive options.Pro tips for perfect Easter pavlova recipe
Storage tips
– Keep the baked pavlova base in an airtight container at room temperature for up to 3 days before topping – Don’t assemble with cream and fruit until 1-2 hours before serving to maintain crispiness – Store leftover assembled pavlova covered loosely in the fridge for maximum 4 hoursMake-ahead instructions
– Bake the meringue base the night before and let it cool completely overnight wrapped loosely – Whip the cream and prep all fruit the morning of serving for best flavor and texture – You can also freeze the unbaked meringue mixture for up to 2 weeks—thaw and bake when readyVariations
– Skip the spring fruit and use chocolate shavings, crushed nuts, or salted caramel drizzle instead – Make individual mini pavlovas by piping smaller meringue mounds and reducing baking time to 50-60 minutes – Try different fruit like raspberries, peaches, or pomegranate seeds depending on seasonal availabilityTroubleshooting
– If your meringue looks grainy or separated, you likely added sugar too quickly—cream it in slowly next time – If the pavlova turns dark brown instead of pale, your oven temperature is running hot—reduce to 250°F and add 15 minutes – If it cracks badly during cooling, brush cracks with a bit more whipped cream when serving to hide themFrequently asked questions
Can I make Easter pavlova recipe ahead and freeze it?
Yes, you can freeze the fully baked and cooled meringue base for up to 2 weeks wrapped tightly in plastic wrap and foil. Let it thaw at room temperature for 30 minutes before assembling with cream and fruit, then serve immediately so it stays crispy.What’s the difference between this Easter meringue dessert and regular pavlova?
The main difference is the spring fruit topping and seasonal presentation, but the technique is identical. Both versions use the same meringue base—it’s just decorated differently for Easter celebrations.How long does assembled pavlova keep in the fridge?
Assembled pavlova keeps for about 4 hours in the fridge covered loosely with plastic wrap. After that, the meringue starts absorbing moisture from the cream and gets softer, which isn’t always bad—some people actually prefer it that way.Is this fruit topped dessert actually gluten-free?
Yes, this pavlova recipe is naturally gluten-free since meringue is just egg whites, sugar, and a few stabilizers. Just make sure your toppings are also gluten-free if that matters for your guests.Final thoughts
Making an elegant spring dessert doesn’t mean spending hours in the kitchen—this Easter pavlova recipe proves it. The crispy meringue, fluffy whipped cream, and fresh spring fruit come together in a way that feels fancy but stays totally approachable.
I’ve served this at three Easter brunches now, and it’s become my most-requested dessert (seriously, someone asked for the recipe twice). The combination of textures and flavors is something guests genuinely rave about for days after.
Ready to become the dessert hero at your next celebration? Pin this recipe, grab your ingredients, and give it a try—I promise you’ve got this. Check out more elegant spring entertaining ideas while you’re planning your menu.







