
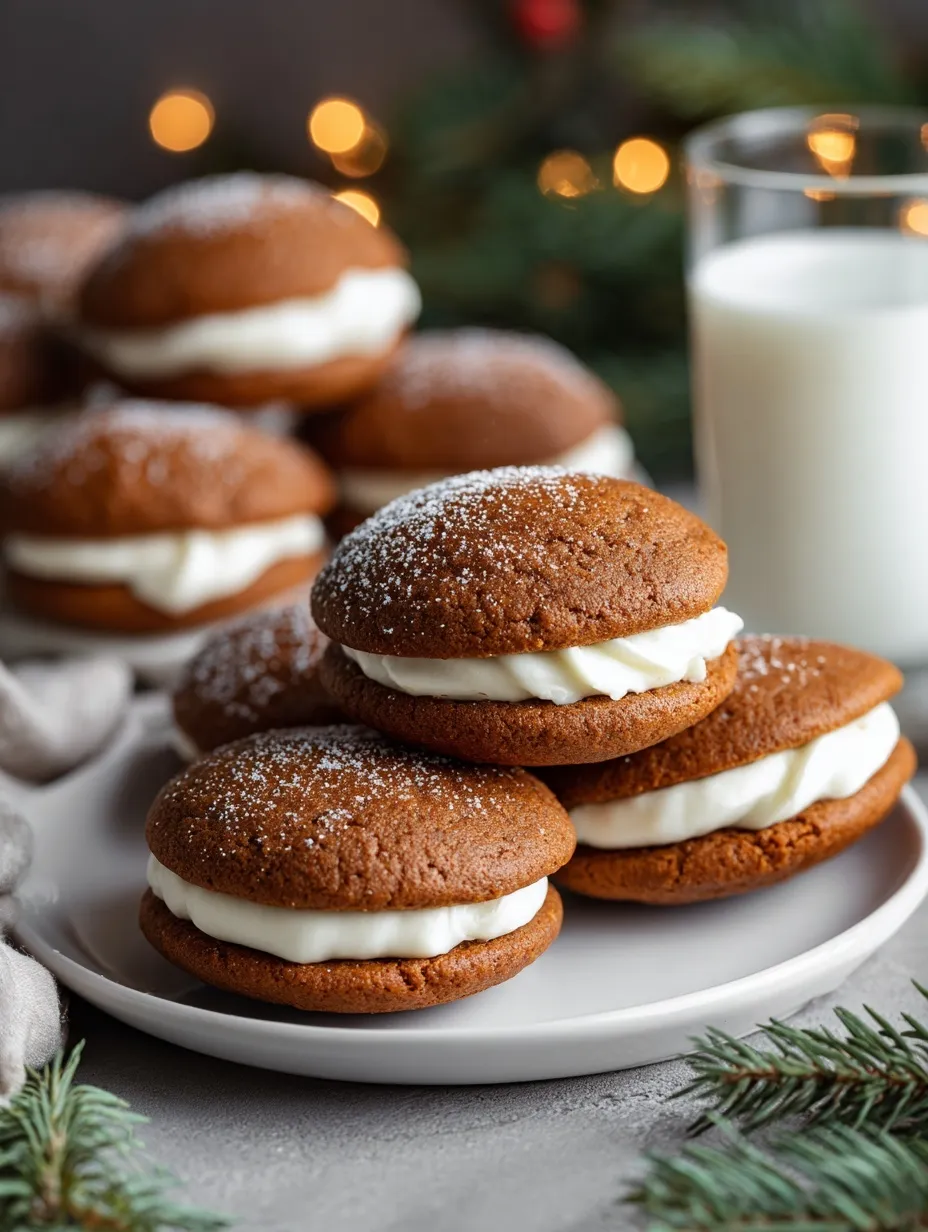
These aren’t your grandma’s boring molasses cookies – we’re talking soft, chewy perfection with a festive eggnog twist that’ll make your taste buds do a happy dance.
Since you are here, make sure to check out this magical holiday cookie collection, spooky cauldron cookie cups, cranberry orange snowball cookies, Christmas spritz cookies, and glazed cranberry orange cookies.
What Makes These Cookies Irresistible
Listen, I’ve made my fair share of molasses cookies that turned out harder than hockey pucks. But these? They’re everything you want in a holiday cookie and more. The secret lies in the perfect balance of warming spices – ginger, cinnamon, and cloves – combined with rich molasses that creates this incredible depth of flavor.
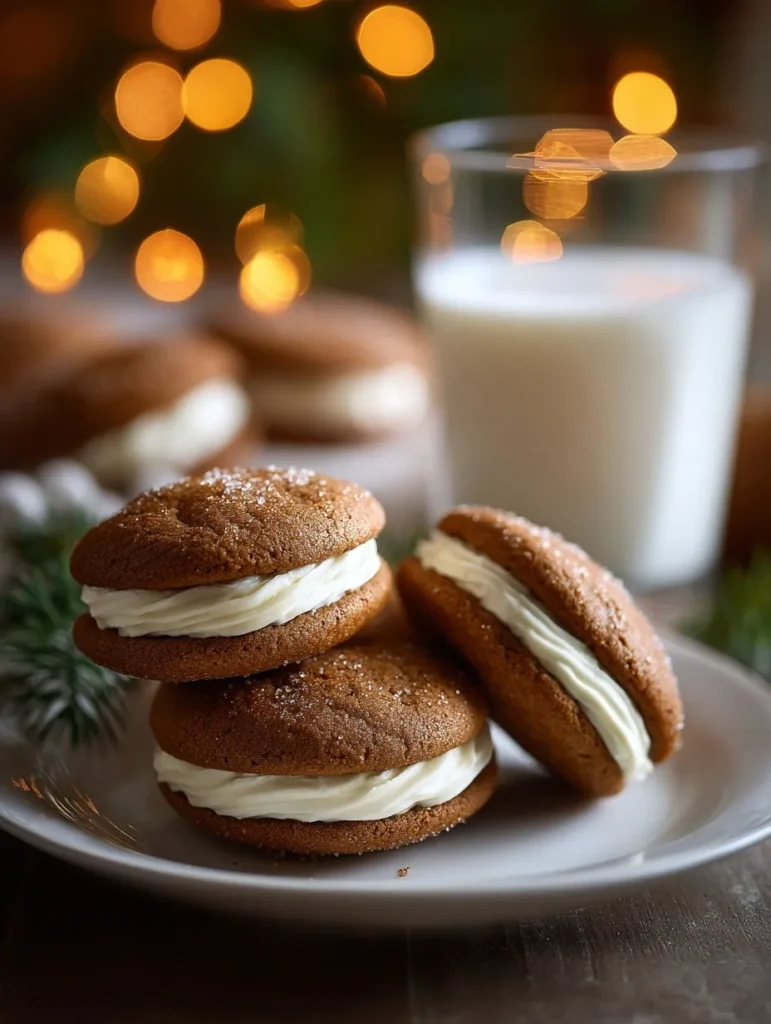
The real game-changer here is that eggnog frosting. It’s like Christmas morning in cookie form, and honestly, it elevates these from “pretty good” to “holy-cow-I-need-the-recipe” status.
Ingredients That Actually Matter
For the Cookies:
- 2¼ cups all-purpose flour – your foundation
- 1 teaspoon baking soda – the lift we need
- 2 teaspoons ground ginger – warming spice superstar
- 1 teaspoon ground cinnamon – holiday essential
- ½ teaspoon ground cloves – that subtle kick
- ½ teaspoon salt – flavor enhancer
- ¾ cup unsalted butter (softened) – richness factor
- 1 cup brown sugar (packed) – sweetness with character
- ¼ cup molasses – the star of the show
- 1 large egg – binding magic
- 1 teaspoon vanilla extract – because vanilla makes everything better
For the Eggnog Frosting:
- 4 cups powdered sugar – sweetness base
- ½ cup unsalted butter (softened) – creamy texture
- 3-4 tablespoons eggnog – festive flavor bomb
- ½ teaspoon vanilla extract – extra flavor depth
- ¼ teaspoon ground nutmeg – that authentic eggnog taste
- Pinch of salt – balance is key
Instructions That Actually Work
Cookie Preparation
Start by whisking together your dry ingredients in a medium bowl. Don’t skip this step – proper flour distribution prevents those annoying flour pockets that nobody wants to bite into.
In your stand mixer (or with some serious arm strength), cream the butter and brown sugar until it’s fluffy and lighter in color. This usually takes about 3-4 minutes, and yes, it matters. Properly creamed butter is what gives you that perfect cookie texture.
Beat in the molasses, egg, and vanilla. The mixture might look a bit weird at this point – totally normal! Gradually add your flour mixture, mixing just until combined. Overmixing is the enemy of tender cookies.
The Baking Process
Preheat your oven to 375°F. Roll the dough into 1½-inch balls and place them on parchment-lined baking sheets, spacing them about 2 inches apart. These babies will spread, so give them room to breathe.
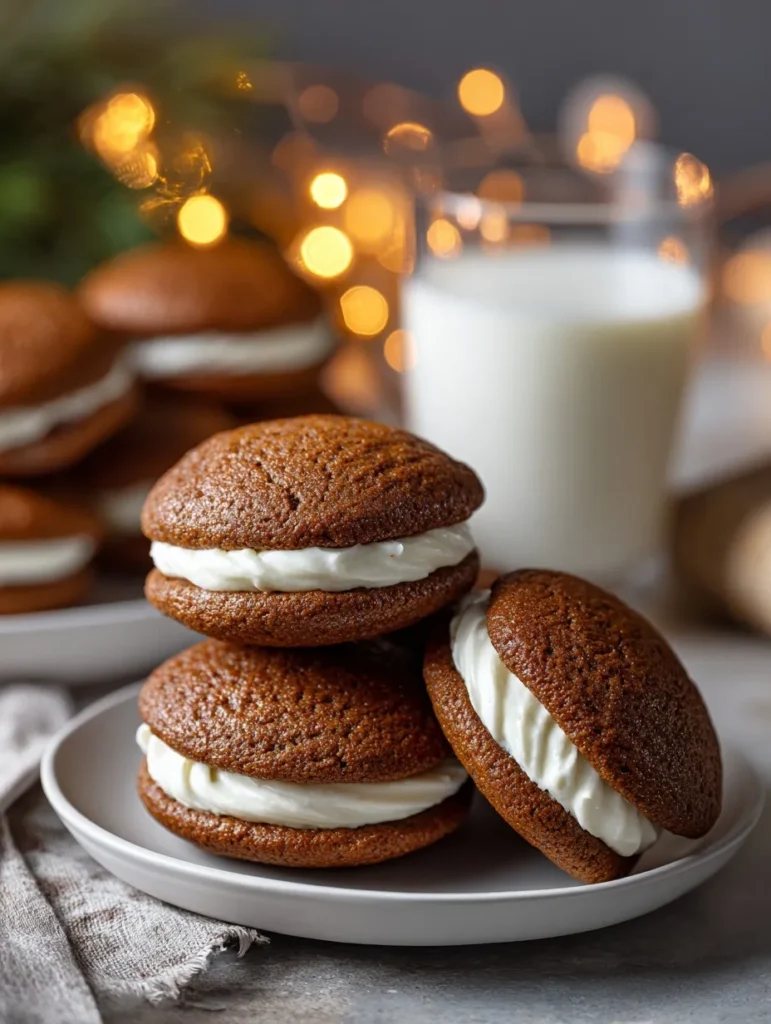
Bake for 8-10 minutes. Here’s the tricky part: they’ll look slightly underbaked when you pull them out. Trust the process. They’ll continue cooking on the hot pan and finish perfectly. Let them cool on the baking sheet for 5 minutes before transferring.
Frosting Magic
While your cookies cool completely (and I mean completely – warm cookies will melt your frosting), whip up that eggnog goodness. Beat the butter until fluffy, then gradually add powdered sugar, alternating with eggnog until you reach your desired consistency.
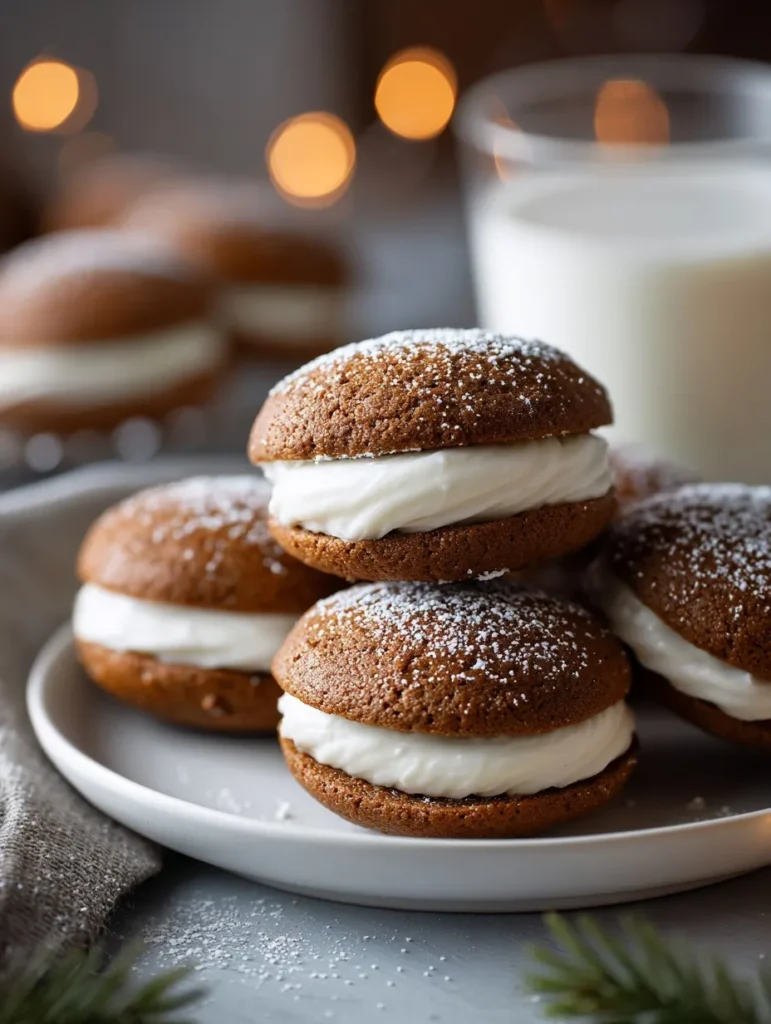
The nutmeg is what makes this frosting taste authentically like eggnog, so don’t skip it. Spread or pipe onto cooled cookies and watch them disappear.
Pro Tips That Make the Difference
Don’t overbake these cookies. Seriously, they go from perfect to cardboard in about 30 seconds. They should still look soft and slightly glossy when you remove them from the oven.
Store unfrosted cookies in an airtight container for up to a week. Once frosted? They’re best enjoyed within 2-3 days, though let’s be honest – they probably won’t last that long 🙂
Make-ahead hack: You can freeze the cookie dough balls for up to 3 months. Just bake them straight from frozen, adding an extra minute or two to the baking time.
Troubleshooting Common Issues
Cookies spreading too much? Your butter might be too warm, or you didn’t chill the dough enough. Pop those dough balls in the fridge for 30 minutes before baking.
Frosting too thick? Add eggnog one teaspoon at a time until it’s spreadable. Too thin? More powdered sugar to the rescue.
Not enough ginger flavor? Some ground ginger loses potency over time. Fresh spices make all the difference in these cookies.
Complete FAQ
Can I use store-bought eggnog for the frosting? Absolutely! That’s actually what I recommend for the most authentic eggnog flavor.
How long do these cookies stay fresh? Unfrosted cookies keep for up to a week in an airtight container. Frosted cookies are best within 2-3 days.
Can I make these cookies smaller or larger? Sure! Just adjust the baking time accordingly. Smaller cookies bake faster, larger ones need more time.
What if I don’t have molasses? Honestly? You need molasses for these. It’s not just sweetness – it’s the entire flavor profile and texture.
Can I freeze the finished cookies? Unfrosted cookies freeze beautifully for up to 3 months. I’d skip freezing the frosted ones though.
Why You’ll Love This Recipe
These cookies hit every single holiday note perfectly. They’re soft without being cake-like, spiced without being overwhelming, and that eggnog frosting? Pure genius.
The texture is what really sets these apart from other molasses cookies. They stay chewy for days (if they last that long), and the flavor actually improves overnight as the spices meld together.
Plus, they look absolutely stunning on a holiday cookie platter. The contrast between the dark cookie and creamy white frosting is Instagram-worthy, but more importantly, they taste even better than they look.
Whether you’re baking for a holiday party or just want to make your kitchen smell like Christmas magic, these cookies deliver every single time. Trust me on this one – you’re going to want to make a double batch!







