
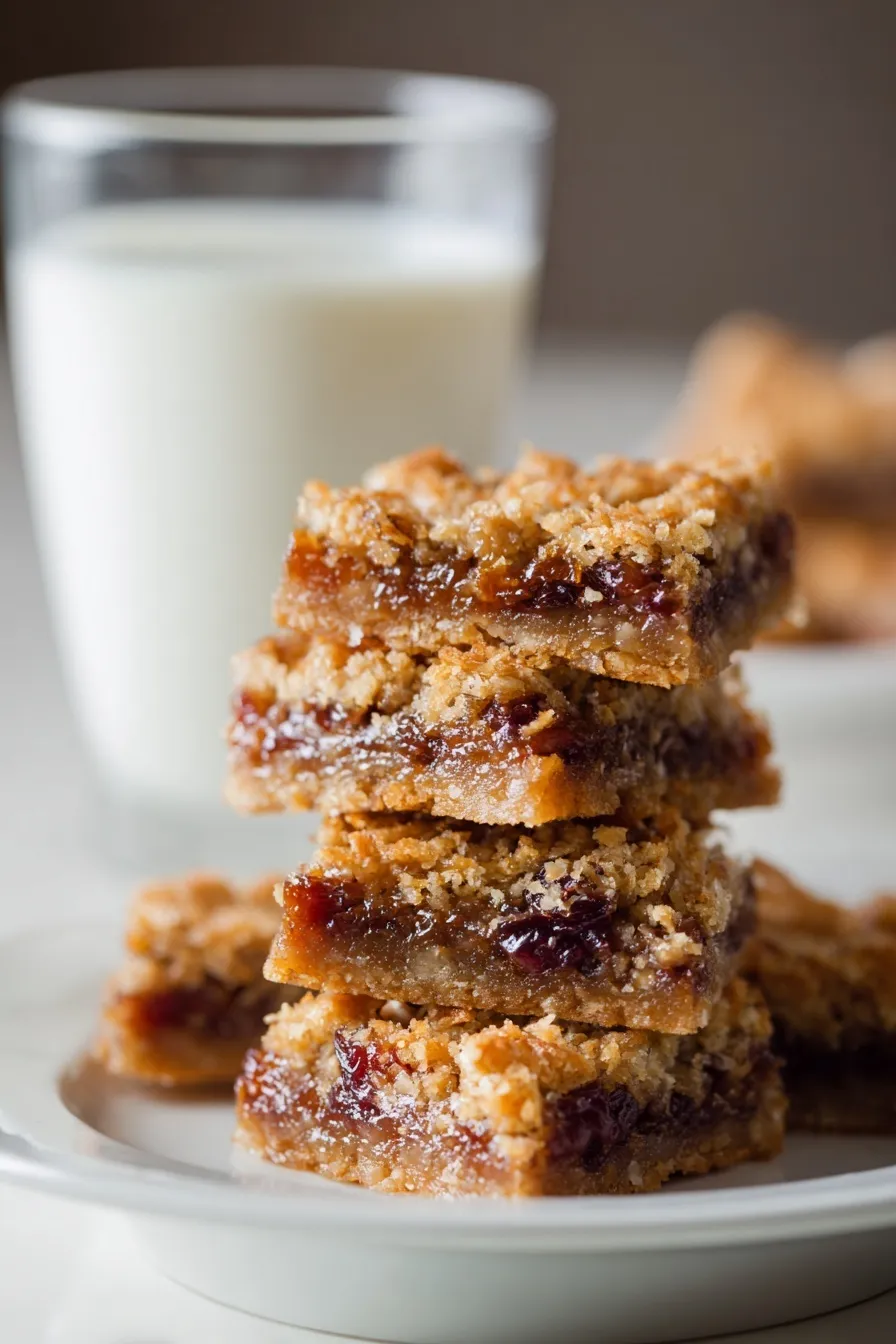
Forget those cardboard Fig Newtons – these homemade fig bars will make you wonder why you ever settled for store-bought disappointment.
Since you’re here, make sure to check out these other irresistible treats: Cookie Dough Brownies Recipe Fudgy Edible, Amazing Chickpea Cookie Dough Recipe, Lemon Oatmeal Crumble Bars Recipe Easy Dessert, Salted Caramel Apple Crumble Bars, and Viral Date Bark Healthy Snickers Recipe.
Why These Fig Bars Beat Store-Bought Every Time
Let’s talk about Fig Newtons for a second. Remember biting into one as a kid and getting that weird, paste-like filling that barely tasted like fruit? Yeah, these homemade fig bars are nothing like that.
These beauties have actual fresh fig flavor bursting through every bite, wrapped in a crunchy, chewy oatmeal crust that actually has texture. No artificial flavors, no mystery ingredients – just real food that happens to taste incredible.
I discovered this recipe when my friend’s backyard fig tree went absolutely bonkers and produced more fruit than a small village could eat. Instead of watching gorgeous fresh figs turn into expensive compost, I turned them into these bars. Best. Decision. Ever.
What Makes These Fig Bars Special
Fresh Fig Filling (Not Dried!)
Most fig bar recipes use dried figs, which is fine, but fresh figs? They’re in a completely different league. The flavor is brighter, more complex, and way less concentrated-sweet than their dried cousins.
Simple One-Bowl Crust
The oatmeal crust comes together in literally one bowl with no mixer required. It’s thick, sticky, and perfect for both the bottom layer and crumbly top.
Make-Ahead Friendly
The fig filling can be made weeks in advance and frozen. Perfect for those “I need dessert NOW” moments that happen to all of us.
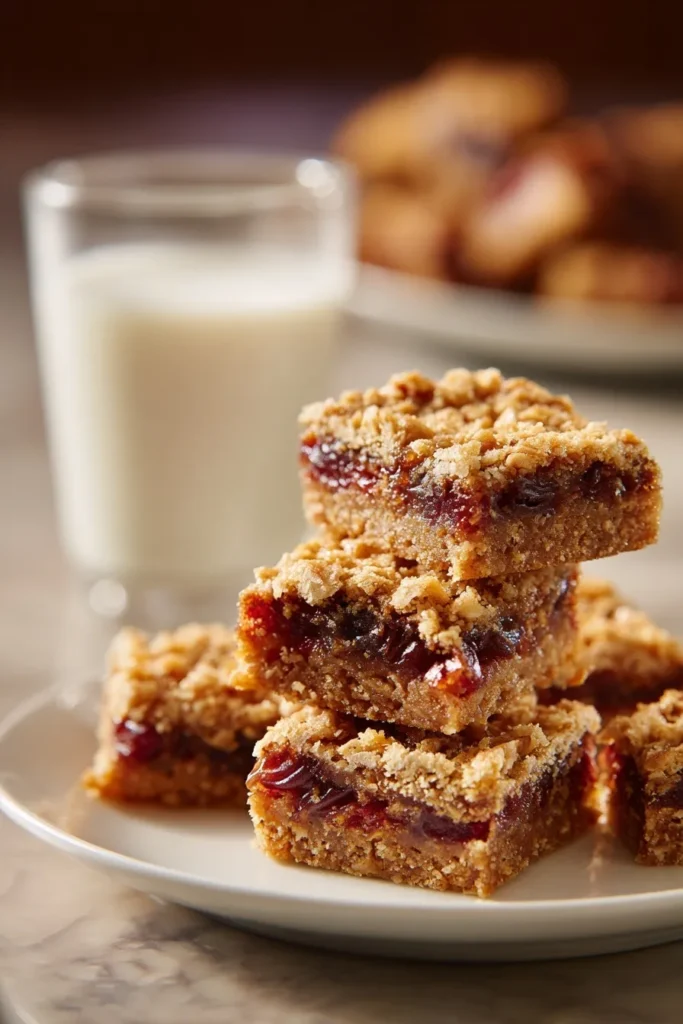
Ingredients
For the Fresh Fig Filling:
- 24 small to medium fresh figs, quartered (about 1.5 pounds)
- 1/3 cup packed brown sugar
- 1 tablespoon fresh lemon zest
- 1/4 teaspoon kosher salt
- 1 teaspoon pure vanilla extract
For the Oatmeal Crust:
- 1 cup unsalted butter, melted
- 2 cups all-purpose flour
- 2 cups old-fashioned rolled oats (NOT quick oats!)
- 1 cup packed brown sugar
- 1/2 teaspoon salt
- 3/4 teaspoon baking powder
- 2 teaspoons vanilla extract
Instructions
Step 1: Make the Fig Filling Magic
Quarter your fresh figs – don’t worry about being perfectly uniform. Combine figs, brown sugar, lemon zest, salt, and vanilla in a heavy-bottomed saucepan.
Heat over medium heat until the figs release their beautiful purple juices and start to bubble. Reduce heat to low and simmer for 45 minutes, stirring occasionally and breaking up larger pieces with a wooden spoon.
Pro tip: The mixture is done when it’s thick enough to coat the back of a spoon and most of the liquid has evaporated.
Step 2: Smooth It Out (Optional)
Remove from heat and let cool slightly. For a smoother filling (like traditional fig bars), use an immersion blender to puree. For a chunkier, more rustic texture, leave it as is.
Make-ahead magic: This filling can be made up to a week ahead and refrigerated, or frozen for up to 3 months.
Step 3: Create the Crust
Preheat your oven to 350°F. Line a 9×13-inch pan with parchment paper, leaving overhang for easy removal.
In a large bowl, combine melted butter with flour, oats, brown sugar, salt, baking powder, and vanilla. Mix until no dry spots remain – the mixture will be thick and sticky. Use your hands if needed; it’s actually easier than fighting with a spoon.
Step 4: Assembly Time
Set aside 1½ cups of the oat mixture for the top layer. Press the remaining mixture firmly into your prepared pan using the bottom of a measuring cup or glass.
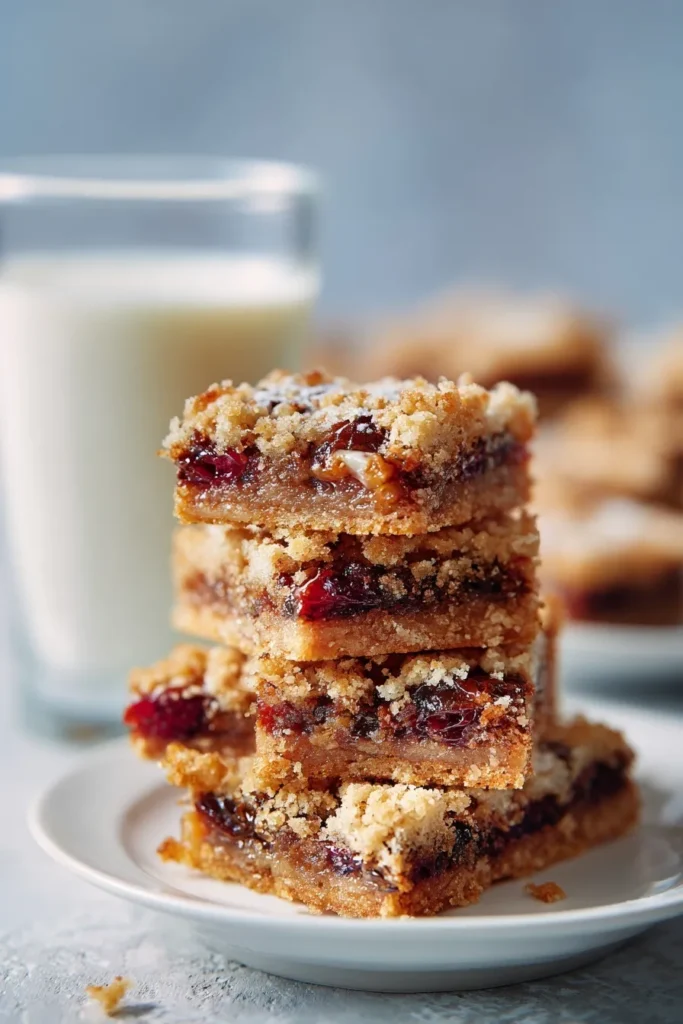
Spread the fig filling evenly over the crust, then crumble the reserved oat mixture on top. Don’t worry about perfect coverage – rustic is beautiful here.
Step 5: Bake to Golden Perfection
Bake for 30-35 minutes until the top is golden brown and the filling is bubbling around the edges.
Patience alert: Let these cool completely before cutting. I know it’s torture, but hot fig filling will make a mess and the bars won’t hold their shape.
Storage & Serving Tips
Room temperature: 3 days in an airtight container Refrigerated: Up to 5 days (my preferred storage method) Frozen: Up to 3 months (wrap individual bars in plastic wrap first)
Serving suggestions: These are perfect on their own, but try warming them slightly and serving with vanilla ice cream for an elevated dessert experience.
Substitutions & Variations
No Fresh Figs Available?
Use high-quality store-bought fig jam instead of making the filling. You’ll need about 1½ cups. Bonne Maman makes an excellent fig preserve that works perfectly.
Gluten-Free Option
Substitute the all-purpose flour with your favorite gluten-free baking blend. The oats are naturally gluten-free (just check the label to be sure).
Flavor Boosters
- Add ½ teaspoon cinnamon to the crust for warmth
- Mix in ¼ cup chopped walnuts or almonds for crunch
- Try orange zest instead of lemon for a different citrus note
Troubleshooting Your Fig Bars
Filling too runny? Cook it longer until it reaches jam consistency. It should hold its shape on a spoon.
Bars falling apart? Make sure you’re pressing the bottom crust firmly and letting them cool completely before cutting.
Top layer too crumbly? The oat mixture should feel slightly wet from the melted butter. If it seems dry, add an extra tablespoon of melted butter.
Complete FAQ
Q: What’s the best type of fresh figs to use? A: Any variety works great! Black Mission figs are common and delicious, but Brown Turkey or Kadota figs are equally good. Choose figs that are soft but not mushy.
Q: Can I halve this recipe? A: Absolutely! Use an 8×8-inch pan and reduce baking time to 25-30 minutes. Everything else stays the same proportionally.
Q: Why do my fig bars taste bland? A: Don’t skip the lemon zest and salt in the filling – they brighten the fig flavor significantly. Also, make sure your figs are ripe and sweet to begin with.
Q: Can I add other fruits to the filling? A: Yes! Try mixing in some chopped pears or apples with the figs for a more complex flavor profile.
Q: How do I know when the filling is thick enough? A: It should coat the back of a spoon and drop in ribbons rather than drips. The mixture will thicken more as it cools.
Here’s the Real Deal
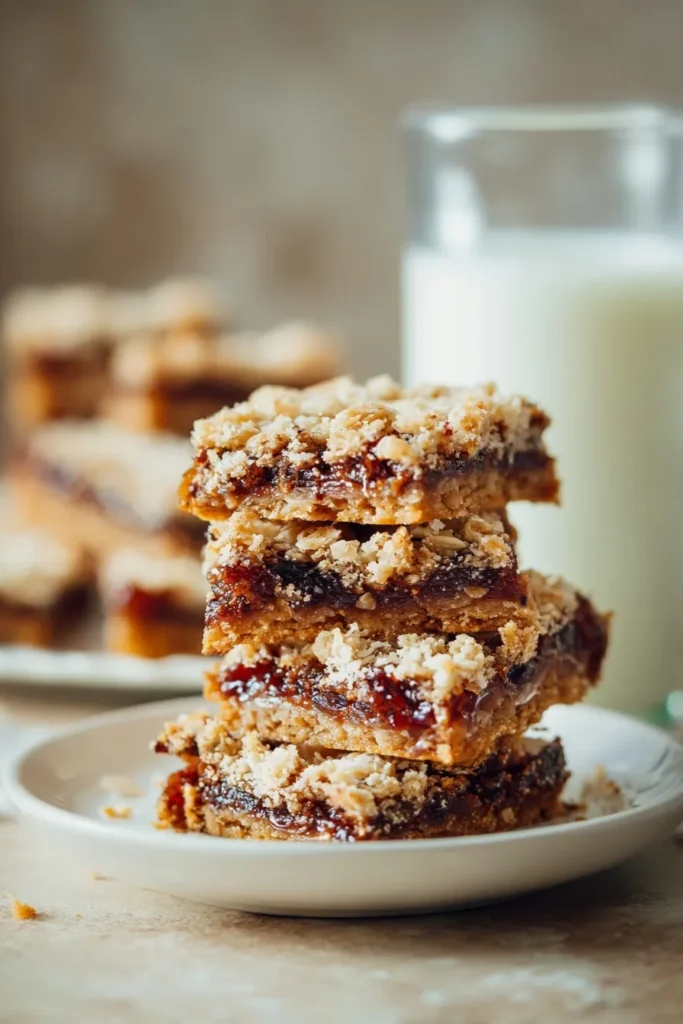
These fig bars represent everything I love about homemade treats: they’re simple enough for a weeknight project but impressive enough for company. The combination of that jammy, fresh fig filling with the crunchy oat crust creates the perfect balance of textures and flavors.
Every bite delivers actual fruit flavor instead of artificial sweetness, and that rustic, homemade look says “I care enough to make this from scratch” without screaming “I spent my entire weekend in the kitchen.”
When fig season rolls around (late summer through early fall), this recipe is your ticket to preserving that brief, beautiful flavor in the most delicious way possible. And when fresh figs aren’t available? Store-bought fig jam works beautifully, making these bars a year-round possibility.
Trust me, once you make these, you’ll never look at a Fig Newton the same way again. These are what fig bars are supposed to taste like.







