
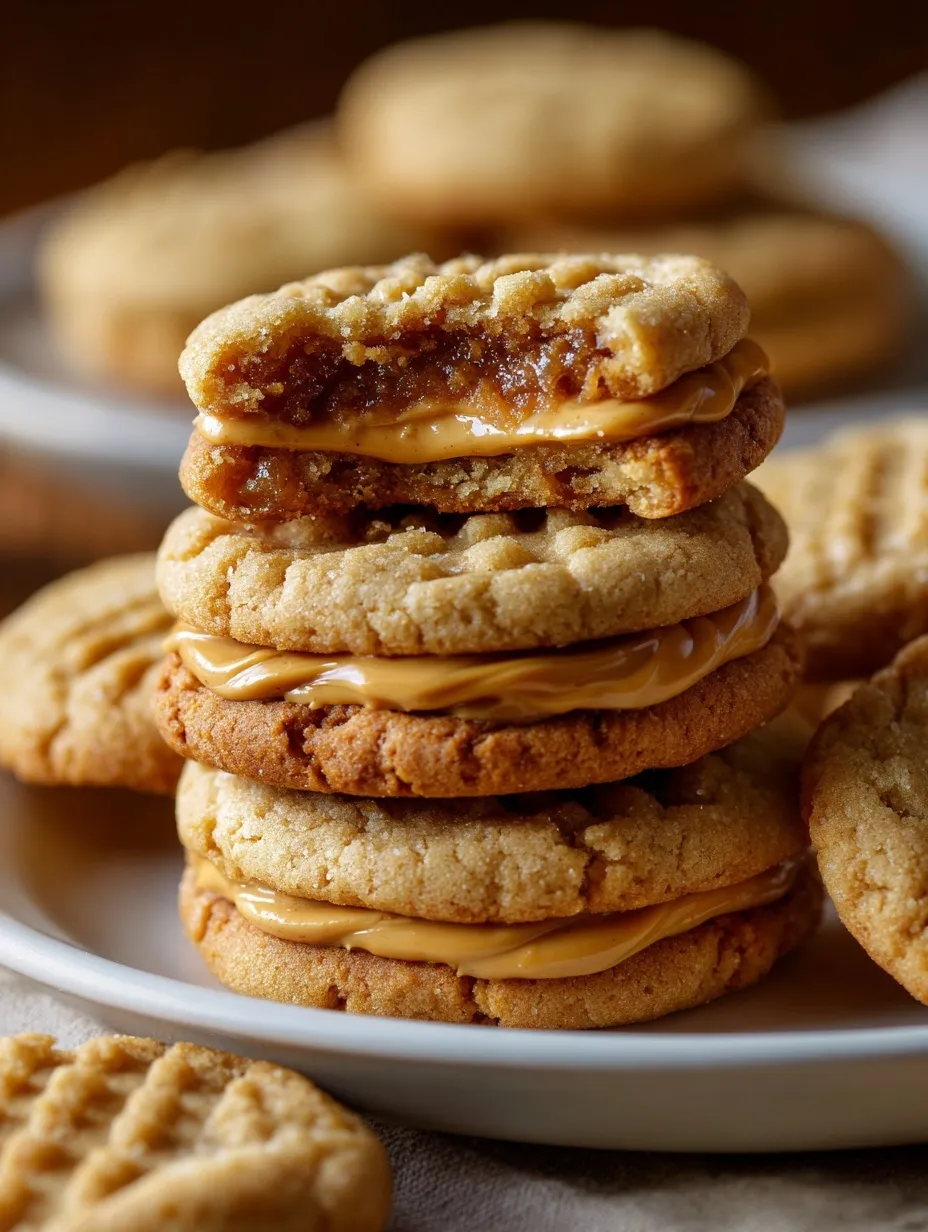
Recreating your childhood favorite cookies at home has never tasted this good – seriously, these blow the originals out of the water!
Since you are here, make sure to check out these irresistible cookie recipes:
- Nutella Stuffed Cookie Cups
- Cookie Dough Brownies
- Amazing Chickpea Cookie Dough
- Halloween Oreo Stuffed Chocolate Chip Cookies
- Copycat Crumbl Salted Caramel Cheesecake
Why These Beat Store-Bought Every Time
Let’s be honest – Nutter Butters from the store are fine, but they’re basically cardboard compared to what you can make at home. These homemade versions? They’re soft, chewy, and loaded with actual peanut butter flavor instead of that artificial stuff.
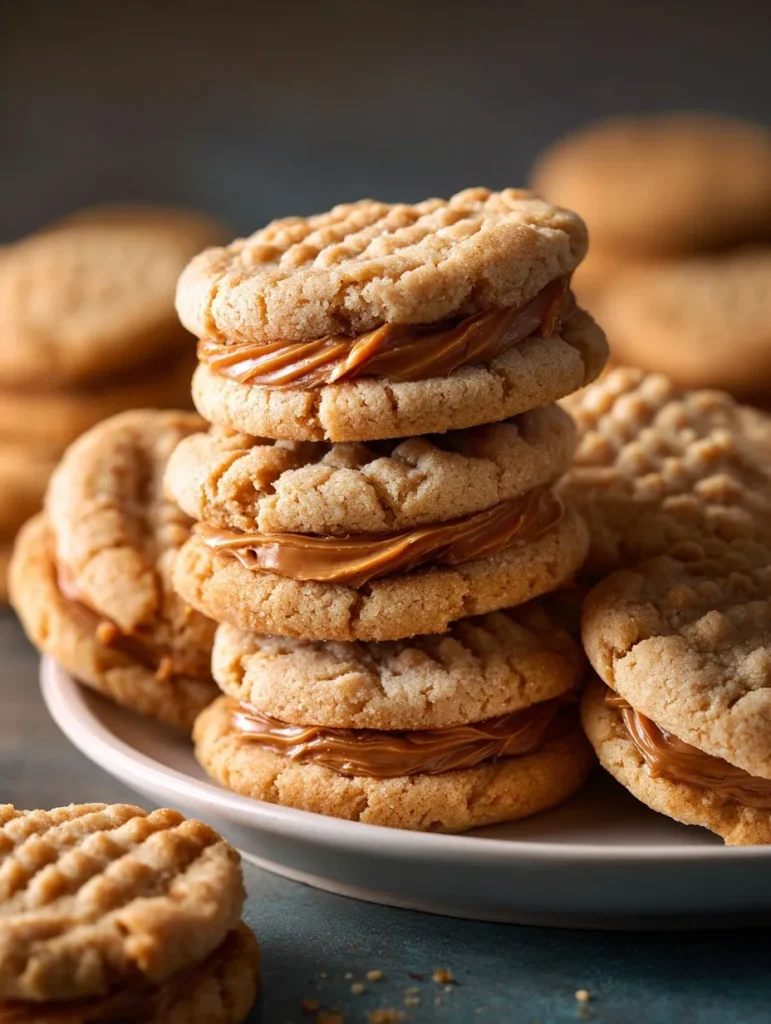
The secret weapon here is the filling. While the original uses some mysterious cream that tastes vaguely like peanuts, we’re going full throttle with real peanut butter, butter, and just enough powdered sugar to make it spreadable perfection.
Ever wonder why homemade always tastes better? It’s because we’re not cutting corners with preservatives and fillers. Just pure, simple ingredients that actually taste like what they’re supposed to be.
Ingredients
For the Cookie Base:
- 1/2 cup unsalted butter (softened – don’t rush this)
- 1/2 cup creamy peanut butter (stick with regular brands like Jif or Skippy)
- 1/2 cup granulated sugar (plus extra for sprinkling)
- 1/2 cup brown sugar (packed)
- 1 large egg
- 1 tsp vanilla extract
- 1 1/4 cups all-purpose flour
- 3/4 tsp baking soda
- 1/4 tsp salt
For the Peanut Butter Filling:
- 1/2 cup creamy peanut butter
- 1/4 cup unsalted butter (softened)
- 1 cup powdered sugar
- 1 tsp vanilla extract
- 1-2 Tbsp milk (for perfect consistency)
Instructions
Making the Cookies:
Step 1: Preheat your oven to 350°F and line a baking sheet with parchment paper. Don’t skip the parchment – these cookies have enough butter to stick like crazy.
Step 2: Cream together the butter, peanut butter, and both sugars until light and fluffy. This takes about 3-4 minutes with a mixer, and it’s crucial for texture.
Step 3: Beat in the egg and vanilla until everything’s completely combined. No streaks allowed.
Step 4: In a separate bowl, whisk together flour, baking soda, and salt. Gradually mix this into your wet ingredients until you get a soft dough.
Step 5: Roll the dough into 1-inch balls, then gently shape each into an oval – just like the real deal. Place them on your baking sheet with some space between.
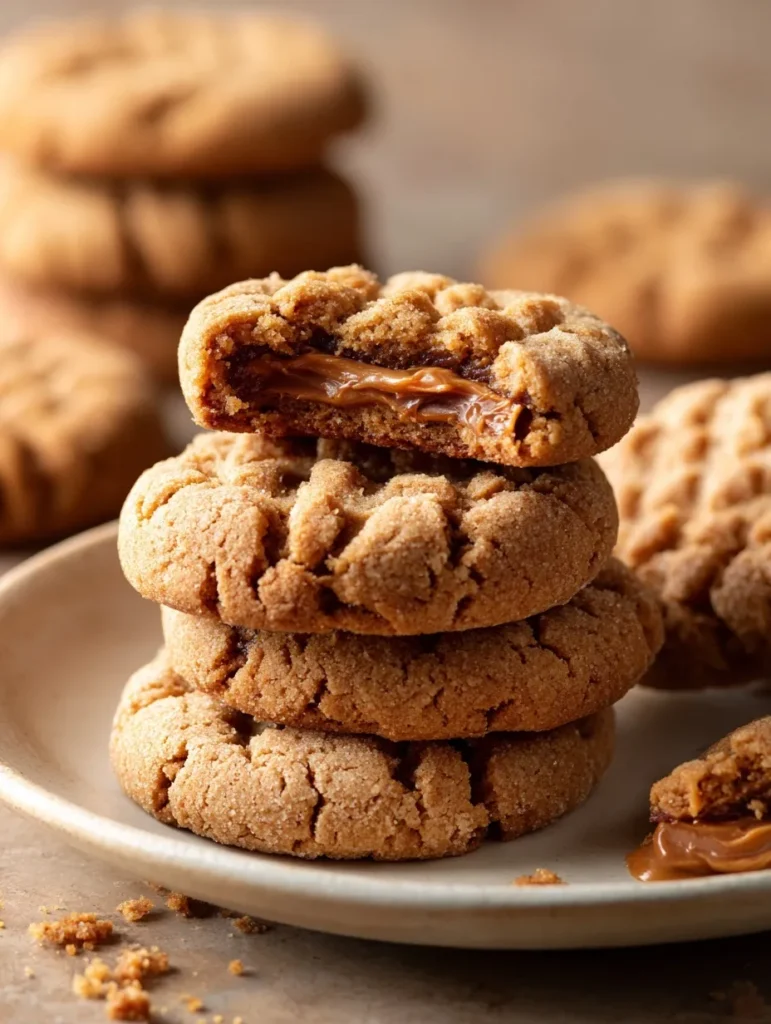
Step 6: Press each cookie with a fork in that classic crisscross pattern. This isn’t just for looks – it helps them bake evenly. Sprinkle with a little extra granulated sugar.
Step 7: Bake for 8-10 minutes until just golden around the edges. Don’t overbake – they’ll look slightly underdone but will finish cooking on the hot pan.
Step 8: Let them cool on the sheet for 5 minutes, then transfer to a wire rack. Patience here is key – hot cookies = melted filling disaster.
Creating the Filling:
Step 9: Beat together peanut butter and softened butter until smooth. Add powdered sugar and vanilla, mixing until creamy.
Step 10: Add milk one tablespoon at a time until you reach spreadable consistency. Too thick and it’ll tear your cookies; too thin and it’ll ooze out everywhere.
Step 11: Once cookies are completely cool, spread or pipe filling onto the flat side of one cookie. Top with another to create your sandwich. Repeat until you’ve got a batch of homemade heaven.
Pro Tips That Actually Matter
Peanut butter choice: Stick with regular creamy peanut butter like Jif or Skippy. Natural peanut butter is great for toast, but it’s too oily for consistent cookie results.
Texture control: Want them softer? Slightly underbake. Want them crispier? Flatten more before baking and add an extra minute.
Filling consistency: The perfect filling should hold its shape but spread easily. If it’s too stiff, add milk a teaspoon at a time. Too loose? More powdered sugar.
Storage wisdom: Keep these in an airtight container at room temperature for up to 5 days. Pro tip: toss a slice of bread in the container to keep them soft.
Variations Worth Trying
Crunchy version: Use crunchy peanut butter in both the cookies and filling for serious texture action.
Chocolate-dipped: Dip half of each sandwich in melted chocolate – because why not make them even more irresistible?
Mini bites: Make smaller cookies for party-perfect portions that disappear faster than you can make them.
Honey twist: Add a teaspoon of honey to the filling for a subtle floral sweetness that’s absolutely divine.
Storage and Make-Ahead Magic
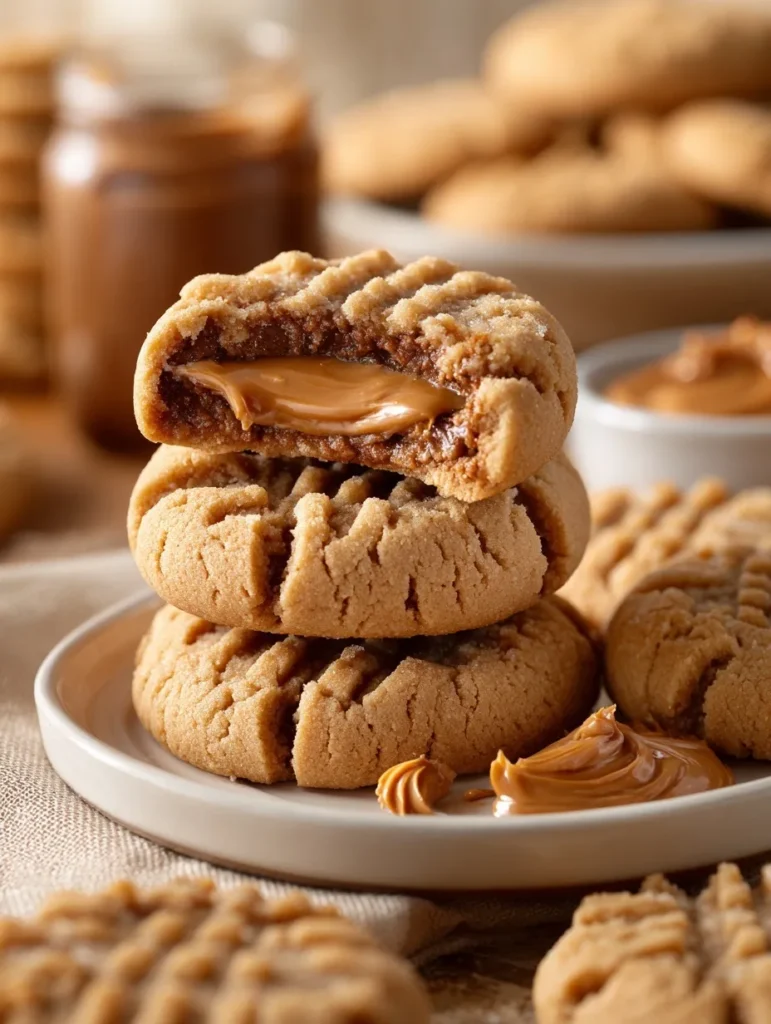
These beauties stay fresh in an airtight container for up to 5 days at room temperature. Want to meal prep? The cookies freeze beautifully for up to 2 months – just thaw and fill when you’re ready.
Make-ahead hack: You can prep the filling up to 3 days in advance and store it in the fridge. Just bring it back to room temperature before assembling.
Frequently Asked Questions
Can I use natural peanut butter? Stick with regular for best results – natural is too oily and affects texture consistency.
How do I keep them soft? Don’t overbake, and store in an airtight container with a slice of bread to maintain moisture.
Can I freeze the dough? Absolutely! Shape the cookies and freeze unbaked. Bake straight from frozen, adding 1-2 extra minutes.
What if I don’t have a piping bag? Use a plastic sandwich bag with the corner snipped off, or just spread with a small spoon.
Can I make these gluten-free? Use a 1:1 gluten-free flour substitute – results will be slightly different but still delicious.
Here’s the Real Deal
These homemade Nutter Butters are what happens when you take a beloved childhood snack and give it the respect it deserves. They’re soft, chewy, loaded with peanut butter flavor, and infinitely better than anything you’ll find in the cookie aisle.
The best part? You probably have everything you need in your pantry right now. And the satisfaction of biting into something you made from scratch that tastes like a premium version of your favorite store-bought cookie? Priceless.
FYI, these make incredible gifts too. Package them up in cute containers, and suddenly you’re the friend who “makes the best cookies.” Just don’t tell everyone how easy they actually are 🙂
Whether you’re satisfying a nostalgic craving, making an after-school treat that’ll have kids fighting over the last one, or just proving to yourself that homemade always wins – these cookies deliver every single time.







