
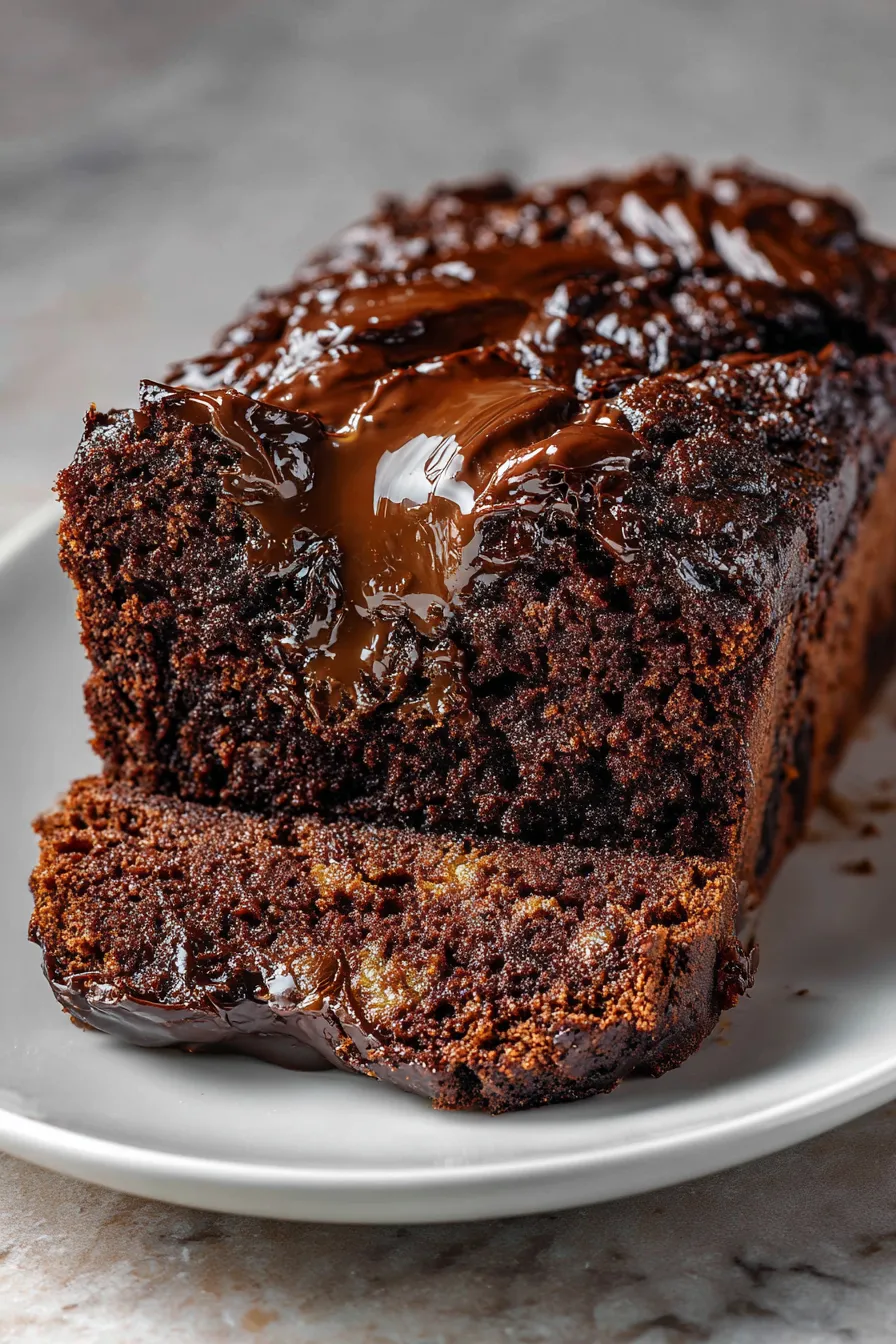
This rich, fudgy bread combines the best of brownies and quick bread in one irresistible loaf. After perfecting this recipe through countless test batches and family gatherings, I can promise this will become your go-to chocolate indulgence that disappears within hours of coming out of the oven!
Why This Recipe Works:
- Ready in just 45 minutes with simple pantry ingredients
- Foolproof technique that works every single time
- Perfect fudgy texture that’s moist but not gooey
- Impressive enough for entertaining, easy enough for weeknight treats
- Uses common ingredients you probably already have
Recipe Summary:
- Prep Time: 10 minutes
- Bake Time: 35-40 minutes
- Total Time: 45 minutes
- Serves: 8-10 slices
- Storage: 3 days covered, 2 months frozen
Perfect for: Chocolate emergencies, weekend baking, potluck desserts, gift-giving, after-school treats
The Story Behind This Chocolate Masterpiece
This Hot Fudge Brownie Bread was born from a late-night chocolate craving and an empty brownie pan. I needed something that satisfied like brownies but could be sliced and served easily to unexpected guests. During my years running a small bakery, I discovered that customers craved that perfect balance between cake and brownie – something rich enough to feel indulgent but structured enough to eat with coffee.
The breakthrough came when I realized that incorporating hot fudge sauce directly into the batter creates incredible moisture and depth without making the bread soggy. My teenage daughter, who’s usually picky about homemade desserts, declared this “better than store-bought brownies” – the ultimate compliment from a discerning chocolate critic!
What makes this recipe absolutely foolproof is its forgiving nature. Even if you slightly overbake it, the fudge sauce keeps it moist, and if you underbake slightly, it just becomes more brownie-like. I’ve never had a failed batch, even when distracted by kids or phone calls during baking.
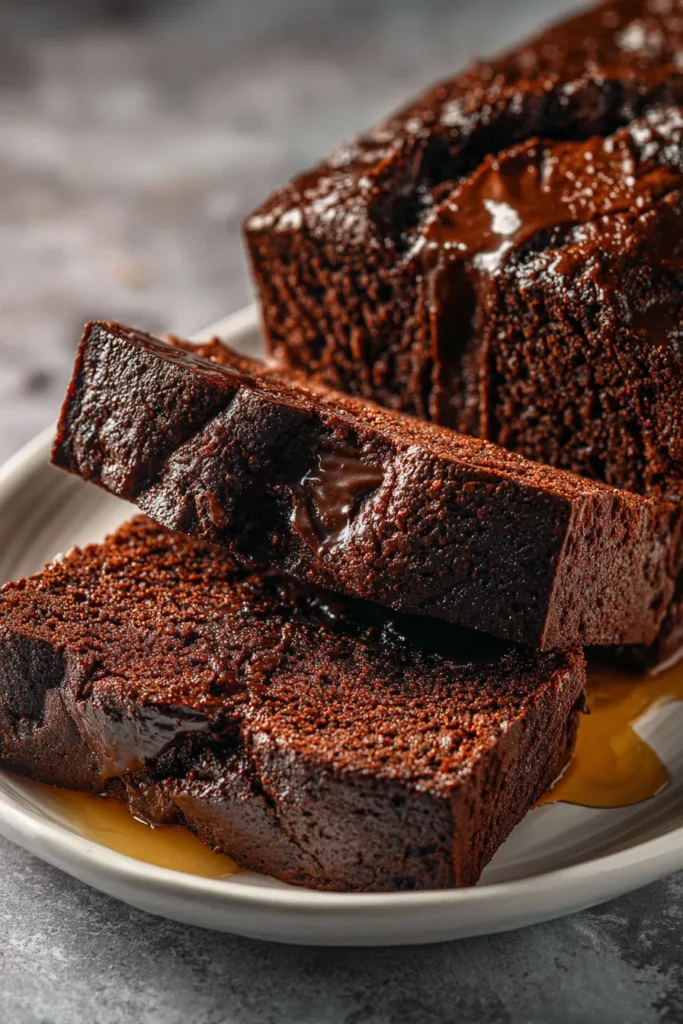
Essential Ingredients for Chocolate Perfection
The Chocolate Foundation
Unsweetened Cocoa Powder (½ cup): The backbone of chocolate flavor. Dutch-processed cocoa creates richer, less acidic results than natural cocoa, though both work beautifully. Sift if lumpy to prevent bitter pockets.
Hot Fudge Sauce (½ cup plus extra): This is your secret weapon for moisture and intense chocolate flavor. Quality matters here – Ghirardelli or homemade creates the best results. Avoid ice cream toppings that are too thin.
The Structure Elements
All-Purpose Flour (1 cup): Provides structure without creating tough texture. Measure by spooning into cups and leveling – packed flour creates dense, heavy results that mask the fudgy texture.
Granulated Sugar (1 cup): Creates tender crumb and balances cocoa’s natural bitterness. White sugar produces better texture than brown for this particular recipe, though brown sugar can be substituted for deeper flavor.
Large Eggs (2): Provide structure and richness. Room temperature eggs incorporate more easily and create smoother batter – pull from fridge 30 minutes before baking.
The Richness Makers
Unsalted Butter (½ cup, melted): Adds richness and helps create tender crumb. Melted butter integrates more easily than softened and creates the dense, fudgy texture that makes this bread special.
Pure Vanilla Extract (1 teaspoon): Enhances chocolate flavor and adds complexity. Real vanilla extract makes a noticeable difference over imitation in chocolate baking.
Baking Powder (1 teaspoon): Creates just enough lift for proper texture. Don’t substitute baking soda – the acid balance is carefully calibrated for this recipe.
Step-by-Step Baking Success
Preparation for Perfect Results
Oven and Pan Setup (5 minutes): Preheat to 350°F and prepare a 9×5-inch loaf pan. Line with parchment paper with overhang for easy removal – grease alone can cause sticking with chocolate batters.
Temperature Check: Use an oven thermometer if possible – chocolate baking is sensitive to temperature variations that can affect final texture.
Building the Perfect Batter
Dry Ingredient Foundation (2 minutes): Whisk flour, cocoa powder, baking powder, and salt in medium bowl. Thorough whisking prevents cocoa lumps that create bitter spots in finished bread.
Wet Ingredient Magic (3 minutes): In large bowl, whisk eggs and sugar until smooth and slightly thick. Add melted butter slowly while whisking to prevent scrambling eggs. Stir in vanilla and hot fudge sauce until uniform.
Critical Combining Step (2 minutes): Add dry ingredients to wet ingredients and fold gently until just combined. Overmixing develops gluten and creates tough texture – some flour streaks are fine.
Baking for Fudgy Perfection
Even Distribution: Pour batter into prepared pan and gently spread to corners. Tap pan on counter to release air bubbles and create even surface.
Timing Excellence (35-40 minutes): Bake until toothpick inserted in center comes out with few moist crumbs. Completely clean toothpick means overbaked – you want just a few fudgy crumbs clinging.
Cooling Strategy: Cool in pan 10 minutes, then turn out onto wire rack. Cooling in pan initially prevents breaking while rack cooling prevents soggy bottom.
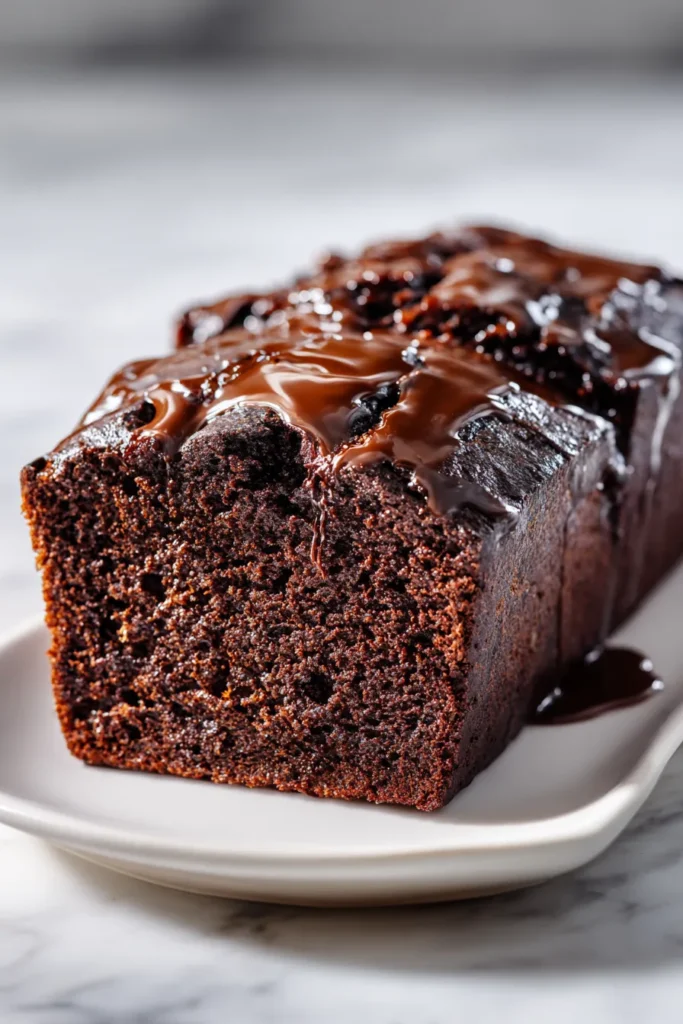
Professional Tips for Bakery-Quality Results
Ingredient Temperature Secrets
Room Temperature Integration: Bring eggs to room temperature quickly by placing in warm water for 5 minutes. Cold eggs create lumpy batter that doesn’t bake evenly.
Butter Temperature: Melted butter should be warm, not hot – hot butter can cook eggs or melt chocolate chips if adding variations.
Texture Perfection Techniques
Cocoa Distribution: Sift cocoa powder if it’s been sitting – lumps create bitter pockets that ruin smooth chocolate flavor throughout.
Gentle Mixing Method: Use folding motion rather than stirring when combining wet and dry ingredients – this preserves tender texture.
Pan Preparation: Don’t skip parchment paper – chocolate batters are notorious for sticking, and this ensures clean removal every time.
Serving Ideas That Elevate
Temperature Serving Options
Warm Service: Slice while slightly warm and serve with vanilla ice cream. The contrast between warm bread and cold ice cream is magical – let bread cool just enough to slice cleanly.
Room Temperature: Perfect for coffee pairing or afternoon snacking. Room temperature showcases the full flavor complexity without competing temperatures.
Chilled Option: Refrigerate for firmer slicing and more intense chocolate flavor. Cold slices are perfect for packed lunches or make-ahead entertaining.
Presentation Ideas That Wow
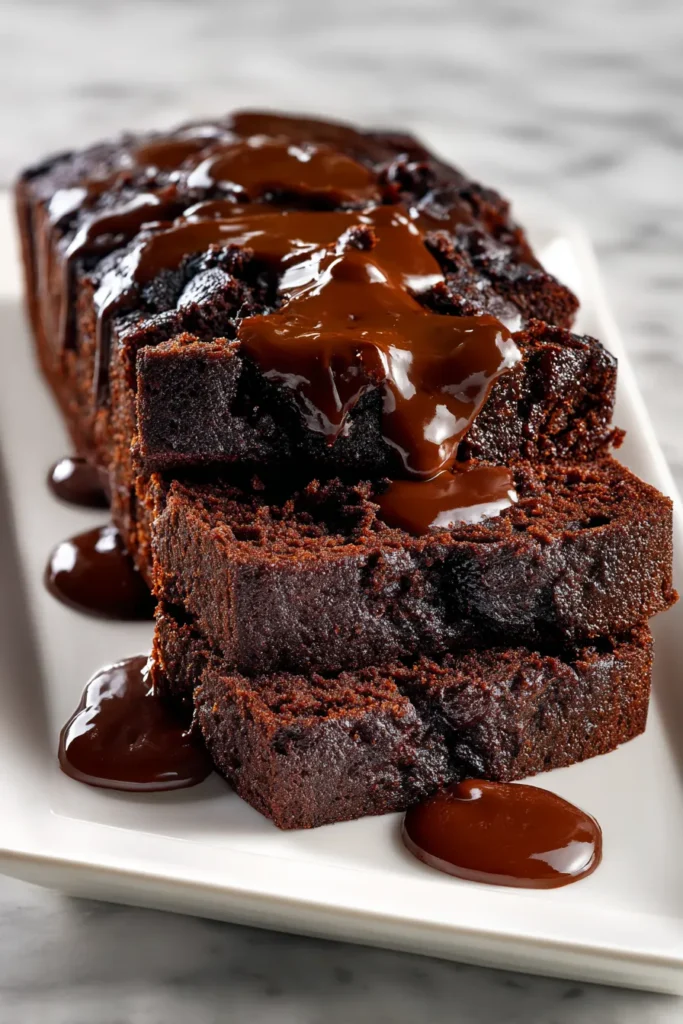
Elegant Drizzle: Warm additional hot fudge sauce slightly and drizzle over individual slices just before serving. The visual impact is stunning.
Dust with Powdered Sugar: Light dusting creates beautiful contrast and suggests bakery-quality presentation. Use fine-mesh sieve for even distribution.
Fresh Berry Garnish: Strawberries or raspberries provide color contrast and acid balance. The tartness complements rich chocolate beautifully.
Creative Variations Worth Trying
Mix-In Additions
Chocolate Chip Explosion: Fold in ½ cup chocolate chips for extra chocolate pockets. Mini chips distribute more evenly than regular-sized chips in this dense batter.
Nutty Crunch: Add ½ cup chopped walnuts or pecans for textural contrast. Toast nuts briefly first to enhance their flavor and prevent sogginess.
Coffee Enhancement: Add 1 tablespoon instant espresso powder to dry ingredients. Coffee intensifies chocolate flavor without creating coffee taste – it’s a professional baker’s secret.
Flavor Profile Twists
Mint Chocolate Version: Add ½ teaspoon mint extract and fold in crushed peppermint candies. Perfect for holiday entertaining with festive appeal.
Orange Chocolate Fusion: Add 1 tablespoon orange zest and replace vanilla with orange extract. Citrus brightens rich chocolate and creates sophisticated flavor profile.
Salted Caramel Style: Swirl in 2 tablespoons caramel sauce and sprinkle top with flaky sea salt before baking. Sweet-salty combination is irresistible.
Storage and Make-Ahead Strategies
Optimal Storage Methods
Short-Term Storage: Cover tightly and store at room temperature up to 3 days. Plastic wrap directly on cut surface prevents drying while maintaining moisture.
Extended Freshness: Refrigerate wrapped bread up to 1 week. Bring to room temperature before serving or warm briefly in microwave for fresh-baked texture.
Freezer Storage: Wrap individual slices in plastic wrap, then place in freezer bags – perfect for portion control and quick treats. Thaw at room temperature or toast lightly.
Make-Ahead Options
Batter Preparation: Mix dry and wet ingredients separately the night before, then combine and bake in the morning for fresh bread with minimal effort.
Complete Ahead: Bake up to 2 days ahead for entertaining. Wrap well and store at room temperature – flavors actually improve slightly overnight.
Gift-Giving Prep: Bake and freeze wrapped loaves up to 2 months ahead for holiday gifts or unexpected entertaining needs.
Troubleshooting Common Issues
Texture Problems and Solutions
Dense, Heavy Bread: Usually from overmixing or too much flour. Measure flour carefully and mix just until combined – lumpy batter is better than overmixed.
Dry Bread: Often from overbaking or insufficient fat. Check doneness early and ensure butter is measured accurately – this recipe depends on proper fat content.
Gummy Texture: Typically from underbaking or uneven mixing. Bake until toothpick has just few moist crumbs and ensure even ingredient distribution.
Baking Issues
Sinks in Middle: Usually from opening oven door too early or incorrect leavening. Don’t open oven until minimum baking time and check baking powder freshness.
Burns on Top: Oven too hot or rack positioned too high. Use oven thermometer to verify temperature and position rack in center of oven.
Sticks to Pan: Insufficient preparation or cooling too long in pan. Always use parchment paper and remove from pan after 10 minutes cooling.
Why This Recipe Never Fails
After baking thousands of loaves through my bakery years and perfecting this recipe through countless family tests, I’ve eliminated every variable that could cause failure. The ingredient ratios create foolproof texture, the technique prevents common mistakes, and the timing guidelines ensure perfect results regardless of oven variations.
This bread has become my signature emergency dessert – impressive enough for unexpected guests, quick enough for last-minute cravings, and delicious enough that people assume it’s much more complicated than it actually is. The combination of familiar ingredients in an elevated technique creates that perfect balance of approachable and special.
Whether you’re a beginner baker looking for guaranteed success or an experienced baker wanting a reliable crowd-pleaser, this Hot Fudge Brownie Bread delivers every single time. The best part? It tastes even better than it looks, and considering how rich and decadent those chocolate slices appear, that’s truly remarkable!
One slice is never enough – consider yourself warned!







