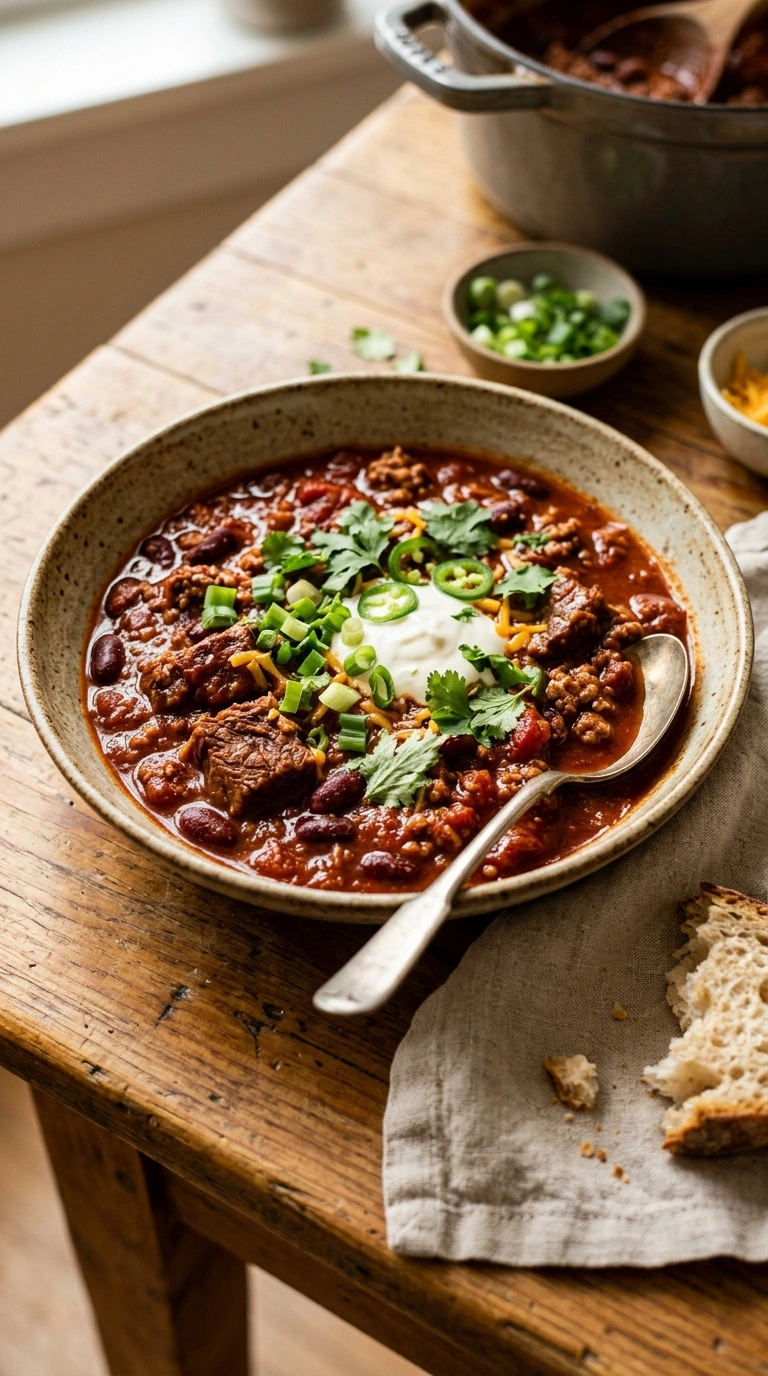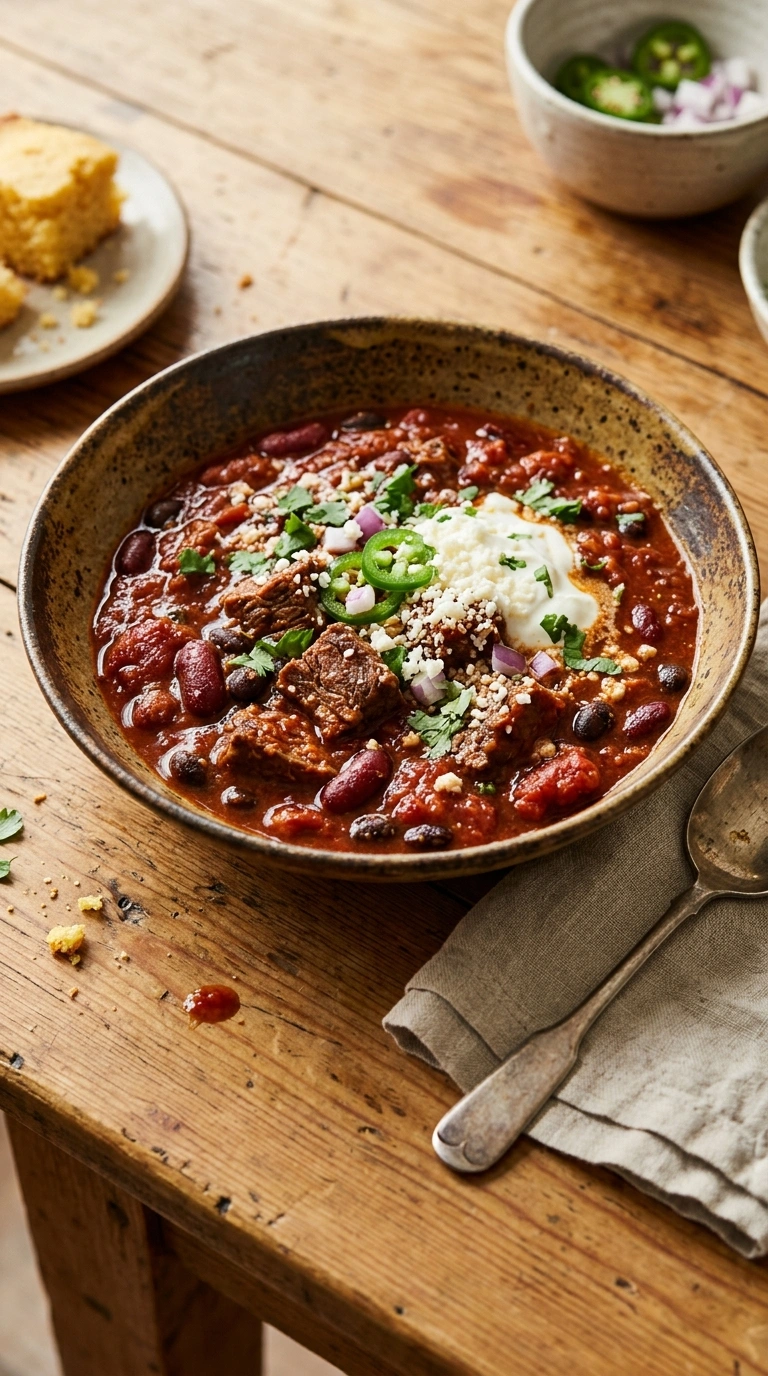
Instant pot chili is the ultimate answer for busy weeknight dinners when you’re short on time but hungry for comfort food. My friend James discovered this recipe during a hectic month of work deadlines, and it became his go-to solution. The pressure cooker method transforms ordinary ingredients into restaurant-quality chili in just 35 minutes flat. You won’t believe how simple it is to pull together.
Quick chili shouldn’t require hours of simmering on the stovetop, and this recipe proves it. Most traditional chili recipes demand at least two hours of your evening, leaving you exhausted before dinner even hits the table. With my tested pressure cooker approach, everything comes together while you handle homework, emails, or finally sit down to breathe.
What sets this version apart is the combination of beef broth plus both diced tomatoes and tomato sauce, which creates a deeply layered flavor that most rushed weeknight recipes skip entirely. The spice blend hits perfectly balanced—not too hot, not too mild.
Let’s get cooking and get dinner on your table fast.
Why this quick chili works
A pressure cooker chili reaches full flavor development in a quarter of the time traditional stovetop versions require. The sealed environment intensifies spice absorption and tenderizes ground beef to silky perfection.
- Ground beef browns beautifully in 3 minutes, building rich flavor foundation from the start
- Kidney beans absorb all spice flavors without turning mushy or falling apart completely
- Two tomato forms create body and depth that single-ingredient tomato bases simply cannot achieve
- Cumin and chili powder bloom instantly under pressure, releasing every aromatic oil possible
The reason this works faster than traditional chili is because pressure cooking accelerates the chemical reactions that normally take hours—the Maillard reaction happens quicker, beans soften faster, and spice compounds dissolve more completely into the liquid base.
Prep 10 minutes | Cook 25 minutes | Cal 385 | Serves 6 servings | Cuisine American |
Ingredients for instant pot chili
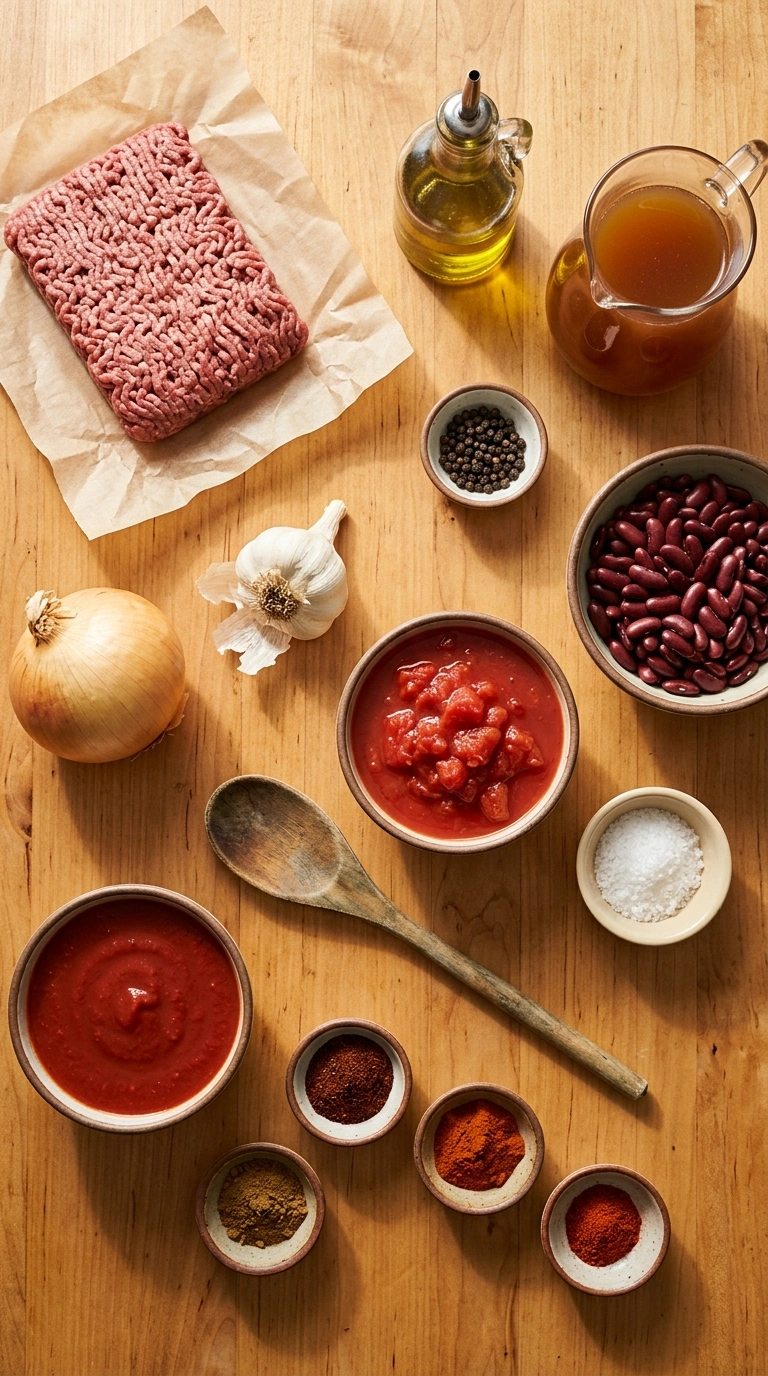
- 2 lb ground beef
- 1 large onion, diced
- 4 cloves garlic, minced
- 2 tbsp chili powder
- 1 tbsp cumin
- 1 tsp paprika
- 2 cans kidney beans, drained
- 2 cans diced tomatoes
- 1 can tomato sauce
- 1 cup beef broth
- 1 tbsp olive oil
- 1 tsp salt
- 1/2 tsp black pepper
- 1/2 tsp cayenne pepper
Ground beef quality matters more than you’d think—grab 85/15 ground beef from the meat counter rather than pre-packaged options, which often contain excess moisture and pack less flavor. If you’re sensitive to heat, reduce the cayenne to 1/4 tsp, but trust me, the amount specified creates warmth rather than fire. For a vegetarian pressure cooker chili, swap ground beef with 3 cups of diced mushrooms and add an extra can of beans to maintain the hearty texture.
The canned ingredients here aren’t shortcuts; they’re actually superior to fresh tomatoes for this recipe because the canning process concentrates tomato solids and ensures consistent flavor year-round. Buy low-sodium beef broth and let your salt measurements guide the final taste—you control the seasoning, not the manufacturer.
Step-by-step quick chili instructions
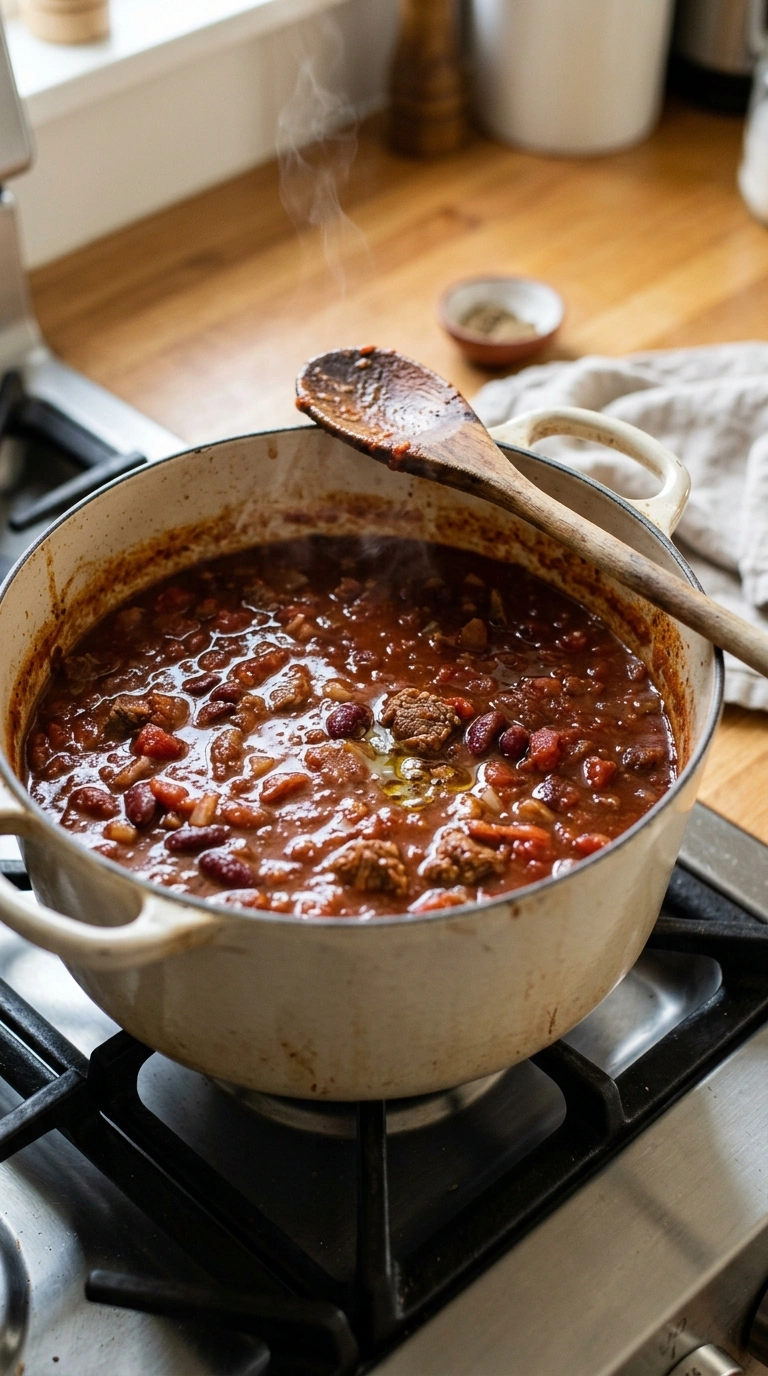
1. Set your Instant Pot to sauté mode and add olive oil—you’ll hear it shimmer immediately. Brown the ground beef for 3-4 minutes, breaking it into small pieces with a wooden spoon as it cooks. Don’t rush this step because the browned bits (called fond) create the flavor backbone that separates good chili from forgettable chili.
2. Add diced onion and minced garlic to the pot and sauté for exactly 2 minutes until fragrant and softened. You should smell the raw garlic transform into something sweet and mellow—that’s when you know it’s ready. Stir constantly to prevent sticking on the bottom.
3. Sprinkle in chili powder, cumin, paprika, and cayenne pepper, then stir for 30 seconds to bloom the spices in the hot oil. This crucial step releases the essential oils that make your instant pot chili taste homemade and complex rather than generic. Skip this, and your chili tastes flat and one-dimensional.
4. Pour in the drained kidney beans, diced tomatoes, tomato sauce, and beef broth, stirring well to combine everything thoroughly. Cancel sauté mode and seal the lid, ensuring the valve is set to sealing position. Add 1 tsp salt and 1/2 tsp black pepper now—you can adjust more later if needed.
5. Set the Instant Pot to high pressure for 15 minutes—this is the magic timing that fully develops flavor without overcooking the beans. When the timer beeps, let pressure release naturally for 10 minutes, then manually release any remaining pressure. The chili will thicken slightly as it sits, so don’t worry if it looks slightly loose when the lid first opens.
Serving ideas for instant pot chili
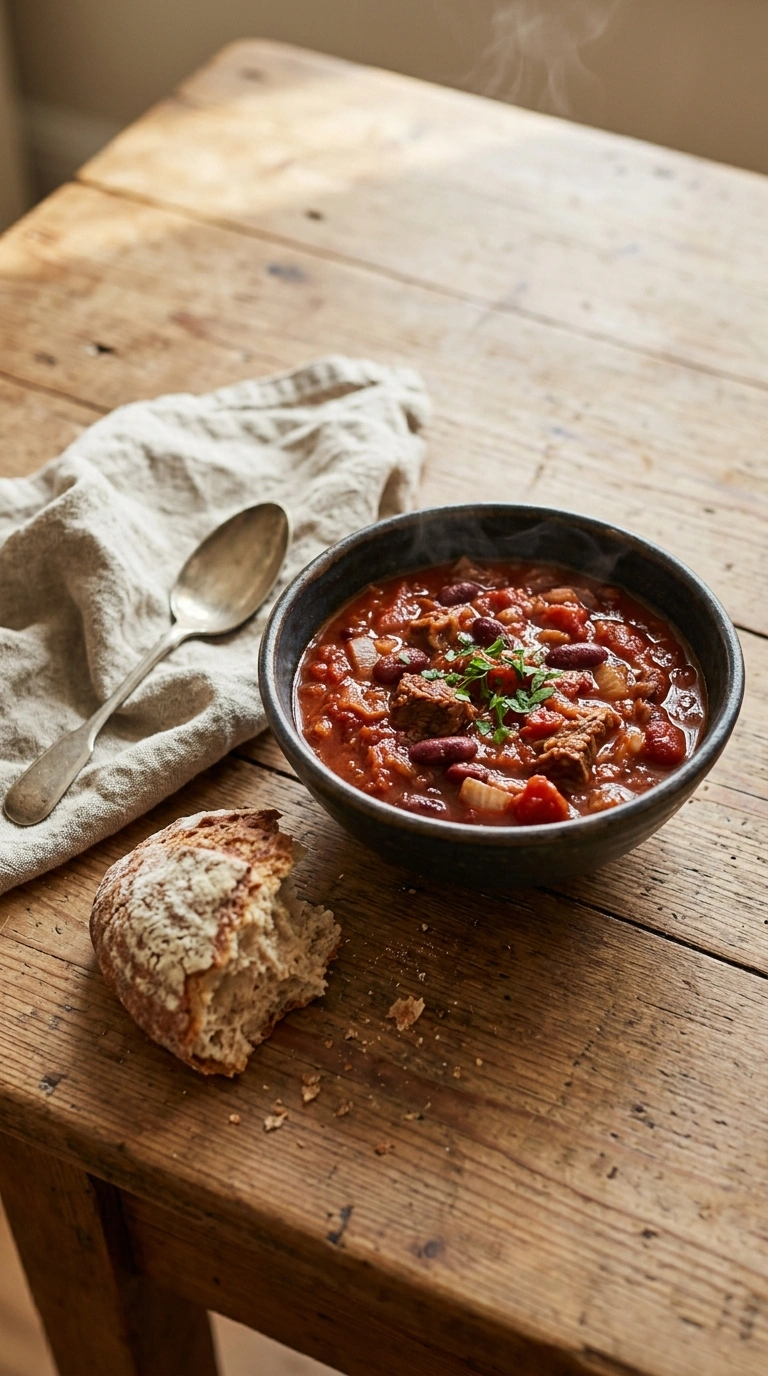
This pressure cooker chili shines brightest when you layer it with complementary toppings and sides that add texture and brightness to each spoonful. Here are three combinations my friend Nora requests constantly.
Cornbread and sour cream
Serve your quick chili in bowls topped with a dollop of sour cream and a side of warm buttered cornbread. The cool sour cream melts into the warm chili while the cornbread absorbs the rich sauce, because the contrast between creamy and spiced is irresistible.Chili mac and cheese
Mix the chili with cooked elbow pasta and sharp cheddar cheese for a hearty one-bowl meal that feeds a crowd. This transformation happens because the starchy pasta absorbs extra chili flavor while the cheese adds richness that grounds the spices.Classic chili bar
Arrange toppings in small bowls: shredded cheese, diced red onion, jalapeños, cilantro, and lime wedges so everyone builds their perfect bowl. busy weeknight dinners become interactive celebrations when guests customize their own servings.Frequently asked quick chili questions
Can I freeze instant pot chili for later?
Yes, absolutely—freeze in portions up to three months in freezer-safe containers or bags.Cool the chili completely before freezing, leaving 1 inch headspace because liquids expand as they freeze solid. Thaw overnight in the refrigerator, then reheat gently over medium-low heat with a splash of broth if needed.
What can I substitute for kidney beans?
Black beans, pinto beans, or a mix work equally well in your pressure cooker chili.Each bean variety brings slightly different texture and earthiness, so feel free to experiment based on personal preference. Drain all canned beans thoroughly before adding to prevent excess liquid in the final dish.
How do I reheat leftover chili properly?
Reheat on the stovetop over medium heat, stirring occasionally until steaming throughout at **165°F**.Microwave works too—place chili in a microwave-safe bowl, cover loosely, and heat in 2-minute intervals, stirring between each round. Add beef broth or water by the tablespoon if the texture has thickened too much during storage.
What makes instant pot chili different from regular stovetop chili?
Instant pot chili reaches full flavor in 25 minutes instead of 2-3 hours using pressure cooking technology.The sealed environment intensifies spice absorption and tenderizes meat more efficiently than traditional simmering methods ever could. Time-pressed home cooks can finally enjoy authentic chili flavor on a realistic weeknight schedule.
Final thoughts on quick chili
Instant pot chili transforms your busy weeknight dinner dilemma into a solved problem instead of a stressor. When Nora first tried this recipe, she texted me within hours asking for the measurements again because her family demanded it three nights running.
This pressure cooker chili proves that shortcuts don’t mean sacrificing depth or satisfaction—they mean working smarter. The method honors traditional chili-making while respecting the reality of modern life where time moves faster than our stove burners ever could.
Make this recipe this week, and you’ll have a go-to dinner that appears on your table within 35 minutes every single time. Your family deserves delicious meals without the exhaustion.