
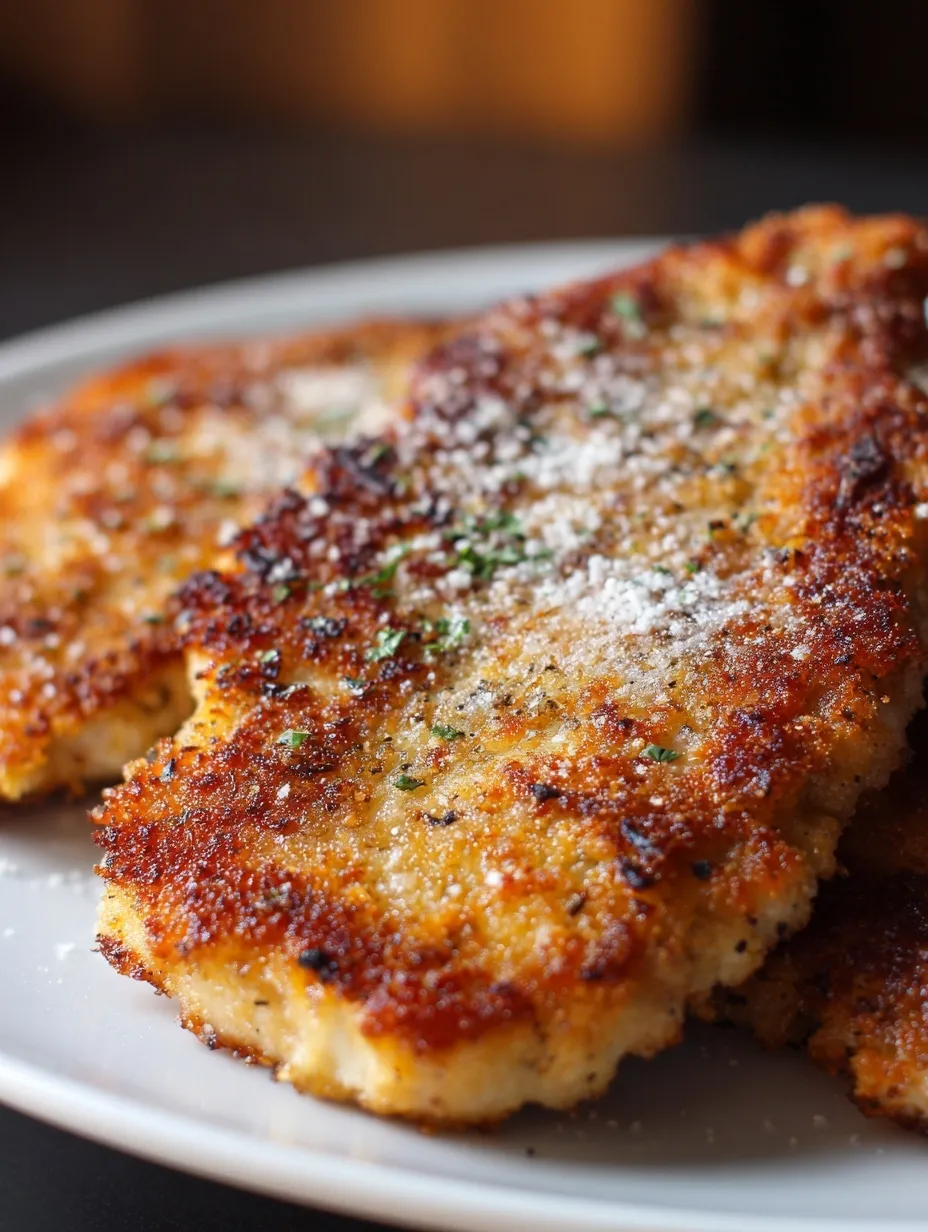
Stop overcooking chicken breasts and ending up with rubber – this foolproof method delivers impossibly juicy, tender chicken every single time.
Since you are here, make sure to check out these other amazing chicken recipes:
- Crispy Hot Honey Feta Chicken Recipe
- Marry Me Chicken Magic
- Melt in Mouth Chicken
- Balsamic Baked Chicken Breast
- Easy Greek Chicken Recipe Mediterranean Flavors
Why This Recipe Actually Works
I used to be terrified of cooking chicken breasts. Either they came out dry as cardboard or I’d panic and undercook them. This recipe changed everything. The secret isn’t some fancy technique – it’s a simple coating that locks in moisture while creating the most incredible golden, cheesy crust.
The magic happens with mayonnaise (stay with me here) and Parmesan cheese. Together, they create a protective barrier that keeps the chicken ridiculously juicy while adding flavor that’ll make you forget you’re eating healthy protein.
What Makes This Special
- Only 4 ingredients – No complicated pantry raid required
- Foolproof method – Nearly impossible to mess up
- 30-minute meal – Faster than takeout delivery
- Family-friendly – Even picky eaters devour this
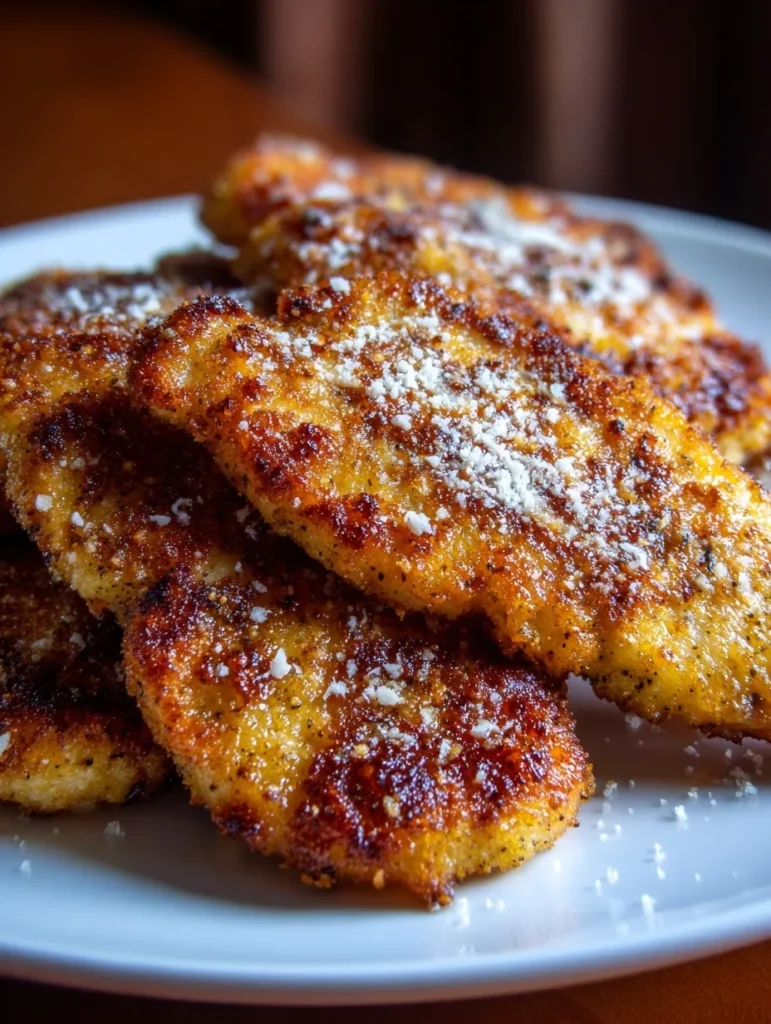
Ingredients
Here’s everything you need for chicken perfection:
The Basics:
- 1½ lbs boneless, skinless chicken breasts (thin or halved)
- ½ cup mayonnaise
- ½ cup grated Parmesan cheese
- 1 teaspoon garlic powder
- ¼ teaspoon seasoned salt
- ¼ teaspoon ground black pepper
That’s it! Six simple ingredients that transform into something magical. The key is using thin chicken breasts – if yours are thick, butterfly them or pound them to even thickness.
Instructions
Step 1: Prep Your Oven
Preheat your oven to 375°F and place chicken breasts in a baking dish. Don’t overcrowd – they need space to cook evenly.
Step 2: Make the Magic Coating
In a small bowl, combine mayonnaise, Parmesan cheese, garlic powder, seasoned salt, and pepper. Mix until well combined. This mixture is your insurance policy against dry chicken.
Step 3: Coat and Bake
Spread the mixture evenly over the top of each chicken breast. Don’t be stingy – use all of it for maximum flavor and moisture protection.
Bake for 30-45 minutes, or until the internal temperature reaches 165°F. Cooking time depends on thickness – thinner breasts will be done closer to 30 minutes.
Step 4: The Golden Finish
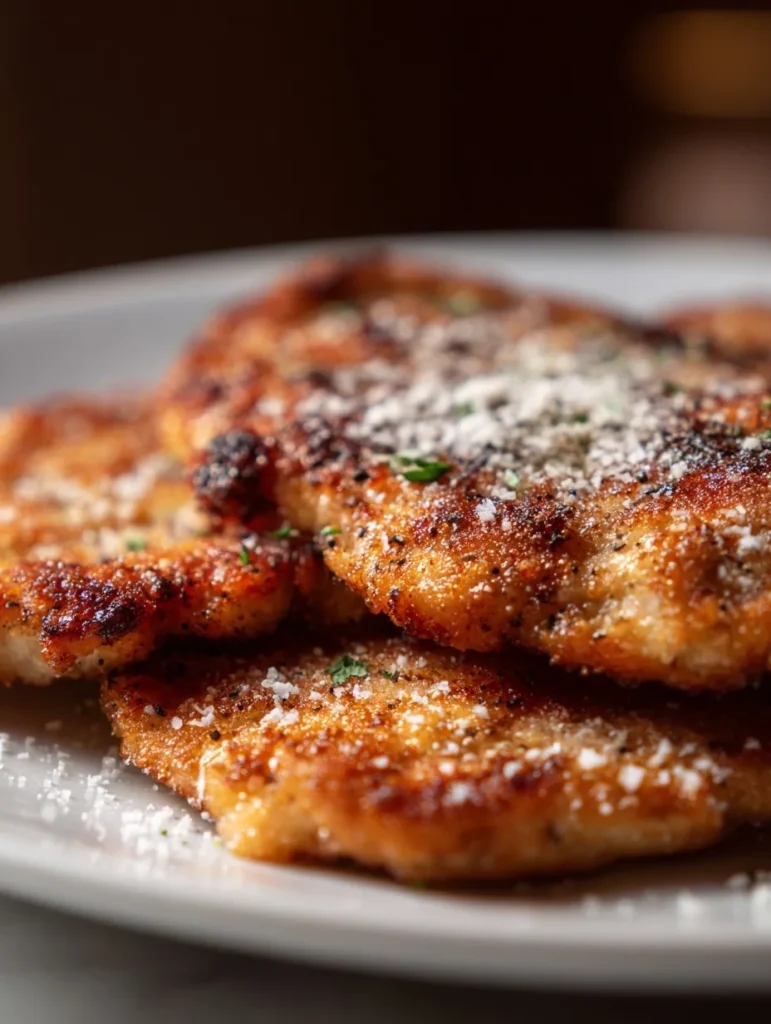
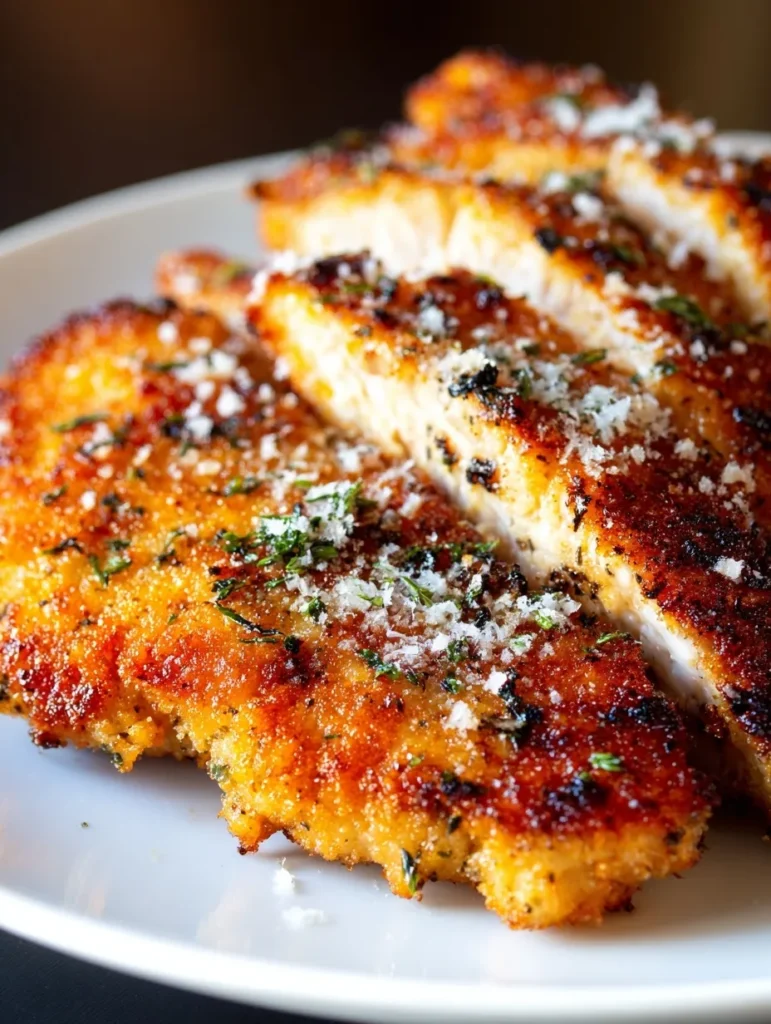
Here’s the secret step most people skip: broil for 2-3 minutes at the end to get that gorgeous golden-brown top. This creates those irresistible crispy, cheesy spots that make this dish restaurant-worthy.
Pro Tips for Perfect Results
Thin is in: Use thin chicken breasts or butterfly thick ones. Even thickness = even cooking = juicy results.
Don’t skip the broil: Those last 2-3 minutes under the broiler create the magic contrast of crispy top and tender interior.
Use a meat thermometer: 165°F is your target. No guessing, no cutting to check – just perfect chicken every time.
Let it rest: Give the chicken 5 minutes to rest after cooking. This lets the juices redistribute for maximum tenderness.
Mayo matters: Don’t substitute with something “healthier” here – the mayo is what keeps everything moist. Trust the process.
Customization Ideas
Greek yogurt version: Substitute plain Greek yogurt for mayo for a tangier, lighter option (though it won’t be quite as rich).
Herb it up: Add dried Italian seasoning, oregano, or fresh herbs to the coating mixture.
Spicy kick: Add a pinch of cayenne pepper or red pepper flakes.
Cheesy upgrade: Mix in some mozzarella or sharp cheddar with the Parmesan.
Panko crunch: Some readers love adding panko breadcrumbs to the coating for extra texture.
Storage and Meal Prep
Refrigerator: Store leftovers for up to 4 days in an airtight container.
Reheating: Oven at 350°F for 10-15 minutes, or microwave in 30-second intervals (though oven keeps it crispier).
Make-ahead: You can coat the chicken and refrigerate for up to 24 hours before baking – perfect for meal prep.
Freezer-friendly: Cook first, then freeze for up to 3 months. Thaw overnight and reheat gently.
What to Serve With This
This chicken is versatile enough to pair with almost anything:
Classic sides: Steamed broccoli, roasted vegetables, or a simple green salad Comfort pairings: Mashed potatoes, rice pilaf, or buttered noodles Fresh options: Arugula salad, quinoa, or roasted sweet potatoes Bread situation: Garlic bread or dinner rolls to soak up any pan juices
Troubleshooting Common Issues
Chicken still dry: Your breasts were probably too thick. Butterfly or pound to ¾-inch thickness next time.
Coating sliding off: Make sure chicken is patted dry before applying the coating mixture.
Not golden enough: Don’t skip the broiling step, and make sure your oven rack is positioned properly.
Coating burns: Your oven runs hot – reduce temperature to 350°F and increase cooking time slightly.
Bland flavor: Use more seasoned salt, or add garlic powder and herbs to boost flavor.
FAQs
Q: Can I use chicken thighs instead? A: Absolutely! Thighs are more forgiving and will be even juicier. Adjust cooking time as needed.
Q: Is the mayo necessary? A: Yes! It creates the moisture barrier that makes this recipe work. Greek yogurt can substitute but won’t be quite as rich.
Q: Can I make this gluten-free? A: This recipe is naturally gluten-free – no breadcrumbs required!
Q: What if I don’t have seasoned salt? A: Mix regular salt with garlic powder, onion powder, and a pinch of paprika.
Q: How do I know when it’s done? A: Use a meat thermometer – 165°F internal temperature is your goal. Don’t rely on timing alone.
Why This Recipe Changes Everything
This Melt in Your Mouth Chicken is the answer to every overcooked chicken disaster you’ve ever experienced. It’s proof that sometimes the simplest methods produce the most incredible results. No brining, no complicated techniques – just a smart coating that does all the work for you.
The beauty of this recipe is its reliability. Whether you’re a beginner cook or a seasoned pro having an off day, this method delivers consistent, restaurant-quality results every time. The combination of mayo and Parmesan isn’t just delicious – it’s scientifically sound, creating the perfect environment for juicy, flavorful chicken.
Your family will request this on repeat, and you’ll actually look forward to making it because you know it’ll turn out perfectly. Sometimes the best recipes are the ones that make you look like a kitchen genius with minimal effort – and this is definitely one of those recipes.







