
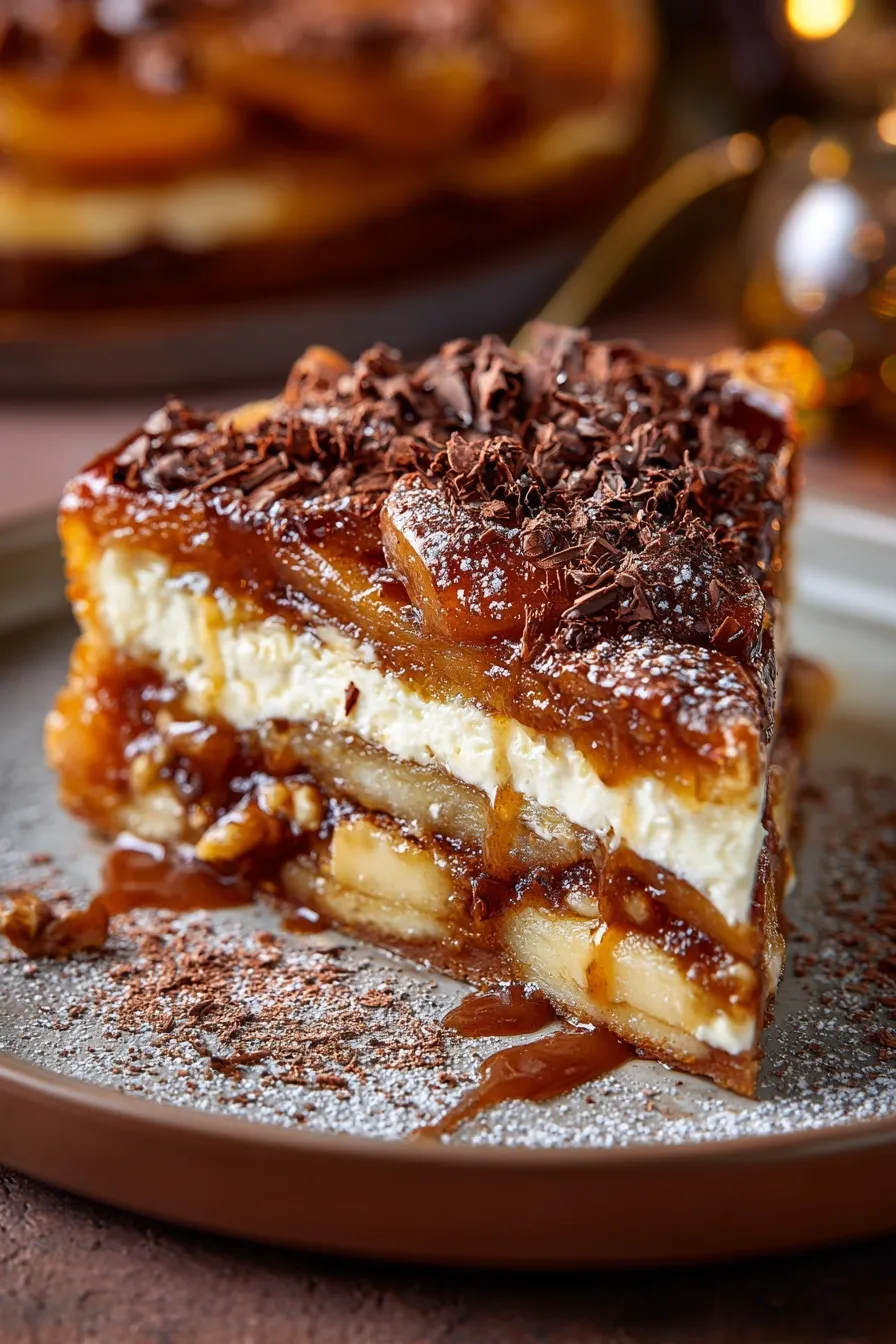
This pumpkin tiramisu transforms the classic Italian dessert into fall’s most elegant showstopper that requires zero oven time.
Since you are here, make sure to check out these impressive no-bake desserts:
- Ultimate No Bake Oreo Cheesecake
- Lemon Raspberry Swirl Cheesecake Recipe
- Ultimate 5 Layer Strawberry Shortcake Cheesecake
- Sugar Cookie Cheesecake
- Avocado Chocolate Mousse Vegan Healthy
Why This Recipe Actually Works
Traditional tiramisu is already perfect, so why mess with it? Because pumpkin spice makes everything better, and this version proves it without sacrificing the creamy, coffee-soaked magic that makes tiramisu legendary.
The genius here is using pumpkin puree to add moisture and flavor while mascarpone maintains that signature silky texture. The result? A dessert that tastes like fall decided to crash Italy’s most famous party – and everyone’s thrilled about it.
Ever wonder why some no-bake desserts turn out runny while others set perfectly? It’s all about ingredient ratios and chilling time – and this recipe nails both without requiring any special skills.
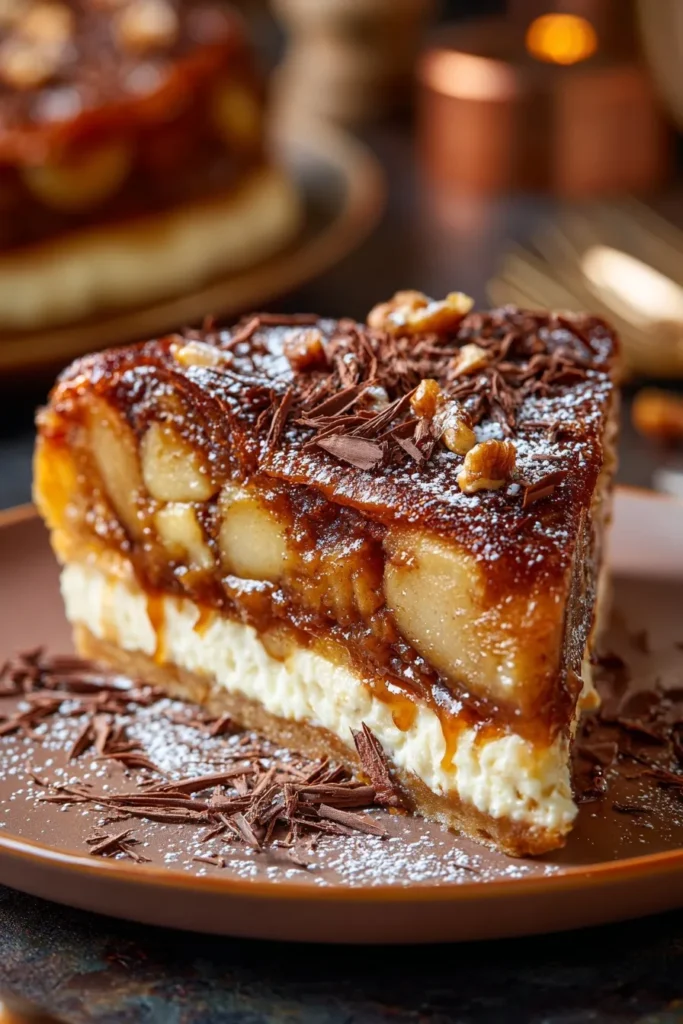
Ingredients
For the Pumpkin Mascarpone Cream:
- 16 oz mascarpone cheese, room temperature
- 1/2 cup pumpkin puree (canned, not pie filling)
- 2/3 cup granulated sugar
- 1/3 cup brown sugar
- 2 teaspoons pumpkin pie spice
- 1 teaspoon vanilla extract
- 1/4 teaspoon salt
- 2 cups heavy cream, cold
For Assembly:
- 28 ladyfinger cookies
- 2 cups strong espresso or coffee, cooled
- Dutch-process cocoa powder for dusting
- Optional: 2-3 tablespoons coffee liqueur
Instructions
Step 1: Coffee Prep Make your espresso or strong coffee and let it cool to room temperature. If using liqueur, stir it in now. Set aside while you work on the cream.
Step 2: Create the Base In a large bowl, combine room temperature mascarpone, both sugars, pumpkin pie spice, vanilla, and salt. Beat with an electric mixer until smooth and creamy – no lumps allowed here.
Step 3: Add the Pumpkin Mix in the pumpkin puree until completely incorporated. The mixture should be smooth and evenly colored.
Step 4: Whip the Magic Add cold heavy cream and beat for 3-4 minutes until the mixture thickens and holds soft peaks. Don’t overbeat or you’ll end up with butter.
Step 5: First Layer Quickly dip each ladyfinger in coffee for 1-2 seconds only – any longer and they’ll fall apart. Arrange in a single layer in a 9×13 inch dish.
Step 6: Cream Layer Spread half the mascarpone mixture over the ladyfingers, smoothing with an offset spatula.
Step 7: Repeat Add another layer of coffee-dipped ladyfingers, then pipe or spread the remaining cream on top. Use a piping bag with star tip for that professional bakery look.
Step 8: The Waiting Game Cover tightly with plastic wrap and refrigerate for at least 4 hours, preferably overnight. This isn’t optional – the ladyfingers need time to soften.
Step 9: Final Touch Just before serving, dust generously with cocoa powder through a fine-mesh sieve.
Pro Tips That Actually Matter
Room Temperature Mascarpone: This is crucial. Cold mascarpone creates lumps that no amount of beating will fix. Pull it out 30 minutes early or microwave for 10 seconds at a time.
Quick Coffee Dips: Seriously, 1-2 seconds maximum. Soggy ladyfingers create a mushy mess instead of that perfect tender texture you want.
Quality Ingredients Matter: Use high-fat mascarpone and good coffee. This dessert is all about ingredient quality – cheap mascarpone makes cheap-tasting tiramisu.
Overnight is Better: While 4 hours is the minimum, overnight chilling allows flavors to meld and creates the perfect texture. Plan ahead.
Customization Options
Gluten-Free Version: Use gluten-free ladyfingers – they work exactly the same way and taste just as good.
Dairy-Free Attempt: Swap mascarpone for cashew cream cheese and use coconut cream instead of heavy cream. Different texture, but still delicious.
Add Some Crunch: Fold chopped toasted pecans or walnuts into the cream for texture contrast.
Boozy Upgrade: Add amaretto, rum, or bourbon to the coffee mixture for adult sophistication.
Make-Ahead Magic
Full Assembly: Make the entire dessert 1-2 days ahead and store covered in the fridge. Add cocoa powder right before serving.
Cream Only: Prepare just the mascarpone mixture up to 2 days early and store covered. Assemble day-of for freshest results.
Freezer Friendly: This actually freezes beautifully for up to 2 months. Freeze without cocoa powder, then thaw overnight in the fridge.
Individual Portions: Assemble in individual glasses or ramekins for elegant presentation and easy serving.
Storage and Serving
Refrigerator Storage: Keeps covered for up to 4 days in the fridge. The flavors actually improve after day one.
Serving Temperature: Serve chilled but not ice cold. Pull from fridge 15 minutes before serving for optimal creaminess.
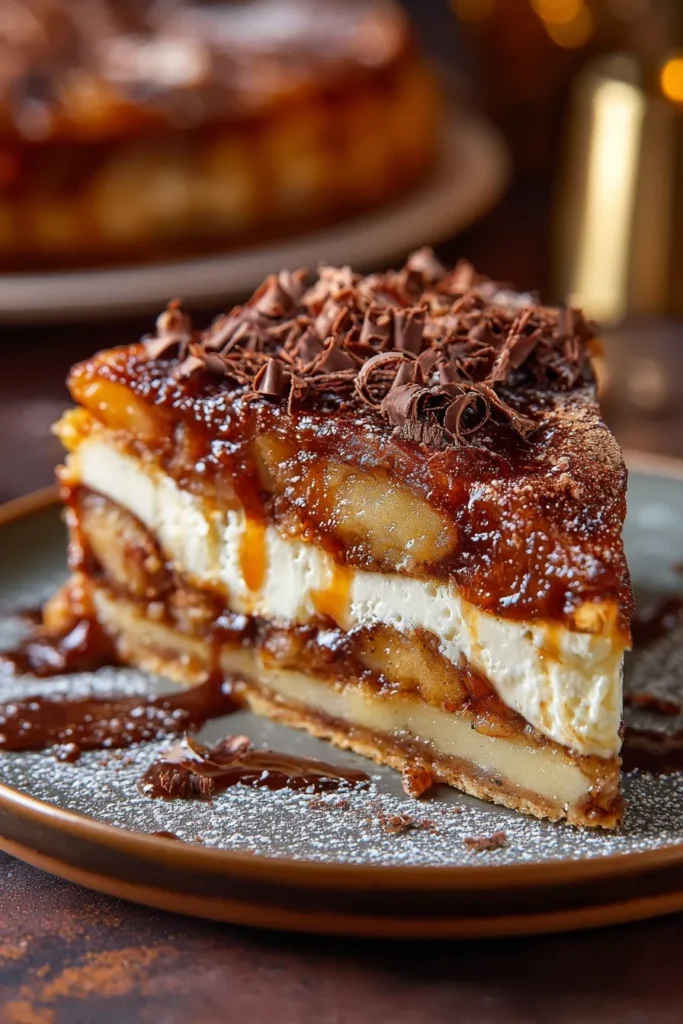
Clean Slicing: Use a sharp knife dipped in warm water between cuts for clean slices that show off those gorgeous layers.
Troubleshooting Common Issues
Runny Filling: Your mascarpone was too cold, or you overwhipped the cream. Next time, ensure room temperature cheese and stop beating when soft peaks form.
Soggy Bottom: You soaked the ladyfingers too long. Quick dips only – they’ll absorb more moisture as they chill.
Lumpy Cream: Cold mascarpone is the culprit. Always use room temperature and beat until smooth before adding other ingredients.
Too Sweet/Not Sweet: Taste the cream before assembly and adjust with a pinch of salt or extra sugar as needed.
Frequently Asked Questions
Can I use cream cheese instead of mascarpone? You can, but the texture will be different – tangier and denser. Mascarpone is worth seeking out for authentic results.
How do I know if it’s set properly? The cream should hold its shape when you cut into it, and the ladyfingers should be tender but not mushy. If it’s still loose after 4 hours, chill longer.
Can I make this without coffee? You could use spiced apple cider or chai tea for the soaking liquid, but coffee provides that classic tiramisu contrast to the sweet cream.
Why is my mascarpone lumpy? It was too cold when you started mixing. Bring to room temperature and beat thoroughly before adding other ingredients.
How far ahead can I make this? Up to 2 days ahead for best results. The flavors meld beautifully, and the texture actually improves with time.
Why You’ll Love This Recipe
This pumpkin tiramisu gives you all the elegance of the Italian classic with a seasonal twist that feels special without being complicated. It’s the kind of dessert that makes people think you spent way more time and effort than you actually did.
The no-bake convenience means you can make an impressive holiday dessert without competing for oven space, and the make-ahead nature lets you focus on other dishes on the big day. Plus, it serves a crowd and looks absolutely stunning on the table.
Perfect for Thanksgiving, Christmas, or any time you want to impress without stress. IMO, this beats traditional pumpkin pie by miles – it’s more sophisticated, more interesting, and way more fun to eat 🙂







