
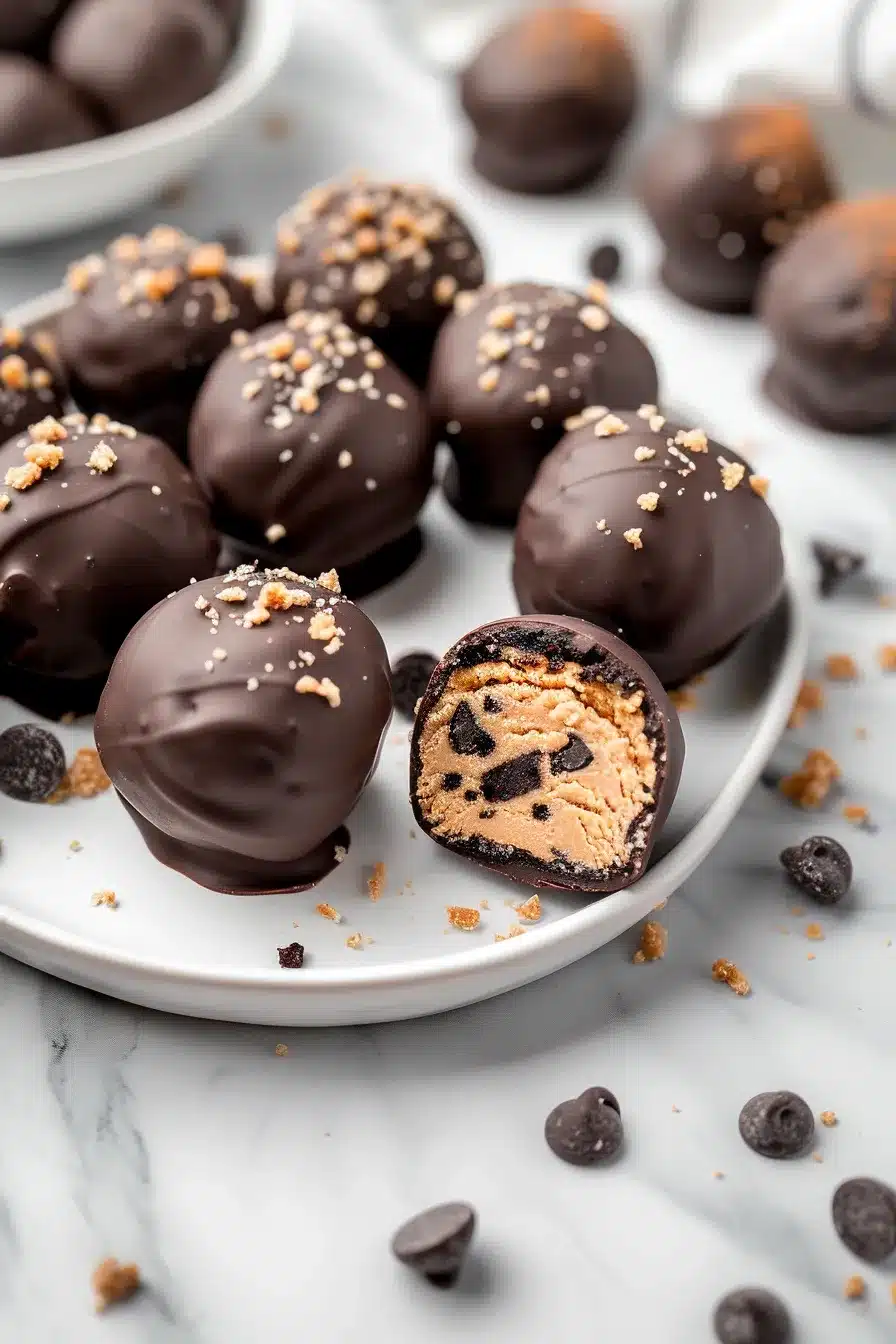
No-Bake Reese’s Oreo Balls are the perfect combination of creamy peanut butter, crunchy Oreos, and rich chocolate coating – ready in just 30 minutes with only 5 ingredients! These irresistible bite-sized treats deliver that classic peanut butter-chocolate flavor we all crave, without any baking required. 🍫
Life-changing dessert that’s easier than you think!
I discovered this recipe during a particularly hectic holiday season when I needed something impressive but simple for a last-minute party. The moment I took my first bite, I knew I’d found my new go-to dessert. The creamy peanut butter center paired with the chocolatey Oreo crunch creates the most incredible texture combination – and the best part? No oven required!
What Makes These No-Bake Oreo Balls So Irresistible?
These no-bake Oreo balls combine the beloved flavors of Reese’s peanut butter cups with the classic crunch of Oreo cookies in one perfect bite-sized treat. The secret to their incredible taste lies in the balance of textures – creamy peanut butter filling, crunchy cookie pieces, and a smooth chocolate coating that snaps when you bite into it.
The beauty of this recipe is its simplicity and versatility. Using just five basic ingredients that you likely already have in your pantry, you can create an impressive dessert that looks and tastes like it came from a fancy confectionery. The no-bake method means you can make these any time of year without heating up your kitchen.
Why These Will Become Your New Favorite:
- Zero Baking Required: Perfect for hot summer days
- Kid-Friendly: Safe and fun for little helpers
- Make-Ahead Friendly: Actually improve in flavor overnight
- Customizable: Easy to adapt with different coatings or mix-ins
- Party Perfect: Elegant presentation with minimal effort
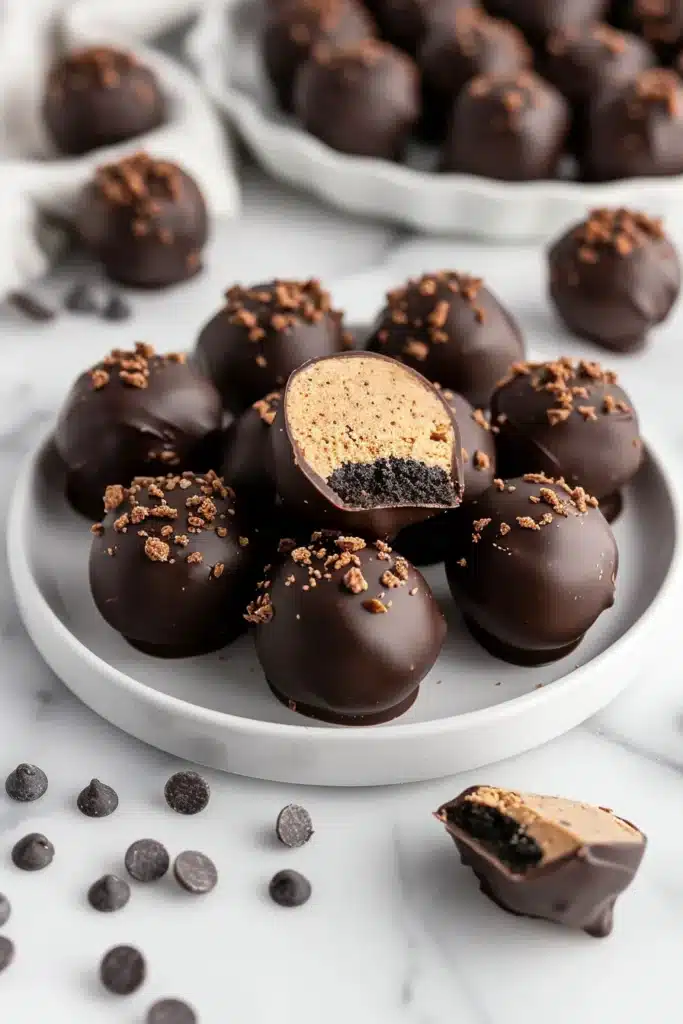
Essential Ingredients for Perfect No-Bake Oreo Balls
Main Ingredients:
• 36 Oreo cookies – about 1 standard package, provides the chocolatey base
• 8 oz cream cheese – softened to room temperature, creates smooth binding
• 1 cup powdered sugar – adds sweetness and helps achieve perfect texture
• ½ cup creamy peanut butter – the star flavor that makes these taste like Reese’s
• 2 cups milk chocolate chips – for the glossy coating that holds everything together
Optional Enhancement Ingredients:
• 1 tablespoon coconut oil – makes chocolate coating smoother and shinier
• ½ teaspoon vanilla extract – enhances overall flavor depth
• Pinch of salt – balances sweetness and intensifies chocolate flavor
• Chopped peanuts – for rolling coating if desired
• White chocolate chips – for drizzling decoration
How to Make No-Bake Reese’s Oreo Balls (Step by Step)
Step 1: Crush the Oreo Cookies to Perfect Consistency
Place Oreo cookies in a large resealable plastic bag and seal tightly. Using a rolling pin or heavy object, crush cookies into fine crumbs – aim for the texture of coarse breadcrumbs with no large pieces remaining. Pro tip: You can also use a food processor and pulse until finely ground.
Step 2: Create the Creamy Base Mixture
Transfer crushed Oreos to a large mixing bowl. Add softened cream cheese and mix thoroughly with a hand mixer or wooden spoon until completely combined and smooth. The mixture should hold together without being too wet or too dry.
Step 3: Add Sweetness and Flavor
Gradually add powdered sugar to the Oreo-cream cheese mixture, stirring until fully incorporated. Add peanut butter and mix until the peanut butter is evenly distributed throughout the mixture. The final mixture should be firm enough to roll but not crumbly.
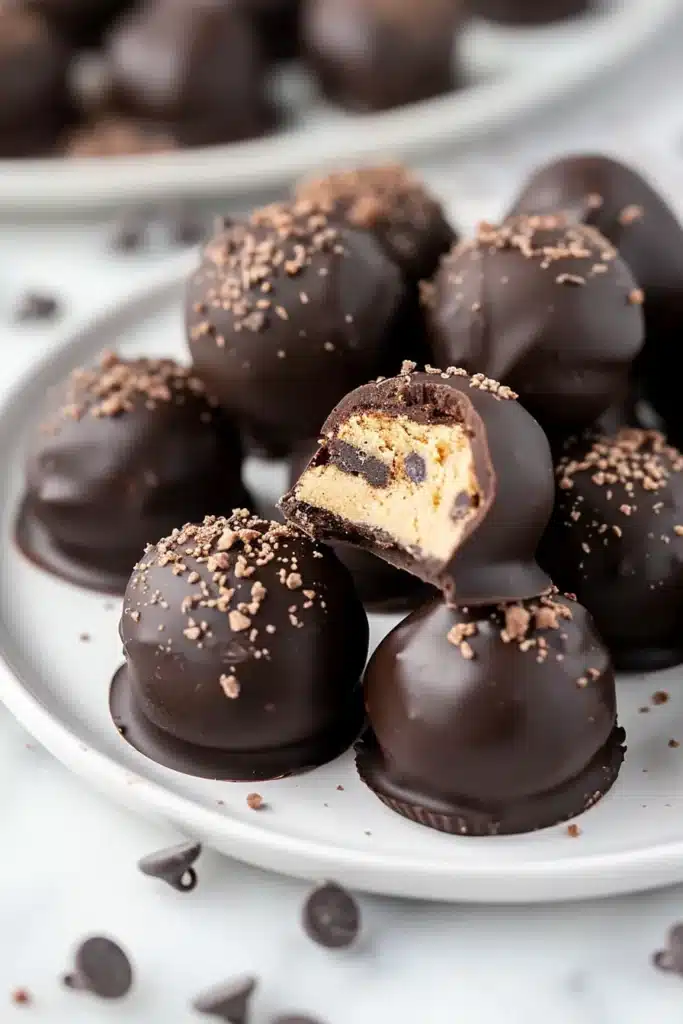
Step 4: Shape Into Perfect Bite-Sized Balls
Using clean hands or a small cookie scoop, roll mixture into 1-inch diameter balls. Place each ball on a parchment-lined baking sheet. Work quickly but don’t worry about perfect shapes – rustic is charming! Chef’s secret: Slightly damp hands prevent sticking.
Step 5: Chill for Optimal Texture
Refrigerate shaped balls for at least 30 minutes until firm. This step is crucial – properly chilled balls won’t fall apart during the chocolate coating process and will hold their shape beautifully.
Step 6: Melt Chocolate to Silky Perfection
While balls chill, melt chocolate chips in a microwave-safe bowl in 30-second intervals, stirring between each interval until completely smooth. Add coconut oil if using for extra glossy finish. Temperature tip: Chocolate should be warm but not hot.
Step 7: Coat with Chocolate Magic
Using a fork or toothpick, dip each chilled ball into melted chocolate, ensuring complete coverage. Gently tap against bowl edge to remove excess chocolate. Place back on parchment-lined sheet.
Step 8: Final Chill and Set
Refrigerate coated balls for another 30 minutes until chocolate coating is completely set and firm to the touch. They’re ready when the chocolate has a matte finish and doesn’t leave fingerprints when gently touched.
Pro Tips for Perfect No-Bake Oreo Balls
🍪 Oreo Crushing Secrets:
- Double-bag method prevents tears and contains mess
- Uniform crushing ensures smooth, even texture
- Leave some small chunks for added texture interest
- Food processor alternative: Pulse, don’t continuously run
⚠️ Common Mistake: Using cold cream cheese! It won’t blend smoothly and will create lumpy texture. Always soften to room temperature first.
🥜 Peanut Butter Tips:
- Use creamy, not natural peanut butter for best binding
- Room temperature peanut butter incorporates more easily
- Taste and adjust – some prefer extra peanut butter flavor
🍫 Chocolate Coating Mastery:
- Test temperature on your wrist – should feel warm, not hot
- Work in small batches to prevent chocolate from hardening
- Tap, don’t shake to remove excess chocolate
- Double-dip if needed for thicker coating
Make-Ahead Strategy:
- Uncoated balls freeze for up to 1 month
- Coat directly from frozen for easier handling
- Store finished balls in airtight container up to 1 week
Creative Variations and Flavor Twists
Transform your basic Oreo balls into something uniquely yours with these delicious variations:
🎨 Coating Options:
- White chocolate for elegant appearance
- Dark chocolate for sophisticated flavor
- Chopped nuts rolled on while chocolate is still wet
- Coconut flakes for tropical twist
🌟 Mix-In Ideas:
- Mini chocolate chips in the base mixture
- Crushed pretzels for salty-sweet combination
- Coffee grounds for mocha flavor
- Orange zest for citrus brightness
🎪 Holiday Themes:
- Red and green drizzle for Christmas
- Pastel colors for Easter
- Orange coating for Halloween
- Heart-shaped decorations for Valentine’s Day
Serving Suggestions for Maximum Impact
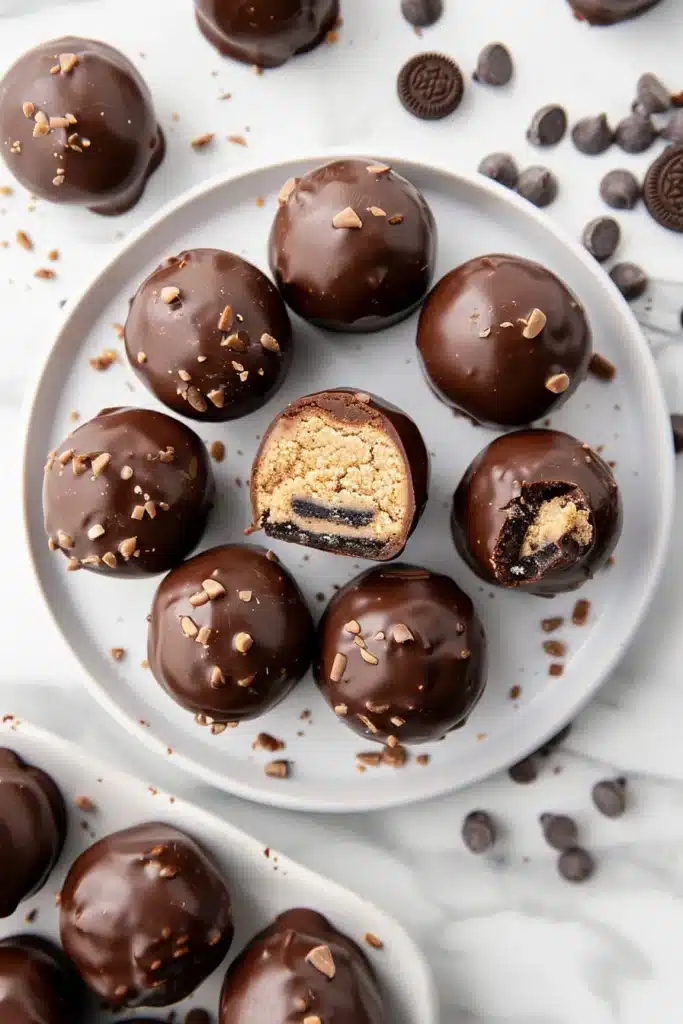
These versatile treats work beautifully for various occasions and presentation styles. For elegant dinner parties, arrange on a tiered serving stand with other petit fours. For casual gatherings, serve in colorful paper cups or arrange on a simple platter.
Perfect Occasions:
- Holiday cookie exchanges 🎄
- Birthday party dessert tables
- Potluck contributions (always a hit!)
- Teacher appreciation gifts
- Game day snacks with friends
Pairing Suggestions:
- Cold milk for the classic combination
- Hot coffee for adult gatherings
- Vanilla ice cream for extra indulgence
- Fresh berries for color and freshness
The Instagram-worthy presentation makes these perfect for social media sharing – arrange on marble surfaces with scattered Oreo crumbs for that professional food styling look!
Storage and Make-Ahead Instructions
Short-Term Storage: Store finished Oreo balls in an airtight container in the refrigerator for up to one week. Layer between parchment paper to prevent sticking and maintain that beautiful chocolate coating.
Freezing for Later: These freeze beautifully! Place finished balls on a baking sheet and freeze until solid, then transfer to freezer-safe container for up to 3 months. Thaw in refrigerator for 2-3 hours before serving.
Make-Ahead Strategy: Prepare uncoated balls up to 3 days in advance. Store covered in refrigerator, then coat with chocolate when ready to serve. This actually improves the flavor as ingredients have time to meld together.
Party Prep Timeline:
- 3 days ahead: Make and chill uncoated balls
- 1 day ahead: Coat with chocolate and chill
- Day of: Arrange on serving platter and enjoy!
Frequently Asked Questions About No-Bake Oreo Balls
Can I use different types of cookies instead of Oreos?
Absolutely! Chocolate sandwich cookies, vanilla wafers, or even graham crackers work well. Each will create a slightly different flavor profile but the same delicious concept.
Why are my Oreo balls falling apart when I dip them?
This usually happens when the balls aren’t chilled long enough or the chocolate is too hot. Ensure balls are firm from at least 30 minutes of chilling and let chocolate cool slightly before dipping.
Can I make these without cream cheese?
Cream cheese provides essential binding and creaminess. You could substitute with softened butter, but the texture and flavor will be different. Mascarpone cheese is the closest alternative.
How do I prevent the chocolate coating from being too thick?
Add 1 tablespoon of coconut oil or vegetable shortening to the melted chocolate. This thins the coating and creates a smoother finish.
Can I use crunchy peanut butter instead of creamy?
Yes! Crunchy peanut butter adds extra texture, though the balls may be slightly more challenging to roll smoothly. The extra crunch is delicious though!
What’s the best way to melt chocolate without a microwave?
Use a double boiler method: place chocolate in a heatproof bowl over simmering water, stirring until melted. This provides more control and prevents overheating.
How far in advance can I make these for a party?
Up to one week in the refrigerator or three months in the freezer. They actually taste better after sitting overnight as flavors develop and meld together.
Can I make these dairy-free?
Use dairy-free cream cheese and chocolate chips. Ensure your Oreo substitute is also dairy-free (some brands make dairy-free chocolate sandwich cookies).
Conclusion: These No-Bake Reese’s Oreo Balls are the perfect combination of easy preparation and impressive results. With just five simple ingredients and no baking required, you can create a dessert that looks and tastes like it came from a gourmet confectionery. The irresistible combination of peanut butter, chocolate, and Oreo flavors makes these treats absolutely addictive – perfect for any occasion from casual family gatherings to elegant dinner parties. Make a batch today and watch them disappear!







