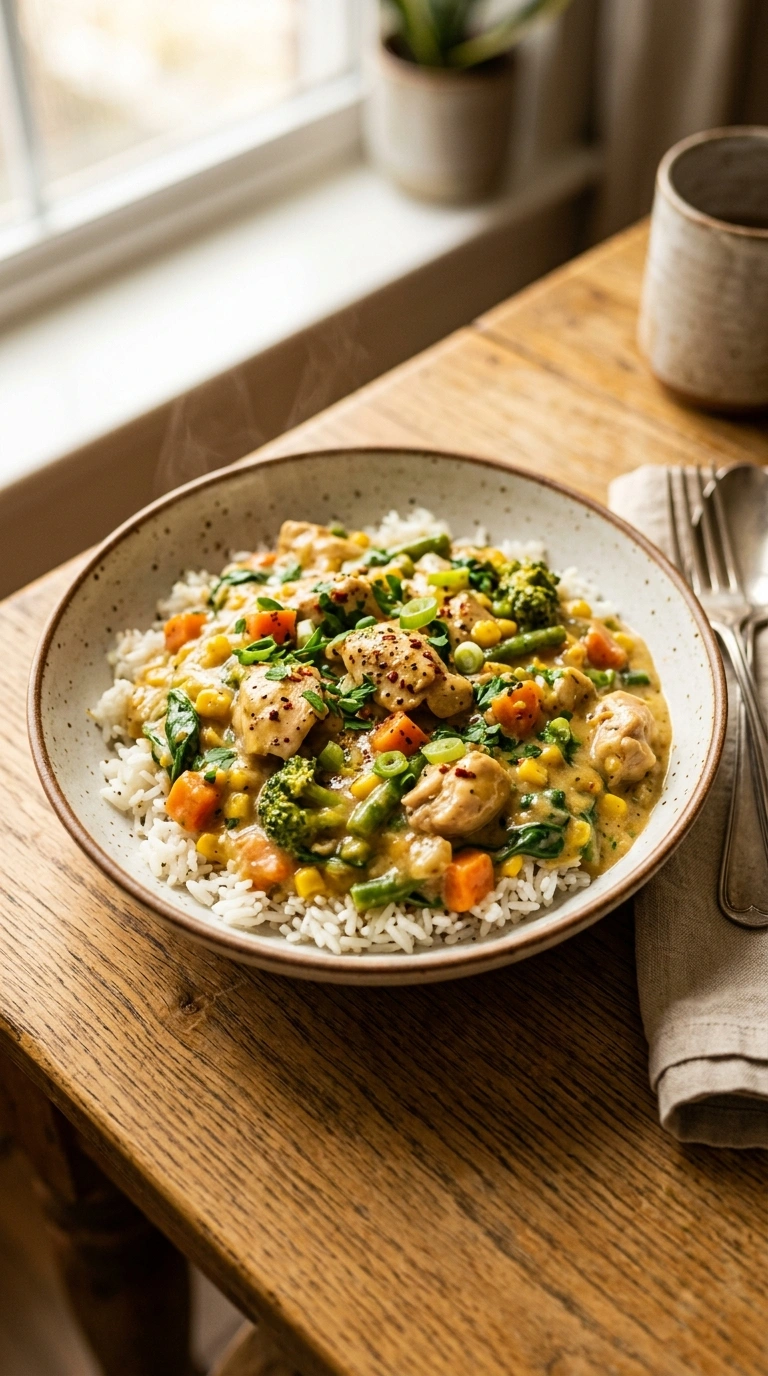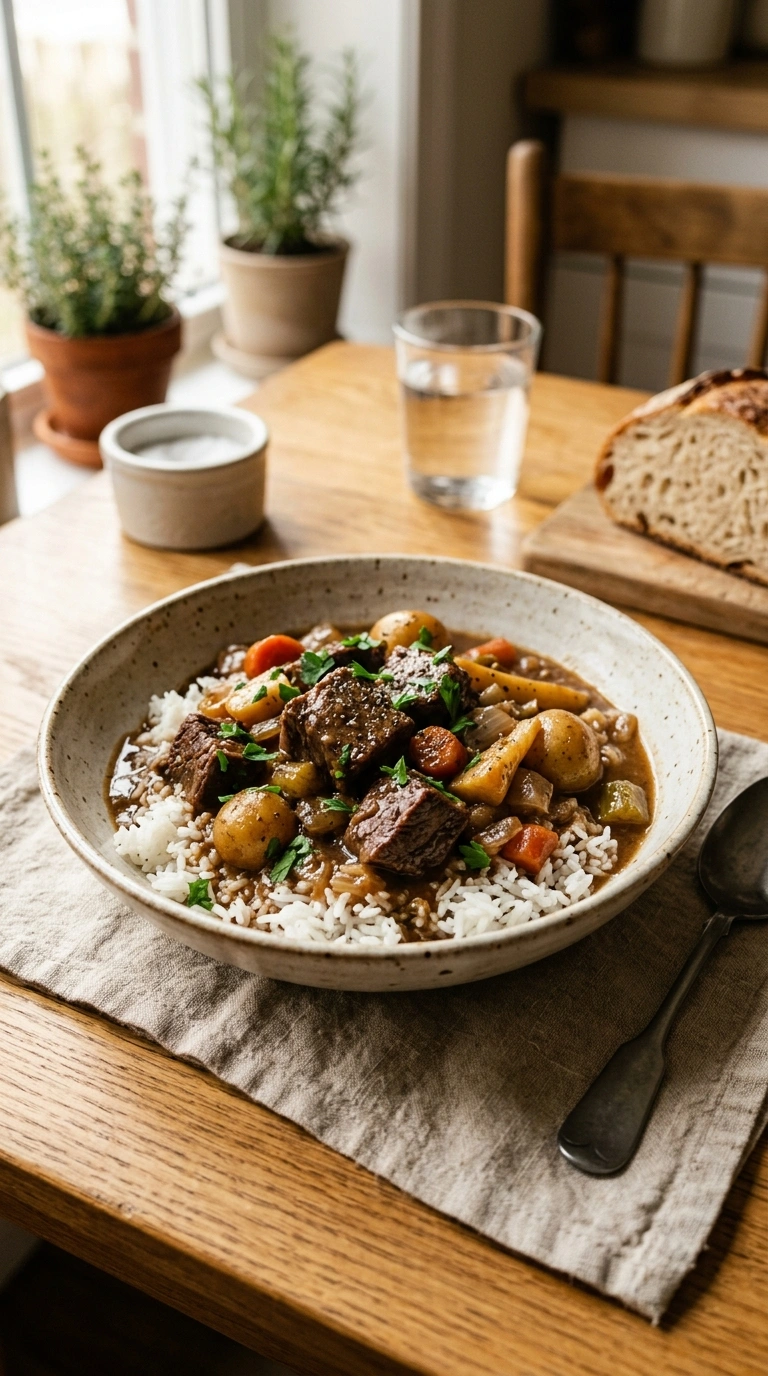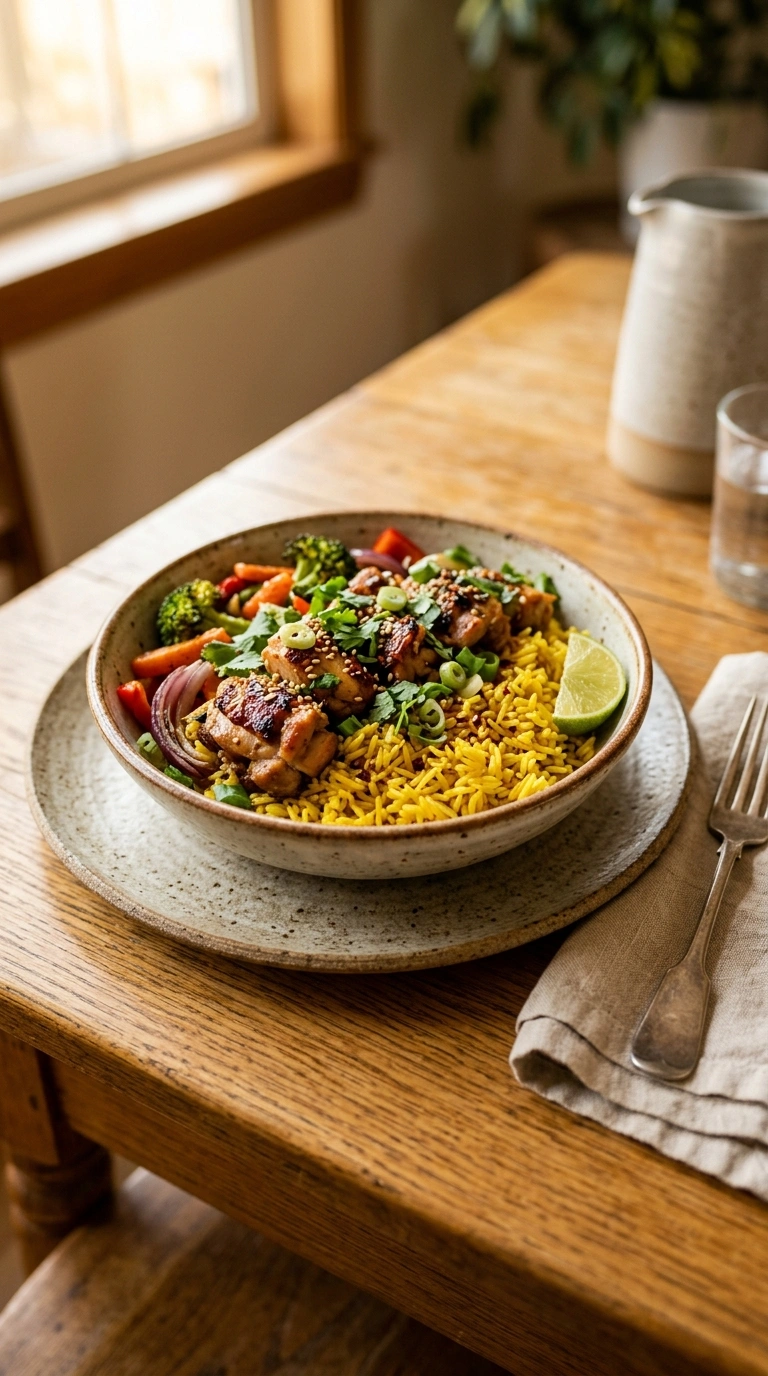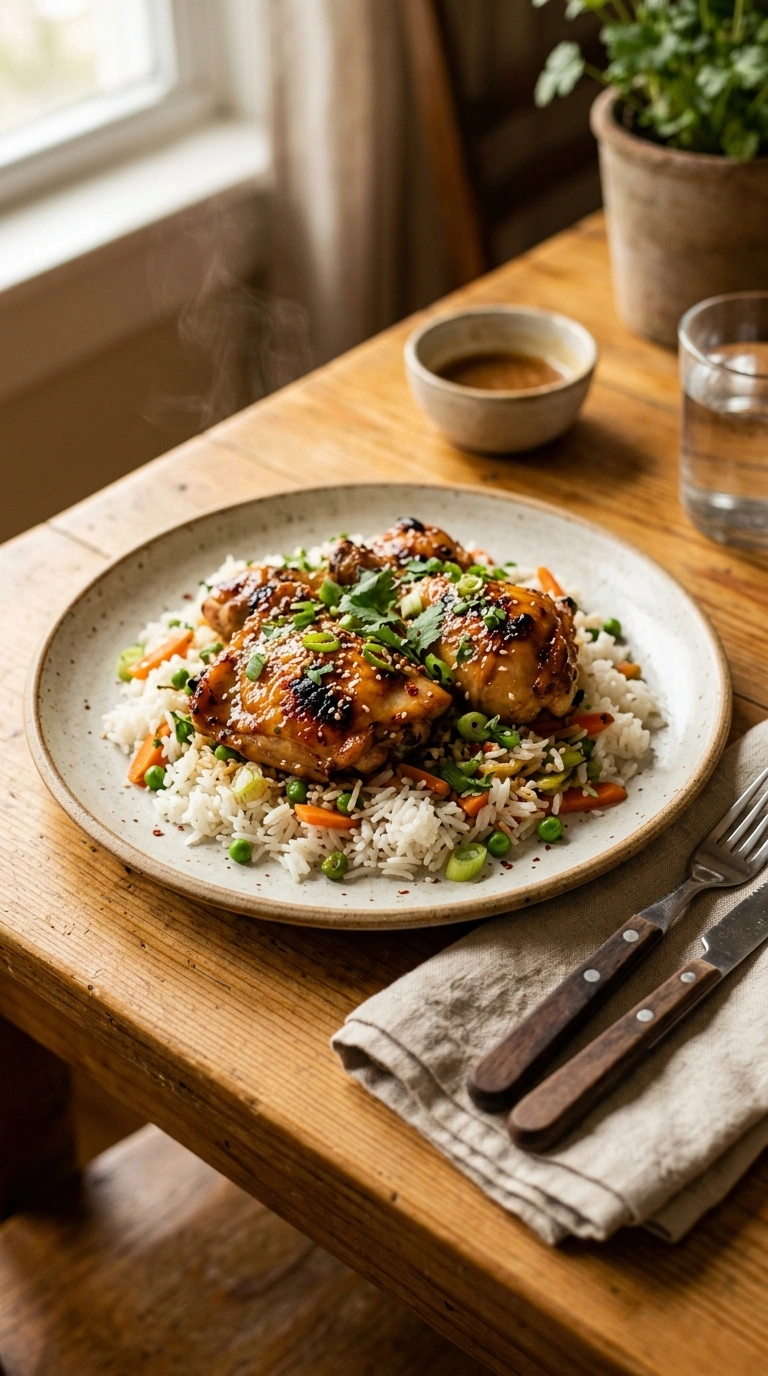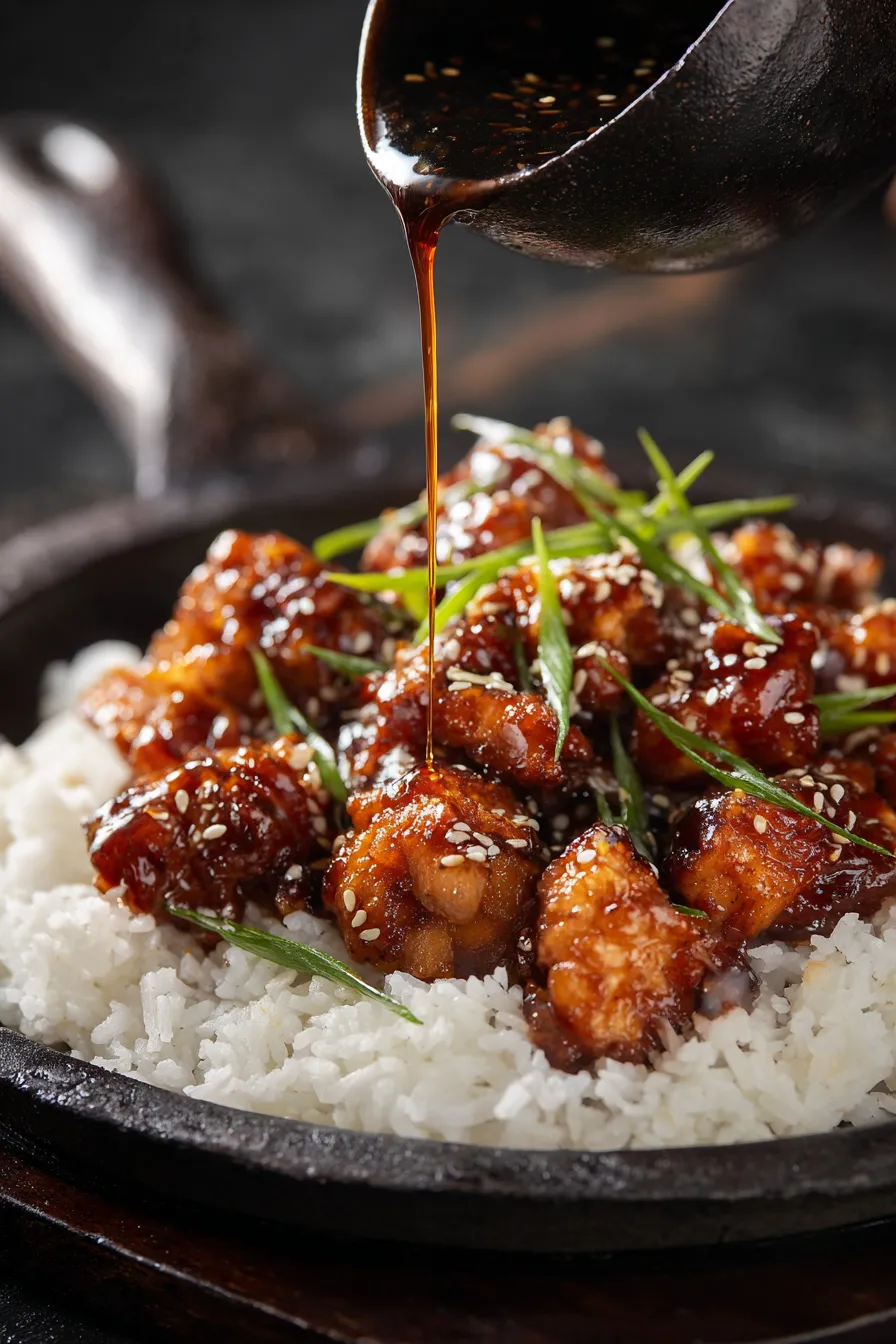
Listen, I’ve been making this easy one-pan honey BBQ chicken rice for my family every Tuesday night for the past three years, and let me tell you – it never gets old. There’s something magical about the way that sticky-sweet honey BBQ sauce gets absorbed into perfectly fluffy rice while the chicken stays impossibly tender.
During my restaurant days, I learned that the secret to incredible one-pan meals isn’t just throwing everything together – it’s about layering flavors at each step. This recipe takes all those professional techniques and makes them totally doable for busy weeknight cooking.
Why This Recipe is Going Absolutely Viral Right Now:
- Takes just 30 minutes from start to finish
- Only one pan to wash (yes, really!)
- Kid-approved flavors that adults actually love too
- Uses ingredients you probably already have
- Perfect for meal prep Sunday sessions
What Makes This Honey BBQ Chicken Rice So Addictively Good
This isn’t your average chicken and rice combo, friends. The magic happens when you sear the chicken first (creating those gorgeous golden bits that flavor everything else), then build layers of flavor right in the same pan.
My neighbor Sarah, who’s got three picky kids under 10, told me this is the only recipe that gets unanimous approval at her dinner table. Even her 8-year-old son asks for seconds!
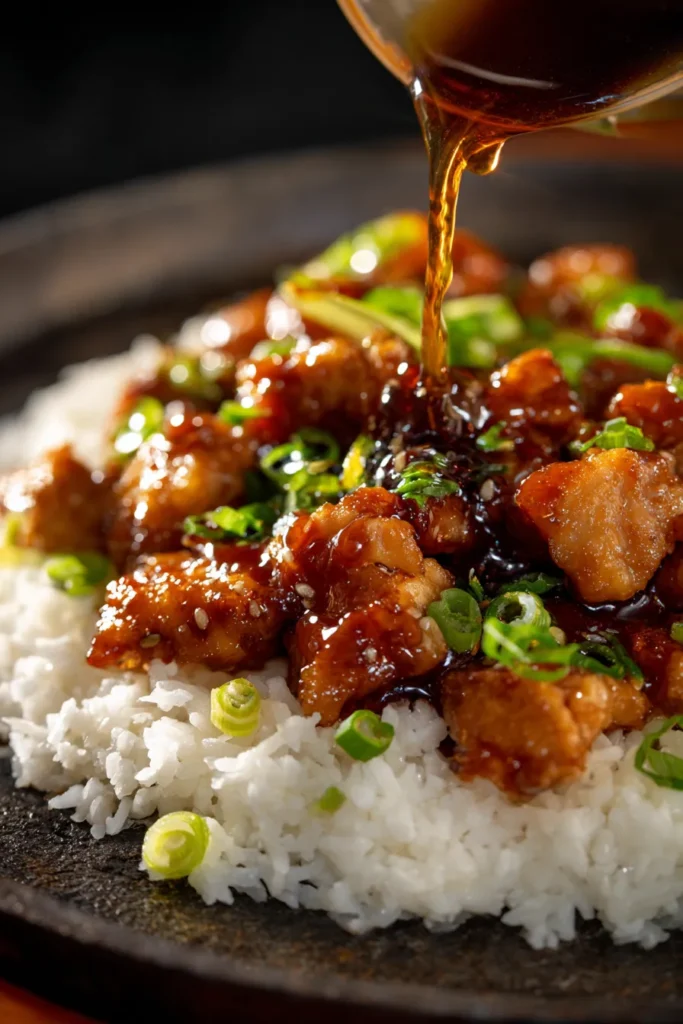
The honey BBQ sauce caramelizes slightly during cooking, creating this incredible sticky glaze that coats every grain of rice. It’s like if your favorite BBQ restaurant made fried rice – but better because you made it at home.
Ingredients You’ll Need for Perfect Honey BBQ Chicken Rice
For the Chicken:
- 1.5 lbs boneless, skinless chicken thighs (trust me on this!)
- 2 tablespoons olive oil
- 1 teaspoon garlic powder
- 1 teaspoon onion powder
- 1/2 teaspoon smoked paprika
- Salt and pepper to taste
For the Rice & Sauce:
- 1 cup long-grain white rice
- 2 cups chicken broth
- 1/2 cup honey BBQ sauce (plus extra for serving)
- 2 tablespoons honey
- 1 tablespoon soy sauce
- 1 tablespoon butter
- 2 cloves garlic, minced
Optional Add-ins:
- 1/2 cup frozen corn
- 1/4 cup diced bell peppers
- 2 green onions, sliced
Step-by-Step Instructions for Restaurant-Quality Results
Prep Your Chicken Like a Pro
Cut your chicken thighs into bite-sized pieces – about 1-inch chunks work perfectly. Pat them completely dry with paper towels (this step is crucial for that beautiful golden sear).
Season generously with garlic powder, onion powder, smoked paprika, salt, and pepper. Let the chicken sit for 5 minutes while you prep everything else.
Professional tip I learned from my chef mentor: Room temperature chicken sears better than cold chicken straight from the fridge.
Create the Perfect Golden Sear
Heat olive oil in a large, deep skillet or Dutch oven over medium-high heat. You want it nice and hot – the oil should shimmer but not smoke.
Add the seasoned chicken pieces in a single layer. Don’t overcrowd! Cook for 3-4 minutes without moving them, then flip and cook another 3-4 minutes until golden brown on both sides.
The chicken doesn’t need to be fully cooked at this point – it’ll finish cooking with the rice.
Build Your Flavor Base
Push the chicken to one side of the pan and add minced garlic to the empty space. Cook for 30 seconds until fragrant.
Add the rice and stir it around with the chicken and garlic for about 1 minute. This toasts the rice slightly and helps prevent it from getting mushy later.
Add Liquids and Seasonings
Pour in the chicken broth, honey BBQ sauce, honey, and soy sauce. Stir everything together gently.
Bring the mixture to a boil, then immediately reduce heat to low and cover with a tight-fitting lid.
Here’s where I see most people mess up: Don’t lift that lid! The steam is what cooks the rice perfectly.
The Waiting Game (But It’s Worth It!)
Let everything simmer on low heat for 18-20 minutes. Set a timer and resist the urge to peek!
After 20 minutes, remove from heat but keep the lid on for another 5 minutes. This final steaming step ensures perfectly fluffy rice.
Finish and Serve
Remove the lid and gently fluff the rice with a fork. Taste and adjust seasonings if needed – sometimes I add a pinch more salt or an extra drizzle of honey BBQ sauce.
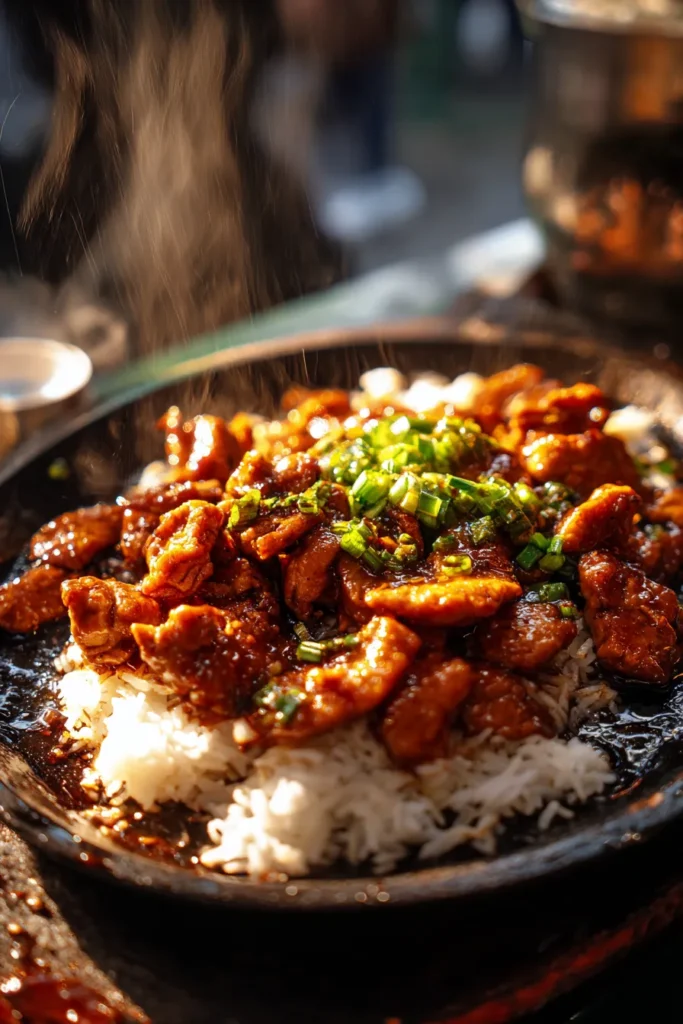
Garnish with sliced green onions and serve immediately while it’s hot and delicious!
Pro Tips for Maximum Flavor Success
Use Chicken Thighs, Not Breasts: I cannot stress this enough! Thighs stay juicy and tender, while breasts can dry out easily. After years of testing both, thighs win every single time.
Don’t Skip the Searing Step: That golden-brown color isn’t just pretty – it’s pure flavor. Those caramelized bits (called fond in professional kitchens) dissolve into the rice and make everything taste incredible.
Choose Your BBQ Sauce Wisely: Thicker, sweeter BBQ sauces work best here. I love Sweet Baby Ray’s Honey BBQ or any honey-based variety.
Rice Matters: Long-grain white rice gives the best texture. Skip the instant stuff – it gets mushy and won’t absorb flavors properly.
Smart Ingredient Substitutions That Actually Work
No Chicken Thighs? Chicken breasts work, but cut them smaller and reduce cooking time by 2-3 minutes to prevent drying out.
Make It Gluten-Free: Use gluten-free BBQ sauce and replace soy sauce with tamari or coconut aminos.
Healthier Version: Try brown rice (increase liquid to 2.5 cups and cooking time to 25 minutes) or cauliflower rice for lower carbs.
Spice It Up: Add a teaspoon of sriracha or red pepper flakes with the BBQ sauce for a kick that’ll wake up your taste buds.
Perfect Side Dishes to Complete Your Meal
This honey BBQ chicken rice is pretty complete on its own, but here are my go-to sides:
- Easy Asian Cucumber Salad for a refreshing crunch
- Green Goddess Salad to balance the richness
- Watermelon Feta Salad for summer dinners
- Simple steamed broccoli or green beans
For drinks, homemade lemonade or iced tea pairs beautifully with the sweet BBQ flavors.
Make-Ahead and Meal Prep Magic
This recipe is absolutely perfect for meal prep! I make a double batch every Sunday and portion it into containers for the week.
Storage Tips:
- Refrigerate for up to 4 days in airtight containers
- Freeze portions for up to 3 months
- Reheat in the microwave with a splash of chicken broth to restore moisture
Prep-Ahead Strategy: You can season and cut the chicken up to 2 days ahead. Store covered in the fridge, then just cook as directed when ready.
Troubleshooting Common Issues
Rice is too wet: Remove lid and let it cook uncovered for 2-3 more minutes to evaporate excess liquid.
Rice is too dry: Add a splash more broth and let it sit covered for another few minutes.
Not enough BBQ flavor: Stir in more sauce after cooking, or serve extra on the side.
Chicken seems tough: You might have overcooked it. Next time, reduce the heat and cooking time slightly.
Seasonal Variations to Keep Things Interesting
Summer Version: Add fresh corn kernels and diced bell peppers. Garnish with fresh cilantro instead of green onions.
Fall Comfort: Try apple cider BBQ sauce and add diced sweet potatoes that cook along with the rice.
Winter Warming: Add frozen peas and carrots for extra vegetables and color.
Spring Fresh: Include asparagus pieces in the last 5 minutes of cooking and finish with fresh herbs.
Why Families Keep Making This Recipe Over and Over
After teaching this recipe to dozens of home cooks, here’s what I hear most often: “My kids actually ate vegetables!” and “Even my husband asked for the recipe!”
The sweet honey BBQ flavors appeal to kids, while the one-pan convenience appeals to busy parents. Plus, at under $12 to feed a family of four, it’s incredibly budget-friendly.
My friend Lisa, who works full-time and has two teenagers, says this has become her “panic dinner” – the one she makes when she forgot to plan anything else. It’s reliable, delicious, and uses ingredients she always keeps on hand.
Storage and Reheating Like a Pro
Refrigerator Storage: Cool completely before transferring to airtight containers. It keeps for 4 days max.
Freezer-Friendly: Portion into freezer-safe containers and freeze for up to 3 months. Label with date and contents.
Reheating Methods:
- Microwave: Add 1-2 tablespoons of chicken broth per serving and microwave in 30-second intervals, stirring between
- Stovetop: Heat in a covered pan over low heat with a splash of broth until warmed through
- Oven: Cover with foil and reheat at 350°F for 15-20 minutes
Budget-Friendly Shopping Tips
This recipe costs about $10-12 to make and feeds 4-6 people generously. Here’s how I keep costs down:
- Buy chicken thighs in bulk when they’re on sale and freeze portions
- Stock up on BBQ sauce during summer sales
- Use store-brand rice and broth – the quality difference is minimal
- Buy frozen vegetables instead of fresh when they’re expensive
Equipment You’ll Actually Need
You don’t need fancy equipment for this! Here’s what works best:
Large, Deep Skillet or Dutch Oven: A good cast iron skillet distributes heat evenly and goes from stovetop to oven if needed, though any heavy-bottomed pan works perfectly.
Tight-Fitting Lid: Essential for proper steaming. If your lid doesn’t fit well, cover the pan with foil first, then add the lid.
Sharp Knife: For cutting chicken evenly (even cuts = even cooking).
That’s it! No special gadgets required.
Frequently Asked Questions
Can I use brown rice instead of white rice? Yes! Increase the liquid to 2.5 cups and extend cooking time to 25 minutes. Brown rice takes longer to cook but adds great nutty flavor and extra nutrition.
What if I don’t have honey BBQ sauce? Mix regular BBQ sauce with 2-3 tablespoons of honey. Korean BBQ sauce also works beautifully for a different flavor profile.
Can I make this in a slow cooker? While this recipe is designed for stovetop cooking, you can adapt it. Brown the chicken first, then add everything to your slow cooker and cook on low for 2-3 hours.
Is this recipe freezer-friendly? Absolutely! Cool completely, portion into freezer containers, and freeze for up to 3 months. Thaw overnight in the fridge before reheating.
How do I prevent the rice from getting mushy? Don’t lift the lid during cooking, use the right ratio of liquid to rice (2:1), and let it rest off the heat for 5 minutes before fluffing. Long-grain rice holds its shape better than short-grain varieties.
This easy one-pan honey BBQ chicken rice has become my go-to recipe for everything from busy weeknight dinners to casual entertaining. The combination of minimal cleanup, maximum flavor, and ingredients you probably already have makes it a true winner. Give it a try tonight – I guarantee it’ll become part of your regular dinner rotation!