
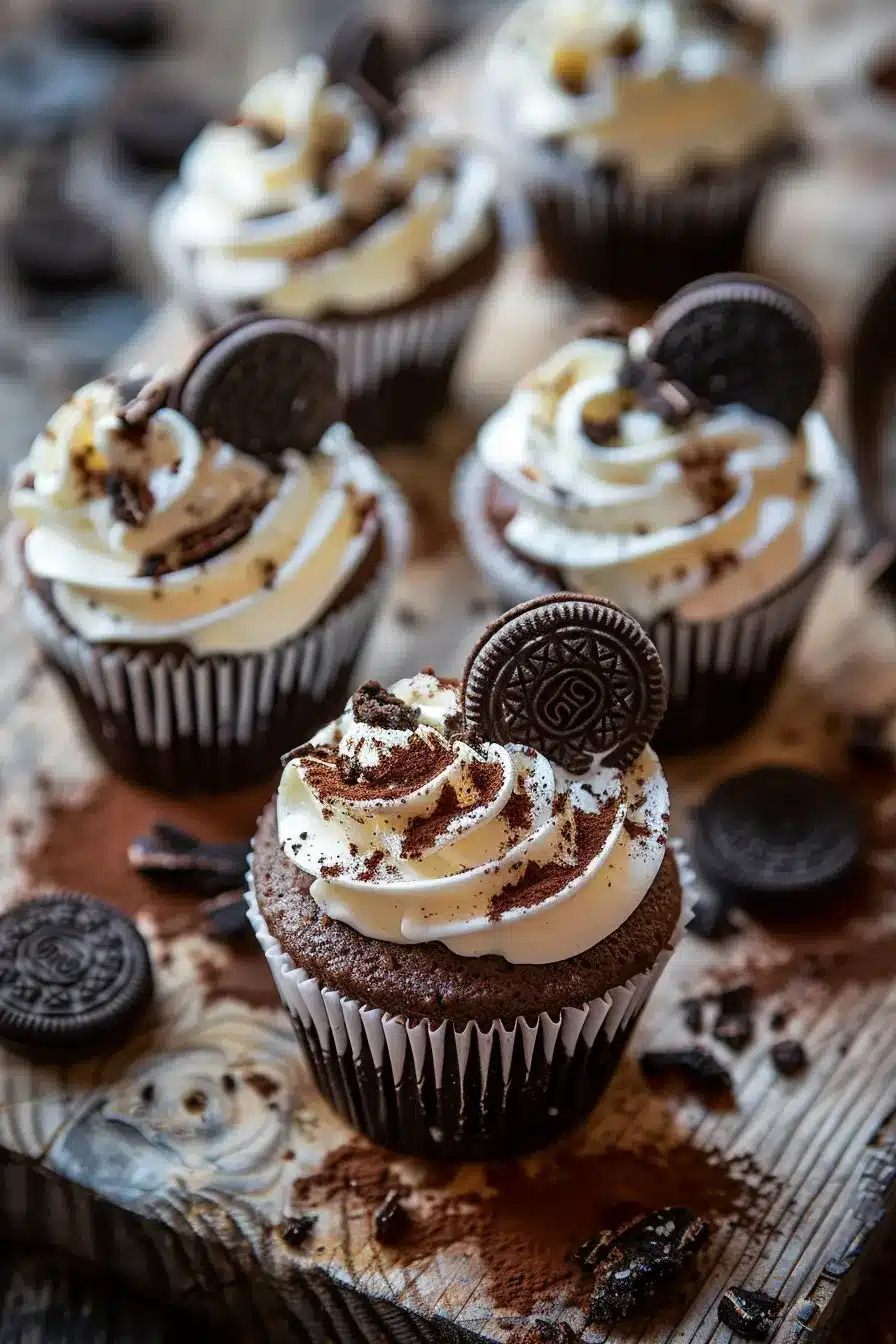
Oreo Cheesecake Cookie Cups combine the perfect balance of crunchy Oreo cookies and silky-smooth cheesecake filling in adorable individual portions. These fail-proof mini desserts deliver restaurant-quality results with just 6 simple ingredients and absolutely zero baking experience required! 🍪
Picture this: bite-sized cups with crispy Oreo crusts cradling rich, creamy cheesecake that melts on your tongue, topped with fluffy whipped cream and chocolate crumbles. Each spoonful delivers that heavenly contrast of textures that makes these little gems disappear faster than you can make them!
I discovered this recipe during a last-minute dinner party panic when I needed something impressive but ridiculously easy. My guests couldn’t believe these elegant-looking desserts took less than an hour to prepare. The combination of familiar Oreo flavors with sophisticated cheesecake presentation creates the ultimate crowd-pleasing dessert that works for everything from birthday parties to romantic dinners.
What Makes Oreo Cheesecake Cookie Cups So Special?
These individual desserts solve the biggest cheesecake challenges – no cracking, no water baths, and no guessing when they’re done. The muffin tin format ensures perfectly portioned servings while the Oreo crust adds structural support and incredible flavor depth.
Unlike traditional cheesecake that requires overnight chilling, these cookie cups set in just 2-3 hours in the refrigerator. The smaller size means faster cooking times and more consistent results, making them perfect for beginner bakers who want professional-looking results.
The genius of this recipe lies in its two-layer construction – the pressed Oreo base creates a sturdy foundation while the lighter cheesecake filling provides creamy contrast. Each bite delivers the satisfaction of both cookies and cream in one spoonful.
What Ingredients Do You Need for Oreo Cheesecake Cookie Cups?
For the Oreo Crust:
• 20 classic Oreo cookies – use original flavor for best results
• 5 tablespoons unsalted butter – melted, creates perfect binding
For the Cheesecake Filling:
• 8 ounces cream cheese – softened to room temperature, full-fat only
• ½ cup granulated sugar – standard white sugar works perfectly
• ¼ cup sour cream – adds tangy richness and smooth texture
For the Topping:
• 1 cup whipped cream – homemade or high-quality store-bought
Optional Enhancement:
• ¼ cup mini chocolate chips – fold into filling for extra indulgence
How to Make Oreo Cheesecake Cookie Cups (Step by Step)
Step 1: Prepare Your Equipment and Oven
Preheat oven to 350°F (175°C) and line a standard 12-cup muffin tin with paper cupcake liners. This prevents sticking and makes removal effortless. Place the muffin tin on a baking sheet for easy transport and even heat distribution.
Step 2: Create the Perfect Oreo Crust
Place 20 Oreo cookies in a food processor and pulse until you achieve fine, uniform crumbs – about 15-20 pulses. Pro tip: If you don’t have a food processor, place cookies in a sealed plastic bag and crush with a rolling pin for consistent results.
Transfer crumbs to a medium bowl and mix with 5 tablespoons melted butter until the mixture resembles wet sand and holds together when pressed. The texture should be moist enough to compact but not soggy.
Step 3: Form the Cookie Cup Bases
Press approximately 1 tablespoon of the Oreo mixture firmly into the bottom of each cupcake liner. Use the bottom of a small measuring cup or your fingers to create an even, compact layer. Chef’s Secret: The firmer you press, the more stable your cups will be.
Step 4: Prepare the Silky Cheesecake Filling
In a large mixing bowl, beat softened cream cheese with an electric mixer on medium speed until completely smooth and fluffy – about 2-3 minutes. Gradually add ½ cup sugar, beating until well incorporated and no lumps remain.
Add ¼ cup sour cream and mix on low speed until just combined. Important: Overmixing can cause the filling to become too thin, so stop as soon as ingredients are unified.
Step 5: Fill and Bake to Perfection
Spoon 2-3 tablespoons of cheesecake filling over each Oreo crust, filling liners about ¾ full. Gently tap the muffin tin on the counter to release air bubbles and level the tops.
Bake for 15-18 minutes until the edges appear set but centers still have a slight jiggle when gently shaken. The tops should not brown – this indicates overcooking.
Step 6: Cool and Chill for Best Results
Remove from oven and cool completely at room temperature for 30 minutes, then refrigerate for at least 2-3 hours until firm. This chilling time is crucial for achieving sliceable, creamy texture.
Step 7: Add Final Touches and Serve
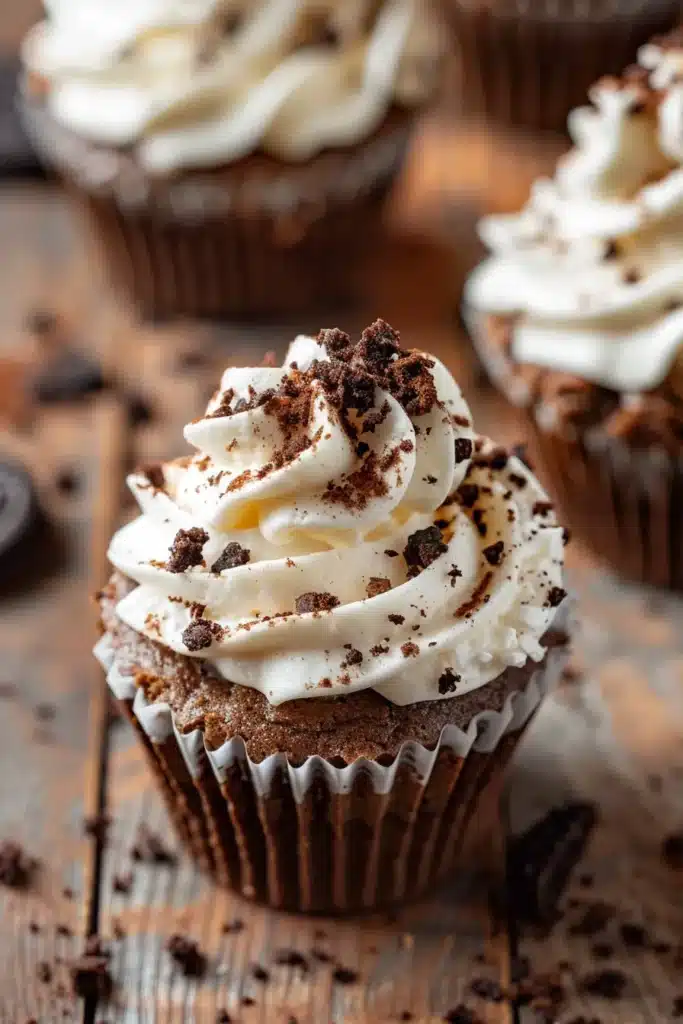
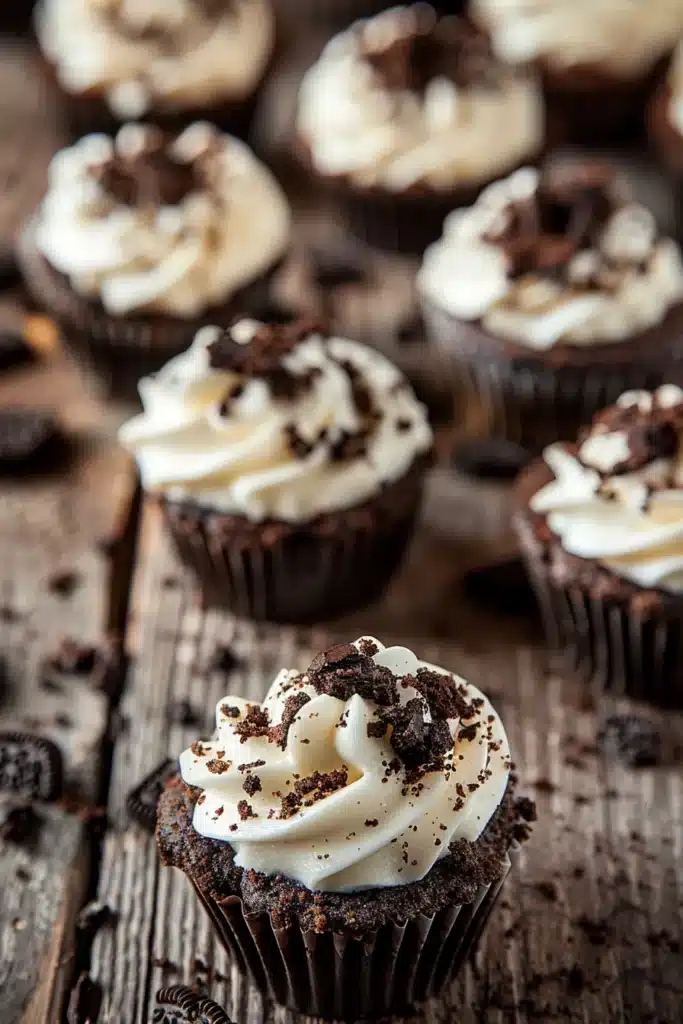
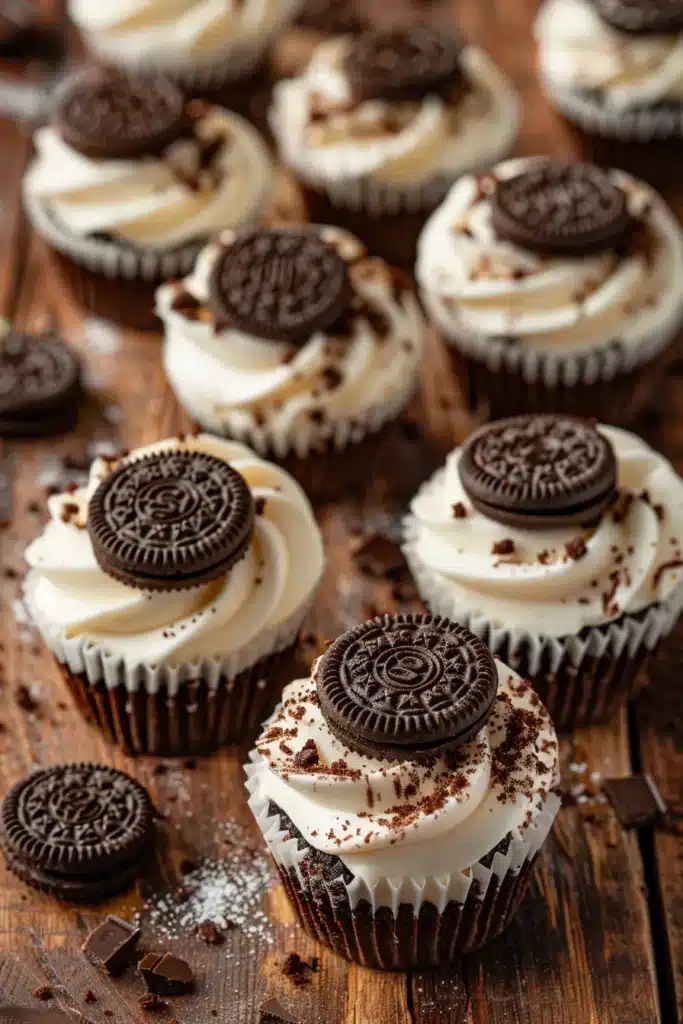
Just before serving, pipe or dollop whipped cream on top of each cup. Sprinkle with crushed Oreo crumbs or mini chocolate chips for an elegant finishing touch. Serve immediately for best presentation.
Pro Tips for Perfect Oreo Cheesecake Cookie Cups
Temperature Control is Everything: Room temperature cream cheese mixes smoothly without lumps, while cold ingredients can cause the filling to become grainy. Plan ahead and remove cream cheese from refrigerator 1-2 hours before baking.
⚠️ Common Mistake: Opening the oven door frequently during baking can cause temperature fluctuations and uneven cooking. Resist the urge to peek until the minimum baking time has elapsed.
Perfect Texture Secret: The centers should still jiggle slightly when done – they’ll continue cooking from residual heat and firm up completely during chilling. Overbaked cheesecake becomes dense and dry.
Make-Ahead Magic: These cups actually improve overnight as flavors meld together. Store covered in refrigerator for up to 5 days, adding whipped cream topping just before serving.
Substitution Success: Experiment with different cookie bases like chocolate chip cookies, vanilla wafers, or gingersnaps for seasonal variations while maintaining the same proportions.
Oreo Cheesecake Cookie Cups Serving Suggestions
Elegant Presentation: Serve in small dessert plates with a drizzle of chocolate or caramel sauce for restaurant-quality plating. Add a fresh mint sprig and a few berries for color contrast and sophisticated appeal.
Seasonal Styling: Summer – top with fresh strawberries and a light dusting of powdered sugar. Fall – add a sprinkle of cinnamon and candied pecans. Winter – garnish with crushed peppermint candies for holiday flair. ❄️
Party Perfect: These individual portions eliminate the need for cake cutting and create Instagram-worthy dessert displays. Arrange on a tiered serving stand with varied toppings for visual interest.
Special Occasion Enhancement: For birthdays, insert a small candle into the whipped cream. For Valentine’s Day, drizzle with raspberry coulis and heart-shaped chocolate decorations. 💕
Frequently Asked Questions About Oreo Cheesecake Cookie Cups
How long do Oreo cheesecake cookie cups last?
Store covered in the refrigerator for up to 5 days. The texture actually improves after the first day as flavors develop and meld together. Always add whipped cream topping just before serving to prevent deflation.
Can I freeze Oreo cheesecake cookie cups?
Yes! Freeze the baked and cooled cups (without whipped cream topping) for up to 3 months. Thaw overnight in refrigerator and add fresh toppings before serving. The texture remains creamy and delicious.
What’s the best way to remove them from the liners?
Chill completely before removing paper liners – at least 3 hours in refrigerator. Gently peel away the paper starting from the bottom. If they stick, they need more chilling time.
Can I make these without a muffin tin?
Absolutely! Use a mini cheesecake pan, silicone muffin cups, or even small ramekins. Adjust baking time by 2-3 minutes depending on the size and material of your chosen vessel.
Why did my cheesecake filling crack?
Cracking usually occurs from overbaking or temperature shock. Ensure your oven temperature is accurate, don’t overbake, and allow gradual cooling at room temperature before refrigerating.
Can I use reduced-fat cream cheese?
While possible, full-fat cream cheese delivers the richest flavor and smoothest texture. Reduced-fat versions may result in a less creamy consistency and require slight adjustments to sugar content.







