
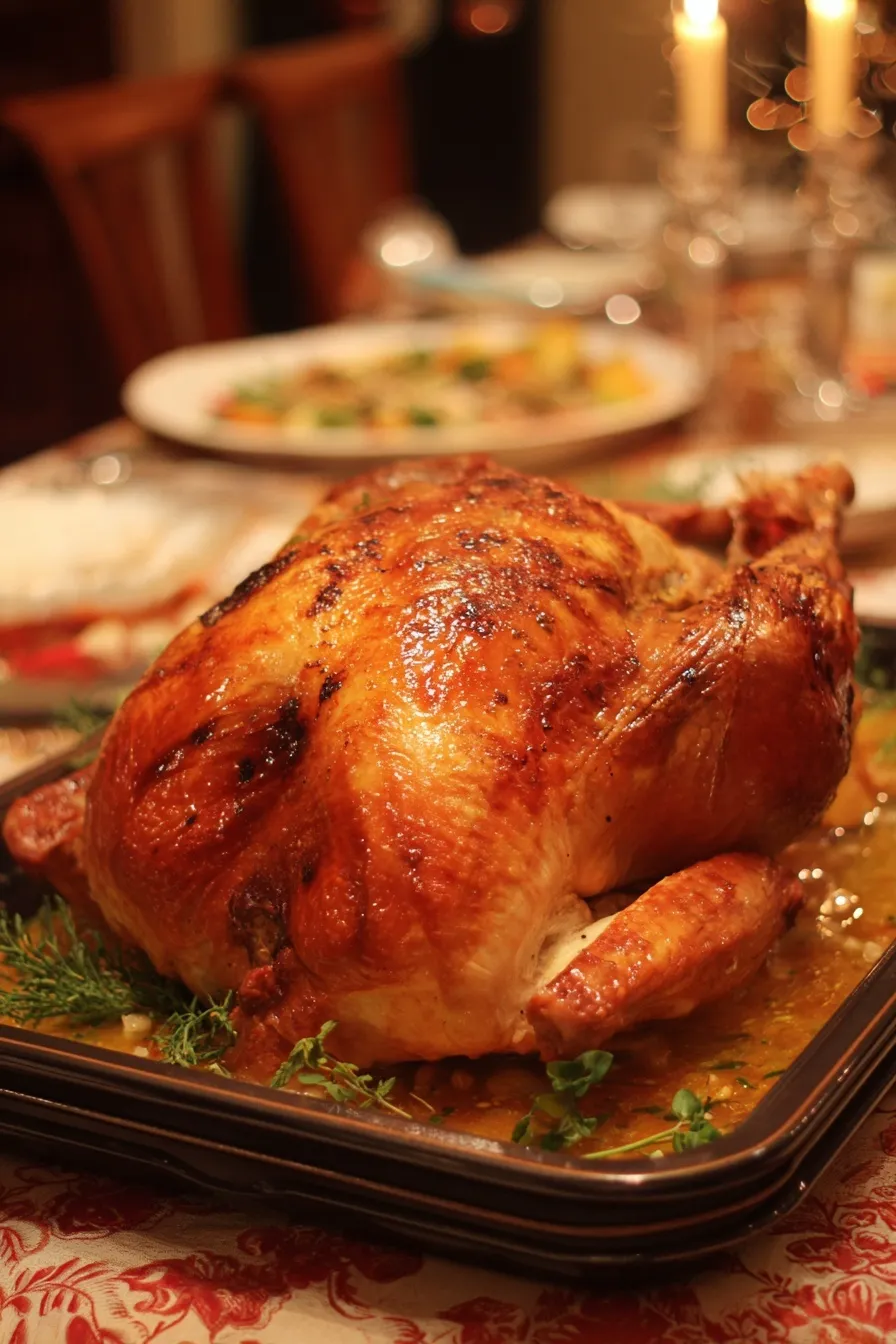
This turkey method will seriously blow your mind with how ridiculously juicy it stays!
Since you are here, make sure to check out these related recipes:
- Fresh Spring Snap Pea Salad – perfect light side
- Traditional Thanksgiving Stuffing Recipe – classic comfort
- Creamy Garlic Mashed Potatoes – ultimate side dish
- Honey Butter Sweet Potatoes – sweet perfection
- Apple Cider Donut Cake – holiday dessert magic
Look, I get it. Turkey has this terrible reputation for being dry as cardboard, and honestly? Most of the time, it totally lives up to that reputation. But here’s the thing – this cheesecloth method completely changes the game.
I stumbled across this technique a few years back when I was desperately trying to impress my in-laws (because let’s be real, nobody wants to be that daughter-in-law who ruins Thanksgiving). The original recipe called for white wine, but I’ve adapted it to work perfectly without any alcohol while keeping all that incredible flavor and moisture.
What Makes This Turkey So Special?
The cheesecloth acts like a protective blanket that keeps basting the turkey continuously. It’s basically like having a personal assistant constantly spooning butter and herbs over your bird while you’re doing literally anything else. Genius, right?
The herb butter mixture gets rubbed both under and over the skin, so every single bite is packed with flavor. And that slow, low cooking temperature? That’s what transforms even the most stubborn turkey breast into something that actually tastes good.
Ingredients
For the Herb Butter:
- 1 cup butter, room temperature (I use salted)
- 2 tablespoons fresh sage, stems removed and chopped
- 2 tablespoons fresh rosemary, stems removed and chopped
- 1 tablespoon fresh thyme, stems removed and chopped
- Zest of 1 whole lemon
- 4 cloves garlic, minced
- 3 teaspoons salt
For the Turkey and Basting:
- 1 whole turkey (fresh preferred, not pre-injected with salt solution)
- 1/2 cup butter, melted
- 2 cups halal-certified chicken or turkey stock
- 2 cups additional halal-certified chicken stock (replacing wine)
- Large piece of cheesecloth (about 2 yards)
- 3 cups water (for roasting pan)
For the Cavity (optional aromatics):
- 1 large onion, quartered
- 4 cloves garlic
- 2 carrots, chunked
- 2 celery stalks, chunked
- 1 lemon, halved
- 1 Granny Smith apple, quartered
Instructions
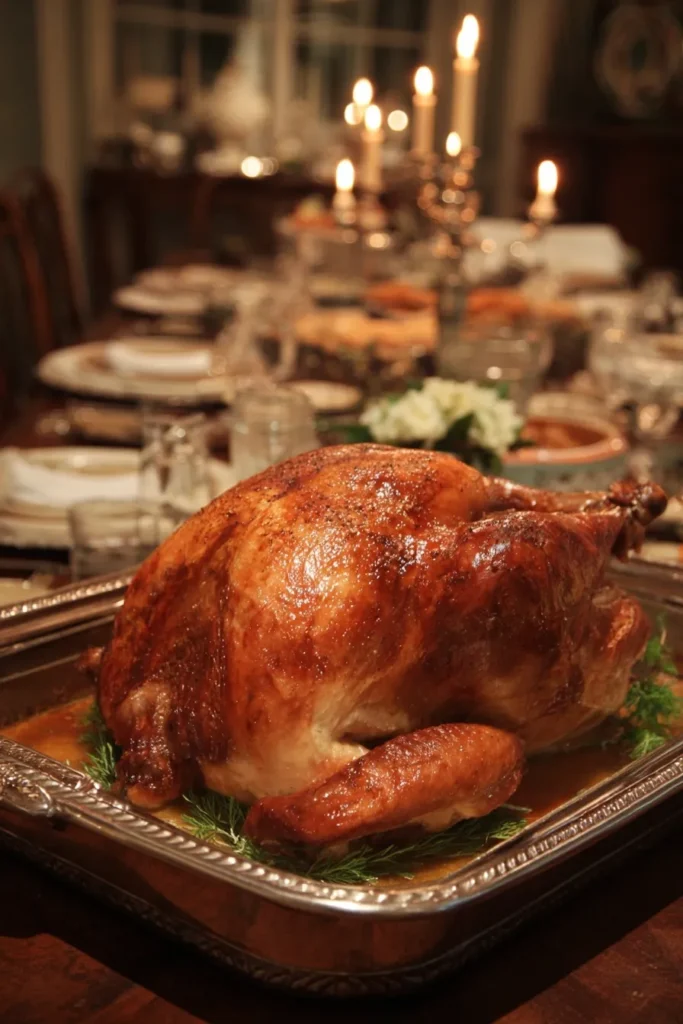
Prep the Turkey: Preheat your oven to 300°F. Yeah, I know it seems low, but trust me on this one. Pat the turkey completely dry with paper towels – and I mean completely dry. Any moisture left on the skin will prevent that herb butter from sticking properly.
Place the turkey in your roasting pan and add 1 cup of water to the bottom. If your turkey hangs over the edges (mine always does), slide a cookie sheet underneath to catch any drips.
Make the Magic Butter: Mix together the softened butter, sage, rosemary, thyme, lemon zest, minced garlic, and salt until it’s well combined. This herb butter is where all the flavor lives, so don’t be shy about really getting in there and mixing it thoroughly.
Prep the Basting Liquid: In a medium saucepan, combine the melted butter with both portions of chicken stock. This replaces the traditional wine mixture and honestly tastes just as incredible. Keep this mixture warm on low heat – you’ll be using it to soak the cheesecloth and for basting throughout cooking.
Get That Butter Under the Skin: Here’s where things get a little hands-on. Carefully work your fingers under the turkey skin over the breast and drumsticks. Rub about 2/3 of that herb butter mixture under the skin. Some turkeys are more cooperative than others with this step – if the butter’s being stubborn, just drop little blobs under there and massage it around from the outside.
Stuff and Secure: If you’re stuffing the cavity with aromatics (which I totally recommend), now’s the time. Pack in those onions, garlic, carrots, celery, lemon halves, and apple quarters. Tie the legs together with kitchen twine and tuck those wings under the bird.
Rub the remaining herb butter all over the outside of the turkey. Don’t miss any spots!
The Cheesecloth Magic: Fold your cheesecloth into a rectangle large enough to cover the top and sides of your turkey. Dip it into that warm butter-stock mixture until it’s completely soaked. Drape it over the turkey breast, tucking the sides down if needed. Add the remaining 2 cups of water to the roasting pan.
The Long, Slow Cook: Pop that baby in the oven and baste every 20-30 minutes with your butter-stock mixture. I usually set a timer because otherwise I totally forget (mom brain is real, y’all). You’re looking at about 15-20 minutes per pound for an unstuffed turkey, slightly longer if stuffed.
The Final Brown: About 30-45 minutes before your turkey’s done (when the thigh reads about 175°F), remove that cheesecloth. If it’s sticking a bit, baste it really well first to loosen it up. Give the turkey one final good basting and let it brown up beautifully for the remaining cooking time.
The turkey’s done when the thigh meat hits 180-185°F. If you stuffed it, make sure that stuffing reaches 165°F too.
Rest and Serve: Let the turkey rest for 15 minutes before carving. This is crucial for keeping all those juices where they belong – in the meat, not all over your cutting board.
Why This Method Works So Well
The cheesecloth creates this amazing microenvironment around the turkey breast that keeps it constantly moist. The low temperature means the meat cooks evenly without drying out, and that herb butter just melts into every fiber.
I’ve made turkey probably 20 different ways over the years, and this is hands down the most foolproof method I’ve found. Even if you slightly overcook it (we’ve all been there), the cheesecloth protection keeps it from turning into shoe leather.
Pro Tips from Years of Trial and Error
Fresh vs. Frozen: Fresh turkey is always better if you can swing it. Frozen turkeys often come pre-injected with salt solutions that change the texture and can make your turkey taste weird.
Thawing Time: If you’re stuck with frozen, give yourself plenty of time to thaw. Like, more time than you think you need. A partially frozen turkey will cook unevenly and take forever to reach temperature.
Oven Quirks: Every oven is different. If you have an electric oven, you might need to extend basting time to every 30 minutes since they take longer to recover heat when you open the door.
Stock Quality: Use good-quality stock for the basting liquid. It makes a difference in the final flavor.
What to Do if Things Go Wrong
Cheesecloth Sticking: If the cheesecloth is being stubborn when you try to remove it, just baste it really well with that warm stock mixture. It’ll loosen right up.
Turkey Taking Forever: High altitude, partially frozen turkey, or an oven that’s not calibrating correctly can all cause longer cooking times. Invest in an oven thermometer if you suspect your oven’s lying to you.
Butter Won’t Stick: Some turkeys are just more difficult than others. Don’t stress about it – once that butter starts melting, it’ll redistribute itself.
The Gravy Situation
Those pan drippings are going to be absolutely incredible. Skim off some of the fat, whisk in some flour, and slowly add the remaining drippings for the best gravy you’ve ever made. Seriously, this gravy alone is worth making this turkey.
Complete FAQs
Q: Can I prep this the night before? A: You can mix the herb butter ahead of time, but I’d wait to butter the turkey until the morning of cooking for food safety reasons.
Q: What if I don’t have cheesecloth? A: You could use a turkey bag following the package directions, but honestly, the cheesecloth method gives better results.
Q: Can I use this method with just a turkey breast? A: Absolutely! Use about half the herb butter mixture and remove the cheesecloth when the breast hits 155°F, then cook to 165°F.
Q: How do I know when it’s 30-45 minutes from being done? A: Start checking the thigh temperature when you’re getting close to your estimated cooking time. Remove the cheesecloth when it hits about 175°F.
Q: Can I stuff the turkey with this method? A: You can, but I honestly prefer doing stuffing separately. It cooks more evenly and the turkey finishes faster.
Here’s the Real Deal
This isn’t the fastest turkey method out there, and you’ll be tied to the kitchen for basting duty. But if you want a turkey that’ll have people asking for your secret and coming back for seconds (and thirds), this is your recipe.
I’ve served this turkey to some pretty tough critics over the years, and it’s never failed me. Even my brother-in-law who “doesn’t really like turkey” cleaned his plate and asked when I was making it again.
The combination of that herb butter, the protective cheesecloth, and the low-and-slow cooking creates something that’s honestly more like really good rotisserie chicken than traditional turkey. And isn’t that exactly what we all want?







