
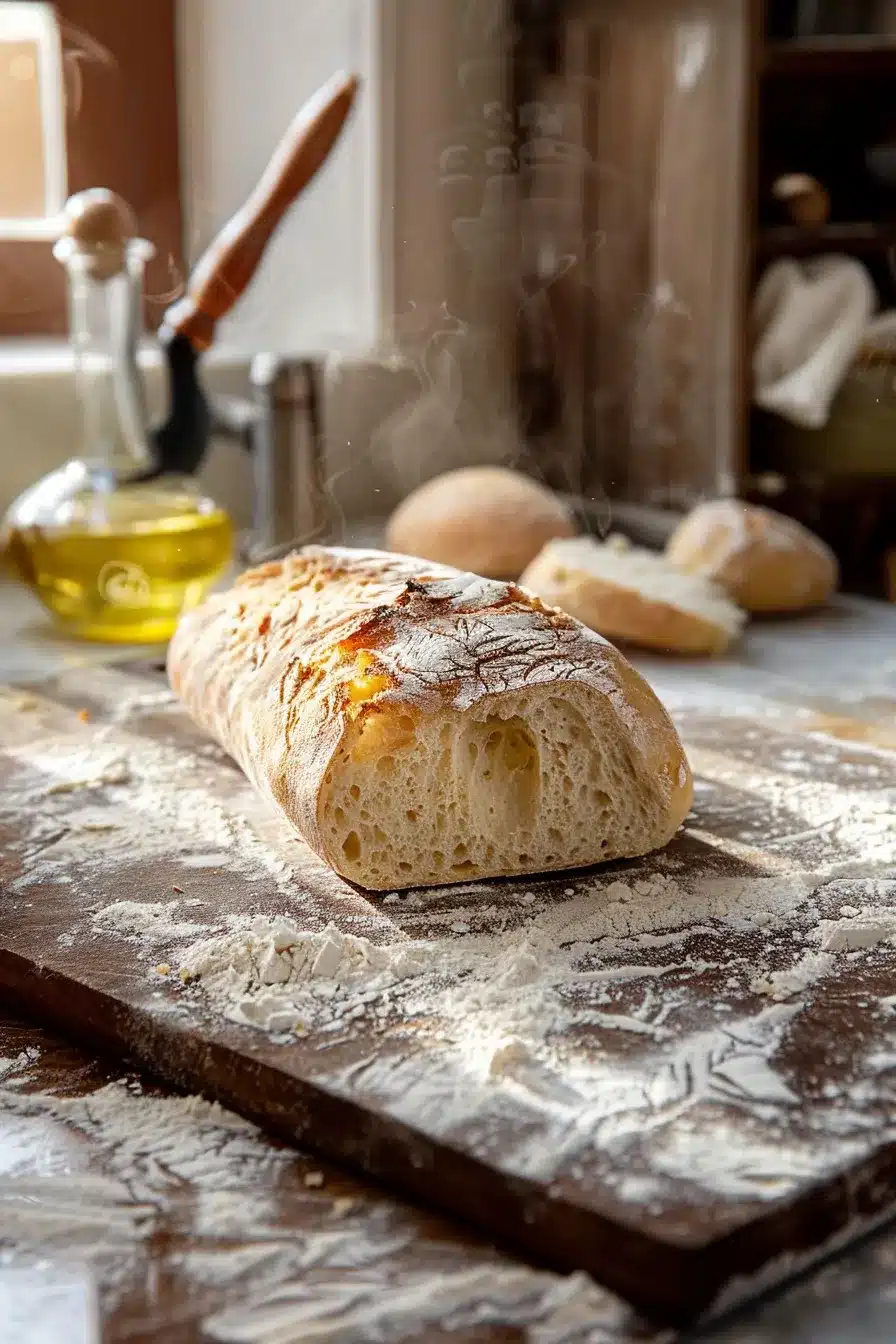
Perfect Ciabatta Bread delivers that authentic Italian bakery experience with its signature crispy golden crust and incredibly airy interior filled with gorgeous holes! This foolproof recipe creates rustic loaves that are restaurant-quality but made right in your home kitchen. Ready in just 4 hours with simple ingredients! 🍞
The secret to incredible ciabatta lies in the high hydration dough and gentle handling technique that preserves those beautiful air pockets. Each bite offers the perfect contrast – a satisfying crunch from the crust followed by pillowy softness inside. Whether you’re making sandwiches, serving with soup, or creating bruschetta, this bread will transform every meal into something special.
What Makes Authentic Ciabatta Bread So Special?
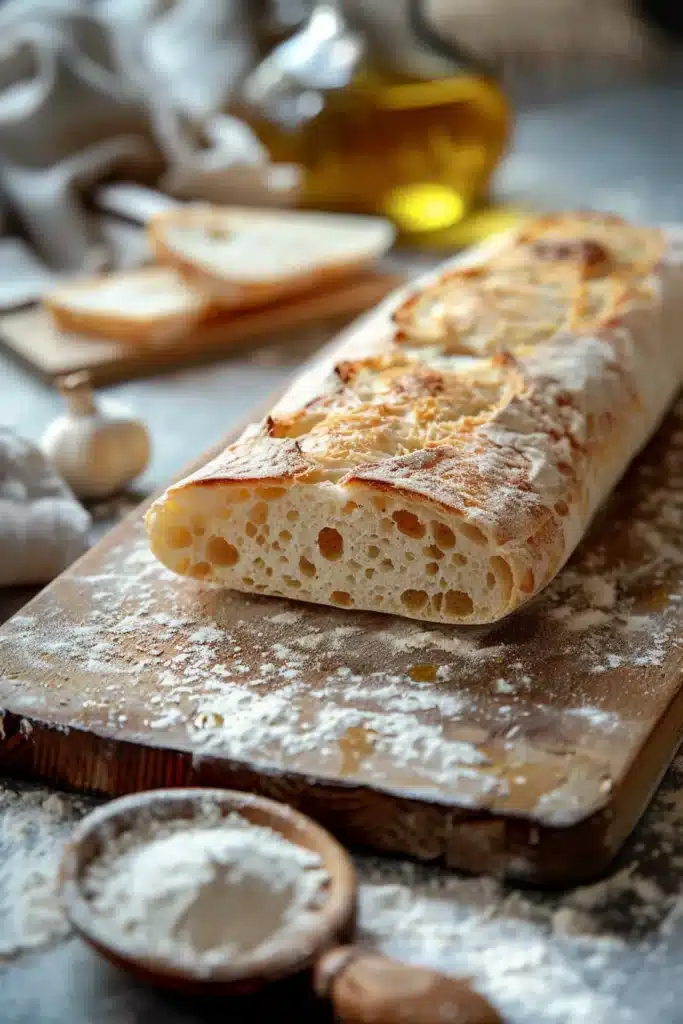
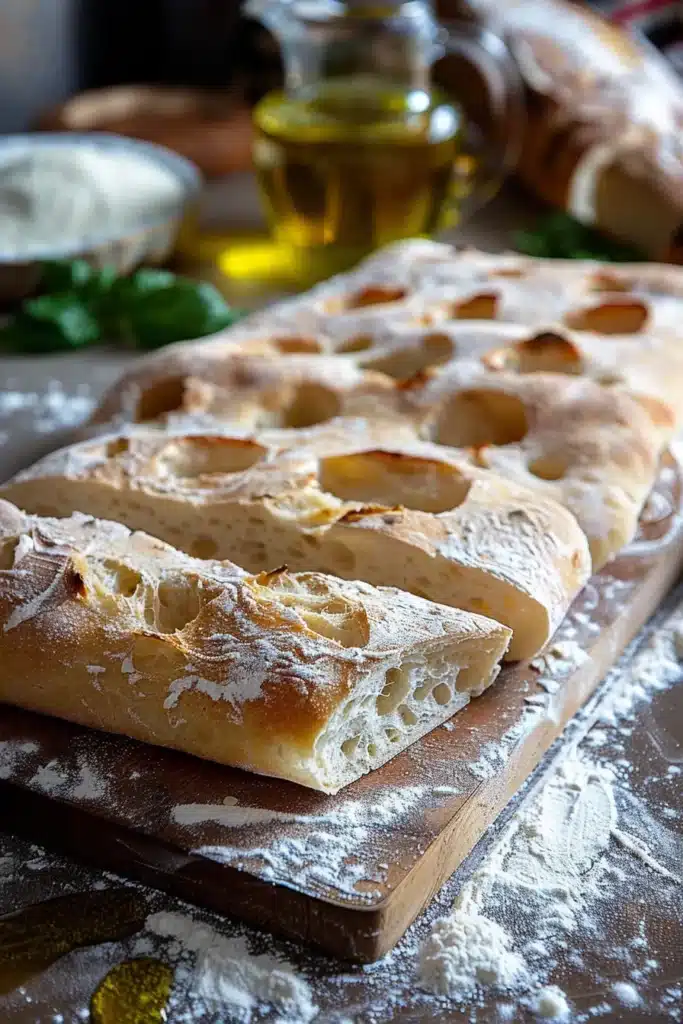
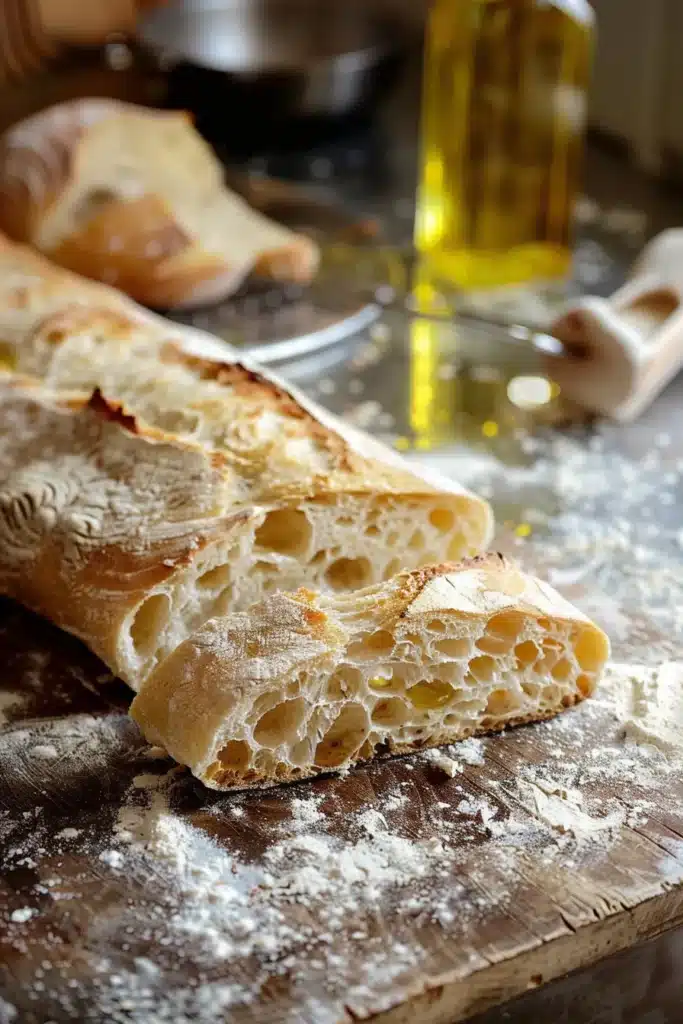
Ciabatta, which means “slipper” in Italian, gets its name from its characteristic flat, elongated shape. What sets this bread apart from other varieties is its extremely high water content – often 75-80% hydration – which creates the signature open crumb structure with irregular holes throughout. The long fermentation process develops complex flavors that you simply can’t achieve with quick breads.
The texture is what makes ciabatta truly magical. The exterior develops a thin, crispy crust that crackles when you squeeze it, while the interior remains incredibly light and airy. This contrast makes it perfect for absorbing olive oil, soaking up pasta sauces, or creating the ultimate panini base. Unlike dense sandwich breads, ciabatta’s open structure allows flavors to penetrate every bite.
Essential Ingredients for Authentic Ciabatta
Main Bread Ingredients:
• 4 cups (480g) bread flour – high protein content creates the strong gluten structure needed
• 1¾ cups (420ml) warm water – creates the high hydration essential for texture
• 2¼ teaspoons active dry yeast – provides the slow, steady rise for flavor development
• 2 teaspoons sea salt – enhances flavor and strengthens gluten structure
• 2 tablespoons extra virgin olive oil – adds richness and helps create the golden crust
For the Biga (Optional Pre-ferment):
• 1 cup bread flour – creates complex flavors through overnight fermentation
• ½ cup water – hydrates the pre-ferment
• ¼ teaspoon yeast – very small amount for slow fermentation
Finishing Touches:
• Extra flour for dusting – prevents sticking during shaping
• Coarse sea salt – optional topping for extra flavor and texture
• Fresh rosemary or herbs – optional aromatic enhancement
How to Make Perfect Ciabatta Bread (Step by Step)
Step 1: Create the Biga (Day Before – Optional)
Mix 1 cup flour, ½ cup water, and ¼ teaspoon yeast in a bowl. Cover and let sit at room temperature for 2 hours, then refrigerate overnight. This creates deeper flavor complexity.
Step 2: Prepare the Main Dough
In a large bowl, combine bread flour and yeast. Gradually add warm water (105°F) while stirring with a wooden spoon. The dough will be very wet and shaggy – this is exactly what you want for ciabatta.
Step 3: Add Salt and Oil
Sprinkle salt over the dough and drizzle with olive oil. Mix until just combined. Don’t worry about achieving smooth dough at this stage – the gluten will develop during fermentation.
Step 4: First Fermentation and Folds
Cover the bowl and let rest for 30 minutes. Then perform a series of stretch and folds – wet your hands, grab one side of the dough, stretch it up and fold over. Rotate bowl and repeat 3 more times. This develops gluten without traditional kneading.
Step 5: Bulk Fermentation
Cover dough and let rise for 2-3 hours at room temperature, performing stretch and folds every 30 minutes for the first 2 hours. The dough should increase in size by about 50% and feel jiggly and alive.
Step 6: Pre-shape and Rest
Turn dough onto heavily floured surface. Divide into 2-3 pieces using a bench scraper. Gently shape into rough rectangles without degassing too much. Let rest 20 minutes.
Step 7: Final Shaping
Stretch each piece into a slipper shape (about 12 inches long). Place on parchment-lined baking sheets, seam side down. The dough should be quite slack and spread slightly.
Step 8: Final Rise
Cover with damp towels and let rise 45-60 minutes until puffy but not doubled. Preheat oven to 450°F (230°C) with a steam pan on the bottom rack.
Step 9: Score and Bake
Just before baking, dust tops with flour and make 2-3 diagonal slashes with a sharp blade. Add boiling water to steam pan, quickly load bread, and bake 25-30 minutes until golden brown and hollow-sounding when tapped.
Pro Tips for Bakery-Quality Ciabatta
Hydration is Key: The dough should feel quite wet and sticky. If it’s too dry, your ciabatta won’t have those characteristic holes. Trust the process!
**✅ Gentle Handling: Never punch down or aggressively knead this dough. The air bubbles are what create the perfect texture.
**⚠️ Common Mistake: Don’t add too much flour during shaping. A well-floured surface and wet hands are your best tools for handling sticky dough.
Chef’s Secret: Steam is crucial for crust development. Place a pan of boiling water in the oven or spray the oven walls with water when loading the bread.
Temperature Control: Room temperature affects timing dramatically. In cooler environments, fermentation takes longer but develops better flavor.
Timing Flexibility: You can retard the final rise in the refrigerator for up to 24 hours for more complex flavors and convenient timing.
Serving and Presentation Ideas
Classic Italian Style: Drizzle with premium extra virgin olive oil and sprinkle with coarse sea salt for the authentic experience.
Bruschetta Base: Toast thick slices and top with fresh tomatoes, basil, and mozzarella for an elegant appetizer.
Sandwich Perfection: Split horizontally and fill with Italian meats, cheese, and vegetables for restaurant-quality paninis.
Soup Companion: Serve warm chunks alongside minestrone, tomato soup, or hearty stews for the ultimate comfort meal 🍲
Creative Variations and Flavor Additions
Herb Ciabatta: Fold fresh rosemary, thyme, or oregano into the dough during final shaping for aromatic complexity.
Olive Ciabatta: Add ¾ cup chopped kalamata or green olives after the second fold for Mediterranean flair.
Whole Wheat Version: Substitute up to 1 cup of bread flour with whole wheat flour for nuttier flavor and added nutrition.
Garlic Infusion: Roast whole garlic cloves and mash into the dough for a subtle, sweet garlic flavor throughout.
Storage and Make-Ahead Tips
Same Day Enjoyment: Ciabatta is best eaten within 6-8 hours of baking when the crust is still crispy and the interior perfectly moist.
Day Two Revival: Refresh day-old bread by misting with water and heating in a 350°F oven for 5-7 minutes to restore crispiness.
Freezer Storage: Wrap completely cooled loaves in plastic, then foil, and freeze up to 3 months. Thaw at room temperature and refresh in the oven.
Advance Planning: Make the biga up to 3 days ahead for deeper flavor development and more flexible scheduling.
Frequently Asked Questions About Ciabatta Bread
Why is my ciabatta dense instead of airy?
Dense ciabatta usually results from low hydration, over-kneading, or deflating the dough too much during shaping. The dough should be very wet and handled gently to preserve air bubbles.
How wet should ciabatta dough be?
The dough should be quite sticky and difficult to handle with dry hands. It should feel more like thick cake batter than traditional bread dough. This high hydration is essential for the characteristic holes.
Can I make ciabatta without a stand mixer?
Absolutely! Ciabatta is traditionally made by hand using the stretch and fold technique. No kneading required – just gentle folding every 30 minutes during fermentation.
Why didn’t my ciabatta develop holes?
Large holes come from high hydration, proper fermentation, and gentle handling. Make sure your dough is wet enough and avoid deflating air bubbles during shaping.
How do I know when ciabatta is fully baked?
The crust should be golden brown and sound hollow when tapped on the bottom. Internal temperature should reach 200-205°F for fully baked bread.
Can I use all-purpose flour instead of bread flour?
While bread flour is preferred for its higher protein content, you can use all-purpose flour with slightly less dramatic results. The texture may be a bit less chewy.
How long does ciabatta stay fresh?
Ciabatta is best eaten fresh but stays good at room temperature for 2-3 days when stored in a paper bag. Avoid plastic which makes the crust soggy.
What’s the difference between ciabatta and regular bread?
Ciabatta has much higher hydration (75-80% vs 60-65%), creating its signature open crumb. It also uses minimal yeast for slow fermentation and develops flavor through time rather than enrichments.







