
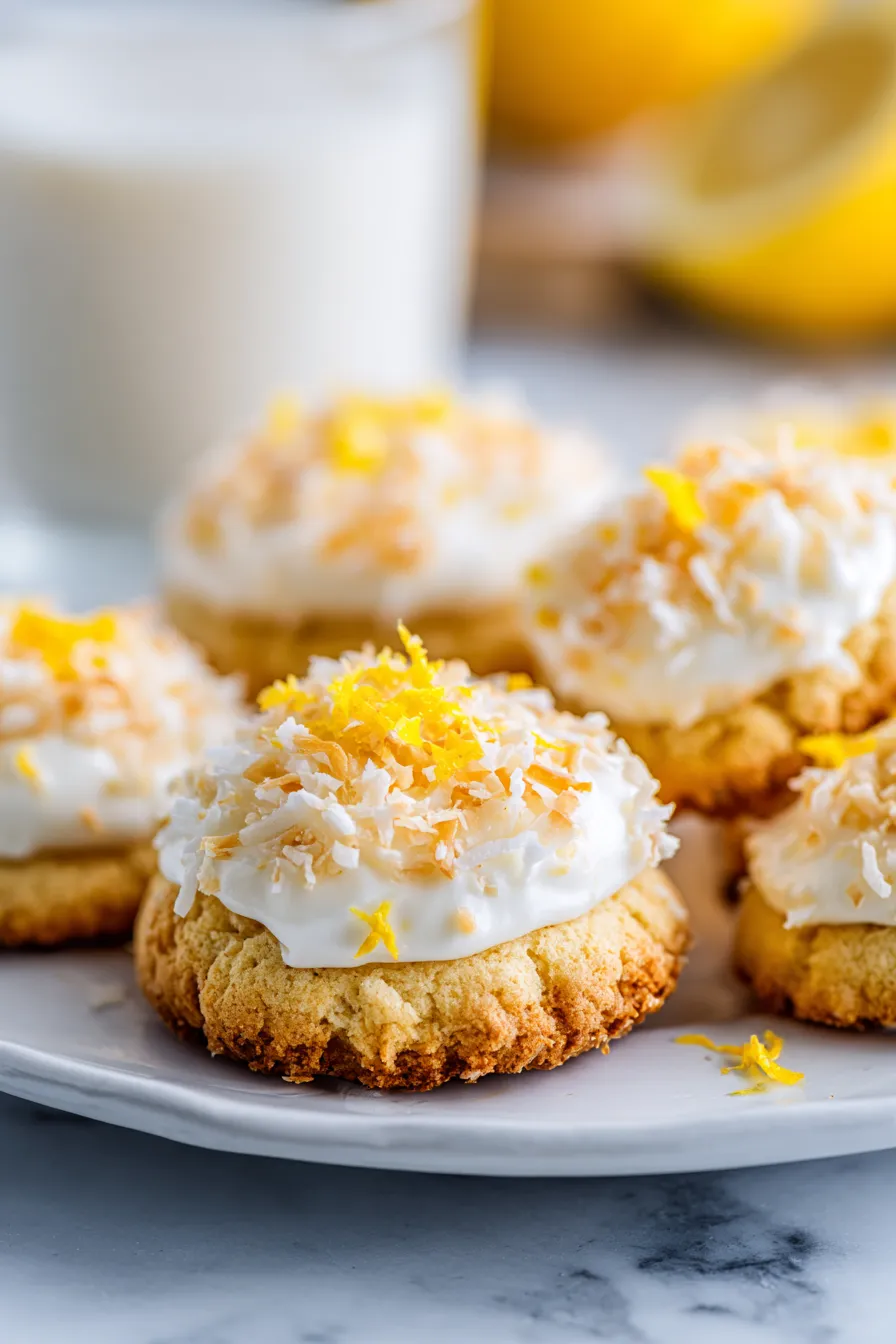
These show-stopping cookies combine tangy lemon, tropical coconut, and creamy cheesecake in one gorgeous bite. After perfecting this recipe through dozens of test batches with my family, I can guarantee these will be your new favorite spring and summer treat!
Why This Recipe Works:
- Soft, chewy cookie base holds the creamy topping perfectly
- Make-ahead friendly for stress-free entertaining
- No-fail technique that works every single time
- Impressive presentation that looks bakery-professional
- Perfect balance of tangy, sweet, and tropical flavors
Recipe Summary:
- Prep Time: 20 minutes
- Bake Time: 15 minutes
- Total Time: 35 minutes (plus cooling)
- Yield: 24 cookies
- Storage: 4 days refrigerated
Perfect for: Spring entertaining, summer parties, brunch gatherings, impressive gifts, special occasions
The Story Behind These Show-Stopping Cookies
During my professional baking years, I discovered that the most memorable desserts combine unexpected flavors in familiar formats. These cookies were inspired by a customer request for “something that tastes like vacation but looks elegant enough for a dinner party.”
The magic happens in the two-step process – first baking tender lemon-scented cookies, then topping them with fluffy cream cheese mixture and toasted coconut. My neighbors still talk about the first batch I brought to our block party three years ago, and it’s become my signature recipe for spring gatherings.
The technique took several attempts to perfect. Early versions had soggy bottoms or runny toppings, but I finally cracked the code: partially baking the base, cooling completely, then adding the cream cheese topping for a final toast. The result? Cookies that stay perfectly structured while delivering that dreamy cheesecake experience.
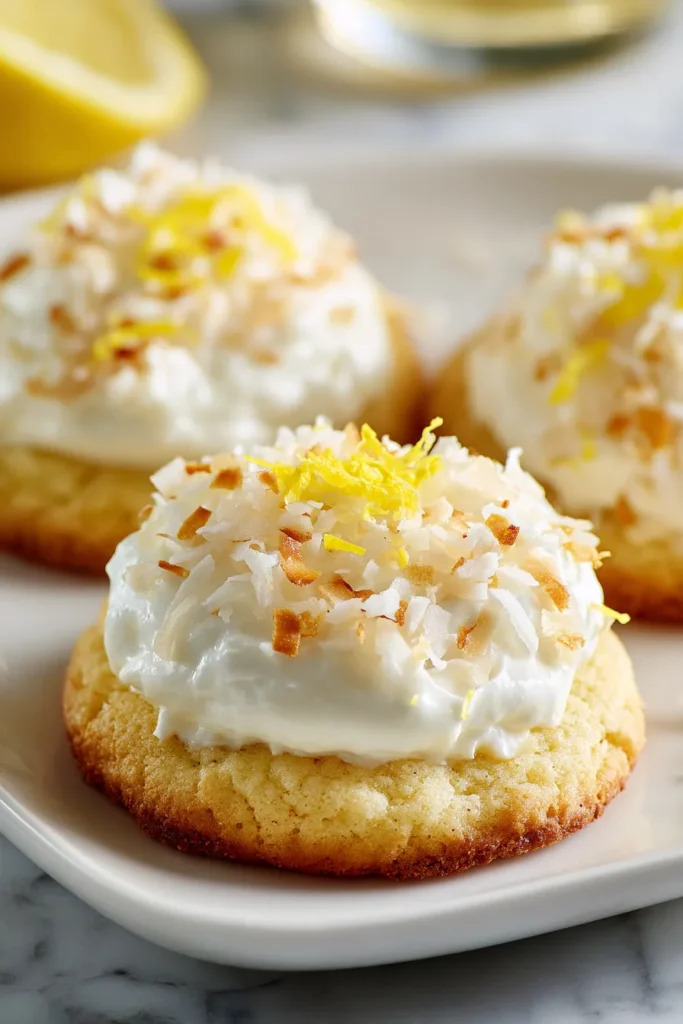
Essential Ingredients for Cheesecake Cookie Success
Building the Perfect Cookie Foundation
Unsalted Butter (¾ cup, softened): Room temperature butter creates the tender, melt-in-your-mouth base these cookies are famous for. I always leave butter on the counter for 2-3 hours before baking – this simple step makes all the difference.
Granulated Sugar (⅔ cup): The precise amount creates sweetness without competing with the tangy cream cheese topping. Too much sugar makes cookies spread too thin; too little creates dense, tough cookies.
Fresh Lemon (2 tablespoons zest + 2 tablespoons juice): Fresh lemons are non-negotiable here. The oils in fresh zest create that bright, sunny flavor that bottled juice simply cannot match. I always zest before juicing – it’s much easier!
All-Purpose Flour (1¾ cups): Provides structure while keeping cookies tender. I spoon flour into measuring cups and level – never pack it down, which creates heavy cookies.
Creating the Cream Cheese Dream Topping
Cream Cheese (8 oz, room temperature): Full-fat cream cheese is essential for rich flavor and smooth texture. Cold cream cheese creates lumps no amount of mixing can fix, so plan ahead and let it soften naturally.
Powdered Sugar (⅓ cup): Dissolves completely for silky-smooth topping. Granulated sugar creates gritty texture that ruins the elegant mouthfeel.
Sweetened Shredded Coconut (½ cup): The final flourish that adds tropical sweetness and beautiful texture contrast. I prefer sweetened coconut for these cookies – the extra sweetness balances the tangy lemon perfectly.
Step-by-Step Cookie Perfection Guide
Phase One: Creating the Cookie Base
Prep for Success (5 minutes): Preheat oven to 350°F and line baking sheets with parchment paper. Parchment prevents sticking and ensures even browning – never skip this step.
Cream Butter and Sugar (3 minutes): Beat softened butter with granulated sugar until light and fluffy. This creates the tender texture that makes these cookies special. A stand mixer makes this effortless, though hand mixing works with properly softened butter.
Add Wet Ingredients (2 minutes): Mix in egg, vanilla, lemon zest, and lemon juice until smooth. The mixture should look creamy and well-combined – no streaks of egg or butter.
Combine Dry Ingredients (2 minutes): In a separate bowl, whisk flour, baking powder, and salt. Gradually add to wet ingredients, mixing just until combined. Overmixing develops gluten, creating tough cookies.
Shape and Bake (12 minutes): Drop rounded tablespoons of dough onto prepared baking sheets, spacing 2 inches apart. Gently flatten each into 2-inch disks – this creates the perfect base for topping. Bake 8-10 minutes until edges are set but centers remain soft.
Phase Two: The Cheesecake Magic
Cool Completely (15 minutes): Let cookies cool on baking sheets for 5 minutes, then transfer to wire racks. Warm cookies will melt the cream cheese topping, so patience is key here.
Make Cream Cheese Mixture (3 minutes): Beat cream cheese, powdered sugar, lemon juice, lemon zest, and vanilla until smooth and fluffy. Chill 15-30 minutes for easier handling.
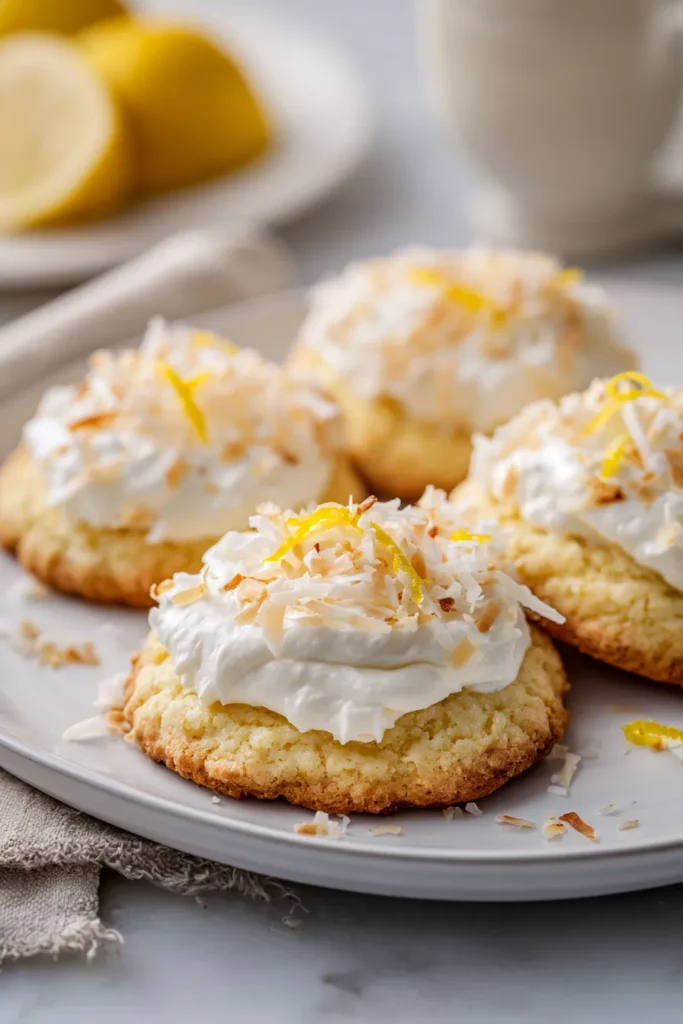
Assemble and Finish (5 minutes): Dollop 1 rounded teaspoon of cream cheese mixture onto each cooled cookie. Sprinkle generously with shredded coconut.
Final Toast (2-3 minutes): Return to 375°F oven for 3-4 minutes to set topping slightly, or broil 1-2 minutes to golden the coconut. Watch carefully – coconut burns quickly!
Professional Tips for Perfect Results
Avoiding Common Pitfalls
Temperature Matters: All ingredients should be at room temperature for smooth mixing. Cold ingredients create lumpy, uneven textures that affect both appearance and taste.
Don’t Overbake the Base: Cookies should look slightly underdone when removed – they continue cooking on the hot pan. Overbaked bases become too crispy to complement the creamy topping.
Chill the Topping: Cold cream cheese mixture holds its shape better and doesn’t melt into the cookies. This simple step ensures professional-looking results.
Uniform Sizing: Use a cookie scoop for consistent results. Uniform cookies bake evenly and look more impressive when serving to guests.
Serving Ideas That Impress
Making These Cookies Shine
Spring Brunch Centerpiece: Arrange on a tiered stand with fresh berries and mint sprigs. The bright colors create an Instagram-worthy display that guests will remember.
Summer Party Perfection: Serve chilled from the refrigerator on hot days. The cool, creamy topping provides refreshing contrast to warm weather.
Elegant Dessert Upgrade: Dust with powdered sugar just before serving for bakery-professional presentation. Simple touches create maximum impact.
Gift-Worthy Packaging: Layer between parchment paper in clear containers tied with bright ribbons. These cookies make thoughtful hostess gifts that show real effort.
Storage and Make-Ahead Strategies
Keeping Them Perfect
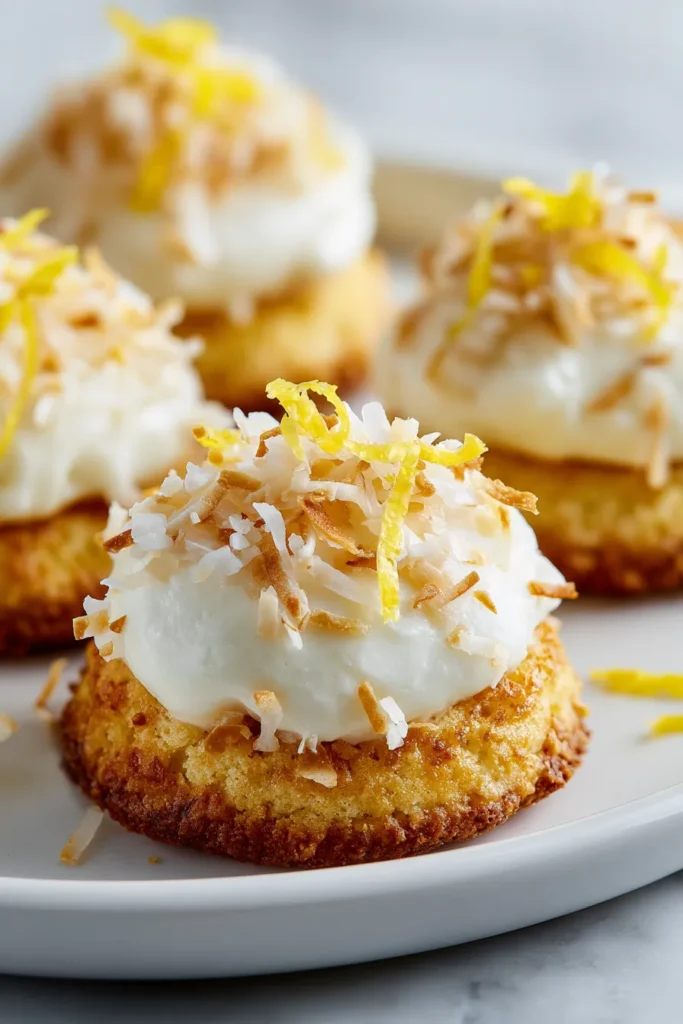
Short-Term Storage: Refrigerate assembled cookies in airtight containers for up to 4 days. The cream cheese topping requires refrigeration – never leave at room temperature for more than 2 hours.
Make-Ahead Magic: Bake cookie bases up to 3 days ahead and store covered at room temperature. Make cream cheese topping 2 days ahead and refrigerate. Assemble day of serving for best results.
Freezer-Friendly Option: Freeze baked cookie bases for up to 3 months. Thaw completely before adding topping – frozen bases create condensation that makes toppings slide off.
Refresh Technique: If cookies lose their appeal, return to 300°F oven for 2-3 minutes to restore that fresh-baked taste and lightly toast the coconut again.
Troubleshooting Common Questions
Solutions for Perfect Cookies Every Time
Why is my cream cheese topping runny? Usually from using cold cream cheese or adding too much liquid. Always use room temperature cream cheese and measure liquids precisely.
Can I use coconut extract instead of shredded coconut? Add ½ teaspoon coconut extract to the cookie dough for flavor, but keep the shredded coconut topping for texture contrast.
How do I prevent cookies from spreading too much? Chill dough for 30 minutes before baking, and make sure your oven is fully preheated. Cold dough holds its shape better during baking.
Can I make these without the final broiling step? Absolutely! The broiling just adds visual appeal and deeper coconut flavor, but cookies are delicious with just the cream cheese topping.
Recipe Variations Worth Trying
Creative Twists on the Classic
Lime Coconut Version: Substitute lime zest and juice for lemon throughout the recipe. The lime creates a more tropical, Key West vibe that’s perfect for summer entertaining.
White Chocolate Addition: Fold ½ cup mini white chocolate chips into the cookie dough for extra richness. The white chocolate complements both lemon and coconut beautifully.
Coconut Lovers’ Dream: Add ½ cup shredded coconut to the cookie base and ½ teaspoon coconut extract to both the cookies and topping for maximum coconut flavor.
Berry Swirl Topping: Gently swirl 2 tablespoons berry jam into the cream cheese mixture before dolloping on cookies. Strawberry and raspberry work particularly well.
Why This Recipe Never Fails
After testing this recipe with home bakers of all skill levels, I’ve refined every detail to ensure consistent success. The two-phase baking process prevents soggy bottoms, the precise ratios create perfect flavor balance, and the technique accommodates different skill levels while delivering professional results.
These cookies have become my go-to recipe for impressive entertaining – they look challenging but use simple techniques anyone can master. The combination of familiar flavors in an elegant format makes them conversation starters at every gathering.
Whether you’re planning a spring brunch, summer party, or just want to treat your family to something special, these Lemon Coconut Cheesecake Cookies deliver every single time. The bright lemon flavor, tropical coconut sweetness, and creamy cheesecake topping create a perfect balance that keeps everyone coming back for more.
The best part? They taste even better the next day as the flavors meld together, making them ideal for advance preparation when entertaining.







