
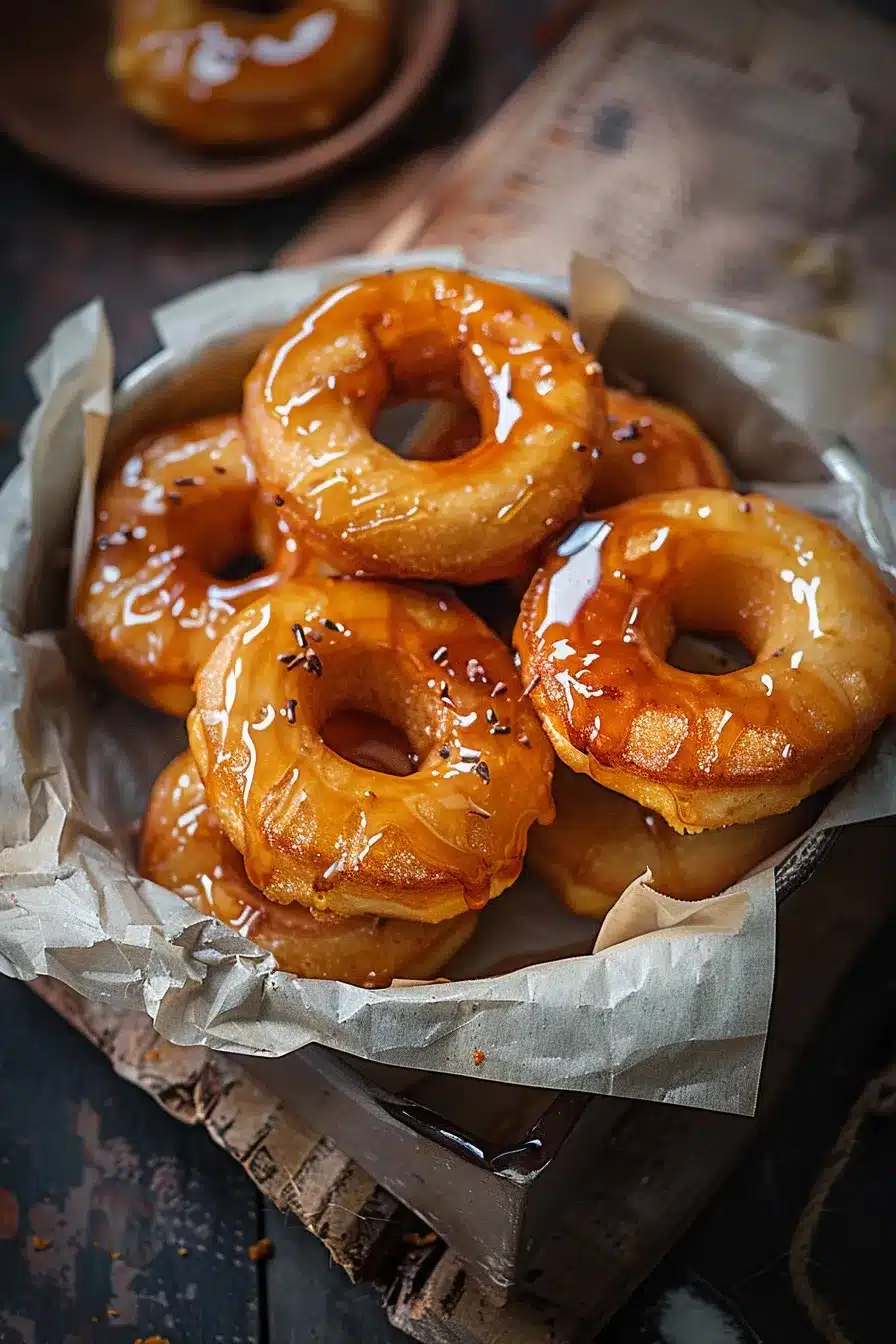
Maple donut bars that deliver all the nostalgic sweetness of classic bakery donuts with none of the frying hassle! 🍁 These soft, cake-like bars feature a tender buttermilk base infused with warm nutmeg and topped with rich maple glaze that creates the perfect balance of comfort and convenience in every bite.
Craving that authentic donut shop experience without the oil and mess? These baked maple bars capture every bit of bakery-quality flavor with a foolproof method that guarantees success. The secret lies in the buttermilk’s tender crumb and real maple extract that delivers genuine maple donut taste.
What Makes These Maple Donut Bars So Special?
These aren’t just cake bars with icing – they’re a carefully engineered recreation of classic maple long johns using baking techniques that actually improve on the original. The baked method creates more consistent texture while allowing the maple flavors to shine without competing with heavy frying oil.
The magic happens through thoughtful ingredient combinations: Buttermilk creates the signature tender crumb that defines great donuts, while a touch of nutmeg adds the warm spice note that makes donuts so distinctive. The maple glaze uses both real maple syrup and extract for layered maple complexity that rivals any bakery version.
What makes these better than traditional fried donuts? Beyond being healthier and easier, these bars actually maintain moisture better than fried versions and slice cleanly for perfect presentation. You get consistent results every time without oil temperature guesswork or safety concerns.
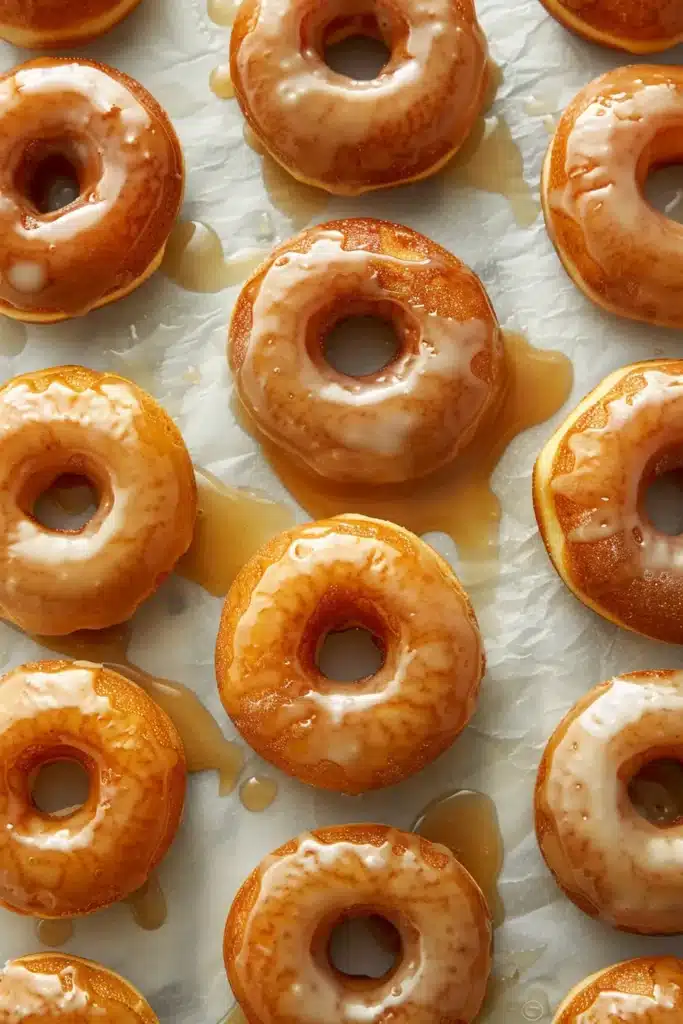
Essential Maple Donut Bar Ingredients You Need
Tender Cake-Like Base:
• 2 cups all-purpose flour (240g) – provides perfect structure and texture
• ½ teaspoon baking soda – creates ideal rise and tenderness
• ½ teaspoon baking powder – ensures light, fluffy crumb
• ¼ teaspoon salt – enhances all flavors and balances sweetness
• ½ teaspoon ground nutmeg – delivers signature donut spice warmth
• ½ cup granulated sugar (100g) – sweetens base without overwhelming
• ¼ cup unsalted butter, softened (56g) – adds richness and moisture
• 1 large egg – binds ingredients and creates structure
• ½ cup buttermilk (120ml) – creates tender, cake-like texture
• 1 teaspoon vanilla extract – enhances overall flavor profile
Rich Maple Glaze:
• ½ cup powdered sugar (60g) – creates smooth, sweet base
• 2 tablespoons pure maple syrup (30ml) – provides authentic maple sweetness
• ½ teaspoon maple extract – intensifies maple flavor depth
• 1-2 tablespoons milk – achieves perfect glazing consistency
How to Make Perfect Maple Donut Bars (Step by Step)
Step 1: Prepare Your Baking Foundation
Preheat oven to 350°F (175°C) and line 9×9-inch baking pan with parchment paper or grease thoroughly. Proper preparation ensures easy removal and professional presentation.
Step 2: Combine Dry Ingredients
In mixing bowl, whisk together flour, baking soda, baking powder, salt, and nutmeg until completely uniform. This step ensures even distribution of leavening agents throughout the batter.
Step 3: Cream Butter and Sugar
Using mixer, cream softened butter and granulated sugar until mixture becomes light and fluffy – about 3-4 minutes. This creates the foundation for tender texture.
Step 4: Add Binding Elements
Beat in egg, vanilla extract, and buttermilk until fully incorporated. The mixture should be smooth without visible streaks of egg.
Step 5: Combine Wet and Dry
Gradually add flour mixture to wet ingredients, stirring until just combined. Avoid overmixing to prevent tough, dense bars instead of tender ones.
Step 6: Spread and Shape
Pour batter into prepared pan, spreading evenly with spatula to ensure uniform thickness. Even distribution creates consistent baking across all bars.
Step 7: Bake to Perfection
Bake for 18-20 minutes until toothpick inserted in center comes out clean and surface springs back when lightly touched. Don’t overbake for optimal moisture.
Step 8: Cool Completely
Remove from oven and cool in pan for 10 minutes, then transfer to wire rack. Complete cooling is essential before glazing to prevent melting.
Step 9: Create Maple Glaze
While bars cool, whisk powdered sugar, maple syrup, maple extract, and milk until smooth and perfectly drizzleable. Adjust milk for desired consistency.
Step 10: Glaze and Finish
Once bars are completely cool, spread or drizzle glaze generously over surface. Allow glaze to set for 15 minutes before cutting into rectangles and serving.
Pro Tips for Perfect Maple Donut Bars
🔥 Chef’s Secret: Buttermilk Magic Buttermilk’s acidity creates the tender, cake-like crumb that defines authentic donut texture. Don’t substitute regular milk – the tanginess and chemistry are essential for proper results.
⚠️ Common Mistake: Overmixing Batter Mix ingredients until just combined – lumps are okay! Overmixing develops gluten and creates tough bars instead of tender, donut-like texture.
💡 Glaze Perfection: Temperature Timing Always glaze completely cooled bars to prevent melting and running. Warm bars cause thin, uneven coating instead of the thick maple layer you want.
🧁 Maple Flavor Boost: Double Maple Approach Use both maple syrup and maple extract for complex flavor depth. Syrup alone isn’t intense enough while extract alone tastes artificial.
🕐 Timing Excellence: Don’t Overbake Remove when toothpick comes out clean but center still feels slightly soft. Bars continue cooking from residual heat and achieve perfect moisture.
🔪 Clean Cutting: Sharp Knife Method Use sharp knife wiped clean between cuts for professional-looking rectangles. Dull knives drag glaze and create messy edges.
Maple Donut Bar Serving Suggestions
Bakery-Style Presentations:
Serve on white plates with coffee or milk to recreate authentic donut shop experience. The contrast enhances the golden color and maple glaze beautifully.
For special brunches: Arrange on tiered stands with fresh fruit and coffee service for elegant breakfast buffet presentation. These bars add sophistication to casual morning gatherings.
Weekend comfort: Serve warm from oven with extra glaze on side for dipping. The warmth intensifies maple aroma and creates ultimate comfort food experience.
Gift giving: Package individual bars in clear cellophane bags for thoughtful homemade gifts that capture bakery nostalgia without the bakery price.
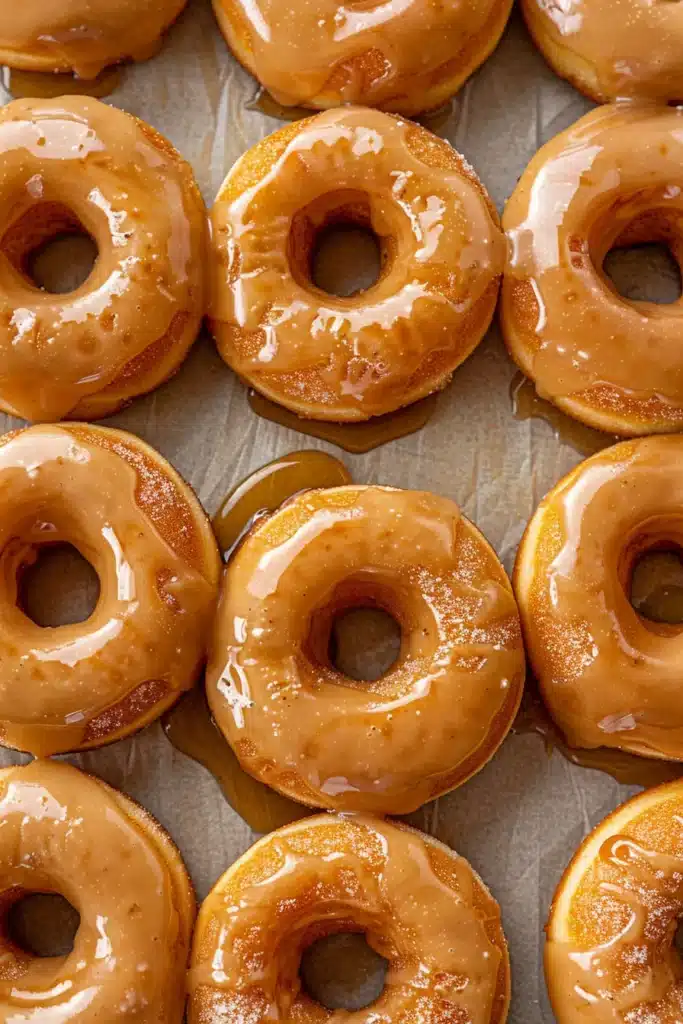
Creative Variations and Flavor Twists
Seasonal Adaptations:
Add ½ teaspoon cinnamon to dry ingredients for warm spice variation that complements maple flavors beautifully during fall months.
Bacon maple bars: Sprinkle crumbled bacon bits over wet glaze for sweet-savory combination that’s trending in artisan donut shops.
Vanilla glaze option: Replace maple glaze with vanilla version using powdered sugar, milk, and vanilla extract for classic long john variation.
Mini bar format: Use mini muffin tins to create individual portion bars perfect for parties and portion control.
Dietary Adaptations:
- Gluten-Free: Replace flour with 1:1 gluten-free baking blend (may be slightly denser)
- Dairy-Free: Use plant milk instead of buttermilk plus 1 tablespoon vinegar
- Reduced Sugar: Use sugar substitute in glaze and reduce base sugar by ¼ cup
- Egg-Free: Replace egg with flax egg or commercial egg replacer
Frequently Asked Questions About Maple Donut Bars
How do I store these donut bars?
Store covered at room temperature for up to 3 days or refrigerate for up to one week. The glaze may harden slightly when chilled but softens at room temperature.
Can I make these ahead of time?
Yes! Bake bars up to 2 days ahead and store unglazed in airtight container. Add glaze just before serving for best appearance and texture.
Why are my bars dense instead of fluffy?
Usually caused by overmixing batter or old leavening agents. Mix just until combined and check expiration dates on baking powder and soda.
Can I freeze maple donut bars?
Absolutely! Freeze unglazed bars for up to 3 months wrapped tightly. Thaw completely before glazing for best results.
What if I don’t have buttermilk?
Make substitute with 1 tablespoon vinegar plus enough milk to equal ½ cup. Let sit 5 minutes before using to achieve similar acidity.
How thick should the glaze be?
Consistency should coat spoon but still drizzle easily. Too thick won’t spread evenly while too thin won’t provide adequate coverage.
Can I double this recipe?
Yes! Use 9×13-inch pan and increase baking time by 5-8 minutes. Check doneness with toothpick rather than relying solely on timing.
Why did my glaze turn out lumpy?
Usually caused by not sifting powdered sugar or adding liquid too quickly. Whisk vigorously or strain through fine mesh to remove lumps.
Nutritional Information and Benefits
Healthier Than Fried:
- Significantly less oil compared to traditional fried donuts
- More consistent nutrition due to controlled baking process
- Better portion control when cut into uniform rectangles
Comfort Food Benefits:
- Nostalgic satisfaction that connects to positive bakery memories
- Shareable format perfect for family bonding and gatherings
- Customizable sweetness to accommodate different preferences
Baking Advantages:
- No oil temperature management eliminates safety concerns
- Less kitchen cleanup compared to frying equipment
- More consistent results every time you bake
Storage and Make-Ahead Tips
Optimal Storage Methods:
- Room temperature: Covered container for up to 3 days
- Refrigerated: Up to 1 week (bring to room temperature before serving)
- Frozen: Up to 3 months unglazed (glaze after thawing)
Make-Ahead Strategy:
- Day Before: Bake bars, cool completely, store covered
- Serving Day: Prepare glaze and apply just before serving
- For Parties: Double recipe and freeze extras for future occasions
Professional Presentation:
Cut into even rectangles using ruler for bakery-style uniformity that impresses guests and makes portion control easier.







