
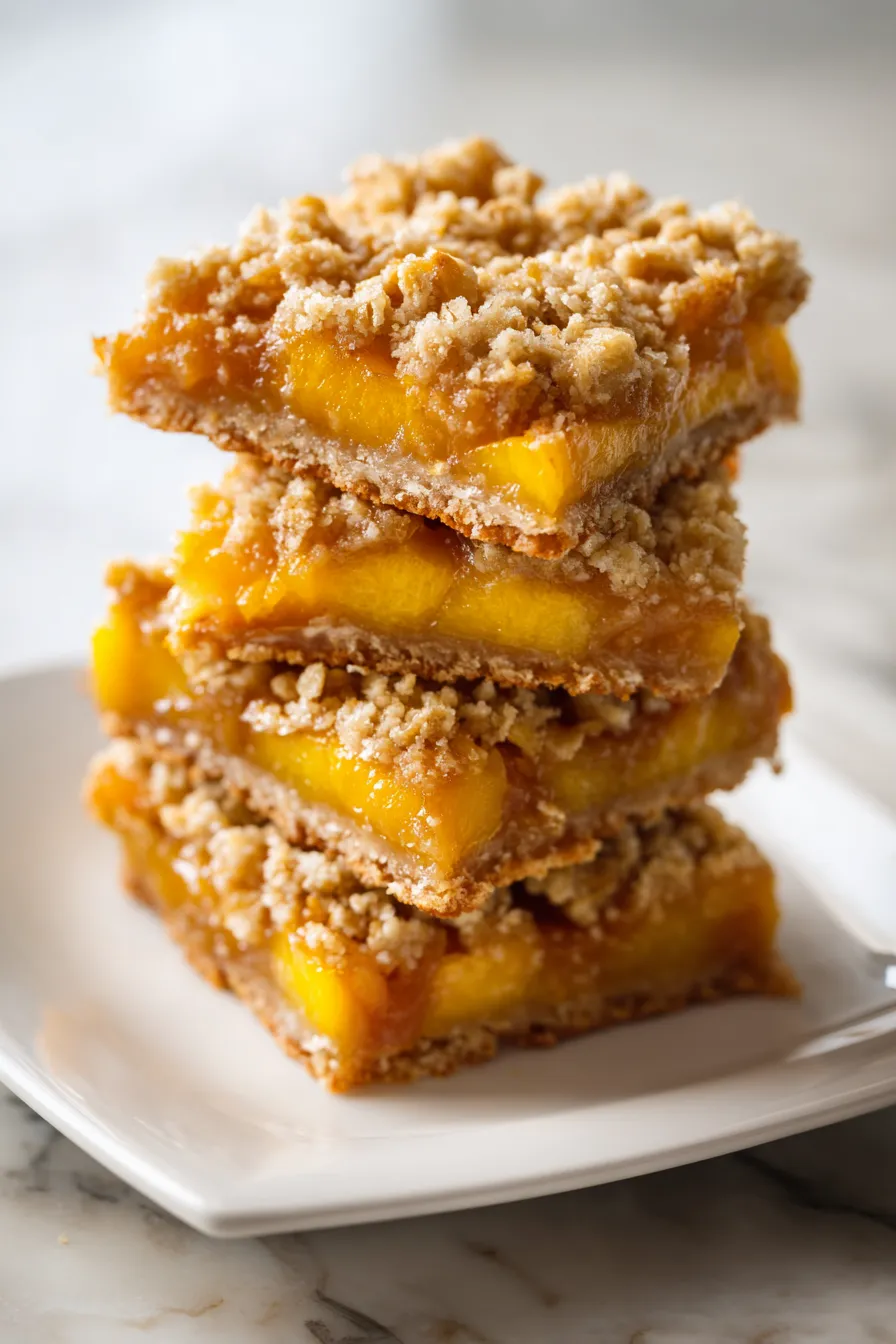
Perfect Summer Peach Bars transform juicy seasonal peaches into an absolutely irresistible dessert that disappears faster than you can make it – these golden, buttery bars with their crumbly topping will have your family begging for the recipe!
Why These Summer Peach Bars Are Going Viral Right Now
After years of experimenting with fruit bar recipes during peak peach season, I finally cracked the code for bars that showcase summer peaches without turning into a soggy mess. The secret lies in a technique I learned from a pastry chef who taught me how to draw out excess moisture while intensifying the fruit flavor.
This recipe solves the biggest frustration with peach desserts – that dreaded soggy bottom that ruins an otherwise perfect treat. My neighbor Sarah, a working mom of three, tested this recipe during a particularly crazy week and said it became her new go-to for potluck desserts because it’s both impressive and foolproof.
What makes these bars absolutely addictive is the perfect balance between the tender, spiced peach filling and the golden, buttery crumb topping that creates textural magic in every bite. After serving these at countless summer gatherings, I can confidently say they outshine traditional peach cobbler every single time.
What Makes These Peach Bars So Irresistibly Perfect
The Game-Changing Peach Preparation Method
The difference between good and extraordinary peach bars starts with proper fruit preparation. During my culinary training, I learned that treating the peaches before baking prevents the soggy texture that ruins most fruit bars.
Essential Peach Prep Technique: Fresh peaches release significant moisture during baking, which can turn your beautiful bars into a mushy disappointment. The professional technique involves macerating the peaches with sugar and a small amount of cornstarch, then draining excess juices before assembly.
Perfect Peach Selection: Choose peaches that yield slightly to gentle pressure but aren’t overly soft. They should smell fragrant at the stem end – this indicates optimal ripeness and flavor development. During peak season (July through September), local peaches typically deliver the best results.
For consistent results year-round, frozen peach slices work beautifully when thawed and drained thoroughly. I’ve tested this extensively with my family during off-season cravings, and the results are nearly identical to fresh.
The Secret to That Perfect Crumbly Topping
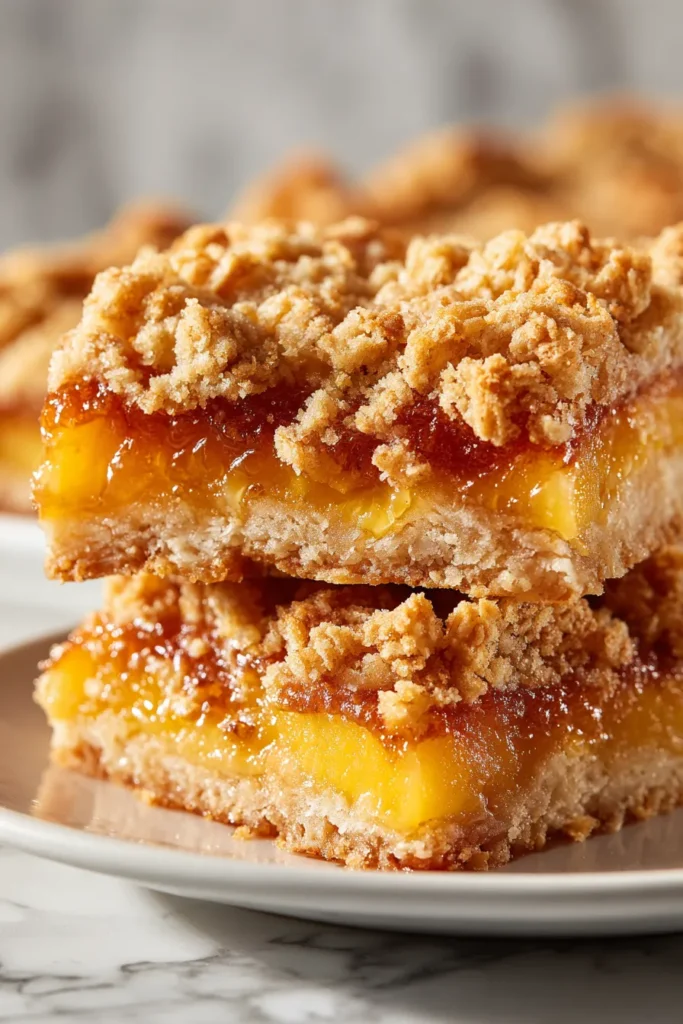
The irresistible topping that makes these bars so special comes from a technique I perfected after testing dozens of variations. The key lies in the proper fat-to-flour ratio and mixing method that creates those coveted golden clusters.
Professional Crumb Topping Formula:
- 1 cup all-purpose flour
- ¾ cup rolled oats (old-fashioned, not quick-cooking)
- ¾ cup packed brown sugar
- ½ cup cold butter, cubed
- 1 teaspoon cinnamon
- ½ teaspoon salt
Cold butter is absolutely crucial here – it creates steam pockets during baking that result in the flaky, tender texture everyone craves. A pastry cutter makes this incredibly easy, though you can absolutely achieve excellent results using your fingertips to work the butter into the dry ingredients.
How to Make Summer Peach Bars That Work Every Time
Step 1: Master the Foundation Layer
The base layer provides structural integrity that prevents soggy bottoms while complementing the peach flavors perfectly. This technique comes from my restaurant baking experience, where consistency was absolutely essential.
Foolproof Base Layer:
- 2 cups all-purpose flour
- ½ cup powdered sugar
- 1 cup cold butter, cubed
- ½ teaspoon salt
- 1 teaspoon vanilla extract
Mix until the mixture resembles coarse crumbs, then press firmly into your prepared pan. The key lies in achieving even thickness – I use the bottom of a measuring cup to create perfectly uniform compression.
Pre-baking this base for 15 minutes creates a moisture barrier that keeps your bars structurally sound even when loaded with juicy peaches.
Step 2: Perfect the Peach Filling Technique
This step separates amateur bakers from those who create restaurant-quality results. The maceration process draws out excess moisture while concentrating the peach flavors beautifully.
Professional Peach Filling Method: Start with 6-7 large ripe peaches (about 3 pounds), peeled and sliced into ¼-inch pieces. Toss with ¾ cup granulated sugar, 3 tablespoons cornstarch, 1 tablespoon lemon juice, 1 teaspoon vanilla, and ½ teaspoon cinnamon.
Let this mixture sit for 15-20 minutes while your base layer bakes. You’ll notice significant liquid accumulation – drain off about half of this liquid before spreading the peaches over your pre-baked base. This prevents soggy bars while maintaining incredible peach flavor.
The lemon juice serves double duty – it prevents browning while brightening the overall flavor profile that makes these bars so irresistible.
Step 3: Create the Perfect Crumb Topping
A food processor makes quick work of this step, though traditional hand methods work perfectly. The goal is achieving pea-sized butter pieces that create those coveted golden clusters during baking.
Professional Mixing Technique: Combine flour, oats, brown sugar, cinnamon, and salt in a large bowl. Add cold, cubed butter and work it in until the mixture resembles coarse crumbs with some larger butter pieces visible.
These larger butter pieces create the textural variety that makes each bite interesting. Don’t overmix – you want some variation in the crumb sizes for optimal results.
Step 4: Assembly and Baking Mastery
Layer the drained peach mixture evenly over your pre-baked base, then distribute the crumb topping uniformly across the surface. The key lies in gentle handling that maintains the crumb structure.
Optimal Baking Conditions: Bake at 350°F for 35-40 minutes until the topping turns golden brown and the peach juices bubble around the edges. The internal temperature should reach 165°F for food safety and optimal texture.
A 9×13 inch pan works beautifully here, though you can absolutely use a 9×9 inch pan for thicker bars with slightly longer baking time.
Expert Tips for Peach Bar Perfection
Seasonal Timing Strategies That Actually Work
Peak peach season varies by region, but generally runs from July through early September. During my years of testing seasonal recipes, I’ve learned that timing your baking with local peach availability makes an incredible difference in final results.
Regional Peach Timing:
- Southern states: June-August peak season
- California: May-September availability
- Northern states: August-September optimal timing
For year-round enjoyment, frozen peaches work excellently when properly thawed and drained. I always keep several bags frozen during peak season for winter baking projects.
Make-Ahead Strategies for Busy Schedules
As someone who’s hosted countless summer gatherings while managing a busy schedule, I’ve perfected make-ahead techniques that preserve quality while reducing stress.
Advanced Preparation Options: The base layer can be pre-baked and stored covered for 2 days before assembly. The crumb topping keeps beautifully in the refrigerator for up to a week, making last-minute assembly effortless.
For complete make-ahead convenience, these bars actually improve after sitting overnight – the flavors meld beautifully and the texture reaches optimal consistency.
Equipment That Makes a Difference
While you don’t need professional equipment, a few key tools significantly improve your results:
A bench scraper makes transferring crumb topping effortless without disturbing the delicate texture. Good-quality, heavy-duty aluminum pans distribute heat evenly, preventing hot spots that can burn the bottom before the top finishes cooking.
For families making these regularly, parchment paper with overhang creates easy removal and perfect presentation every time.
How to Achieve That Perfect Golden Finish
Visual Cues for Doneness
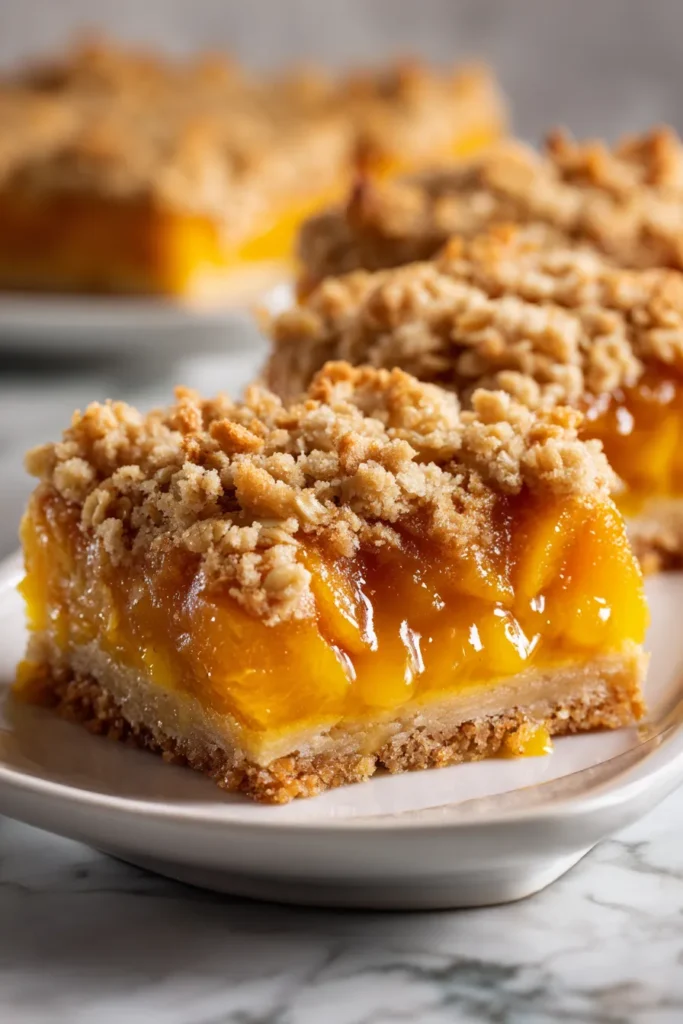
After years of perfecting this recipe, I’ve identified the specific visual markers that indicate perfect doneness. The crumb topping should be deep golden brown with slightly darker edges, while the peach juices should bubble actively around the perimeter.
Professional Doneness Indicators:
- Topping turns deep golden (not pale)
- Edges bubble with caramelized peach juices
- Center feels set when gently pressed
- Internal temperature reaches 165°F
Underbaking results in soggy texture, while overbaking creates tough, dry bars. The sweet spot lies in achieving that deep golden color while maintaining tender texture throughout.
Cooling Technique for Clean Cuts
Proper cooling is crucial for achieving clean, bakery-quality cuts. Allow bars to cool completely in the pan – rushing this step results in messy, crumbly pieces that don’t hold together properly.
Optimal Cooling Method: Cool at room temperature for 2-3 hours, then refrigerate for 30 minutes before cutting. This firms up the structure while maintaining the tender texture that makes these bars so appealing.
A sharp, clean knife dipped in warm water between cuts creates professional-looking portions that showcase the beautiful layers.
Storage and Serving Strategies for Maximum Enjoyment
Proper Storage Techniques
These bars keep beautifully when stored correctly, making them perfect for advance preparation or extended enjoyment. The key lies in protecting moisture while preventing sogginess.
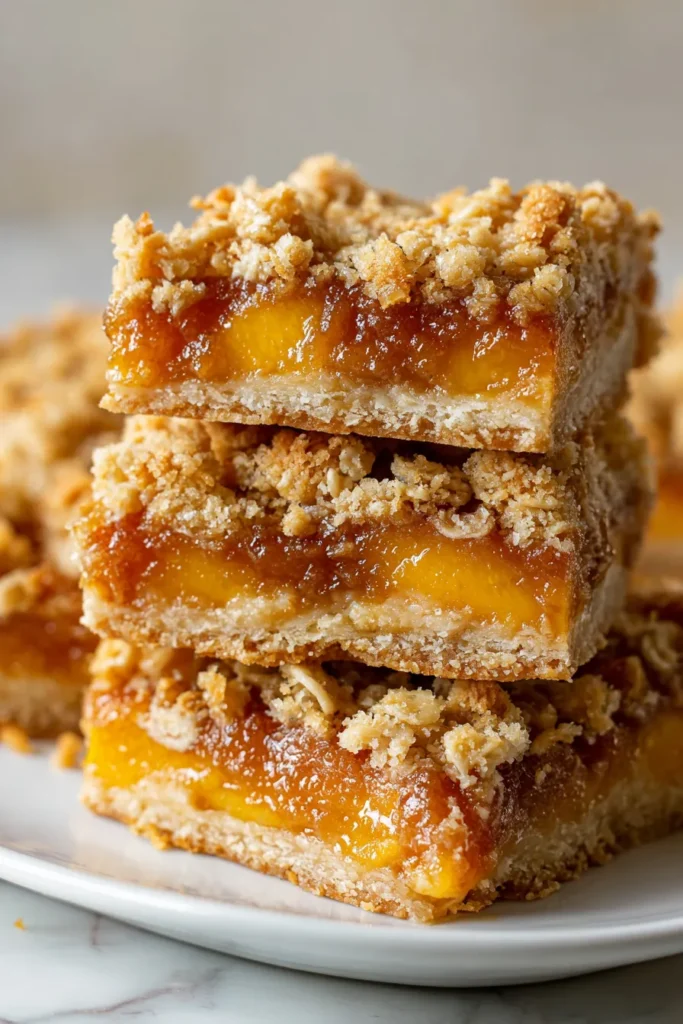
Smart Storage Solutions: Store covered at room temperature for 3-4 days, or refrigerate for up to a week. The refrigerated version develops even more complex flavors as the ingredients continue melding.
For longer storage, these bars freeze excellently for up to 3 months when wrapped individually and stored in airtight containers.
Serving Suggestions That Elevate the Experience
While these bars are absolutely perfect on their own, certain accompaniments can elevate them for special occasions. A small scoop of vanilla ice cream creates a delightful temperature contrast, while a drizzle of caramel sauce adds elegant sophistication.
Perfect Serving Combinations:
- Warm bars with cold vanilla ice cream
- Room temperature bars with fresh whipped cream
- Chilled bars with a cup of hot coffee or tea
For potluck presentations, cut into smaller squares and arrange on a platter with fresh peach slices as garnish.
Frequently Asked Questions About Summer Peach Bars
Can I use canned peaches instead of fresh?
Drained canned peaches work in a pinch, though the texture and flavor won’t match fresh fruit results. If using canned, choose peaches in juice rather than syrup, and drain thoroughly before proceeding with the recipe.
How do I prevent soggy bars?
The maceration and draining technique is crucial – never skip removing excess liquid from the peach mixture. Pre-baking the base layer also creates an essential moisture barrier that prevents sogginess.
Can I make these bars gluten-free?
Yes! Substitute a 1:1 gluten-free flour blend for regular flour in both the base and topping. The texture will be slightly different but still delicious. Make sure your oats are certified gluten-free if celiac disease is a concern.
What’s the best way to reheat leftover bars?
Individual portions reheat beautifully in the microwave for 15-20 seconds. For larger portions, warm in a 300°F oven for 5-8 minutes until just heated through.
Can I double this recipe for a crowd?
Absolutely! Use a large sheet pan (18×13 inches) and increase baking time by 5-10 minutes. The recipe scales perfectly for large gatherings or potluck events.
How do I know when peaches are perfectly ripe?
Ripe peaches yield slightly to gentle pressure and smell fragrant at the stem end. Avoid overly soft fruit that may turn mushy during baking, or very hard fruit that lacks flavor development.







