
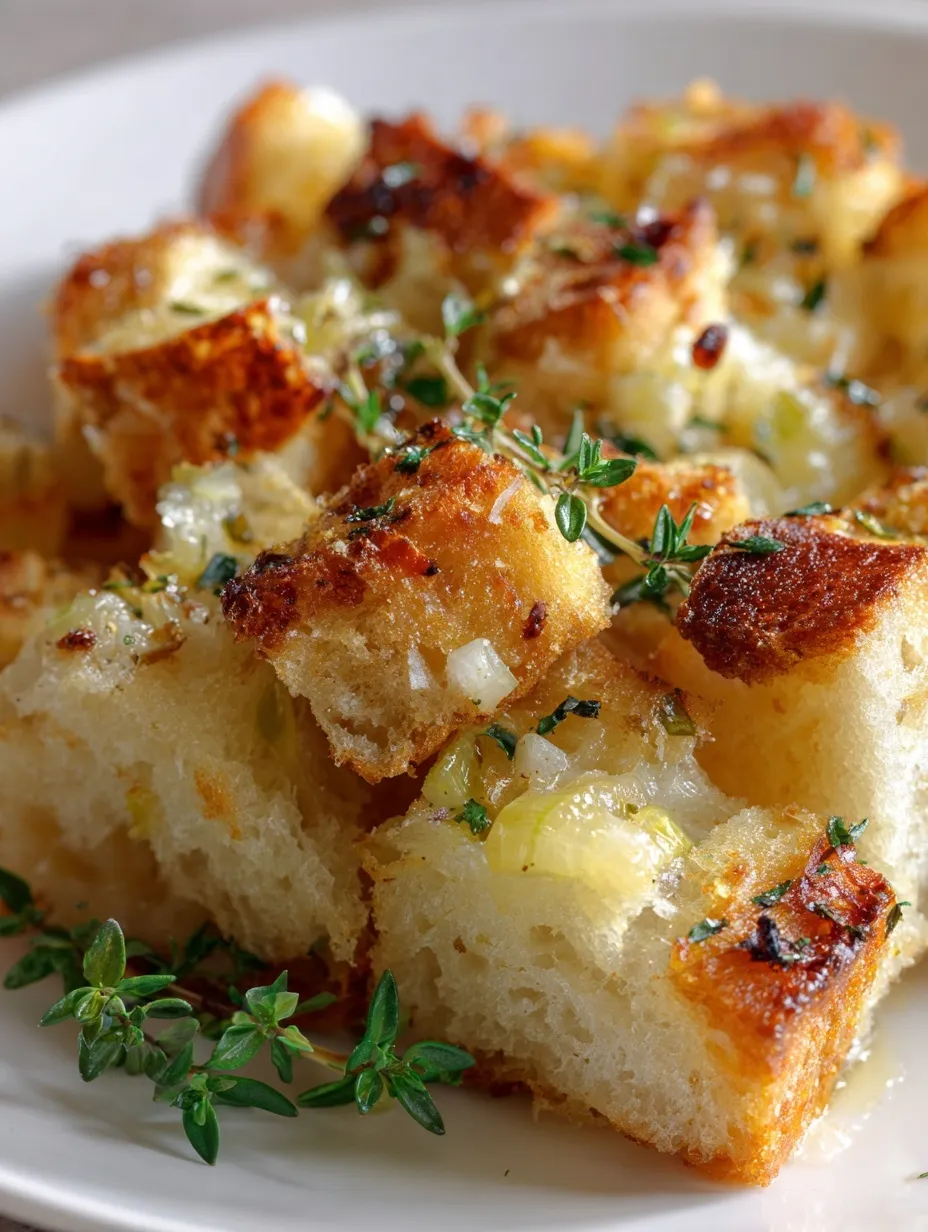
Listen, can we talk about the Thanksgiving stuffing situation? Because honestly, most of us have been settling for mediocre side dishes when we could be making something that’ll have your family literally fighting over seconds.
Since you are here, make sure to check out these amazing Thanksgiving recipes:
- Traditional Thanksgiving Stuffing Recipe – The classic everyone craves
- Easy Turkey Stuffing Roll-Ups – Creative leftover solution
- Pumpkin Cornbread Cinnamon Honey Butter – Perfect bread companion
- Sweet Potato Bites Marshmallows Pecans Recipe – Another crowd favorite
- Garlic Parmesan Roasted Sweet Potatoes – The ultimate side dish
Why This Stuffing Recipe Works
You know what really grinds my gears? People who settle for boxed stuffing mix when making homemade is literally not that hard. This traditional recipe delivers everything your childhood Thanksgiving memories promised but probably never delivered.
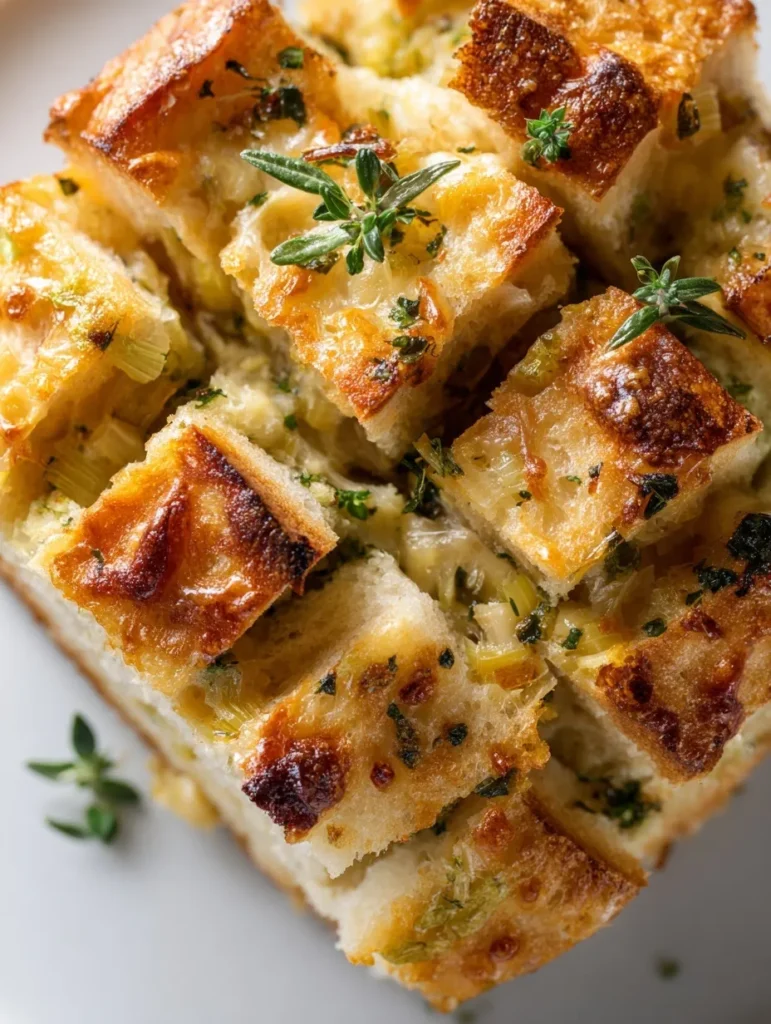
We’re talking crispy golden edges, perfectly seasoned herb mixture, and that buttery texture that makes you question why you ever bought the stuff in a box. The secret isn’t complicated – it’s all about toasting your bread properly and using enough butter to make your cardiologist weep.
Ingredients You’ll Actually Want
Here’s what makes this stuffing legendary:
The Bread Foundation:
- 1 pound quality white bread (ciabatta or Italian work great too)
- Don’t you dare use stale bread – we’re toasting this baby properly
The Flavor Squad:
- 1 cup butter (yes, two whole sticks – live a little!)
- 1 large onion, chopped (about 3½ cups)
- 2 cups celery, diced small
- ⅓ cup fresh parsley, chopped
- ¼ cup fresh sage, chopped
- 1 tablespoon fresh rosemary, minced fine
- 1 tablespoon fresh thyme leaves
The Liquid Gold:
- 2 cups high-quality chicken or turkey broth
- 2 large eggs
- 2 teaspoons kosher salt
- 1 teaspoon black pepper
- 1 tablespoon softened butter for greasing
Instructions That Actually Work
Step 1: Toast Your Bread (Don’t Skip This!)
Cut your bread into 1-2 inch pieces. Spread them on sheet pans and toast at 250°F for about an hour, stirring occasionally. You want them crispy and golden, not stale and sad.
Pro tip: Stale bread is NOT the same as toasted bread. Stale bread is tough and doesn’t absorb liquid properly. Toasted bread? That’s where the magic happens.
Step 2: Build Your Flavor Base
Melt that full cup of butter in a large skillet over medium heat. Add your chopped onions and celery. Sauté for 7-10 minutes until soft but not browned.
Yeah, it looks like a lot of butter. That’s the point! 🙂
Step 3: Herb Magic
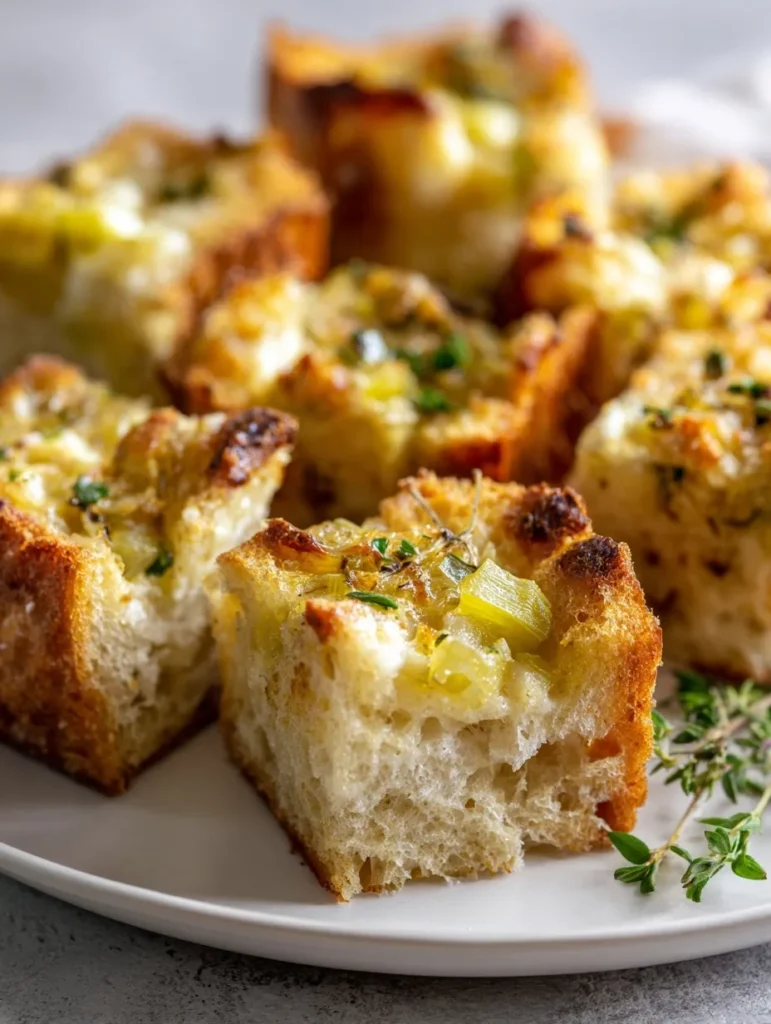
While your veggies cook, chop all those fresh herbs. Don’t go crazy with the amounts – too many herbs and your stuffing tastes like Pine-Sol. Trust me, I’ve been there.
Step 4: The Mix
In a large bowl, combine your toasted bread and all those gorgeous fresh herbs. Pour in the buttery veggie mixture and toss everything together. Season with salt and pepper.
Step 5: The Moisture Test
Whisk together 2 cups of broth with 2 eggs. Pour this over your bread mixture gradually. Use your hands to mix it – seriously, it’s the only way to know if you’ve got the right consistency.
The bread should be moist but not soggy. No liquid pooling at the bottom! You might need up to ½ cup more broth, or you might not even need all of it. This is where your judgment matters.
Step 6: Bake to Perfection
Butter a 9×13 pan generously. Spread your stuffing evenly and cover with foil. Bake at 350°F for 40 minutes covered, then 25-35 minutes uncovered until those edges are crispy and golden.
Make-Ahead Magic
Want to know a secret that’ll save your sanity? You can make this stuffing completely ahead of time:
Overnight Method: Assemble everything in your buttered pan, wrap tightly in plastic, and refrigerate up to 24 hours. Bake as directed.
Freeze Method: Assemble in a freezer-safe dish, wrap well, and freeze up to 3 months. Bake from frozen (no thawing!) – just add 10-15 extra minutes.
What Makes This Special
This isn’t just another stuffing recipe. It’s the buttery, herb-packed comfort food that converts stuffing haters into believers. The combination of properly toasted bread, generous butter, and fresh herbs creates layers of flavor that boxed mix simply can’t match.
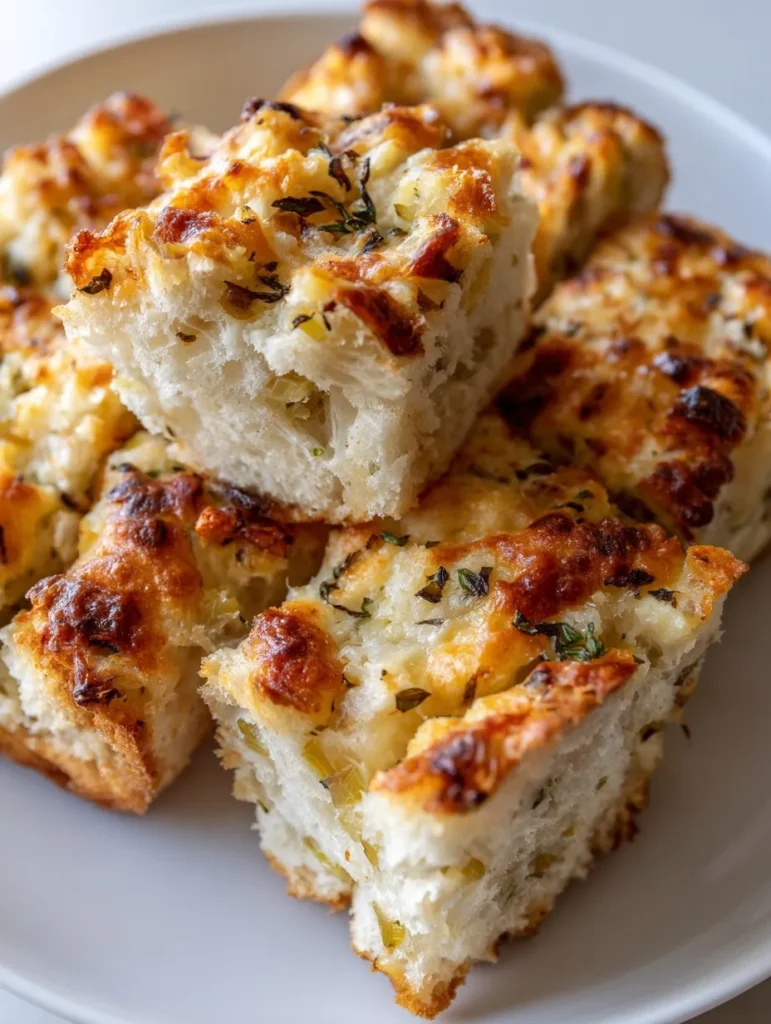
The crispy edges? That’s where the real magic happens. Every bite gives you that perfect contrast between the golden crunchy top and the tender, flavorful center.
Leftover Gold Mine
Got leftover stuffing? (Lucky you!) Here’s how to make it work overtime:
- Breakfast Hash: Crisp it up in a skillet and top with fried eggs
- Stuffing Waffles: Add a splash of broth and cook in your waffle iron
- Sandwich Addition: Layer it in your turkey sandwiches
- Stuffed Peppers: Mix with ground turkey for an easy weeknight dinner
Complete FAQ Guide
Can I use dried herbs instead of fresh?
Absolutely! Use 2 tablespoons dried parsley, 2 teaspoons dried sage, and 1 teaspoon each of dried thyme and rosemary. Add them to the butter with the vegetables to toast them up.
What’s the best bread for stuffing?
Choose bread that tastes good on its own – white bread, ciabatta, Italian, or French bread work perfectly. Avoid anything too crusty or dense.
Can I stuff this inside the turkey?
Yes! Just make sure the stuffing reaches 160°F internal temperature before serving.
How do I know if I’ve added enough liquid?
The bread should feel moist when you squeeze it, but no liquid should pool at the bottom of the bowl. It’s better to start with less and add more than to make it soggy.
Can I double this recipe?
Definitely! Use two 9×13 pans or one extra-large roasting pan. Cooking time might increase slightly.
Here’s the Real Deal
This stuffing recipe isn’t trying to reinvent Thanksgiving – it’s just doing the classics really, really well. No fancy additions, no trendy twists, just pure buttery comfort that tastes exactly like the holidays should.
The best part? Once you master this technique, you’ll never go back to boxed mix. Your family will start requesting “your stuffing” specifically, and honestly, that’s a pretty great feeling.
IMO, life’s too short for mediocre side dishes. Make the good stuff – your future self will thank you when you’re savoring those crispy edges and perfectly seasoned bites.







