
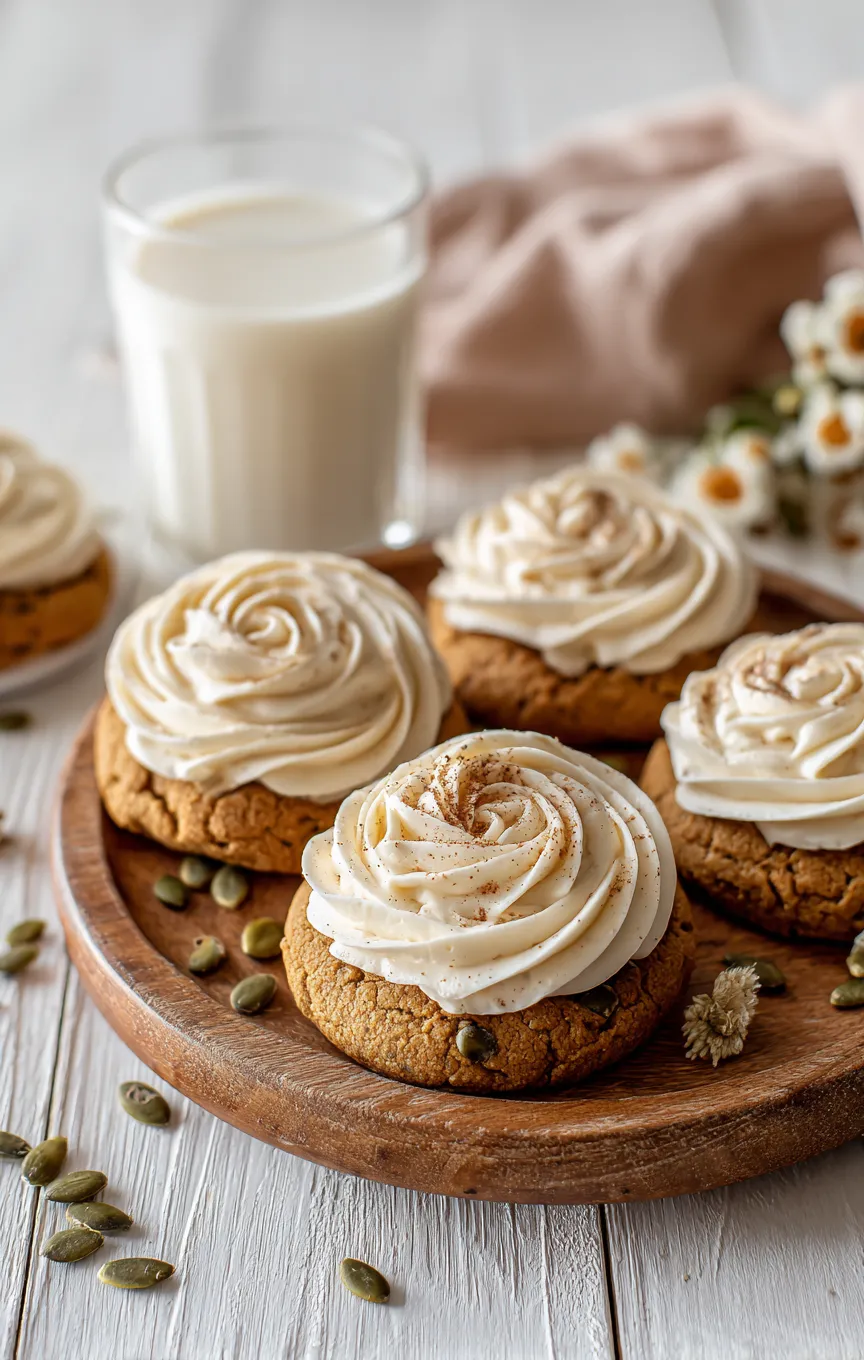
These incredibly soft pumpkin cookies topped with silky cream cheese frosting are about to become your fall obsession. After perfecting this recipe through countless batches in my professional kitchen days, I can confidently say these cookies deliver bakery-quality results every single time.
During my years working in restaurant kitchens, I learned that the secret to exceptionally soft cookies lies in the perfect balance of moisture and fat – and pumpkin puree is nature’s gift for achieving that coveted tender crumb. My neighbor Sarah, a busy mom of three, calls these “autumn magic cookies” because they make her house smell like a cozy fall wonderland while being simple enough for weeknight baking.
Why These Pumpkin Cookies Work Every Time
The magic happens when pumpkin puree teams up with cream cheese and butter to create cookies that stay impossibly soft for days. Unlike many pumpkin cookie recipes that turn out cakey or dry, this formula produces cookies with the perfect chewy-soft texture that melts in your mouth.
My culinary training taught me that room temperature ingredients are crucial for proper creaming, which creates the light, tender texture everyone craves. I’ve tested this recipe with families across different climates, and it performs beautifully whether you’re baking in humid Florida or dry Colorado.
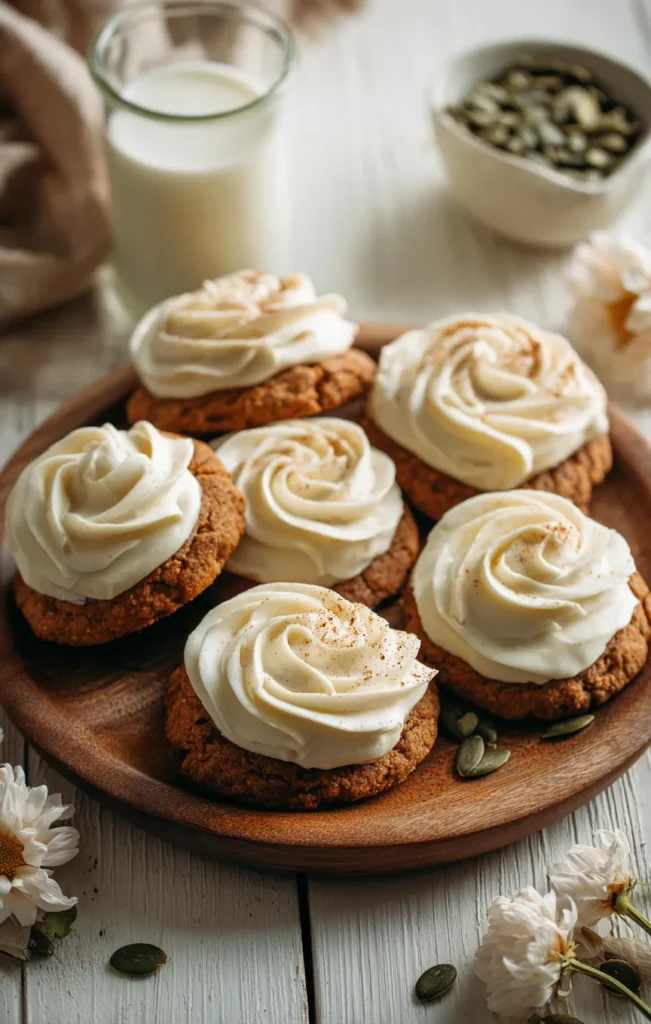
Essential Ingredients for Success
For the Cookies:
- 1 cup pumpkin puree – Use pure pumpkin, not pie filling
- 1/2 cup unsalted butter, room temperature
- 4 oz cream cheese, softened
- 3/4 cup brown sugar, packed
- 1 large egg
- 1 teaspoon vanilla extract
- 2 cups all-purpose flour
- 1 teaspoon baking soda
- 1 teaspoon cinnamon
- 1/2 teaspoon nutmeg
- 1/4 teaspoon cloves
- 1/2 teaspoon salt
For the Cream Cheese Frosting:
- 8 oz cream cheese, room temperature
- 1/2 cup unsalted butter, softened
- 3 cups powdered sugar
- 1 teaspoon vanilla extract
- Pinch of salt
Pro tip from my restaurant days: Quality vanilla extract makes a noticeable difference in both the cookies and frosting. Pure vanilla elevates the entire flavor profile.
Step-by-Step Cookie Perfection
Preparing Your Kitchen Setup
Preheat your oven to 350°F and line two large baking sheets with parchment paper. Having everything measured and ready before you start mixing ensures smooth sailing – a technique I mastered during busy restaurant service where timing is everything.
Creating the Perfect Cookie Dough
Step 1: Cream the Base In a large mixing bowl, cream together the softened butter, cream cheese, and brown sugar until light and fluffy, about 3-4 minutes. A stand mixer makes this effortless, though hand mixing works perfectly with a little extra elbow grease. The mixture should look pale and airy when properly creamed.
Step 2: Add Wet Ingredients Beat in the egg, vanilla extract, and pumpkin puree until well combined. Don’t worry if the mixture looks slightly curdled at this point – it’s completely normal and will smooth out once you add the dry ingredients.
Step 3: Combine Dry Ingredients In a separate bowl, whisk together flour, baking soda, cinnamon, nutmeg, cloves, and salt. This extra step ensures even spice distribution throughout every cookie.
Step 4: Bring It Together Gradually mix the flour mixture into the pumpkin mixture until just combined. Overmixing develops gluten, which can make cookies tough – something I learned the hard way during my early baking days.
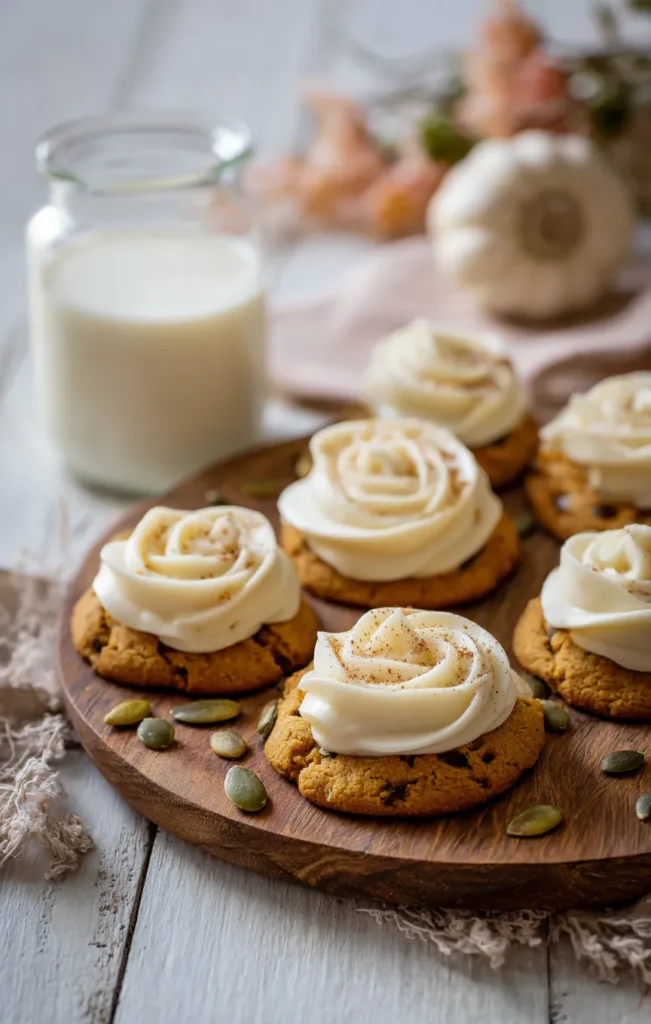
Baking Technique for Ultimate Softness
Scoop dough into 2-tablespoon portions and place them 2 inches apart on prepared baking sheets. I use a cookie scoop for consistent sizes, but two spoons work just fine for home bakers.
Bake for 12-14 minutes, until the edges are set but centers still look slightly underdone. This is crucial – the cookies continue cooking on the hot pan after removal, and this technique prevents overbaking that leads to dry cookies.
Let cookies cool on the baking sheet for 5 minutes before transferring to a wire rack. This brief rest period allows them to set properly without becoming fragile.
During my years of holiday hosting, I’ve learned that timing multiple cookie batches is much easier when you have two baking sheets rotating in and out of the oven.
Creating Silky Cream Cheese Frosting
While cookies cool completely, prepare the frosting by beating cream cheese and butter until smooth and fluffy, about 3 minutes. Gradually add powdered sugar, vanilla, and salt, beating until perfectly smooth.
The key to lump-free frosting is ensuring your cream cheese and butter are properly softened – they should give slightly when pressed but not be melty. Room temperature ingredients combine more easily and create that professional smooth texture.
Professional Assembly Tips
Wait until cookies are completely cool before frosting to prevent melting. I learned this lesson during a particularly warm summer when my beautiful frosting turned into a melty mess on warm cookies.
Pipe or spread frosting generously on each cookie. These aren’t delicate tea cookies – they’re meant to be indulgent, comforting treats that satisfy your fall cravings completely.
For special occasions, I sometimes add a light dusting of cinnamon or a few chopped toasted pecans on top for extra elegance.
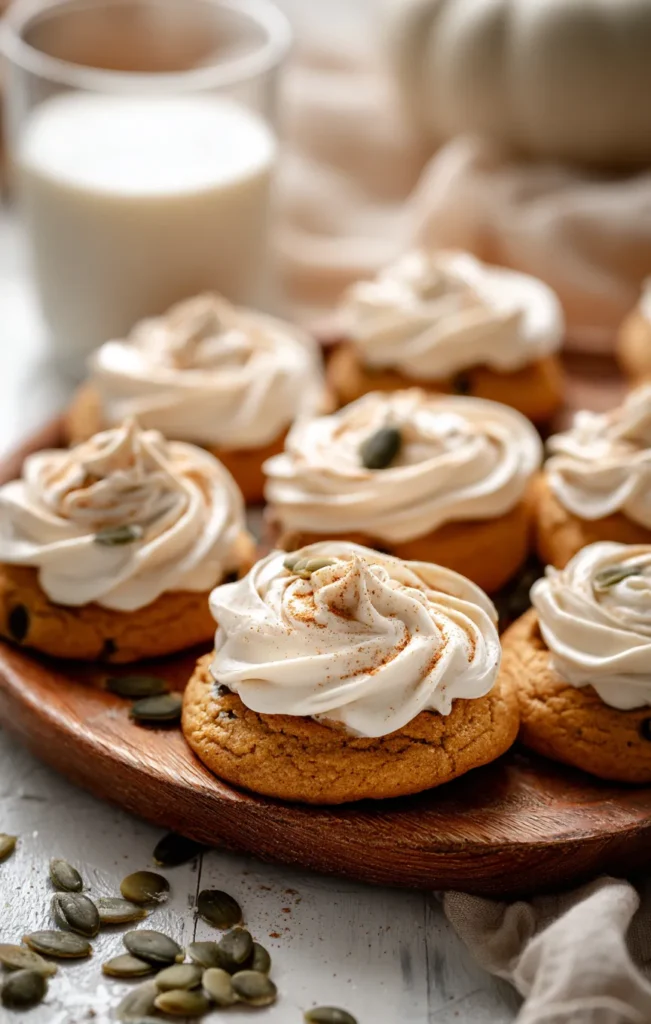
Storage and Make-Ahead Magic
Store frosted cookies in an airtight container in the refrigerator for up to one week. The cream cheese frosting requires refrigeration, but these cookies actually taste even better after the flavors meld overnight.
For busy schedules, bake and freeze unfrosted cookies for up to three months. Thaw completely before frosting for gatherings or whenever you need an instant fall dessert.
My friend Lisa, who runs a local bakery, taught me to freeze cookie dough balls on a tray, then transfer to freezer bags. Bake directly from frozen, adding 1-2 extra minutes to the baking time.
Seasonal Serving Suggestions
These cookies shine at autumn gatherings, from Halloween celebrations to Thanksgiving dessert spreads. I’ve served them alongside pumpkin donuts with maple glaze for an impressive fall dessert table that had guests asking for recipes all evening.
For cozy family nights, pair these cookies with vanilla turmeric golden milk lattes for the ultimate autumn comfort experience.
Troubleshooting Common Issues
Cookies spread too much: Your butter or cream cheese might be too warm, or you may need an extra 2-3 tablespoons of flour for high-altitude or humid climates.
Cookies are too dry: Overbaking is usually the culprit. Remember, they should look slightly underdone in the centers when you remove them from the oven.
Frosting is too thick: Add cream or milk one teaspoon at a time until you reach the perfect spreading consistency.
Creative Variations for Every Taste
Transform these into maple-glazed pumpkin cookies by substituting maple cream cheese frosting – simply replace half the powdered sugar with pure maple syrup.
For chocolate lovers, fold in mini chocolate chips or drizzle melted dark chocolate over the frosted cookies for an indulgent twist that rivals any bakery creation.
My sister-in-law with dietary restrictions loves the gluten-free version made with a 1:1 gluten-free flour substitute – the results are nearly identical to the original.
FAQ: Your Most Common Questions Answered
Q: Can I use pumpkin pie filling instead of pure pumpkin puree? A: Stick with pure pumpkin puree for best results. Pie filling contains added sugars and spices that can affect the cookie texture and throw off the flavor balance.
Q: How do I know when the cookies are perfectly done? A: The edges should be set and lightly golden, while centers still look slightly soft and underdone. They’ll finish cooking on the hot pan.
Q: Can I make these cookies dairy-free? A: Yes! Substitute vegan butter and dairy-free cream cheese in equal amounts. The texture will be slightly different but still delicious.
Q: Why do my cookies always turn out flat? A: Check that your baking soda is fresh (replace every 6 months) and ensure your butter isn’t too warm when creaming. Room temperature means it gives slightly when pressed.
Q: How far ahead can I make these for a party? A: Bake cookies up to 3 days ahead and store covered. Make frosting the day before and frost cookies the day of serving for best texture and appearance.
Perfect for: Fall gatherings, weekend baking projects, cozy breakfast treats, holiday cookie exchanges
These cookies capture everything magical about autumn in one perfect bite. The combination of warming spices, tender pumpkin-enriched dough, and that cloud-like cream cheese frosting creates an irresistible treat that’s become my signature fall recipe. Whether you’re baking for family or bringing something special to share, these cookies deliver bakery-quality results with foolproof home kitchen techniques.







