
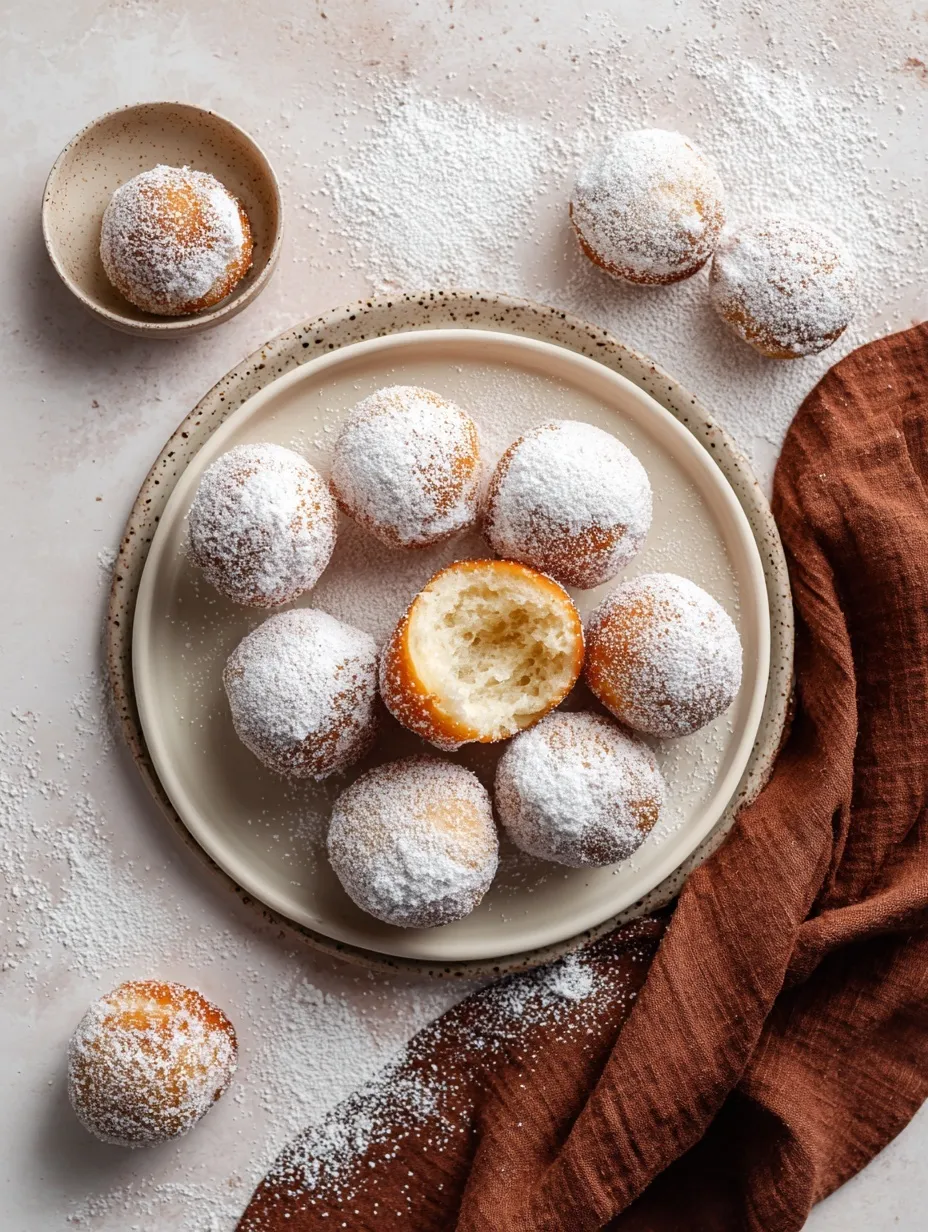
Skip the wait, not the taste! These fluffy French donuts are ready in 30 minutes flat.
Since you are here, make sure to check out these delicious treats:
- Perfect Homemade Beignets – The classic New Orleans version
- Fluffy New Orleans Beignets – Traditional yeast-based recipe
- Churro Bites Recipe – Similar crispy-sweet vibes
- Funnel Cake Bites Recipe – Fair food favorites at home
- Delicious Cruffins – Another pastry perfection
Why This Recipe Changes Everything
Look, I get it. Traditional beignets require patience most of us don’t have on a Tuesday morning. Who’s got time to babysit yeast for hours when you’re craving something sweet right NOW?
This no-yeast version delivers all that pillowy goodness without the drama. No rising time, no kneading marathon, no stressed-out timing. Just mix, roll, cut, and fry your way to breakfast heaven.
The result? About 50 bite-sized nuggets of pure joy that’ll disappear faster than you can say “café au lait.” Trust me, you’ll be sneaking these straight from the oil before they even hit the powdered sugar 🙂

Ingredients
Here’s what you’ll need for this magic trick:
For the Dough:
- 2⅓ cups all-purpose flour
- ½ cup granulated sugar
- 2 teaspoons baking powder
- ½ teaspoon salt (¾ teaspoon if using unsalted butter)
- 2 tablespoons milk (room temperature)
- 1 teaspoon vanilla extract
- 3 large eggs
- ¼ cup salted butter (softened)
For Frying & Finishing:
- Vegetable oil for deep frying
- ½ cup powdered sugar for dusting
Pro tip: Room temperature ingredients mix better than cold ones straight from the fridge. Your dough will thank you for the extra five minutes of planning!
Instructions
Making the Dough
Step 1: Whisk together flour, sugar, baking powder, and salt in your stand mixer bowl. (No stand mixer? No problem – a large bowl and some elbow grease work just fine.)
Step 2: Add milk, vanilla, and eggs to the dry ingredients. If you’re using a stand mixer, attach the dough hook and mix on medium speed for about 2 minutes.
Step 3: Once everything comes together, add the softened butter. Continue mixing until the dough pulls away from the bowl sides – roughly another minute. Don’t worry if it looks sticky at this point; that’s totally normal!
Shaping & Cutting
Step 4: Turn the sticky dough onto a well-floured surface. Dust your hands with flour and gently work it until smooth.
Step 5: Roll or press the dough to ¼-inch thickness. I usually aim for a rectangle about 9×10 inches. Too soft to handle? Pop it in the fridge for 30 minutes – game changer!
Step 6: Use a pizza cutter or sharp knife to cut into squares. For bite-sized treats, go with 1-inch squares (you’ll get about 50). Want traditional-sized beignets? Cut 2-3 inch squares instead.
The Frying Magic
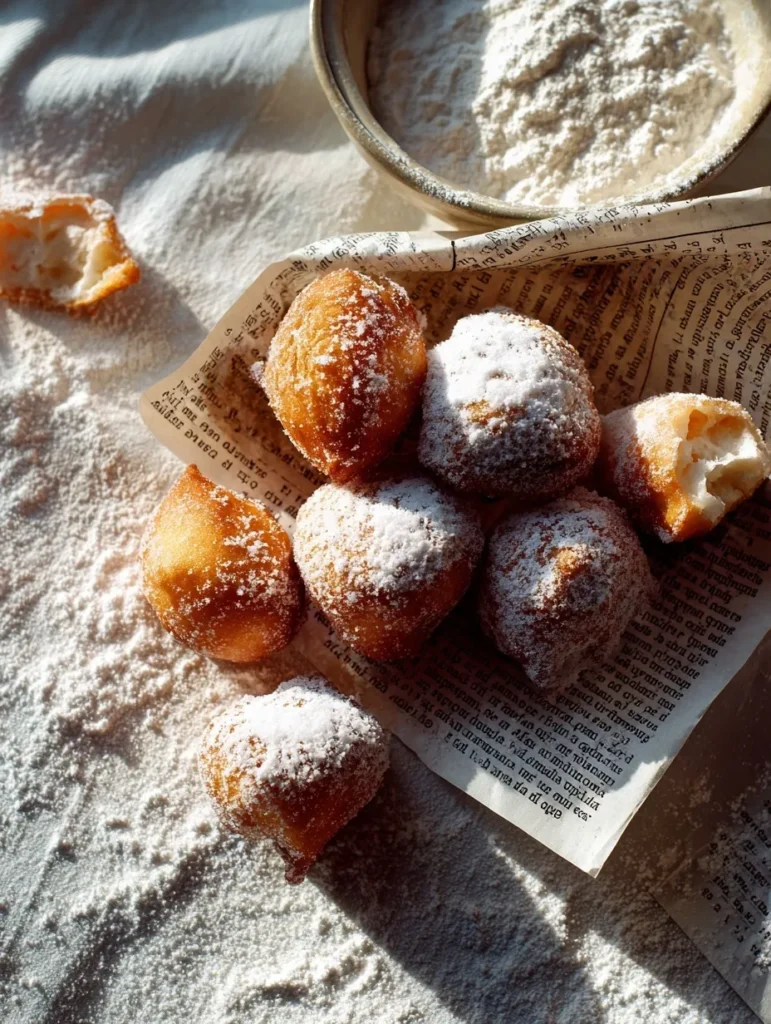
Step 7: Heat your oil to 360°F (180°C). This temperature is crucial – too hot and they’ll burn outside while staying raw inside, too cool and they’ll absorb oil like sponges.
Step 8: Fry in small batches (don’t crowd the pan!). Each side needs about 1-1½ minutes until golden brown and puffy. Bigger beignets? Add an extra 30 seconds per side.
Step 9: Remove with a slotted spoon and drain on paper towels. While they’re still warm, dust generously with powdered sugar.
Complete FAQs
Q: Can I make the dough ahead of time? A: Absolutely! Store it in the fridge for up to 48 hours. Just bring it back to room temperature before rolling.
Q: What if my dough is too sticky to work with? A: Add flour gradually, up to ¼ cup extra. Sometimes humidity affects dough consistency more than we’d like!
Q: Can I bake these instead of frying? A: Technically yes, but they won’t have that signature crispy exterior. Bake at 425°F for 12-15 minutes if you must.
Q: How do I know when the oil is the right temperature? A: Use a thermometer for accuracy, or drop a small piece of dough in – it should sizzle immediately and float.
Q: Why don’t my beignets puff up? A: Usually it’s because the oil isn’t hot enough, or you’re overcrowding the pan. Give them space to do their thing!
Storage & Serving Tips
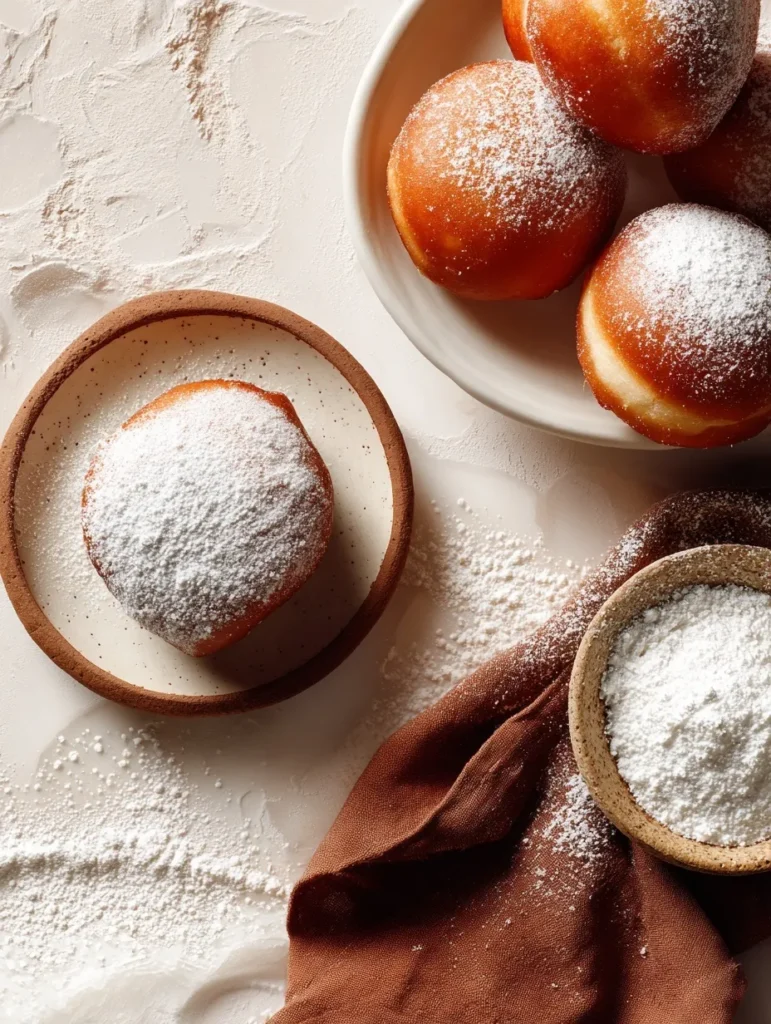
Let’s be real – these are best served immediately while they’re still warm and crispy. Beignets aren’t really a “save for later” kind of treat. They lose their magic overnight, becoming dense and chewy instead of light and fluffy.
That said, if you absolutely must store leftovers (though I doubt you’ll have any), keep them in an airtight container for up to 2 days. You can try reheating in a 350°F oven for 5 minutes, but they’ll never quite recapture that fresh-from-the-oil perfection.
Serving suggestions that actually work:
- Dust with cinnamon sugar instead of plain powdered sugar
- Serve alongside café au lait or strong coffee
- Drizzle with honey or maple syrup for extra indulgence
- Make mini sandwiches with jam or Nutella
Troubleshooting Common Issues
Dough too wet? Add flour a tablespoon at a time until manageable.
Beignets absorbing too much oil? Your oil temperature dropped – let it come back up between batches.
Not puffing enough? Make sure your baking powder is fresh (it loses potency after 6 months) and don’t roll the dough too thin.
Burning on the outside, raw inside? Oil’s too hot – dial it back to 350°F and cook a bit longer.
What Makes This Version Special
Unlike traditional yeasted beignets that require rising time, this version uses baking powder for instant lift. The result? Lighter, more tender donuts that come together in a fraction of the time.
The texture hits differently too – less chewy than yeast versions, more cake-like and delicate. Some might call this cheating, but I call it smart cooking for busy people who still want homemade goodness.
Plus, there’s something satisfying about making 50 little nuggets of happiness that cost a fraction of what you’d pay at a café. Your wallet and your taste buds will both thank you!







