
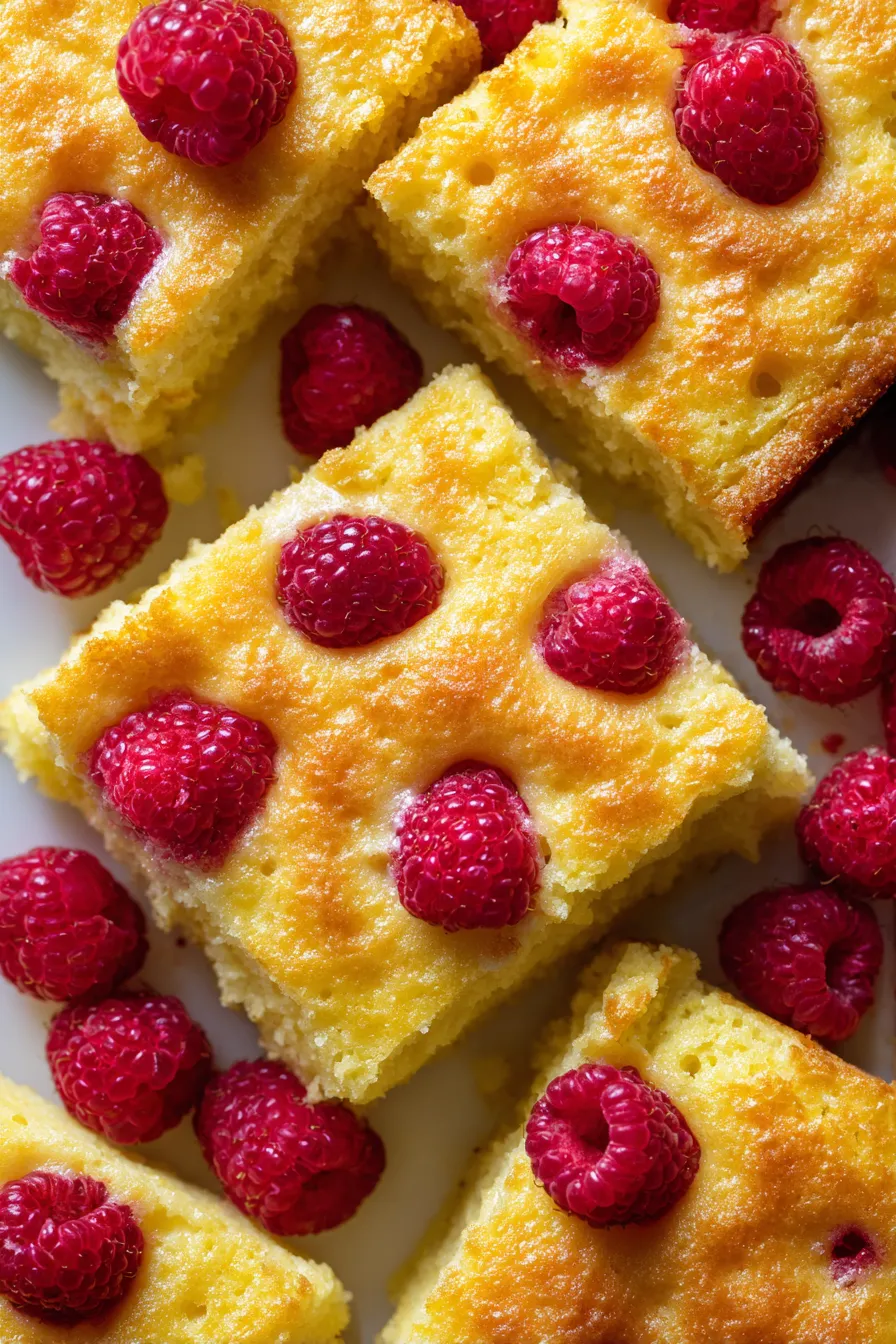
Raspberry Lemon Bars combine the perfect balance of buttery shortbread crust, tangy lemon filling, and sweet raspberries for the most irresistible treat ever! These restaurant-quality bars take just 45 minutes to make and deliver that ideal sweet-tart flavor combination that keeps everyone coming back for more. 🍋
Picture this: golden, buttery shortbread supporting a luscious layer of bright pink raspberry-lemon filling that’s both creamy and refreshing. Each bite delivers the heavenly contrast of rich, crumbly base with smooth, fruity topping that tastes like summer sunshine in dessert form.
I discovered this winning combination when trying to recreate the famous bars from my favorite local bakery. After several attempts, I finally nailed the perfect ratio of tart lemon to sweet raspberries, and now these bars are my secret weapon for impressing guests at every gathering. The vibrant color alone makes people stop and stare, but the taste is what creates true obsession.
What Makes Raspberry Lemon Bars So Special?
These bars represent the perfect marriage of classic lemon bar technique with fresh berry innovation. The shortbread crust provides rich, buttery foundation while the raspberry-lemon filling offers complex flavor layers that work in beautiful harmony rather than competing.
The visual appeal sets these apart from ordinary desserts. The natural pink hue from fresh raspberries creates Instagram-worthy color that needs no artificial enhancement. Unlike many fruit desserts that look pale or muddy, these bars maintain vibrant, appetizing appearance.
Versatility makes them suitable for any occasion – from elegant tea parties to casual picnics. They’re naturally gluten-free adaptable, freezer-friendly, and can be made 1-2 days ahead without losing quality, making them perfect for entertaining.
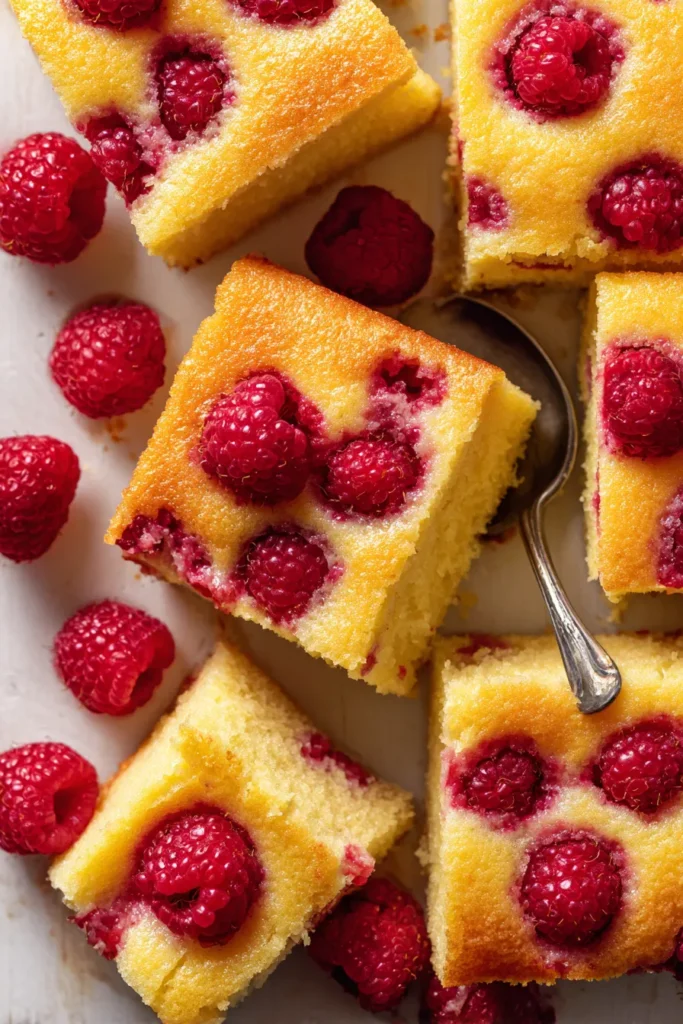
What Ingredients Do You Need for Raspberry Lemon Bars?
For the Buttery Shortbread Crust:
• 1½ cups all-purpose flour – provides structure and tender crumb
• ¾ cup unsalted butter – cold and cubed for proper texture
• ½ cup powdered sugar – creates melt-in-mouth sweetness
• ¼ teaspoon salt – enhances butter flavor
• 1 teaspoon vanilla extract – adds aromatic depth (optional but recommended)
For the Raspberry-Lemon Filling:
• 1 cup granulated sugar – balances tart lemon and fruit acidity
• 3 large eggs – room temperature for smooth mixing
• ½ cup fresh lemon juice – approximately 3-4 large lemons
• 1 tablespoon fresh lemon zest – provides intense citrus oils
• 1 cup fresh raspberries – mashed to release juices and flavor
• 2 tablespoons cornstarch – essential for proper thickening
• 2 tablespoons all-purpose flour – additional binding agent
For Assembly and Garnish:
• Powdered sugar – for elegant dusting
• Fresh raspberries – whole berries for decoration
• Lemon slices – thin rounds for sophisticated presentation
Optional Enhancements:
• 1 tablespoon raspberry jam – intensifies berry flavor
• ¼ teaspoon almond extract – complements fruit beautifully
How to Make Raspberry Lemon Bars (Step by Step)
Step 1: Prepare Your Baking Setup
Preheat oven to 350°F (175°C) and line a 9×9-inch baking pan with parchment paper, leaving overhang for easy removal. This size provides perfect thickness for ideal crust-to-filling ratio.
Pro tip: Light-colored metal pans work best for even browning without over-darkening the delicate crust.
Step 2: Create the Perfect Shortbread Crust
In a food processor, combine flour, powdered sugar, salt, and cold butter cubes. Pulse until mixture resembles coarse crumbs with some larger butter pieces remaining. Add vanilla and pulse briefly to incorporate.
Alternative method: Use a pastry cutter or your fingers to work cold butter into dry ingredients until crumbly texture forms.
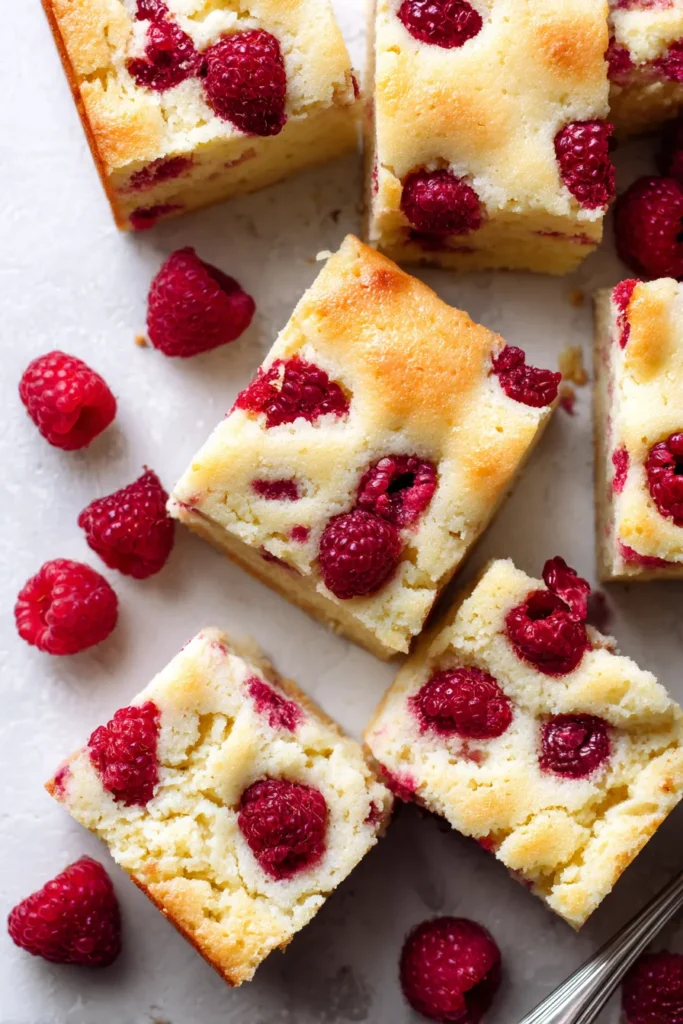
Step 3: Form and Pre-Bake the Crust
Press crust mixture firmly and evenly into prepared pan, using the bottom of a measuring cup for uniform thickness. Pre-bake for 18-20 minutes until edges are lightly golden but center remains pale.
Critical step: Don’t over-bake the crust as it will continue cooking when filled. Edges should just begin to color while maintaining tender texture.
Step 4: Prepare the Raspberry Component
While crust bakes, mash fresh raspberries in a small bowl until mostly smooth but with some texture remaining. For ultra-smooth filling, strain through fine-mesh sieve to remove seeds, pressing solids with spoon.
Flavor tip: Save raspberry juice for mixing into filling – this liquid contains concentrated berry flavor that shouldn’t be wasted.
Step 5: Mix the Luscious Lemon Filling
In a large mixing bowl, whisk together sugar, eggs, lemon juice, lemon zest, mashed raspberries, cornstarch, and flour until completely smooth and well-combined. The mixture should have beautiful pink color and glossy appearance.
Technique note: Whisk vigorously to ensure cornstarch and flour are fully dissolved without lumps, which would create grainy texture in finished bars.
Step 6: Assemble and Bake to Perfection
Pour raspberry-lemon filling over the warm pre-baked crust, spreading evenly to corners. Return to oven and bake for 20-25 minutes until filling is just set and no longer jiggles when gently shaken.
Doneness test: Center should appear set but still slightly glossy. Over-baking creates rubbery texture while under-baking results in runny filling.
Step 7: Cool and Chill for Best Results
Allow bars to cool completely at room temperature for 1 hour, then refrigerate for at least 2 hours until fully set. This chilling time is essential for clean slicing and proper texture development.
Patience pays: Longer chilling (overnight is ideal) creates firmer texture and more developed flavors that make the wait worthwhile.
Step 8: Slice and Present Beautifully
Using parchment overhang, lift bars from pan onto cutting board. With a sharp knife wiped clean between cuts, slice into 9-12 squares. Dust with powdered sugar and garnish with fresh raspberries and lemon slices just before serving.
Pro Tips for Perfect Raspberry Lemon Bars
Fruit Selection Mastery: Use fresh, plump raspberries that are deep red and fragrant. Avoid mushy or moldy berries which will create watery filling. Frozen raspberries work when thawed and drained, but fresh provides superior texture.
⚠️ Common Mistake: Adding hot filling to hot crust can cause crust to become soggy. Allow slight cooling between baking crust and adding filling for best structural integrity.
Lemon Juice Quality: Fresh-squeezed lemon juice is non-negotiable for bright, natural flavor. Bottled juice tastes flat and artificial in comparison. Room temperature lemons yield more juice when rolled and pressed before cutting.
Cornstarch Technique: Sift cornstarch before mixing to prevent lumps, or whisk it with sugar first before adding liquids. Properly mixed cornstarch creates silky-smooth filling without graininess.
Storage Strategy: Store covered in refrigerator for up to 4 days. Freeze cut bars between parchment layers for up to 2 months. Thaw in refrigerator overnight before serving.
Raspberry Lemon Bars Serving Suggestions
Elegant Tea Service: Arrange on tiered serving stands with delicate paper doilies and fine china. Serve alongside Earl Grey tea or champagne for sophisticated afternoon entertaining. Add fresh mint sprigs for aromatic appeal. 🫖
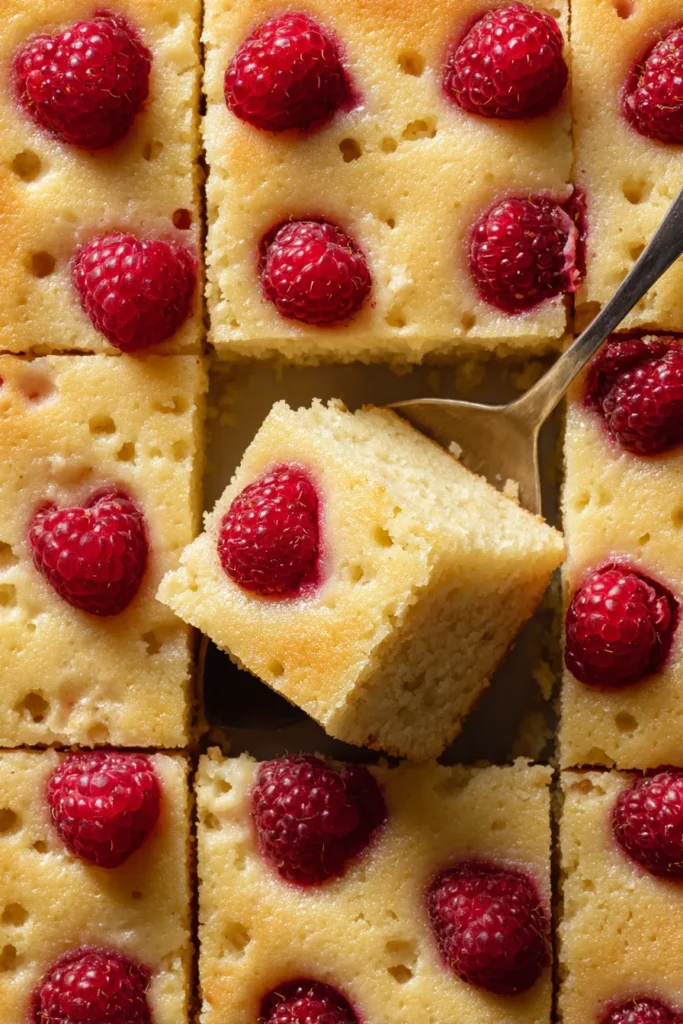
Casual Gatherings: Perfect for picnics, potlucks, and barbecues where individual servings eliminate mess. Pack in insulated containers with ice packs to maintain texture and food safety during transport.
Seasonal Styling: Spring – garnish with edible violets and lemon balm. Summer – add fresh berry medley and mint. Fall – dust with cinnamon sugar. Winter – drizzle with white chocolate and candied lemon peel. 🌺
Special Occasions: Cut into petit four-sized squares for wedding receptions or baby showers. Present in individual paper cups or on small dessert plates with silver forks for upscale events. 🎉
Frequently Asked Questions About Raspberry Lemon Bars
Can I use frozen raspberries instead of fresh?
Yes! Thaw completely and drain excess liquid before mashing. Pat berries dry with paper towels to prevent watery filling. Frozen berries may create slightly softer texture but maintain excellent flavor.
How do I prevent the filling from being too runny?
Use proper cornstarch-to-liquid ratio and ensure complete dissolution during mixing. Don’t skip the flour – it provides additional thickening. Allow adequate cooling and chilling time for filling to set properly.
Can I make these bars ahead of time?
Absolutely! Make 1-2 days ahead for best flavor development. Store covered in refrigerator and add fresh garnishes just before serving. Bars actually improve as flavors meld together.
What’s the best way to cut clean squares?
Use a sharp, thin knife dipped in warm water and wiped clean between each cut. Chill bars thoroughly before cutting, and work quickly to maintain clean edges without dragging filling.
Can I substitute other berries?
Strawberries, blackberries, or blueberries work beautifully using the same technique. Adjust sugar based on berry sweetness – blueberries may need less while cranberries require more.
How do I store leftover bars?
Refrigerate in airtight container for up to 4 days. Layer between parchment to prevent sticking. Freeze individually wrapped for up to 2 months – thaw in refrigerator before serving.
Why is my crust too crumbly?
Cold butter is essential for proper texture. If mixture seems too dry, add 1-2 tablespoons cold water gradually until it holds together when pressed but isn’t sticky.
Can I make these gluten-free?
Yes! Substitute 1:1 gluten-free flour blend for regular flour in both crust and filling. Ensure blend contains xanthan gum for proper binding. Results are nearly identical to traditional version.







