
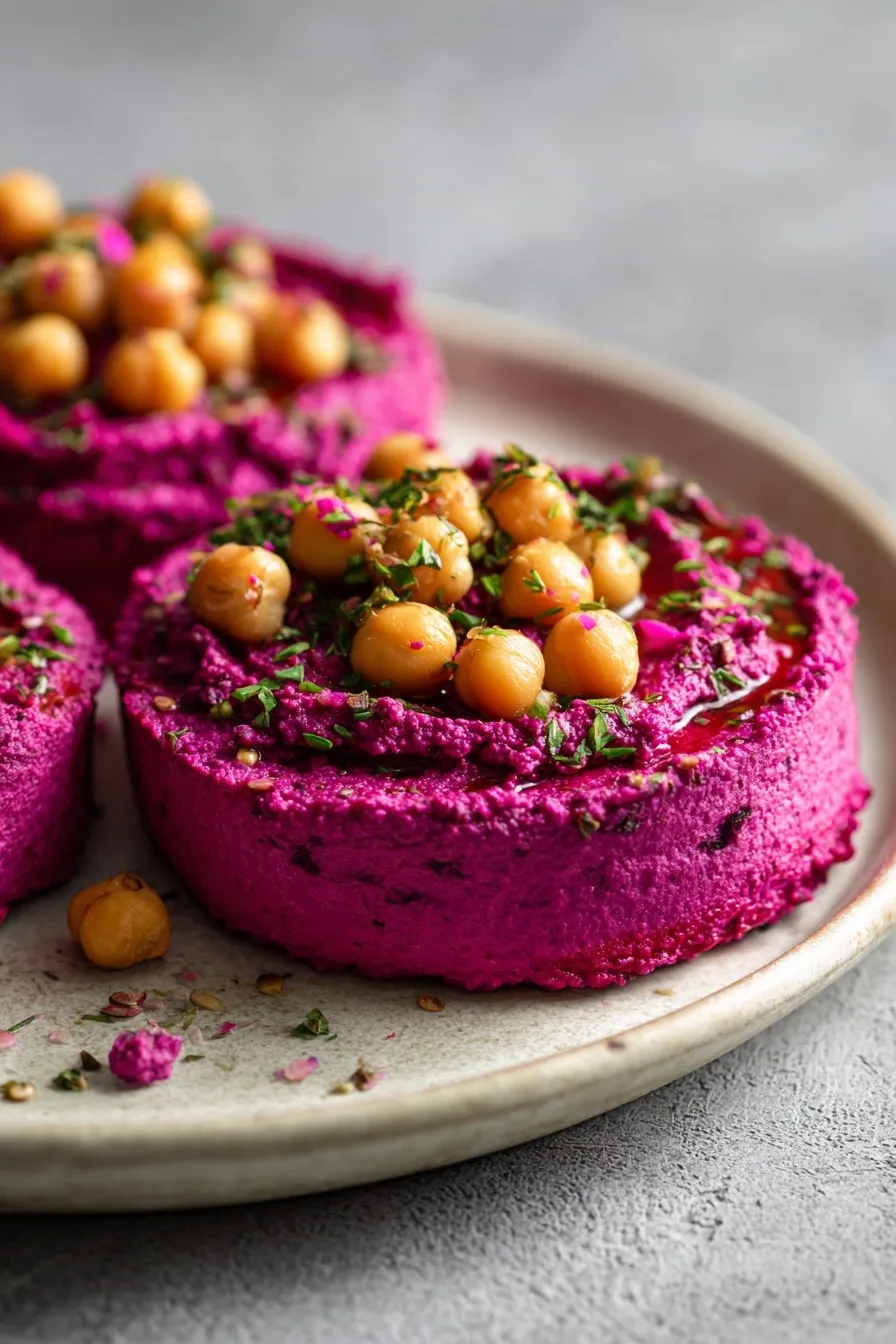
Nothing brightens up an appetizer spread like roasted beet hummus cups recipe with their stunning magenta color and creamy, earthy-sweet flavor. These individual portions make entertaining ridiculously easy while keeping everyone’s hands clean.
I started making these for holiday parties three years ago, and now my friends text me weeks in advance asking if I’m bringing “those pink hummus things.” They’re that good.
Since you’re here, make sure to check out these related recipes:
- Easy Mediterranean Wrap Recipe Healthy Lunch
- Easy Falafel Wrap Recipe Homemade Crispy
- Mediterranean Quinoa Bowl
- Fresh Bruschetta Dip Recipe 5 Minute Party
- Amazing Spicy Ricotta Dip Recipe Sweet Fiery
Why This Roasted Beet Hummus Cups Recipe Works
Ever wonder why roasted beets taste so much better than boiled ones in hummus? Roasting caramelizes the natural sugars and concentrates the flavor, giving you that deep, earthy sweetness that makes this dip absolutely addictive.
The individual cup format is genius for parties—no double-dipping drama, no messy bowls to refill, and everyone gets their own perfectly portioned serving. Plus, that gorgeous pink color makes your spread look like you hired a professional caterer when you actually spent 15 minutes of hands-on time.
Chickpeas provide plant-based protein and fiber to keep you satisfied, while tahini adds creamy richness and healthy fats. The roasted beets bring vitamins, antioxidants, and that stunning natural color without any artificial dyes.
Want to know the real secret? Blending everything until it’s completely smooth creates that restaurant-quality texture that makes store-bought hummus taste grainy by comparison. The slight sweetness from the beets balances perfectly with tangy lemon and savory garlic.
Ingredients
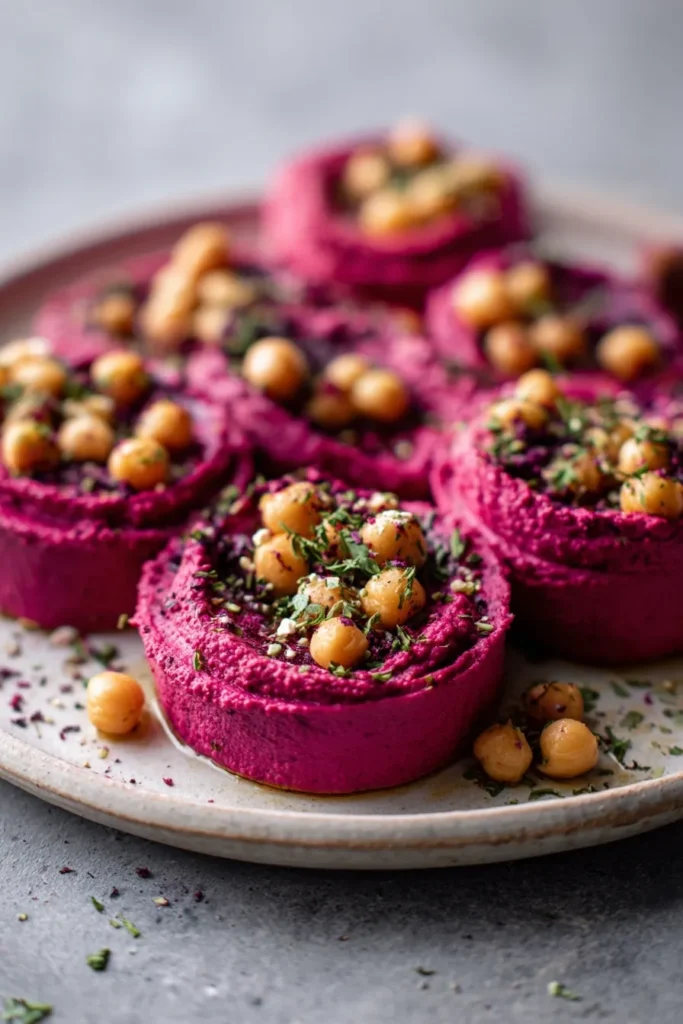
Ready to make the most beautiful hummus you’ve ever seen?
For the Roasted Beet Hummus:
- 2 medium beets (about 1 pound total)
- 1 can (15 ounces) chickpeas, drained and rinsed
- ¼ cup tahini (sesame seed paste)
- 2 tablespoons extra virgin olive oil (plus more for drizzling)
- 2 tablespoons fresh lemon juice (about 1 lemon)
- 1 small garlic clove, peeled
- ½ teaspoon fine sea salt
- ¼ teaspoon ground cumin (optional but recommended)
- 2-4 tablespoons cold water (for consistency)
For Garnish:
- Extra virgin olive oil for drizzling
- Whole chickpeas (about 8-10)
- Fresh parsley or dill, finely chopped
- Black sesame seeds (optional)
Roasting the beets instead of using canned makes all the difference—the flavor is richer, sweeter, and more complex. Fresh beets give you that vibrant magenta color that photographs beautifully and tastes incredible.
Tahini is crucial here because it provides that signature hummus creaminess and nutty flavor. Don’t skip it or substitute peanut butter—the flavor won’t be the same. Good quality tahini should be smooth and pourable, not separated or gritty.
Step-by-Step Instructions
1. Roast the beets by preheating your oven to 400°F and scrubbing the beets under cold water. Trim the stems, wrap each beet individually in aluminum foil, and place on a baking sheet. Roast for 40-50 minutes until a fork slides through easily.
2. Cool and peel by letting the roasted beets sit in the foil for 10 minutes until cool enough to handle. The skins will rub off easily with your fingers or a paper towel—wear gloves if you don’t want pink hands!
3. Blend the hummus by adding chopped roasted beets, chickpeas, tahini, olive oil, lemon juice, garlic, salt, and cumin to your food processor. Process for 2-3 minutes, stopping to scrape down the sides once, until completely smooth and creamy.
4. Adjust consistency by adding cold water 1 tablespoon at a time while the processor runs. You want it thick enough to hold its shape but smooth enough to be ultra-creamy—like soft-serve ice cream texture.
5. Taste and adjust the seasoning by adding more salt, lemon juice, or garlic to your preference. I usually add an extra pinch of salt and a squeeze of lemon because beets can be quite sweet.
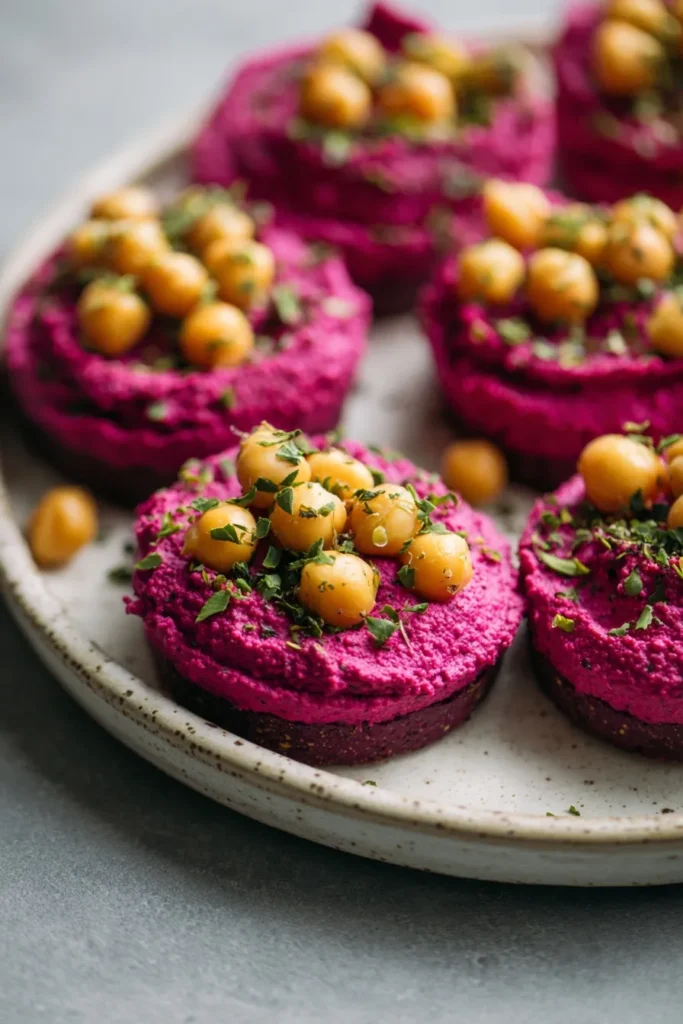
6. Fill the cups using a spoon or small ice cream scoop to portion the hummus into silicone muffin molds or small glass ramekins. Smooth the tops with the back of the spoon for a professional look.
7. Chill in the refrigerator for at least 30 minutes to let the flavors meld and the hummus firm up slightly. You can make them up to 3 days ahead and garnish right before serving.
8. Garnish before serving by drizzling olive oil over each cup, adding 1-2 whole chickpeas, sprinkling fresh herbs, and finishing with black sesame seeds if using. Serve chilled or at room temperature.
Essential Equipment for Roasted Beet Hummus Cups
Food Processor (10-Cup Capacity)
A powerful food processor creates that ultra-smooth, creamy texture that makes homemade hummus better than store-bought. The large capacity means you can make double batches without overcrowding.
Silicone Muffin Mold
Silicone molds make removing the hummus cups effortless with zero sticking or breaking. They’re also dishwasher-safe and create perfectly uniform portions every time.
Kitchen Gloves (Disposable or Reusable)
Beets stain everything they touch, so gloves protect your hands from that telltale pink tint. They’re especially crucial when peeling the roasted beets.
High-Quality Spatula
A flexible silicone spatula scrapes every bit of hummus from your food processor bowl without scratching. It ensures you don’t waste any of that gorgeous pink goodness.
Small Ramekins or Glass Cups (PREMIUM)
Individual glass serving cups create an elegant presentation that elevates your appetizer game. Professional caterers use these because they’re reusable, dishwasher-safe, and photograph beautifully for Instagram-worthy spreads.
What to Serve With Roasted Beet Hummus Cups
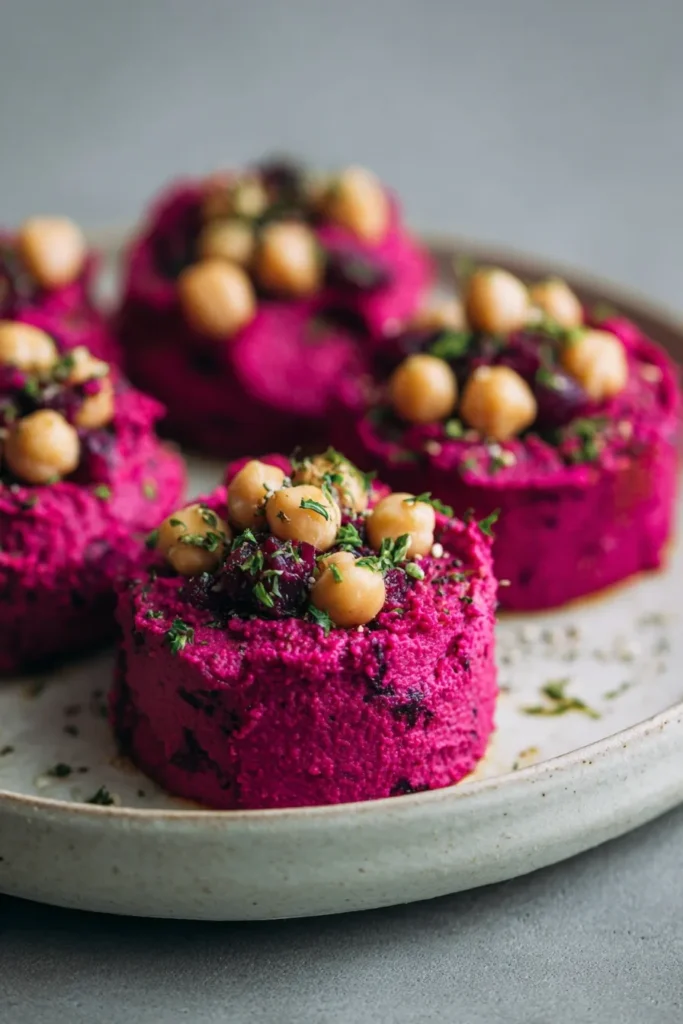
Looking for the perfect pairings to complete your appetizer spread?
Serve with fresh vegetable sticks like cucumber, carrots, bell peppers, and celery for a healthy, colorful veggie platter. The crunchy vegetables contrast beautifully with the creamy hummus.
Pair with warm pita bread, naan, or my Perfect Grilled Focaccia Bread Recipe for scooping. The slight char on grilled bread adds amazing flavor.
Add them to a mezze platter alongside my Easy Falafel Wrap Recipe Homemade Crispy and olives for a complete Mediterranean feast. The varied textures keep every bite interesting.
Include them in a grain bowl with quinoa, roasted vegetables, and my Mediterranean Quinoa Bowl for a nutritious lunch. The earthy beets complement the nutty grains perfectly.
Serve with pita chips, crackers, or my Homemade Cheese Bread Recipe for parties. Crispy dippers make the creamy hummus even more irresistible.
Pair with my Easy Asian Cucumber Salad Recipe for a fresh, crunchy contrast to the rich hummus. The bright flavors balance each other beautifully.
Storage and Reheating Guide
Refrigerator Storage
Store roasted beet hummus cups in an airtight container in the refrigerator for up to 5-7 days. Press plastic wrap directly on the surface before sealing to prevent oxidation and color fading.
Freezer Storage
Freeze hummus in individual portions for up to 2-3 months in freezer-safe containers. Leave about ½ inch of space at the top because it expands slightly when frozen.
Thawing Instructions
Thaw frozen hummus overnight in the refrigerator for best texture and flavor. Stir well before serving because some separation may occur—it’s completely normal and doesn’t affect taste.
Pro Storage Tips
- Add garnishes only right before serving to keep herbs fresh and olive oil from pooling.
- Store beets and hummus separately if making more than 3 days ahead for optimal freshness.
- Bring to room temperature 30 minutes before serving for the best flavor and creaminess.
Recipe Variations
Want to customize your roasted beet hummus cups recipe?
Spicy Harissa Version
Add 1-2 tablespoons of harissa paste to the hummus mixture for a North African-inspired kick. The smoky, spicy flavor pairs beautifully with the sweet beets and makes it more complex.
Citrus Twist
Replace lemon juice with fresh orange juice and add 1 teaspoon orange zest for a sweeter, brighter flavor profile. The citrus makes the beet flavor pop even more.
Herb-Loaded Version
Blend in ½ cup fresh herbs like cilantro, parsley, or dill with the hummus for a green-flecked, ultra-fresh variation. Use the technique from my Hemp Lemon Pesto Pasta Recipe for vibrant herb flavor.
Tahini-Free Option
Replace tahini with sunflower seed butter or almond butter for a nut-free alternative that’s still creamy and rich. The flavor is slightly different but equally delicious.
Goat Cheese Swirl
Dollop softened goat cheese on top of each cup before garnishing for a tangy, creamy contrast. It adds extra protein and makes them more filling.
Smoked Paprika Version
Add ½ teaspoon smoked paprika to the hummus and garnish with extra paprika for a Spanish-inspired twist. The smoky flavor complements the earthy beets perfectly.
Pro Tips & Tricks
Curious about the secrets to perfect roasted beet hummus cups?
- Use roasted, not boiled beets for the deepest flavor and most vibrant color. Boiled beets are watery and taste bland by comparison.
- Add ice-cold water when adjusting consistency to keep the hummus thick and creamy without making it watery. Warm water thins it too much.
- Let your food processor run for a full 2-3 minutes to achieve that silky-smooth texture. Don’t rush this step—it makes all the difference.
- Peel beets while they’re warm because the skins slip off effortlessly. Once they cool completely, peeling becomes much harder.
- Taste before portioning and adjust the seasoning generously because flavors mellow when chilled. What tastes perfect warm might need more salt cold.
- Press plastic wrap directly on the surface of leftover hummus to prevent that dry film from forming on top. It keeps the color vibrant too.
Frequently Asked Questions
Q: Can you make roasted beet hummus cups ahead of time?
Yes! Make them up to 3 days ahead and store covered in the refrigerator. Wait to add garnishes until right before serving to keep everything fresh and beautiful.
Q: How long does beet hummus last in the fridge?
Properly stored beet hummus stays fresh for 5-7 days in an airtight container. The color may darken slightly, but the flavor remains delicious.
Q: Can you freeze roasted beet hummus?
Absolutely! Freeze for up to 3 months in freezer-safe containers or bags. Thaw overnight in the fridge and stir well before serving.
Q: What can I substitute for tahini in hummus?
Sunflower seed butter, almond butter, or cashew butter work as tahini substitutes. The flavor changes slightly, but the creamy texture remains similar.
Q: Can I use canned beets instead of roasted?
You can, but the flavor won’t be as rich or sweet since canned beets are packed in water. Roasted beets have concentrated flavor that makes this recipe special.
Q: How do you make beet hummus super smooth?
Process for 2-3 minutes without stopping and add cold water gradually until silky. High-quality tahini that’s smooth and pourable also helps tremendously.
Q: What to serve with beet hummus for a party?
Serve with fresh veggies, pita chips, crackers, and warm flatbread for variety. Add my Elegant Goat Cheese Puff Pastry Appetizers for an impressive spread.
Q: Can you make this recipe without a food processor?
A high-speed blender works, but you’ll need to stop and scrape down the sides frequently. The texture may not be quite as smooth as with a food processor.
Q: How many roasted beet hummus cups does this recipe make?
You’ll get 8-10 individual cups depending on the size of your molds or ramekins. Each cup is about ⅓ cup of hummus.
Q: Is beet hummus healthier than regular hummus?
Both are nutritious, but beet hummus adds extra vitamins, antioxidants, and fiber from the beets. Try my Whipped Cottage Cheese Recipe Viral for another protein-packed dip option.
Why You’ll Keep Making This Recipe
Ready to wow your guests with the most beautiful appetizer they’ve ever seen? These roasted beet hummus cups deliver restaurant-quality flavor with that stunning magenta color that makes everyone ask for the recipe.
I’ve served these at baby showers, holiday parties, and casual game nights, and they disappear faster than any chip-and-dip combo ever did. The best part? Everyone thinks you spent hours when you really spent 15 minutes of actual work.
Make a batch this weekend and watch your Instagram blow up with comments asking how you made them. Trust me, you’ll be making these on repeat!
📌 Save this roasted beet hummus cups recipe for your next party—they’re guaranteed to be the most photographed dish on the table!







