
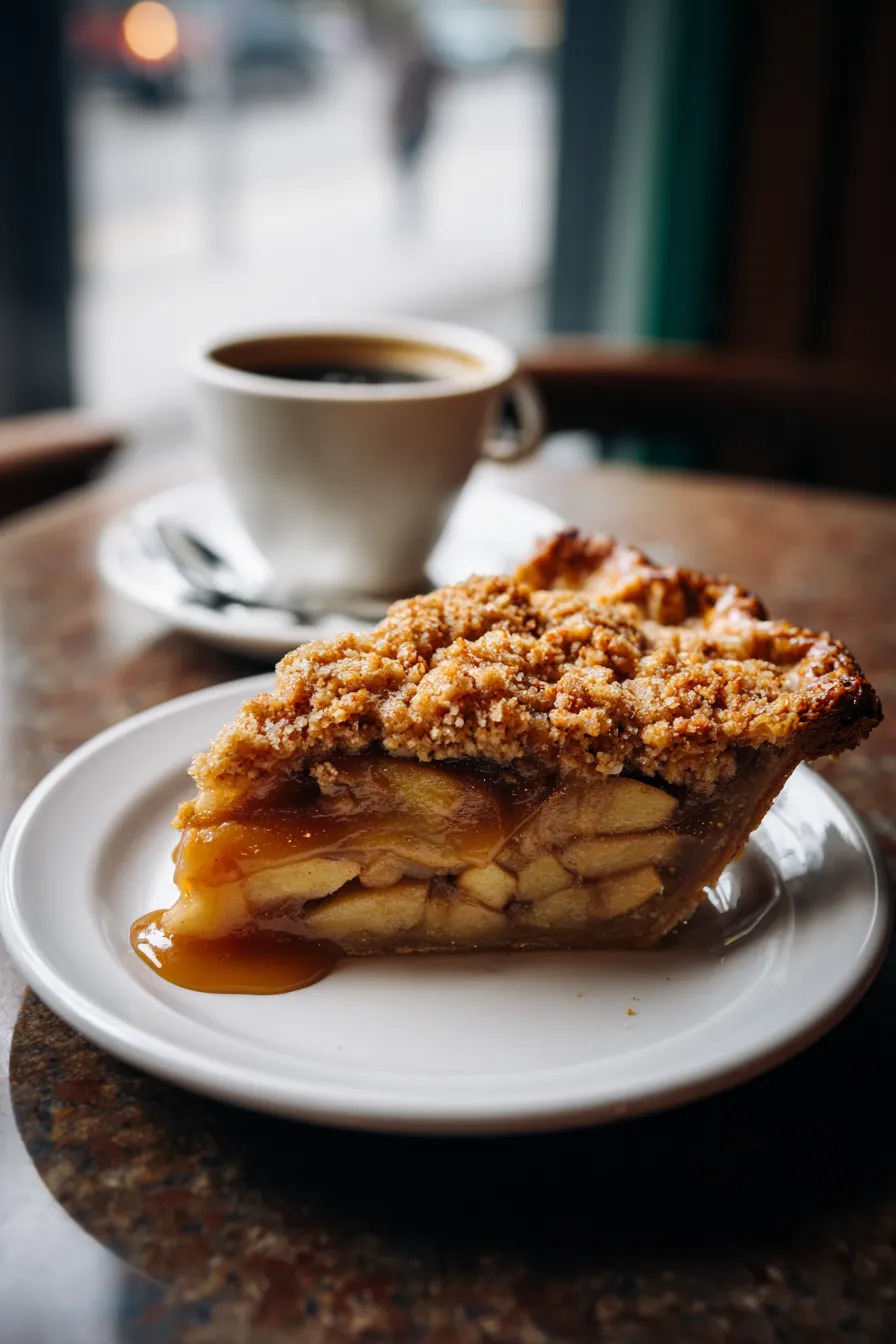
These buttery, gooey salted caramel apple crumble bars are the perfect fall treat that combines tender spiced apples with rich caramel in every bite. Ready in just 45 minutes!
There’s something absolutely magical about the first bite of these salted caramel apple crumble bars. The buttery crumble gives way to tender, cinnamon-spiced apples and pools of golden caramel that perfectly balance sweet and salty flavors. After years of perfecting dessert recipes in professional kitchens, I can confidently say these bars capture everything we love about fall in one incredible treat.
I first developed this recipe during my early days as a pastry chef when our restaurant needed a signature fall dessert that could feed a crowd. The original version was good, but after countless tests and tweaks – including feedback from my own family’s Sunday dinners – these bars have become absolutely irresistible. My neighbor Sarah actually calls them “dangerous” because she can’t stop at just one piece!
Why These Salted Caramel Apple Bars Are Going Viral
Perfect Texture Combination: Every bite delivers the ideal contrast of buttery, crispy crumble against tender apples and silky caramel.
Foolproof Recipe: Uses simple pantry ingredients and a single crumble mixture for both base and topping – no complicated techniques required.
Make-Ahead Friendly: These bars actually improve overnight as the flavors meld together, making them perfect for busy holiday entertaining.
Crowd-Pleasing Appeal: Sweet enough for dessert lovers, sophisticated enough for adults, and simple enough that even novice bakers achieve perfect results.
Restaurant-Quality Results: The salted caramel element elevates basic apple bars into something truly special that rivals expensive bakery treats.
What Makes These Apple Bars Special
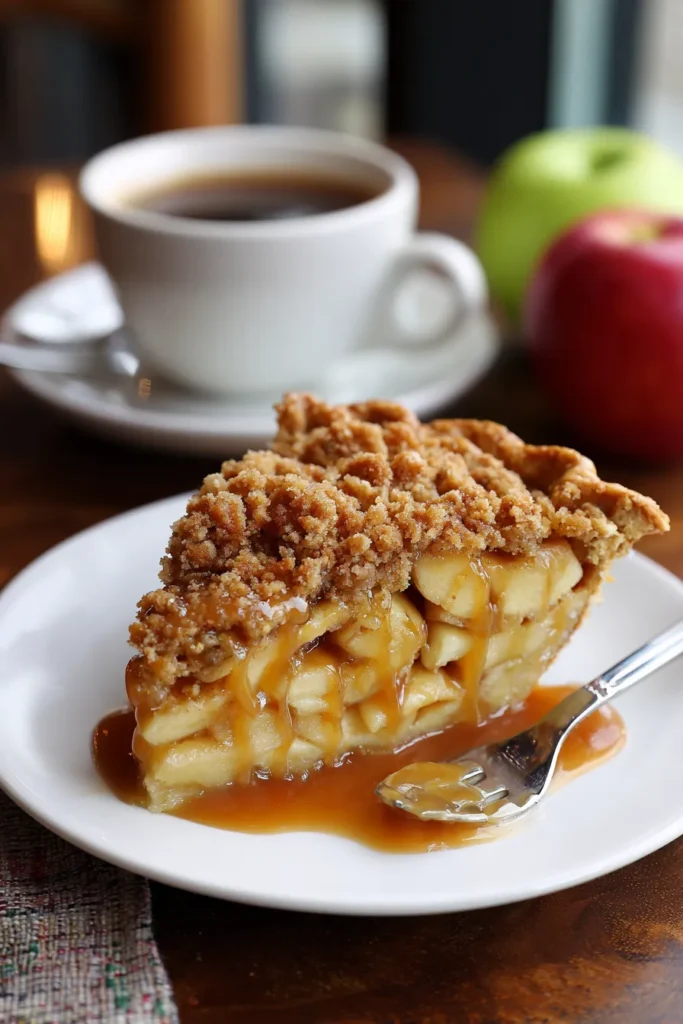
After testing this recipe with dozens of home cooks, I’ve learned that the secret lies in three key elements. First, we use a generous amount of real salted caramel sauce that creates pockets of gooey sweetness throughout the bars. Second, the apple-to-crumble ratio is perfectly balanced – enough fruit to feel virtuous, enough buttery crumble to feel indulgent. Finally, the hint of sea salt in the caramel brings out the natural sweetness of the apples while adding sophisticated depth.
Essential Ingredients for Perfect Apple Crumble Bars
For the Crumble Base and Topping:
- 1 cup unsalted butter, melted (European-style butter creates extra richness)
- 1½ cups granulated sugar (don’t substitute brown sugar here)
- 1 teaspoon pure vanilla extract (real vanilla makes a noticeable difference)
- ½ teaspoon fine sea salt (enhances all the other flavors)
- 2½ cups all-purpose flour (provides structure without becoming tough)
For the Apple Filling:
- 3 large apples (about 3 cups sliced – see apple recommendations below)
- 1 teaspoon ground cinnamon (freshly ground if possible)
- ¼ teaspoon ground nutmeg (adds warming spice notes)
- ½ cup salted caramel sauce (homemade or high-quality store-bought)
Best Apple Varieties for Baking
From my professional kitchen experience, I’ve found that mixing apple varieties creates the most complex flavor and ideal texture. Granny Smith apples provide tartness that balances the sweet caramel, while Honeycrisp or Gala apples add natural sweetness and hold their shape beautifully during baking. Avoid very soft apples like Red Delicious, which can become mushy.
When preparing the apples, slice them about ⅛-inch thick – thin enough to cook evenly but thick enough to maintain some texture. A sharp knife or mandoline slicer ensures consistent pieces that bake uniformly.
Step-by-Step Instructions for Salted Caramel Apple Bars
Preparing Your Pan and Oven
Preheat your oven to 375°F (190°C). This temperature creates the perfect balance of golden-brown crumble without burning the edges. Line a 9×13-inch baking pan with parchment paper, leaving overhang for easy removal. During my restaurant days, we learned that parchment paper prevents sticking better than just greasing the pan.
A quality heavy-bottomed pan distributes heat evenly, preventing hot spots that could burn the bottom crust. If you only have a lightweight pan, consider placing it on a baking sheet for extra insulation.
Creating the Perfect Crumble Mixture
In a large mixing bowl, combine the melted butter, sugar, vanilla extract, and salt. Stir until well combined – the mixture should be smooth and glossy. Add the flour gradually, stirring just until the mixture resembles coarse crumbs. Overmixing can develop the gluten and create tough bars.
Reserve about one-third of this crumble mixture for the topping. Press the remaining two-thirds firmly and evenly into the bottom of your prepared pan. I like to use the bottom of a measuring cup to ensure an even, compact crust that won’t crumble when sliced.
Assembling the Apple Layer
In a separate bowl, toss the sliced apples with cinnamon and nutmeg until evenly coated. The spices should lightly dust every apple slice. Arrange this spiced apple mixture over the pressed crust in an even layer.
Drizzle the salted caramel sauce over the apples, ensuring even distribution. Don’t worry about perfect coverage – the caramel will spread and create delicious pockets as it bakes. Sprinkle the reserved crumble mixture over the top, creating an uneven, rustic appearance that will bake into beautiful golden peaks.
Baking to Golden Perfection
Bake for 40-45 minutes, until the top is golden brown and the edges are bubbling. The apples should be tender when pierced with a knife, and the caramel should be bubbling around the edges. If the top browns too quickly, tent loosely with foil for the final 10 minutes.
The hardest part comes next – letting the bars cool completely in the pan before cutting. This allows the caramel to set properly and prevents messy, falling-apart bars. I usually bake these in the evening and let them cool overnight for the cleanest slices.
Pro Tips for Apple Crumble Bar Success
From the Professional Kitchen
Temperature Control: Room temperature ingredients blend more easily, but cold butter can create a more tender crumble. I prefer melted butter for ease and consistent results.
Apple Preparation: Peeling apples isn’t mandatory, but it creates a more refined texture. If leaving peels on, choose thin-skinned varieties and slice extra thin.
Caramel Considerations: Homemade caramel creates superior flavor, but high-quality store-bought saves time. Look for caramel with real cream and butter listed in the first few ingredients.
Testing and Troubleshooting
During recipe development, I discovered that altitude can affect baking time and texture. At higher elevations, reduce the sugar slightly and increase the flour by 2-3 tablespoons for better structure.
If your bars seem too soft after cooling, they may need a few extra minutes in the oven. If they’re too dry, reduce baking time slightly and ensure your apples are fresh and juicy.
Variations and Adaptations
Seasonal Twists
Winter Holiday Version: Add cranberries and orange zest to the apple mixture, or try pumpkin spice milk as a warm beverage pairing.
Summer Adaptation: Substitute apples with stone fruits like peaches or plums, adjusting sugar accordingly.
Autumn Enhancement: Incorporate chopped pecans or walnuts into the crumble topping for extra crunch and richness.
Dietary Modifications
Gluten-Free Option: Substitute cup-for-cup gluten-free flour blend, though texture will be slightly different.
Dairy-Free Version: Use plant-based butter and dairy-free caramel sauce – coconut caramel works beautifully.
Reduced Sugar: Cut sugar by ¼ cup and add extra cinnamon and vanilla for flavor enhancement.
Storage and Make-Ahead Tips
Optimal Storage Methods
Store completely cooled bars in an airtight container at room temperature for up to three days. For longer storage, refrigerate for up to one week or freeze individual portions for up to three months.
To maintain the best texture, place parchment paper between layers if stacking bars. The crumble topping can soften slightly in storage but regains some crispness when warmed gently.
Make-Ahead Strategies
These bars are actually better the next day as flavors develop and meld. For entertaining, bake them the day before serving. For busy weeknight desserts, prepare the crumble mixture and slice apples ahead of time, storing separately in the refrigerator.
Perfect Pairings and Serving Suggestions
Beverage Companions
Hot Beverages: These bars pair beautifully with coffee, chai tea, or perfect hot honey cottage cheese for a protein-rich snack.
Cold Options: Try them with cold milk, energizing matcha smoothie bowls, or as a dessert after easy green goddess salad.
Dessert Enhancements
Serve warm bars with vanilla ice cream and an extra drizzle of caramel sauce for an indulgent treat. For elegant entertaining, dust with powdered sugar and garnish with fresh thyme or rosemary sprigs.
Entertaining Ideas and Holiday Planning
Fall Gathering Centerpiece
These bars are perfect for autumn potlucks, Halloween parties, or Thanksgiving dessert tables. Cut into smaller squares for cocktail parties, or serve larger portions with coffee for casual gatherings.
For themed entertaining, pair with orange cinnamon iced tea or create a dessert board featuring these bars alongside baked pumpkin donuts and apple cider caramel cookies.
Gift-Worthy Packaging
These bars make thoughtful homemade gifts. Package in decorative tins with parchment paper dividers, or wrap individual bars in cellophane for bake sale contributions.
FAQ About Salted Caramel Apple Crumble Bars
Can I use homemade caramel sauce? Absolutely! Homemade caramel provides superior flavor and texture. Ensure it’s slightly cooled but still pourable before drizzling over the apples.
Why are my bars falling apart when I cut them? The most common cause is cutting before they’re completely cool. The caramel needs time to set properly – patience is essential for clean slices.
Can I freeze these bars? Yes! Wrap individual bars in plastic wrap and freeze for up to three months. Thaw at room temperature or warm gently in the oven.
What’s the best way to reheat leftover bars? Warm individual portions in the microwave for 15-20 seconds, or place in a 300°F oven for 5-10 minutes to restore some crispness to the topping.
Can I make these bars gluten-free? Use a 1:1 gluten-free flour substitute, though the texture will be slightly more tender. Add an extra tablespoon of flour if the mixture seems too wet.
These salted caramel apple crumble bars deliver bakery-quality results with simple techniques and pantry-friendly ingredients. The combination of buttery crumble, tender spiced apples, and rich caramel creates an irresistible fall dessert that’s perfect for entertaining or everyday indulgence. Once you master this foolproof recipe, it’ll become your go-to autumn treat!







