
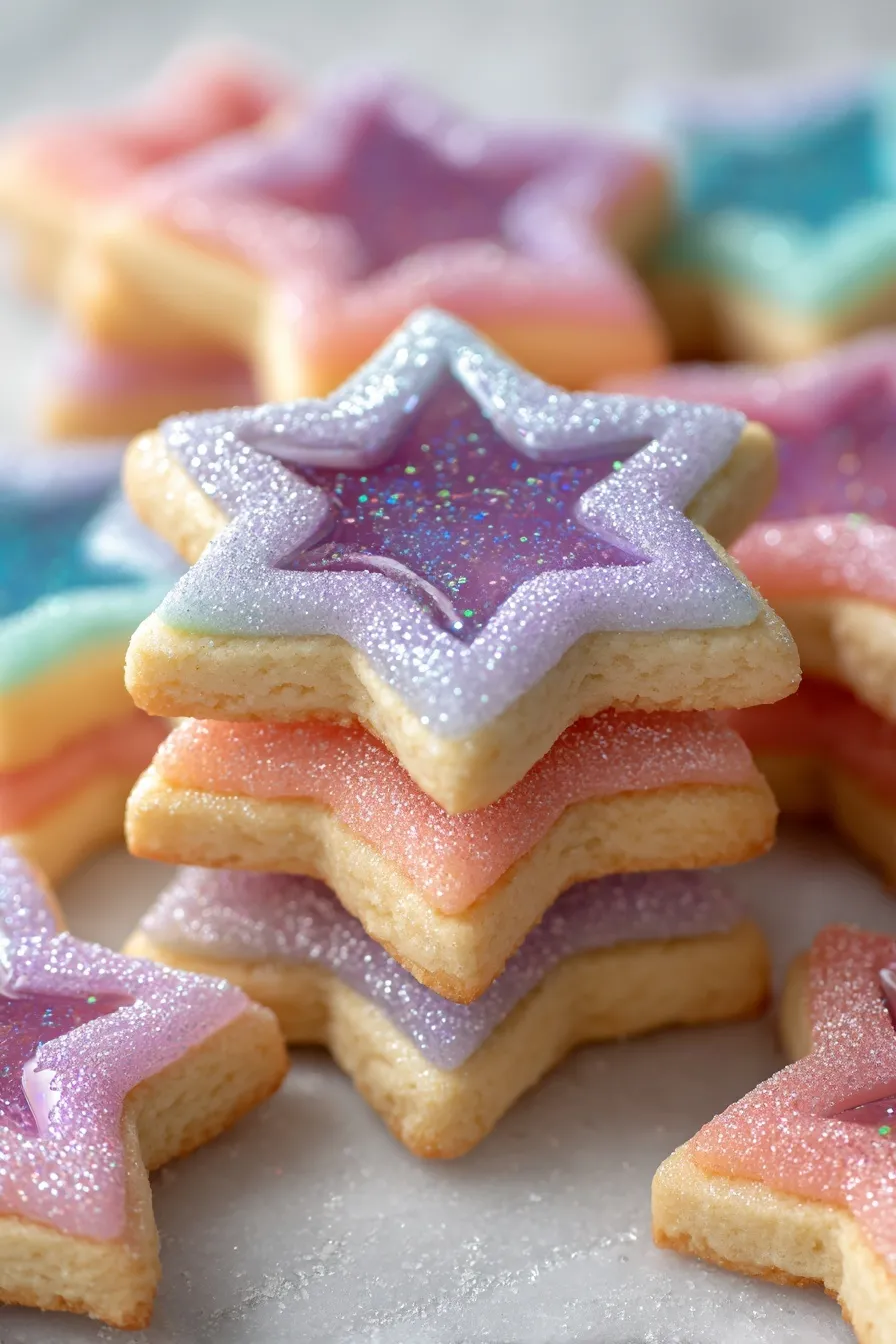
These stained glass cookies recipe creates stunning edible ornaments with gorgeous candy centers that look just like church windows! Crispy, buttery sugar cookies with jewel-bright “glass” centers—they’re surprisingly easy to make and absolutely magical.
Since you’re here, make sure to check out these related recipes:
- Christmas Sugar Cookie Bars Recipe
- Holiday Pinwheel Cookies
- Candy Cane Cookies Recipe
- Christmas Cranberry Orange Cookies
- Gingerbread Rice Krispie Treats
Why This Stained Glass Cookies Recipe Works
Ever wonder how to make cookies that look like they belong in a cathedral? This stained glass cookies recipe delivers that same breathtaking beauty with simple pantry ingredients and crushed hard candy.
The magic happens when crushed Jolly Ranchers melt perfectly in the oven, creating smooth, translucent “glass” that hardens as it cools. I’ve made these for countless holiday parties, and they never fail to make people gasp!
Here’s what makes this recipe absolutely foolproof:
- Sturdy sugar cookie base holds its shape perfectly during baking
- Crushed hard candy melts into smooth, glass-like centers
- Silicone baking mats prevent sticking (trust me on this!)
- Simple shapes work best—stars, circles, and hearts are perfect
The best part? These look incredibly complicated but take the same effort as regular cut-out cookies. The “wow factor” comes from those stunning candy centers that catch light like real stained glass!
Ingredients
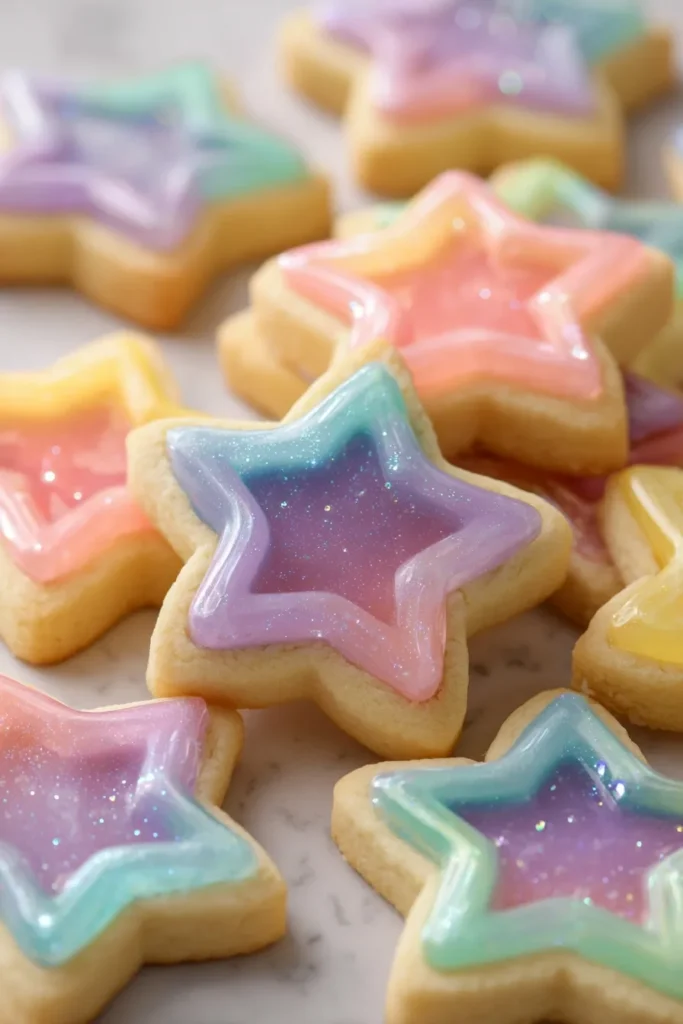
Want to know the secret to those crystal-clear, jewel-bright centers?
For the Sugar Cookie Base:
- 2¾ cups all-purpose flour
- 1 teaspoon baking powder
- ½ teaspoon salt
- 1 cup unsalted butter, room temperature
- ¾ cup granulated sugar
- 1 large egg
- 2 teaspoons alcohol-free vanilla extract
For the Stained Glass Centers:
- 20-25 Jolly Rancher hard candies (variety of colors)
- 1 tablespoon sparkling sugar (optional, for extra sparkle)
The key to perfect “glass” is using clear hard candies like Jolly Ranchers. They melt beautifully and create that gorgeous translucent effect that makes these cookies so special.
I always separate candies by color first—it makes filling the centers so much easier. Red, green, blue, and purple create the most stunning church window effect! 🌟
Step-by-Step Instructions
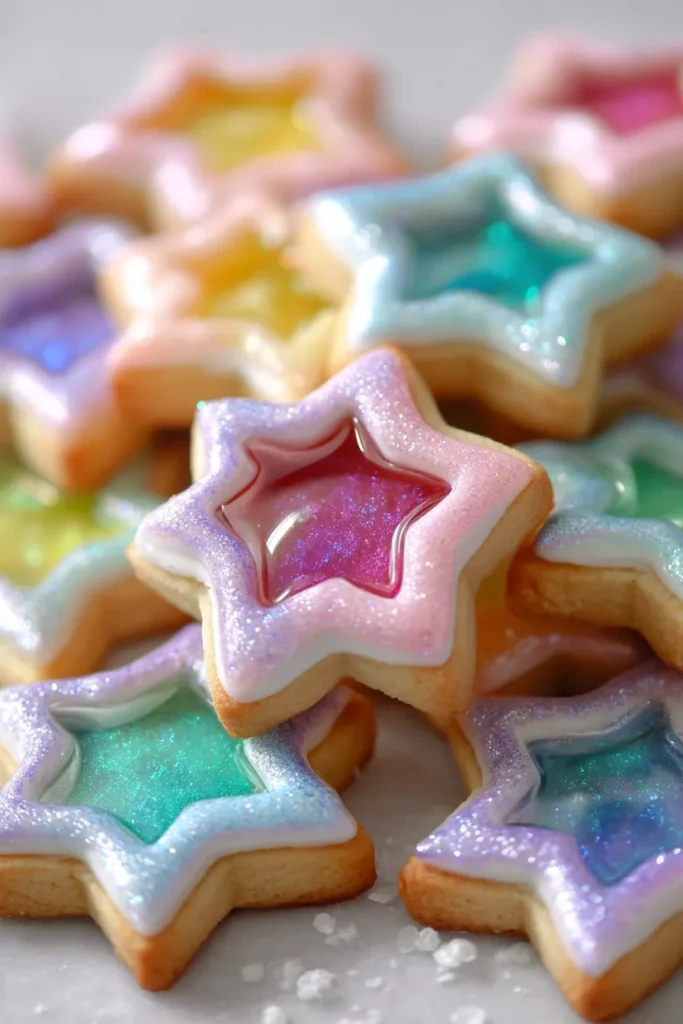
1. Prepare the candy. Unwrap Jolly Ranchers and separate by color into small plastic bags. Crush with a rolling pin or meat mallet until you have small, uniform pieces.
2. Make the cookie dough. Whisk flour, baking powder, and salt in a medium bowl. Cream butter and sugar until light and fluffy (about 3 minutes with a mixer).
3. Combine ingredients. Beat in egg and alcohol-free vanilla extract until smooth. Gradually add flour mixture, mixing just until a soft dough forms.
4. Chill and roll. Wrap dough in plastic and chill for 1 hour. Roll out on floured surface to ¼-inch thickness (not too thin or cookies will break).
5. Cut the shapes. Use large cookie cutters (3-4 inches) to cut shapes. Transfer to silicone-lined baking sheets. Cut smaller shapes from centers and remove carefully.
6. Fill with candy. Spoon crushed candy into hollow centers, filling level with the dough. Don’t overfill or candy will overflow during baking.
7. Bake to perfection. Bake at 350°F for 8-10 minutes until edges are lightly golden and candy has melted completely. Don’t overbake or candy will bubble.
8. Cool completely. Let cookies cool on baking sheets for 10 minutes before transferring. The candy needs time to harden into perfect “glass.”
Essential Equipment for Stained Glass Cookies
The right tools make this stained glass cookies recipe so much easier!
Silicone Baking Mats (Large)
These are absolutely crucial for preventing sticking when candy melts. Parchment paper can work but silicone mats give the best results every time.
Large Cookie Cutters (3-4 inch)
Bigger shapes showcase the stained glass effect beautifully. Stars, circles, and ornament shapes work perfectly for this festive recipe.
Small Cookie Cutters or Sharp Knife
You’ll need these to cut the center “windows” cleanly. Heart or star-shaped mini cutters create the most stunning effects.
Rolling Pin (Heavy-Duty)
Essential for both rolling dough evenly and crushing candy uniformly. A marble or wooden rolling pin works best for consistent results.
Meat Mallet (PREMIUM)
Professional bakers use this for crushing candy to perfect consistency. Creates uniform pieces that melt evenly for flawless glass centers.
What to Serve With Stained Glass Cookies
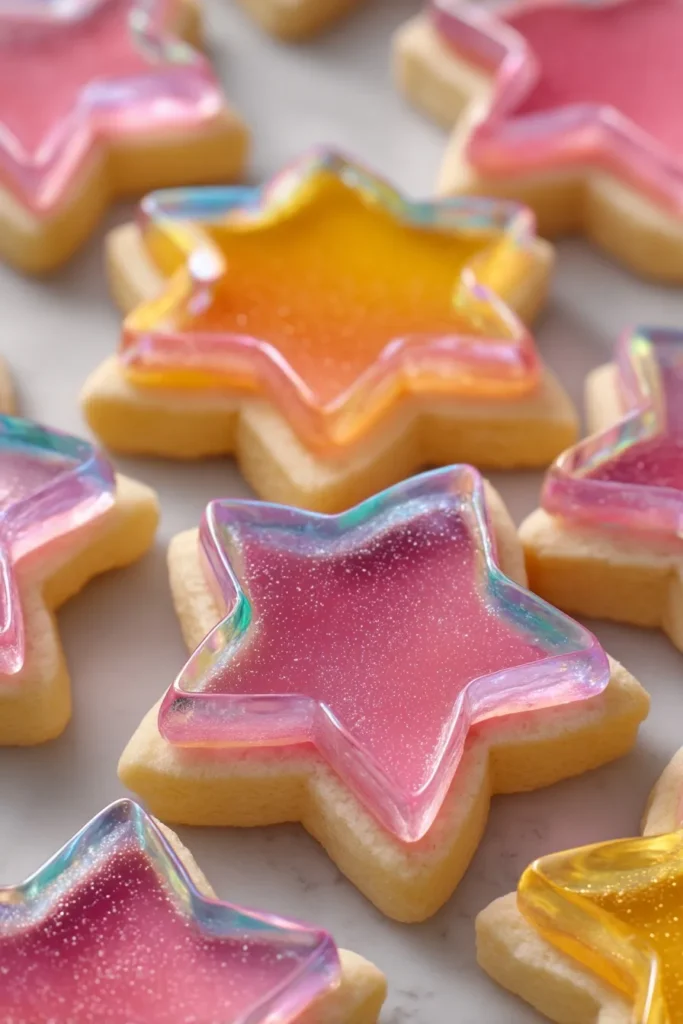
Looking for the perfect ways to showcase these stunning edible masterpieces?
These magical cookies are perfect for holiday gift boxes alongside other festive treats. The beautiful colors create an instant wow factor that makes any cookie platter special.
Serve them with hot chocolate or warm apple cider for the ultimate winter experience. The crispy texture and sweet candy centers pair beautifully with cozy holiday drinks.
Add them to cookie exchange boxes with my Christmas Cranberry Orange Cookies for variety. Different textures and stunning presentations make everyone happy.
Display them on windows where sunlight can shine through the candy centers. They become living decorations that look like real stained glass art.
Hang them on Christmas trees as edible ornaments using my Gingerbread Rice Krispie Treats technique. Poke holes before baking and thread with ribbon after cooling.
For Hanukkah celebrations, cut dreidel shapes and fill with blue and white candy. They make beautiful additions to Holiday Pinwheel Cookies on festive platters.
Storage and Reheating Guide
Refrigerator Storage
Store baked cookies in airtight containers for up to 1 week. Layer between parchment paper to prevent candy centers from sticking together.
Freezer Storage
Freeze baked cookies for up to 2 months in rigid containers. The candy centers can become brittle when frozen, so handle gently when thawing.
Reheating Instructions
These cookies are perfect at room temperature and should not be reheated. The candy centers can melt and lose their beautiful glass-like appearance.
Pro Storage Tips
- Store in cool, dry places to prevent candy from becoming sticky
- Avoid humid conditions which can make candy centers cloudy
- Wrap individually for gifts to maintain perfect appearance
Recipe Variations
Want to switch things up with this stained glass cookies recipe?
Chocolate Sugar Cookie Base
Replace ¼ cup flour with cocoa powder for rich chocolate frames around your colorful candy centers. Creates a stunning contrast that looks incredibly sophisticated.
Clear Hard Candy Version
Make your own clear candy using sugar and corn syrup for flavor control. Add vanilla or almond extract for custom flavors without artificial colors.
Mini Stained Glass Cookies
Use smaller cutters for bite-sized treats perfect for parties. Mini versions are easier for kids to handle and create more portions from one batch.
Hanukkah Dreidel Cookies
Cut dreidel shapes and fill with blue and white candy for beautiful Hanukkah treats. Use my Candy Cane Cookies Recipe technique for holiday variety.
Wedding Ring Cookies
Cut ring shapes with small centers for elegant wedding favors. Use clear or white candy for sophisticated, bridal-appropriate treats.
Heart-Shaped Valentine’s Cookies
Perfect for Valentine’s Day using red and pink candy centers. Create romantic gifts that look like precious jeweled hearts.
Pro Tips & Tricks
Curious about the insider secrets that guarantee perfect stained glass every time?
- Use only silicone baking mats—parchment can stick when candy melts, ruining your beautiful cookies
- Crush candy uniformly—different sizes melt at different rates and create uneven glass surfaces
- Don’t overbake—candy will bubble and turn brown instead of staying clear and beautiful
- Cool completely on baking sheets—moving cookies too soon can crack the hardening candy centers
- Work in small batches—dough softens quickly, making it harder to cut clean center shapes
- Fill centers level with dough—overfilling causes candy to overflow and stick to baking mats
Frequently Asked Questions
Q: Can you make stained glass cookies ahead of time?
Yes! Bake up to 1 week ahead and store in airtight containers. They actually improve in flavor after a day or two as everything melds together.
Q: How long do stained glass cookies last in storage?
Properly stored cookies stay fresh for 1 week at room temperature. Humid conditions can make candy centers sticky, so keep them in cool, dry places.
Q: Can you freeze stained glass cookies?
You can freeze them for up to 2 months, but candy centers become more brittle. Thaw slowly at room temperature and handle gently to prevent cracking.
Q: What to serve with stained glass cookies?
These pair perfectly with hot chocolate, warm cider, or coffee. Try my Best Lemonade Ever Recipe for a refreshing contrast to the sweet treats.
Q: How do you prevent stained glass cookies from sticking?
Use silicone baking mats instead of parchment paper. The candy can stick to parchment when it melts, but silicone releases perfectly every time.
Q: What’s the best candy for stained glass cookies?
Jolly Ranchers work best because they melt clearly and come in vibrant colors. Life Savers can work but don’t always bake up as clear or beautiful.
Q: Can I use sugar-free candy for stained glass cookies?
Sugar-free candies can work but may melt differently. Crush them finely and watch carefully—they often melt faster than regular hard candy.
Q: How do I make stained glass cookies for ornaments?
Poke holes with a straw before baking while dough is soft. Thread with ribbon after cooling completely for beautiful edible tree decorations.
Q: Why did my stained glass cookies turn brown?
The candy overcooked and caramelized. Reduce baking time by 1-2 minutes and watch carefully—candy should melt but stay clear and colorful.
Q: How many servings does stained glass cookies make?
This recipe makes about 24-30 cookies depending on cutter size. Large ornament shapes yield fewer cookies but create more dramatic presentations.
Q: Can you make stained glass cookies in different shapes?
Absolutely! Any shape with a clean center cutout works beautifully. Stars, hearts, circles, and ornament shapes showcase the candy effect best.
Q: What colors work best for stained glass cookies?
Traditional red, green, blue, and purple create the most stunning church window effect. Clear or yellow candies can look less dramatic but still beautiful.
Ready to Create Edible Magic?
This stained glass cookies recipe transforms simple ingredients into breathtaking edible art that’ll make you the star of every holiday gathering! These gorgeous treats combine the comfort of classic sugar cookies with the wonder of jewel-bright candy centers.
I’ve been making these for years, and they never fail to amaze people. Kids are mesmerized by the “magic” of melting candy, while adults can’t believe something so beautiful came from a home kitchen.
The best part? Once you master the basic technique, you can create endless variations for every holiday and special occasion. Save this recipe—it’s going to become your go-to showstopper! ✨
📌 Save this stained glass cookies recipe for your holiday baking – they’re guaranteed to become a family tradition!







