
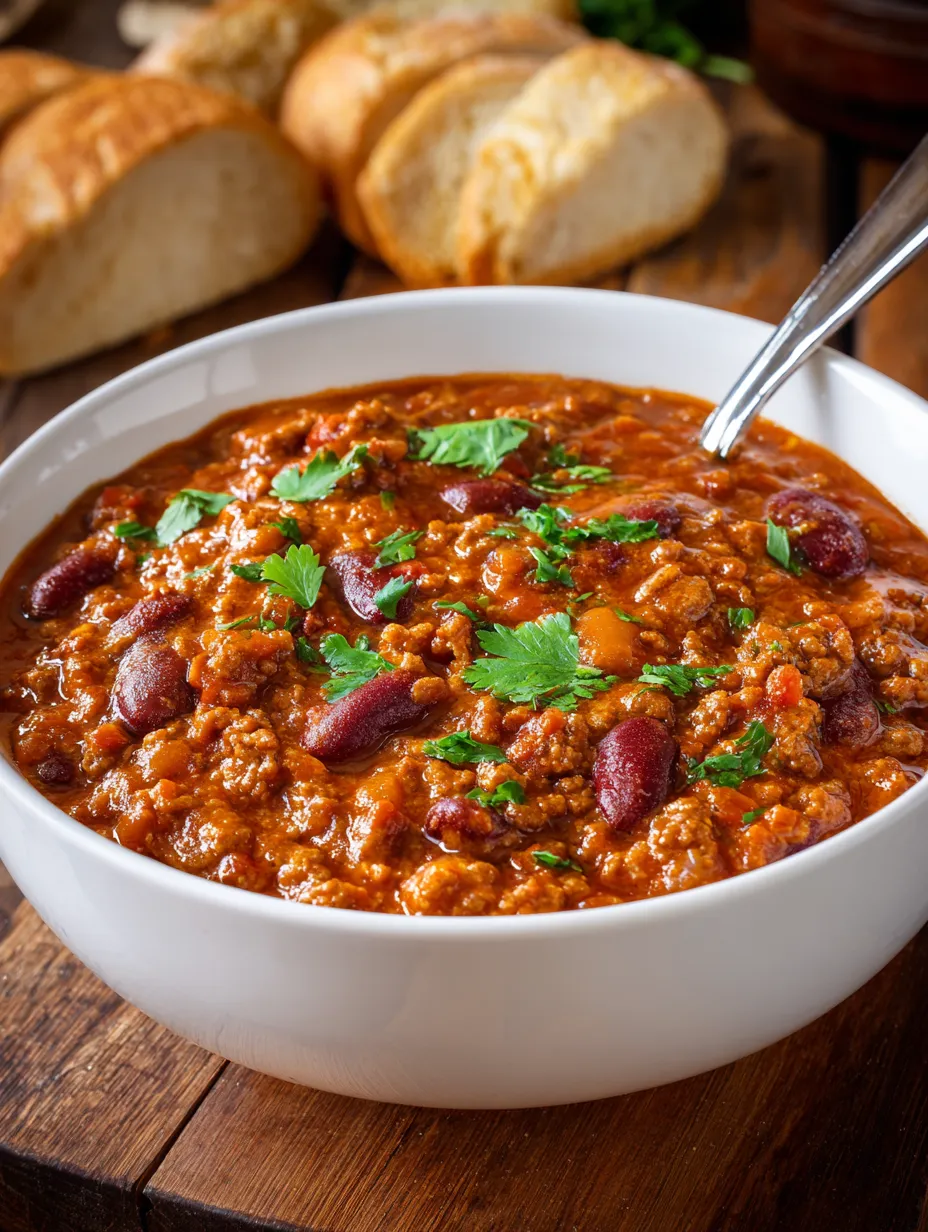
This hearty, restaurant-quality beef chili serves 8 people and has become the most requested recipe at every family gathering I host.
When the first chill of autumn hits, there’s nothing that brings families together quite like a steaming bowl of ultimate beef chili. After years of perfecting this recipe in professional kitchens and countless Sunday dinners at home, I’ve created what my neighbors call “the chili that ruined all other chilis for them.”
This isn’t your average weeknight dinner – it’s a rich, deeply flavorful masterpiece that transforms simple ingredients into something extraordinary. The secret lies in the layered cooking technique I learned during my restaurant years, combined with a special blend of spices that creates that complex, soul-warming flavor profile everyone craves.
Why This Recipe Works Every Single Time
During my culinary training, I discovered that most home cooks rush the foundation-building steps that make chili truly exceptional. This recipe fixes those common mistakes by properly developing each layer of flavor. The result? A chili so satisfying that my friend Sarah, a working mom of three, now makes a double batch every Sunday for the week ahead.
What makes this ultimate:
- Perfect spice balance that pleases everyone from kids to spice lovers
- Restaurant-quality depth achieved through proper browning techniques
- Fool-proof method that works every single time
- Freezer-friendly for busy weeknight solutions
- Budget-conscious without sacrificing flavor
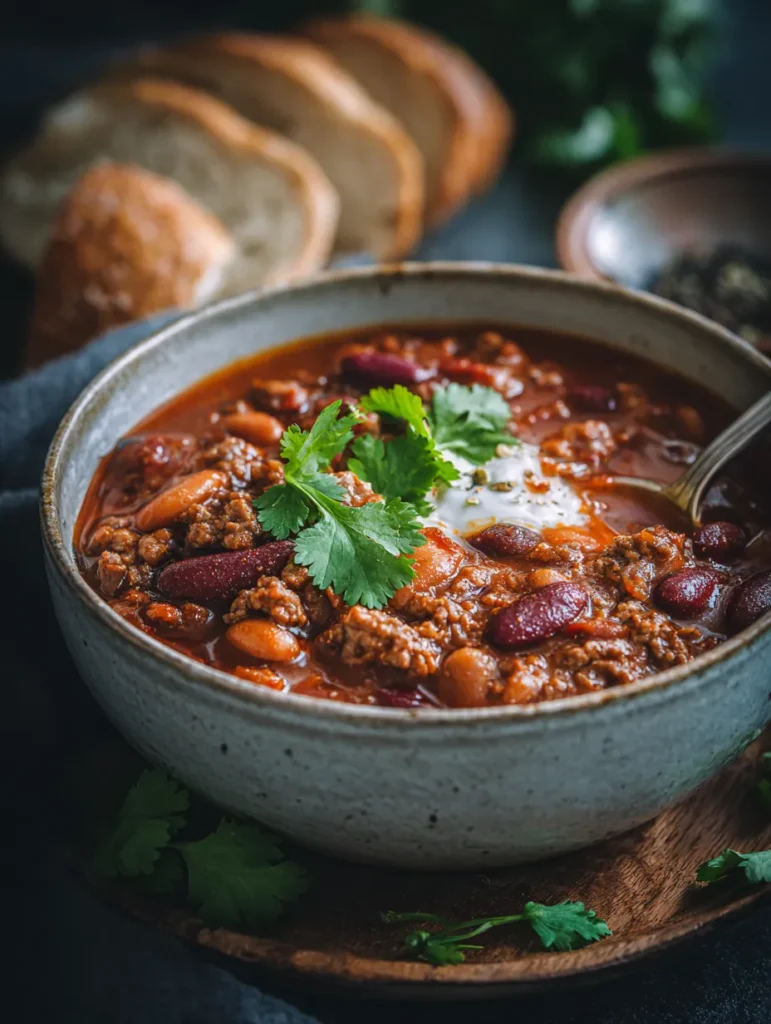
Essential Ingredients for Ultimate Beef Chili
Quality ingredients make all the difference, but you don’t need anything fancy.
For the Beef Base:
- 2 pounds 85% lean ground beef (fat equals flavor!)
- 2 strips thick-cut bacon, diced (my secret ingredient)
- 1 large yellow onion, diced
- 4 cloves garlic, minced
- 3 tablespoons tomato paste (the flavor foundation)
Spice Blend That Makes It Special:
- 3 tablespoons chili powder (sweet paprika blend)
- 2 tablespoons ground cumin
- 1 tablespoon unsweetened cocoa powder (adds richness)
- 2 teaspoons dried oregano
- 1 teaspoon smoked paprika
- 1/2 teaspoon cayenne pepper (adjust to taste)
- 2 teaspoons kosher salt
- 1 teaspoon black pepper
Liquid & Texture Components:
- 2 cans (15 oz each) kidney beans, drained and rinsed
- 1 can (15 oz) black beans, drained and rinsed
- 1 can (28 oz) crushed tomatoes
- 1 can (14.5 oz) diced fire-roasted tomatoes
- 2 cups low-sodium beef broth
- 1 tablespoon Worcestershire sauce
- 1 tablespoon brown sugar
- 1 bay leaf
Pro tip from my restaurant days: Always taste your tomato paste before using it. If it tastes flat or metallic, cook it down longer to concentrate those flavors.
Step-by-Step Instructions for Perfect Chili
Building the Flavor Foundation
Step 1: Create the Bacon Magic Heat a large Dutch oven or heavy-bottomed pot over medium heat. Add diced bacon and cook for 4-5 minutes until crispy and fat is rendered. This step is crucial – the bacon fat becomes our cooking base and adds incredible depth. Remove bacon with slotted spoon and set aside.
Step 2: Perfect the Aromatics In the same pot with bacon fat, add diced onions with a pinch of salt. Cook 5-6 minutes, stirring occasionally, until translucent and softened. The salt helps draw out moisture for better caramelization. Add minced garlic and cook 1 minute until fragrant.
During my years cooking for busy families, I learned this technique prevents bitter garlic while building incredible base flavors.
The Game-Changing Tomato Paste Step
Step 3: Transform Your Tomato Paste Add tomato paste to the aromatics and stir to coat everything. Cook for 2-3 minutes, stirring frequently, until the paste darkens and becomes slightly sticky. This step separates good chili from great chili – you’re concentrating flavors and removing that raw tomato taste.
Building the Meat Layer
Step 4: Brown the Beef Properly Increase heat to medium-high and add ground beef. Season immediately with 1 teaspoon salt and 1/2 teaspoon pepper. Break up meat with wooden spoon, cooking 6-8 minutes until well-browned. Don’t rush this step – proper browning creates those complex, savory flavors that make restaurant-quality chili.
Step 5: Spice Integration Technique Reduce heat to medium and add all spices (chili powder, cumin, cocoa powder, oregano, smoked paprika, cayenne). Stir constantly for 1-2 minutes until spices are fragrant and coating the meat. This technique, which I learned from a chef mentor, prevents bitter, burnt spices while maximizing flavor distribution.
The Simmering Magic
Step 6: Add Liquids & Simmer Pour in crushed tomatoes, diced tomatoes with juices, beef broth, and Worcestershire sauce. Add brown sugar and bay leaf. Stir in cooked bacon. Bring to a boil, then reduce heat to low and simmer uncovered for 45-60 minutes, stirring occasionally.
The secret to perfect consistency: simmer uncovered to allow liquid reduction and flavor concentration.
Step 7: Final Bean Addition During the last 15 minutes of cooking, stir in drained beans. This prevents them from becoming mushy while still allowing flavors to meld. Remove bay leaf before serving.
Essential Equipment for Success
You don’t need expensive tools, but the right equipment makes a difference.
A heavy-bottomed Dutch oven or large pot is essential for even heat distribution and proper browning. My favorite is a 6-quart enameled cast iron Dutch oven – it retains heat beautifully and goes from stovetop to oven if needed. A regular heavy pot works perfectly too.
A wooden spoon is crucial for breaking up meat without scratching your pot’s surface. The flat edge helps scrape up those delicious browned bits that add so much flavor.
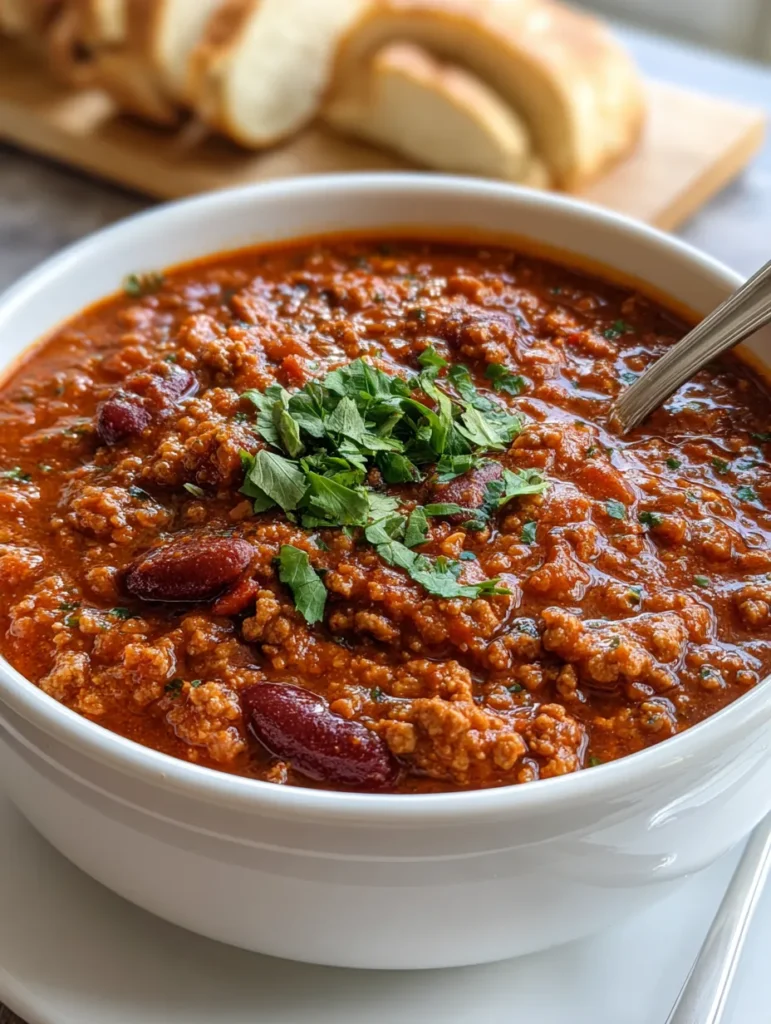
Make-Ahead & Storage Solutions
Perfect for busy families and meal prep enthusiasts.
This chili actually tastes better the next day as flavors continue to develop. Store covered in refrigerator up to 4 days. For longer storage, freeze in portion-sized containers up to 3 months.
Reheating tips: Add a splash of beef broth if chili seems too thick after refrigeration. Heat gently on stovetop, stirring occasionally, until warmed through.
Meal prep magic: I often make a double batch on Sunday, serving half for dinner and freezing the rest in family-sized portions for those crazy Wednesday nights when everyone has different activities.
Serving Ideas That Wow
Transform this chili into multiple meals throughout the week.
Classic Bowl Style
Serve in warmed bowls topped with shredded sharp cheddar, dollop of sour cream, and chopped green onions. Perfect sourdough French toast makes an unexpectedly delicious side for weekend chili breakfasts.
Family-Friendly Variations
Chili dogs: Spoon over grilled hot dogs in buns Loaded baked potatoes: Top fluffy baked potatoes with chili and cheese Frito pie: Layer with corn chips and cheese for game day perfection Chili mac: Serve over pasta for kid-approved comfort food
For a lighter option, try it over Mediterranean quinoa bowl for a protein-packed healthy meal.
Dietary Modifications & Substitutions
Accommodating different needs without sacrificing flavor.
For gluten-free: This recipe is naturally gluten-free when served without crackers or bread.
Lower sodium: Use no-salt-added tomatoes and low-sodium broth, then salt to taste.
Dairy-free toppings: Skip cheese and sour cream, top with sliced avocado and fresh cilantro instead.
Different proteins: Ground turkey, chicken, or amazing beef rolls work beautifully with the same technique.
My sister-in-law has celiac disease, so I’ve tested this thoroughly – it’s completely safe for gluten-free diets when paired with easy gluten-free naan pizza.
Seasonal Serving Suggestions
Fall Comfort
Pair with apple cider cupcakes for the ultimate autumn comfort meal, or serve alongside baked pumpkin donuts for a cozy weekend brunch.
Winter Warmth
Create a warming winter spread with comfort beef stew for variety, or try Hungarian goulash for international flair.
Game Day Entertaining
Build the ultimate game day menu with bang bang shrimp tacos as appetizers and easy vanilla punch for the crowd.
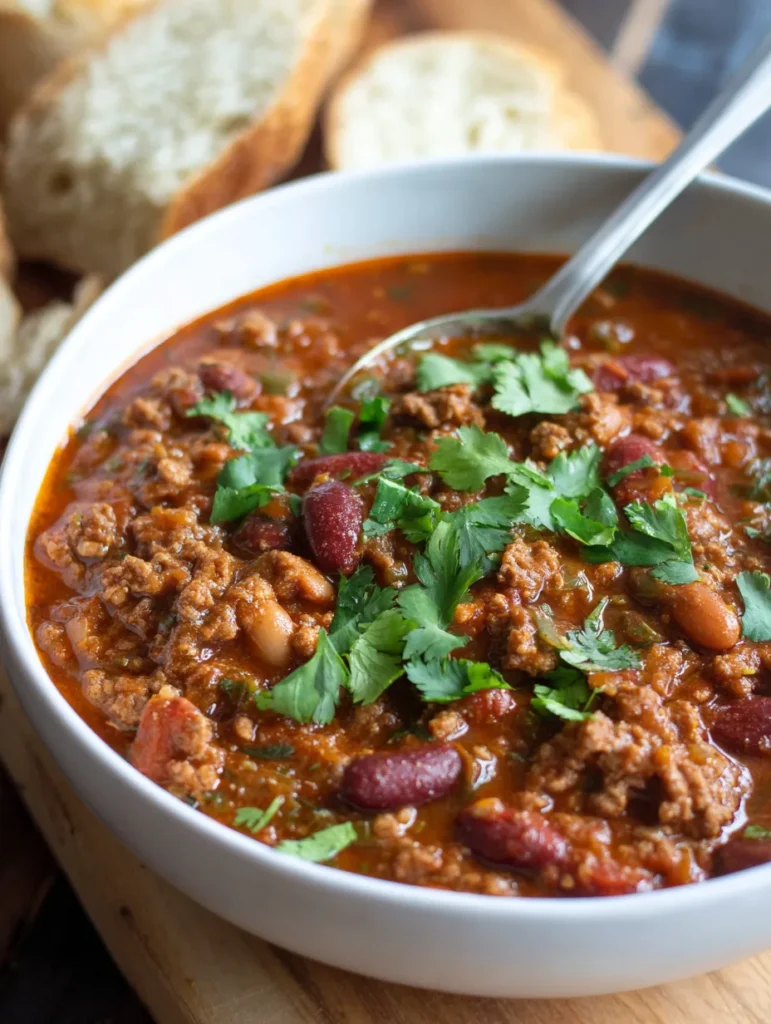
Troubleshooting Common Chili Problems
Solutions from years of teaching this recipe.
Too thin? Simmer uncovered longer to reduce liquid, or mix 2 tablespoons cornmeal with 2 tablespoons water and stir in during last 10 minutes.
Too thick? Add warm beef broth gradually until desired consistency.
Not flavorful enough? Increase salt first, then add acid (splash of lime juice or vinegar) to brighten flavors.
Too spicy? Stir in brown sugar or serve with cooling toppings like sour cream and shredded cheese.
Burnt bottom? Transfer to clean pot, don’t scrape burnt bits. Add extra liquid to prevent further burning.
Advanced Flavor Techniques
Professional tricks for next-level results.
Coffee enhancement: Add 1/4 cup strong coffee or espresso for deeper, more complex flavors. I learned this trick from a Texas pitmaster – it doesn’t make chili taste like coffee, just richer.
Chocolate depth: The cocoa powder adds subtle richness, but for special occasions, stir in 1 ounce of dark chocolate during final 5 minutes for restaurant-quality depth.
Smoky variations: Replace regular paprika with chipotle powder, or add 1-2 minced chipotle peppers in adobo sauce for authentic smokiness.
Why This Recipe Beats Restaurant Chili
The difference is in the technique and quality control.
During my restaurant years, I noticed that most establishments take shortcuts on the browning and spice-blooming steps that create complex flavors. This recipe prioritizes those crucial techniques while remaining accessible for home cooks.
The bacon addition was inspired by an award-winning chili I tasted at a local cook-off – it adds subtle smokiness without overpowering the beef. My neighbor tested this against her restaurant favorite and now makes this exclusively for her family’s Sunday dinners.
Cost comparison: Restaurant chili averages $8-12 per serving; this recipe costs approximately $2.50 per generous serving using grocery store ingredients.
Nutritional Benefits & Family Appeal
Comfort food that’s actually nourishing.
This chili provides complete protein, fiber from beans, and antioxidants from tomatoes and spices. One serving delivers approximately 35g protein and 12g fiber – making it incredibly satisfying and nutritious.
The balanced spice profile appeals to all ages. My friend’s eight-year-old, who typically rejects anything “complicated,” requests this for his birthday dinner every year. The key is building heat gradually and offering cooling toppings.
For families managing busy schedules, this provides 3-4 meals worth of leftovers that actually improve over time. It’s become my go-to solution for back-to-school season when everyone needs quick, satisfying meals.
Perfect Pairings & Complete Meals
Creating memorable dining experiences.
Weekend brunch: Serve over protein cottage cheese pancakes for an unexpectedly delicious fusion breakfast.
Healthy options: Pair with green goddess salad to balance the richness with fresh, crisp vegetables.
International fusion: Try it over Korean bibimbap for a unique fusion experience, or with fresh Vietnamese spring rolls as a light starter.
Frequently Asked Questions
Can I make this in a slow cooker? Absolutely! Brown the bacon, onions, and beef first, then transfer everything to a slow cooker and cook on low 6-8 hours or high 3-4 hours. Add beans during final hour.
What’s the best way to freeze portions? Cool completely, then freeze in labeled containers with 1/2 inch headspace. Freezes perfectly up to 3 months. Thaw overnight in refrigerator before reheating.
Can I double this recipe? Yes! Use a very large pot or divide between two pots. Cooking time remains the same, but you may need to brown meat in batches for proper caramelization.
How do I reduce the spice level for kids? Reduce cayenne to 1/4 teaspoon and serve with plenty of cooling toppings. The cocoa powder helps balance heat naturally.
What beans work best besides kidney and black? Pinto beans, cannellini beans, and navy beans all work beautifully. Stick to similar-sized beans for even cooking and texture.
This ultimate beef chili recipe represents the perfect marriage of professional technique and home kitchen accessibility. After years of testing and teaching, it’s become the most requested recipe in my collection – and I guarantee it will become yours too.







