
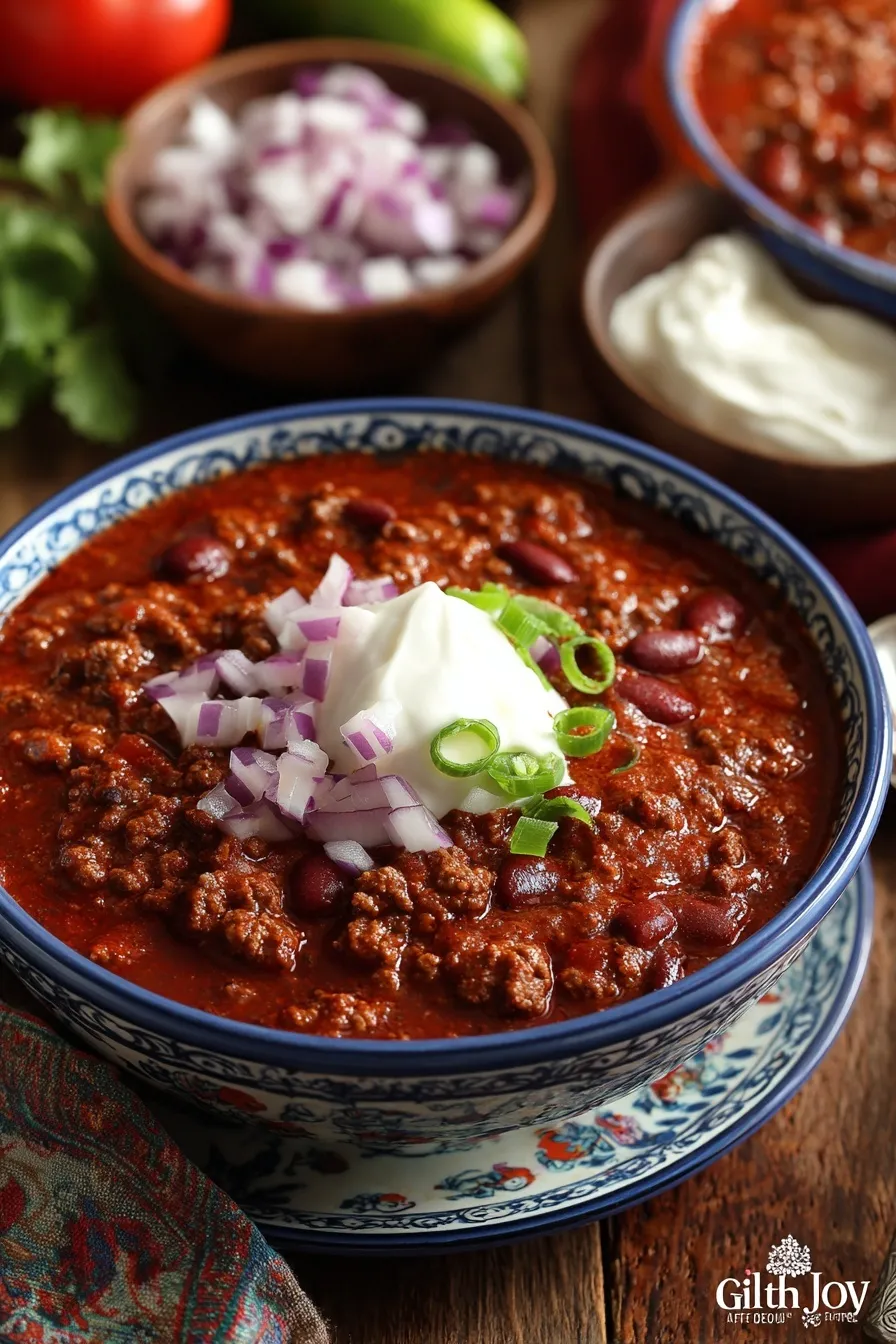
Cold nights call for something seriously hearty and comforting, and this classic chili recipe delivers tender ground beef, rich tomato base, and perfectly seasoned beans in a thick, flavorful bowl that’s basically comfort food perfection everyone will devour.
Since you’re here, make sure to check out these related recipes:
- Ultimate Beef Chili Recipe
- Perfect Beef Chili Recipe One Pot Comfort Food
- Award Winning Championship Chili Recipe First Place
- Easy Slow Cooker Chili Recipe Weeknight Comfort Food
- Stovetop Chili Recipe
Why this classic chili recipe works
Ever wonder why some chili tastes thin and bland while restaurant versions are thick and rich? The secret is browning the meat properly, toasting spices, and simmering long enough for flavors to develop deep complexity.
- Simple pantry ingredients create restaurant-quality results
- Thick and hearty texture from properly cooked beans
- Make-ahead friendly and tastes better the next day
- Freezer-friendly for easy meal prep all month
Ingredients
Want to know what makes this taste like authentic Texas-style chili? Quality ground beef, the right spice blend ratio, and a mix of beans create that perfect balance everyone craves.
For the chili
- 2 lbs ground beef (80/20 for best flavor)
- 2 cans (15 oz each) kidney beans, drained and rinsed
- 1 can (15 oz) black beans, drained and rinsed
- 1 can (28 oz) crushed tomatoes
- 1 can (14.5 oz) diced tomatoes
- 1 can (6 oz) tomato paste
- 1 large onion, diced
- 1 green bell pepper, diced
- 4 cloves garlic, minced
- 2 cups beef broth
- 3 tbsp chili powder
- 2 tsp cumin
- 1 tsp paprika
- 1 tsp dried oregano
- 1/2 tsp cayenne pepper (optional)
- 2 tbsp olive oil
- Salt and black pepper to taste
For toppings
- Shredded cheddar cheese
- Sour cream
- Diced red onion
- Fresh cilantro, chopped
- Sliced jalapeños
- Crushed tortilla chips
- Lime wedges
Ground beef with 80/20 fat ratio gives you the best flavor without being too greasy. Leaner beef makes dry, bland chili that nobody gets excited about eating.
Step-by-step instructions
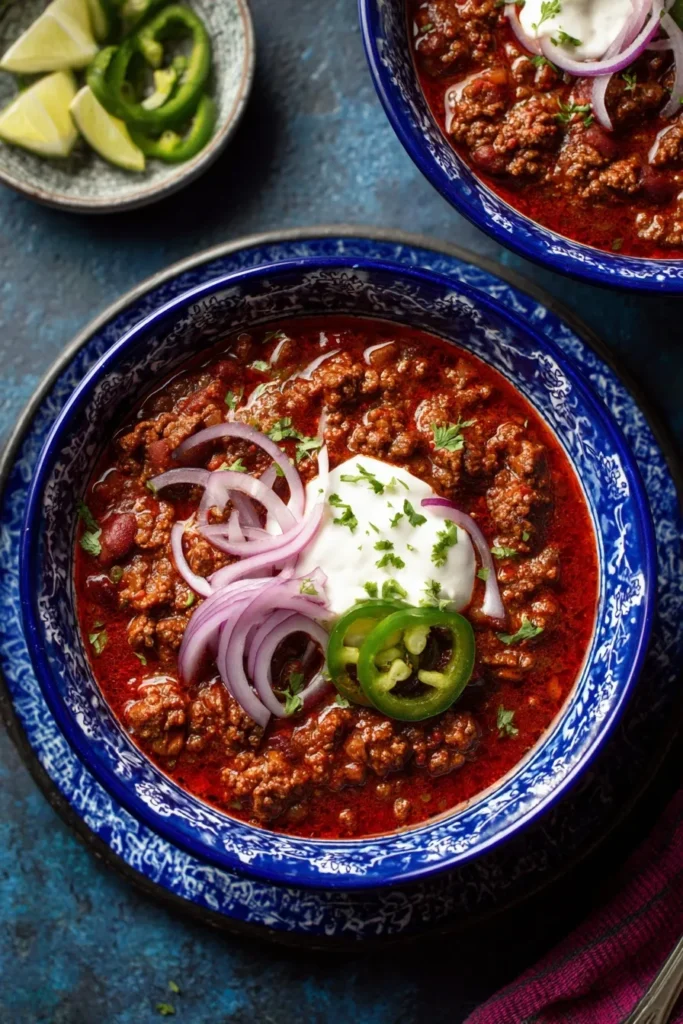
1. Brown the beef by heating olive oil in a large Dutch oven over medium-high heat. Add ground beef, breaking it up with a wooden spoon, and cook for 8-10 minutes until deeply browned with no pink remaining.
2. Drain excess fat by carefully pouring off all but 2 tablespoons of rendered fat from the pot. This prevents greasy chili while keeping enough fat for flavor development.
3. Sauté vegetables by adding diced onion and bell pepper to the browned beef, cooking for 5-6 minutes until softened. Add garlic and cook for 1 minute more until fragrant and absolutely delicious.
4. Toast the spices by stirring in chili powder, cumin, paprika, oregano, and cayenne if using. Cook for 1-2 minutes, stirring constantly so the spices bloom and release their essential oils.
5. Add tomatoes and paste by stirring in tomato paste and cooking for 2 minutes to caramelize it slightly. Pour in crushed tomatoes, diced tomatoes, and beef broth, stirring to combine everything beautifully.
6. Add the beans by stirring in kidney beans and black beans along with salt and pepper to taste. Bring to a boil, then reduce heat to low and simmer.
7. Simmer and develop flavor by cooking uncovered for 45-60 minutes, stirring occasionally. The chili should thicken considerably and reduce by about one-third during this time.
8. Taste and adjust seasoning by adding more salt, chili powder, or cumin as needed. Serve hot with all your favorite toppings piled high for maximum deliciousness.
Essential equipment
Large Dutch oven (6-8 quart)
Heavy-bottomed cast iron distributes heat evenly for browning meat and simmering chili without scorching. Enameled versions clean easily and look beautiful going from stove to table.
Wooden spoon or spatula
Breaking up ground beef and stirring thick chili requires a sturdy utensil that won’t scratch your pot. Wood handles high heat without melting and feels comfortable during long cooking sessions.
Sharp chef’s knife
Dicing onions, peppers, and garlic goes faster and safer with a properly sharpened blade. An 8-inch chef’s knife handles all your prep work efficiently.
Ladle (PREMIUM)
Serving thick, hearty chili cleanly requires a deep, well-designed ladle. Professional-grade stainless steel ladles hold the perfect portion and distribute meat and beans evenly without drips.
What to serve with classic chili recipe
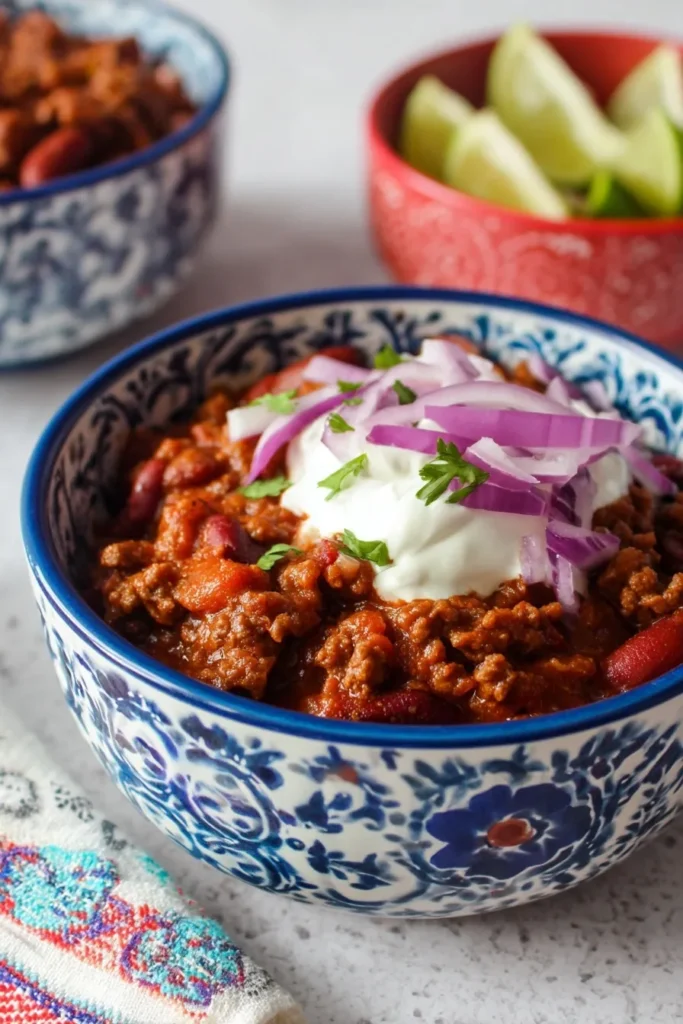
Looking for the perfect sides to complete this comfort food feast? This chili is hearty and rich, so you want accompaniments that provide contrast and soak up the sauce.
Homemade Cornbread with honey butter is absolutely essential for soaking up every drop. Garlic Bread or warm dinner rolls give you something to scoop with.
Simple Garden Salad with ranch or vinaigrette cuts through all that richness. Mexican Street Corn Salad adds sweet, tangy crunch.
Tortilla chips, Fritos, or saltine crackers provide crunch for dipping. Serve over rice, baked potatoes, or Mac and Cheese for ultimate comfort food mashups.
Storage and reheating guide
Refrigerator storage
Store chili in an airtight container for up to 5 days in the fridge. The flavors actually get better after sitting overnight as everything melds together beautifully.
Freezer storage
Freeze chili for up to 4 months in freezer-safe containers or heavy-duty freezer bags. Thaw overnight in the fridge before reheating for best texture and flavor.
Reheating instructions
Reheat on the stovetop over medium heat, stirring frequently and adding a splash of beef broth if it’s too thick. Microwave individual portions for 2-3 minutes, stirring halfway through.
Recipe variations
Want to switch up the flavors while keeping that same comforting base? This chili is incredibly versatile and loves different protein and bean combinations.
Try white chicken chili using shredded chicken, white beans, green chiles, and cream cheese. Turkey chili with ground turkey creates a lighter, equally delicious version.
Make it vegetarian with extra beans, lentils, quinoa, and diced vegetables like zucchini and mushrooms. Cincinnati-style with cinnamon, allspice, cocoa powder, and served over spaghetti is absolutely unique.
Go Texas-style no beans using only beef, tomatoes, and chiles for purist appeal. Spicy jalapeño with fresh jalapeños, serrano peppers, and extra cayenne delivers serious heat lovers will devour.
Pro tips and tricks
Ready to make restaurant-quality chili at home? I’ve perfected these techniques after making this recipe at least 100 times for family gatherings and game days.
Brown the meat properly until it’s deeply caramelized with crispy edges instead of gray and steamed looking which adds zero flavor.
Toast your spices first so they bloom and release their essential oils rather than tasting raw and dusty in the finished chili.
Simmer low and slow for at least 45 minutes because quick-cooked chili tastes thin and one-dimensional compared to properly developed flavors.
Let it rest before serving for 10-15 minutes off the heat so the chili thickens up and flavors settle into perfect balance.
Frequently asked questions
Can you freeze classic chili recipe?
Yes! Freeze for up to 4 months in airtight containers. Thaw overnight in the fridge before reheating gently on the stovetop for best texture and flavor.
How do you thicken chili that’s too watery?
Simmer uncovered for 15-20 minutes to evaporate excess liquid. Mash some beans against the pot to release starches, or add a cornstarch slurry in this classic chili recipe.
What’s the best meat for chili?
Ground beef with 80/20 fat ratio provides the best flavor and texture. Ground turkey, ground chicken, or cubed chuck roast all work great for different flavor profiles.
Can you make chili in a slow cooker?
Brown meat and sauté vegetables first, then add everything to your slow cooker. Cook on low for 6-8 hours or high for 3-4 hours for tender, flavorful results.
What beans are best for chili?
Kidney beans and black beans are classic choices. Pinto beans, navy beans, or great northern beans all work beautifully depending on your texture preference.
How long does chili last in the fridge?
Properly stored in an airtight container, chili stays fresh for 4-5 days refrigerated. The flavors actually improve after a day or two as everything melds together.
Why you’ll love this recipe
Ready to make the most satisfying bowl of chili ever? This classic chili recipe delivers all those rich, hearty flavors that make cold nights feel cozy and comfortable.
The combination of tender beef, perfectly seasoned beans, and thick tomato base hits every comfort food craving. Your family will request this on repeat all winter long.
📌 Save this classic chili recipe for game day gatherings – it’s guaranteed to be the first pot emptied!







