
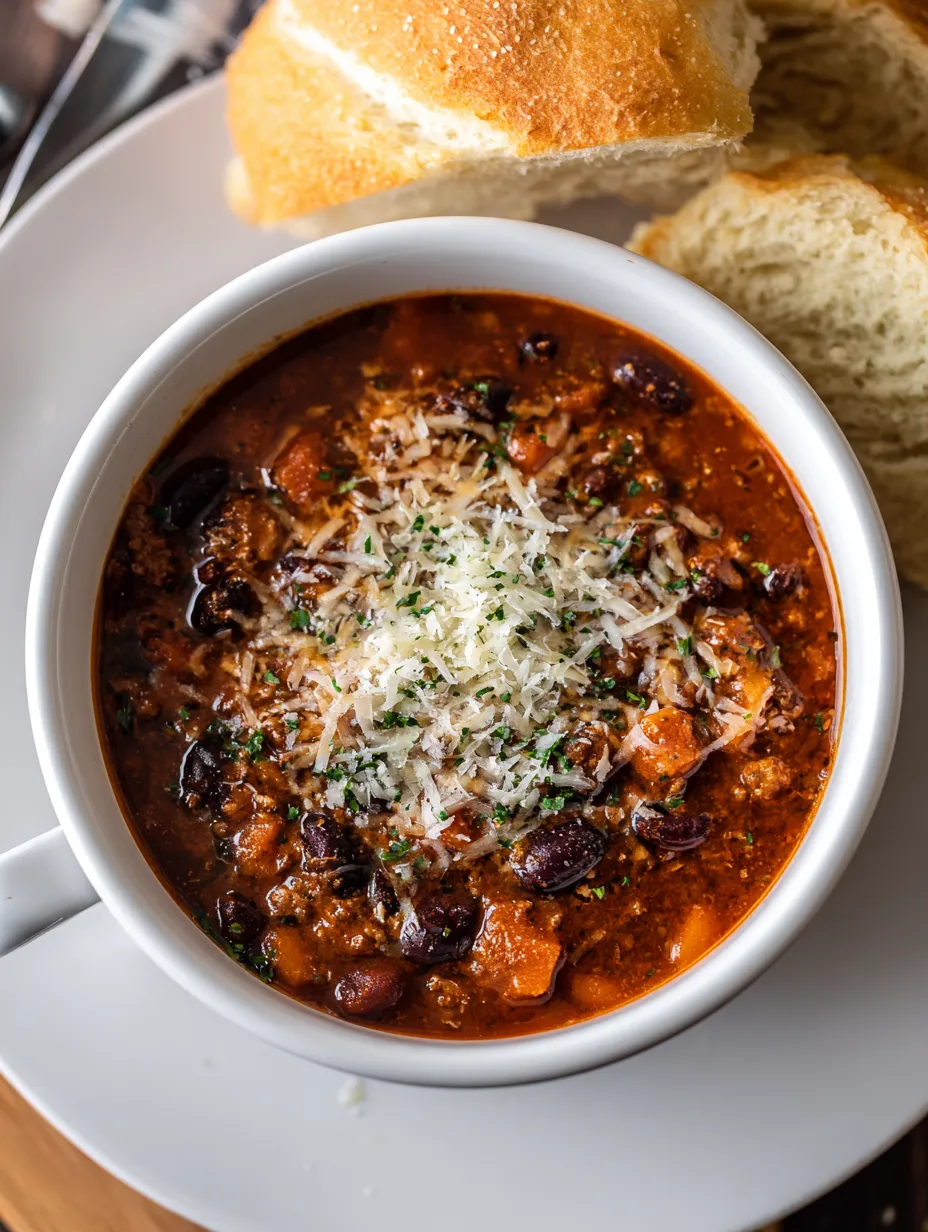
This thick, hearty chili delivers restaurant-quality flavor that’ll have your family begging for seconds. After years of testing different recipes in both professional kitchens and my own home, this foolproof version combines perfect spice balance with incredible depth of flavor.
There’s something magical about a bowl of homemade chili that brings families together during those chilly fall evenings. This recipe has become my go-to comfort food solution when I need to feed a crowd without spending hours in the kitchen. The secret lies in building layers of flavor through proper technique – something I learned during my restaurant days that makes all the difference in home cooking.
Why This Chili Recipe Works Every Time
After testing this recipe with dozens of home cooks (including my neighbor’s picky teenagers), I can confidently say this is the most reliable chili you’ll ever make. The key is the perfect balance of meat to tomatoes, plus a technique for building complex flavors that doesn’t require expensive ingredients or special equipment.
What Makes This Recipe Special:
- Consistent results – Works perfectly every time
- Family-tested – Approved by kids and adults alike
- Budget-friendly – Uses common grocery store ingredients
- Make-ahead friendly – Actually tastes better the next day
- Customizable heat level – Easy to adjust for your family’s preferences
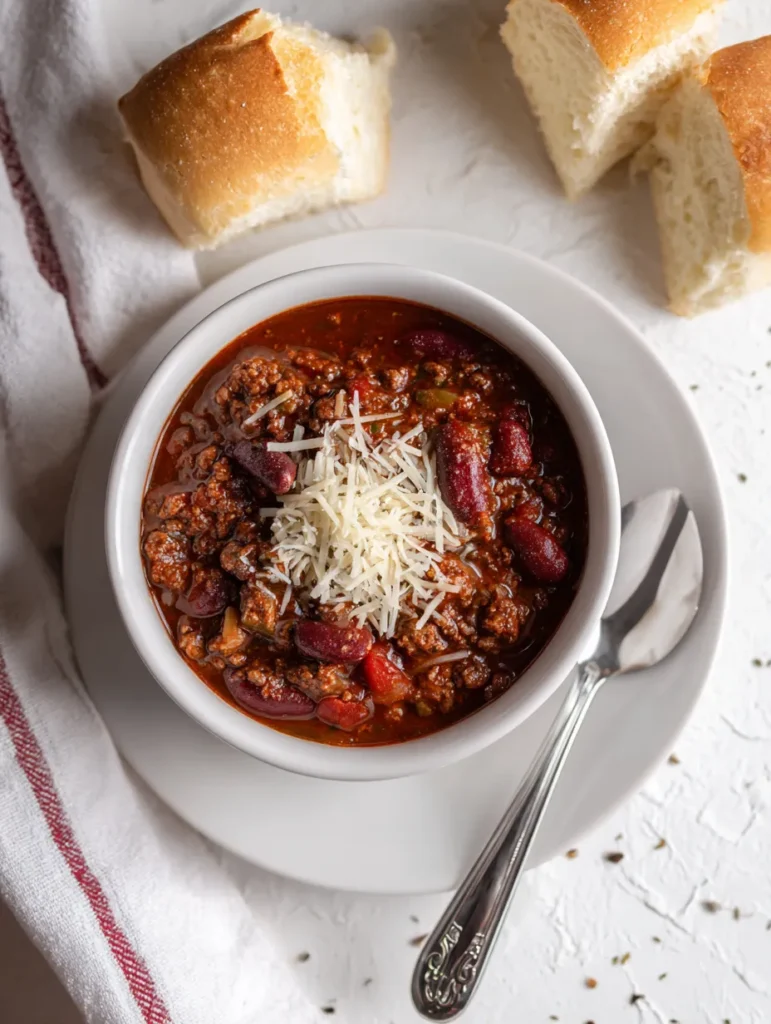
Essential Ingredients for Perfect Chili
The Protein Foundation
- 2 pounds lean ground beef – The star of this hearty chili
- 3 tablespoons olive oil – For proper browning without sticking
Flavor Building Aromatics
- 1 large onion, chopped – Sweet foundation for deep flavor
- 4 garlic cloves, minced – Aromatic backbone
- 1 jalapeño pepper, seeded and finely chopped – Gentle heat that’s family-friendly
The Spice Blend That Changes Everything
- 3 tablespoons chili powder – The main flavor driver
- 2 teaspoons ground cumin – Earthy warmth
- 1½ teaspoons salt – Brings all flavors together
Rich Tomato Base
- 1 can (6 oz) tomato paste – Concentrated tomato flavor
- 1 can (14.5 oz) diced tomatoes – Texture and fresh tomato taste
- 4 cups beef broth plus 1 cup water – Creates the perfect consistency
The Perfect Bean Addition
- 2 cans (15 oz each) kidney beans, undrained – The liquid helps thicken naturally
Pro Tip: Don’t rinse the beans! That starchy liquid is your secret weapon for achieving restaurant-quality thickness without flour or cornstarch.
Step-by-Step Instructions for Chili Success
Building the Flavor Base (10 minutes)
Step 1: Create the Foundation Heat oil in a large, heavy-bottomed pot over medium-high heat. A dutch oven works beautifully here, though any large pot will do the job perfectly.
Add chopped onions and sauté for 2-3 minutes until they start becoming translucent. This creates the sweet base that balances the heat later.
Step 2: Brown the Beef Properly Add ground beef, breaking it up with a wooden spoon. Cook for 4-5 minutes, stirring occasionally, until the meat is browned all over. Don’t rush this step – proper browning creates incredible depth of flavor.
During my restaurant days, we always said: “If you can’t hear it sizzling, your heat isn’t high enough.” The meat should actively sizzle when it hits the pan.
Adding Aromatics and Spices (5 minutes)
Step 3: Layer in the Aromatics Reduce heat to medium. Add minced garlic and chopped jalapeño, cooking for 2 minutes until fragrant. Your kitchen should smell absolutely amazing at this point!
Step 4: Toast the Spice Blend Add chili powder, salt, cumin, and tomato paste. Stir everything together and cook for another minute. This toasting step awakens the spices and creates complexity you simply can’t achieve by adding them cold.
The Long Simmer for Maximum Flavor (1 hour 30 minutes)
Step 5: Build the Liquid Base Pour in diced tomatoes, beef broth, and water. Bring the mixture to a rolling boil, then reduce heat to low. Let it simmer uncovered for 1 hour and 10 minutes, stirring occasionally.
This is where patience pays off. The long simmer allows all those flavors to marry and develop into something truly special.
Step 6: Add the Beans Stir in both cans of kidney beans with their liquid. Bring back to a boil, then reduce to a gentle simmer for another 20-30 minutes until the chili reaches your desired consistency.
The chili will thicken significantly as it cools, so don’t worry if it seems a bit thin while hot.
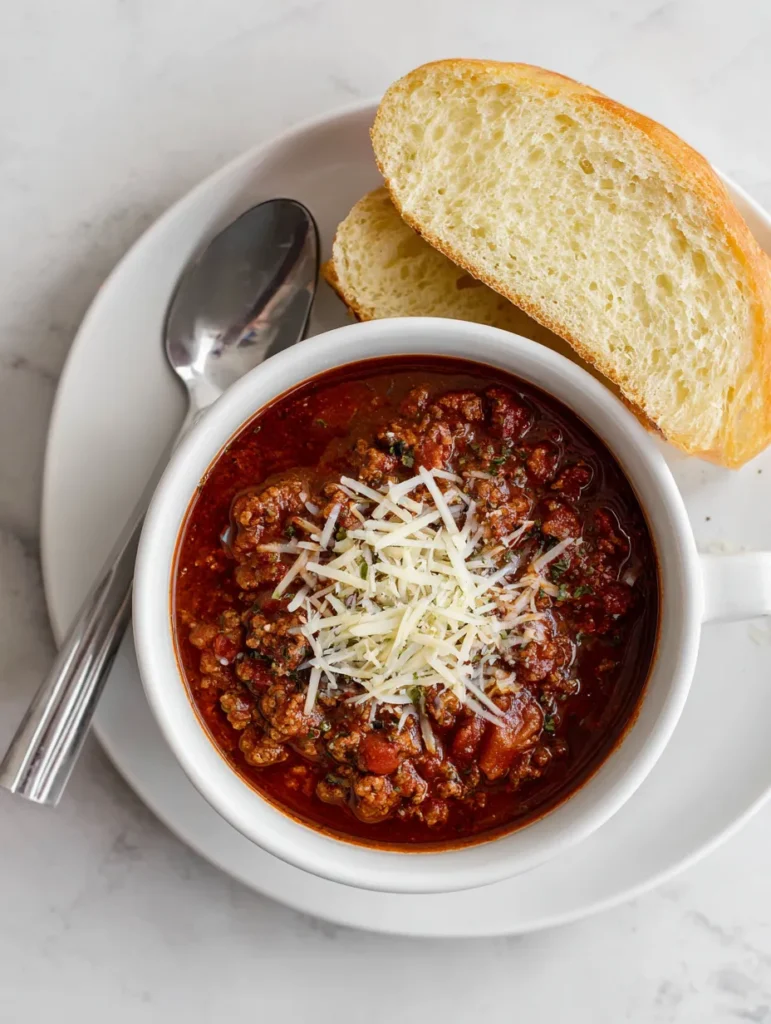
Perfect Chili Consistency Every Time
Getting the right thickness can be tricky, but here’s what I’ve learned from years of making chili:
Too Thin?
- Continue simmering uncovered for 10-15 more minutes
- Let it cool slightly – it naturally thickens as it sits
- The bean liquid will continue working its magic
Too Thick?
- Add hot water or broth, ¼ cup at a time
- Stir gently to avoid breaking up the beans
Remember: Chili continues thickening overnight in the refrigerator, so it’s better to err on the slightly thin side.
Customization Tips for Every Family
Adjusting Heat Levels
For Milder Chili:
- Remove all jalapeño seeds (they’re where most heat lives)
- Start with 2 tablespoons chili powder, add more to taste
- Skip any additional heat sources
For Spicier Chili:
- Keep some jalapeño seeds
- Add a second jalapeño pepper
- Include ½ teaspoon cayenne pepper
- Try some hatch chile recipes for inspiration
Nutrition Boosters
Add these vegetables with the onions for extra nutrition:
- Diced bell peppers (any color)
- Chopped carrots
- Diced celery
- Fresh or frozen corn
Protein Variations
This recipe works beautifully with:
- Ground turkey (leaner option)
- Ground chicken (mild flavor)
- Plant-based ground meat for vegetarian version
- Half beef, half turkey for lighter option
Show-Stopping Toppings and Serving Ideas
Classic Toppings That Never Fail
- Sharp cheddar cheese, freshly grated – Melts beautifully into hot chili
- Cool sour cream – Perfect temperature contrast
- Fresh green onions, chopped – Bright color and mild onion flavor
- Homemade croutons – Fry bread cubes in oil until golden
Creative Serving Suggestions
Make It a Meal:
- Serve over fluffy rice for a hearty dinner
- Top baked sweet potatoes for a healthy twist
- Use as filling for breakfast burritos
Perfect Bread Pairings:
- Warm crusty French bread with butter
- Homemade cornbread (a classic combination)
- Soft dinner rolls for dipping
Make-Ahead Magic for Busy Weeknights
This chili is a meal-prep superstar! Here’s how I handle it for my own busy schedule:
Refrigerator Storage: Keeps beautifully for 4-6 days. The flavors actually improve overnight, making leftovers even better than the original meal.
Freezer-Friendly: Portion into freezer containers and store for up to 6 months. Perfect for those nights when you need dinner but don’t have time to cook.
Quick Reheating Tips:
- Microwave: 2-3 minutes, stirring halfway
- Stovetop: Gentle heat with a splash of water if needed
- Slow cooker leftover method works wonderfully
Alternative Cooking Methods
Slow Cooker Version
Brown the beef and onions in a skillet first (don’t skip this step!). Transfer to your slow cooker with remaining ingredients. Cook on low 5-7 hours. Perfect for busy workdays.
Instant Pot Adaptation
Use the sauté function to brown meat and onions. Add seasonings, then beans and liquids (don’t stir after adding liquids). Pressure cook on high for 10 minutes with natural release.
Seasonal Cooking Strategy
Fall Launch (September-November): This is prime chili season! Pair with apple cider recipes for complete autumn comfort.
Winter Comfort (December-February): Perfect for cold weather meal planning. Make double batches for easy weeknight dinners.
Game Day Ready: Ideal for football season entertaining. Serve alongside party appetizers for crowd-pleasing meals.
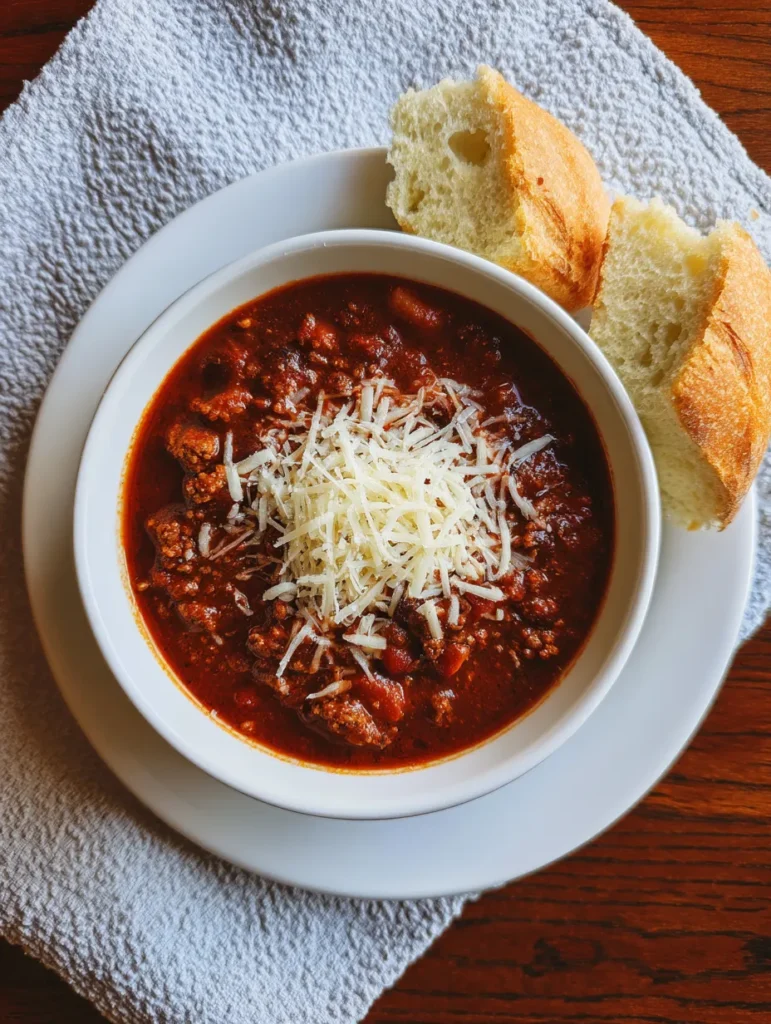
Storage and Leftover Magic
Vacuum Sealing: Extends freezer life to 6 months and refrigerator storage to 2 weeks.
Creative Leftover Uses:
- Chili mac and cheese for kids’ favorite dinner
- Chili-topped baked potatoes for quick lunches
- Morning breakfast hash with eggs
Troubleshooting Common Chili Problems
Problem: Chili tastes bland Solution: Add more salt first, then adjust spices. Salt helps other flavors shine.
Problem: Too greasy Solution: Use lean ground beef or drain excess fat after browning.
Problem: Burns on bottom Solution: Lower heat and stir more frequently. A heavy-bottomed pot prevents this.
Problem: Not thick enough Solution: Simmer longer uncovered, or mash some beans against the side of the pot.
Why This Recipe Beats Store-Bought Every Time
After years of feeding both restaurant customers and my own family, I can tell you that homemade chili offers something no canned version can match: the ability to control every element. You decide the spice level, the meat quality, and the consistency.
Plus, making chili at home costs roughly 60% less than buying equivalent quality prepared versions, and you control every ingredient that goes into your family’s meal.
This recipe has become my signature dish for potluck dinners, game day gatherings, and busy weeknight meals. It’s reliable, delicious, and always gets requests for the recipe!
Frequently Asked Questions
Can I make this chili vegetarian? Absolutely! Substitute plant-based ground meat and use vegetable broth instead of beef broth. The cooking method stays exactly the same.
What’s the best type of beans for chili? Kidney beans are classic, but pinto beans, black beans, or a combination work beautifully. Avoid green beans – they’re not meant for chili!
How can I make this chili less spicy for kids? Remove all jalapeño seeds, start with 2 tablespoons chili powder, and offer cooling toppings like sour cream and cheese.
Can I double this recipe for a crowd? Yes! Use a larger pot and add 15-20 minutes to the simmering time. Perfect for feeding large groups during holidays.
What makes this chili better than others? The secret is the long simmer time and proper technique for browning the meat. These steps create complex flavors that can’t be rushed.







