
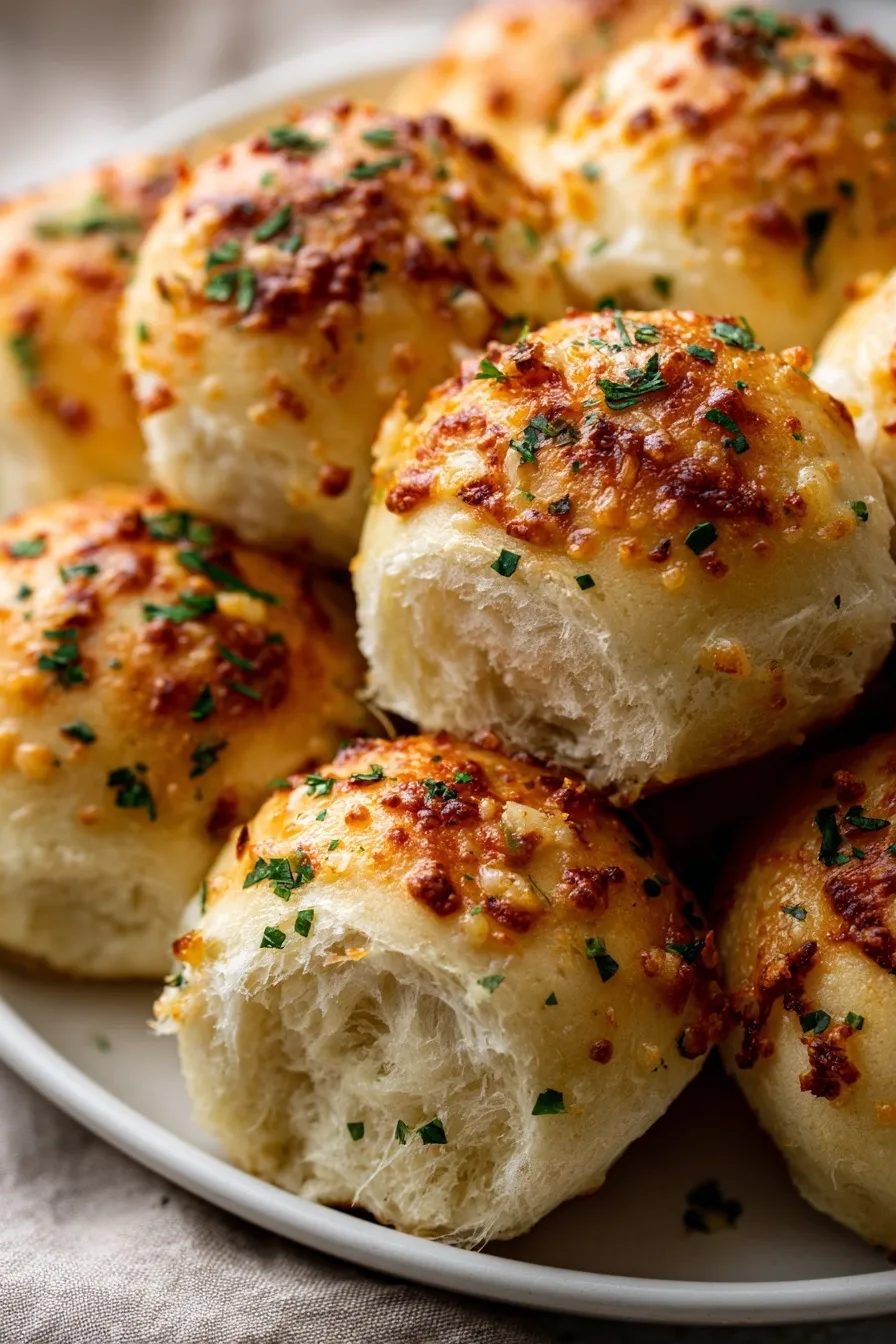
These homemade garlic bread rolls transform simple dinner rolls into irresistible garlic-packed perfection in just 2 hours. Soft, fluffy rolls loaded with fresh garlic in the dough and brushed with garlic herb butter create the ultimate side dish for any meal.
Since you’re here, make sure to check out these related recipes:
- Homemade Garlic Rolls Perfection
- Homemade Garlic Bread with Sliced Bread Recipe
- 30 Minute Dinner Rolls Recipe So Soft Fluffy
- Garlic Butter Dinner Rolls Recipe
- Traditional Thanksgiving Stuffing Recipe
Why This Homemade Garlic Bread Rolls Recipe Works
Ever wonder why restaurant garlic bread tastes so much better than store-bought frozen versions? The secret lies in using fresh garlic in both the dough and the butter topping. These homemade garlic bread rolls solve the common problem of bland dinner rolls by infusing garlic flavor throughout—not just brushed on top as an afterthought.
The genius of this recipe is the double garlic hit—minced garlic cooked in butter gets kneaded right into the dough, then you brush even more garlic butter on after baking. You’re not just making garlic bread—you’re creating pillowy soft rolls where every bite delivers intense garlic flavor. Fresh parsley adds color and herbaceous notes that balance the richness. 🧄
Here’s what makes this recipe a winner:
• Soft and fluffy texture – Like the best bakery rolls but completely homemade ✨
• Double garlic flavor – Garlic in the dough AND brushed on top
• Make-ahead friendly – Shape and refrigerate overnight, bake fresh when needed
• Holiday essential – Perfect for Thanksgiving, Christmas, and Easter dinners
• Better than store-bought – Fresh ingredients create incomparable flavor
The combination of buttery dough, fresh garlic, and herbs creates an addictive side dish that disappears within minutes. These aren’t just dinner rolls—they’re the reason guests will ask for your recipe at every gathering.
Ingredients
Want to know the secret to rolls that stay soft for days and have intense garlic flavor? It’s all about fresh garlic and proper dough hydration.
For the Garlic Rolls:
- 4 1/2 tablespoons unsalted butter
- 2 tablespoons minced fresh garlic
- 3 1/2 cups plus 1 tablespoon all-purpose flour
- 3 tablespoons chopped fresh parsley
- 1 tablespoon granulated sugar
- 2 1/4 teaspoons instant yeast
- 1 teaspoon fine sea salt
- 1 cup whole or 2% milk, warmed to 110°F
- 1 large egg, room temperature
- 1 beaten egg for brushing tops
For the Garlic Herb Butter:
- 2 tablespoons unsalted butter
- 1 tablespoon minced fresh garlic
- 1 tablespoon chopped fresh parsley
- Flaky sea salt for finishing
Fresh garlic is absolutely essential—don’t use jarred minced garlic or garlic powder. Choose firm, plump heads with unbroken papery skin for the best flavor. The fresh garlic creates a completely different taste than dried alternatives.
Instant yeast is quick and easy since it doesn’t require activation. If using active dry yeast, you must activate it in the warm milk until foamy before proceeding. Check that your yeast isn’t expired—old yeast produces dense, flat rolls.
Whole or 2% milk creates the richest flavor and softest texture. Skim milk works but won’t taste as buttery. Warm the milk to 110°F—too hot kills the yeast, too cold slows rising dramatically.
High-quality butter makes a noticeable difference in simple recipes like this. European-style butter like Kerrygold has higher fat content and richer flavor. Fresh parsley adds vibrant color and herbaceous notes—dried parsley doesn’t compare.
Step-by-Step Instructions
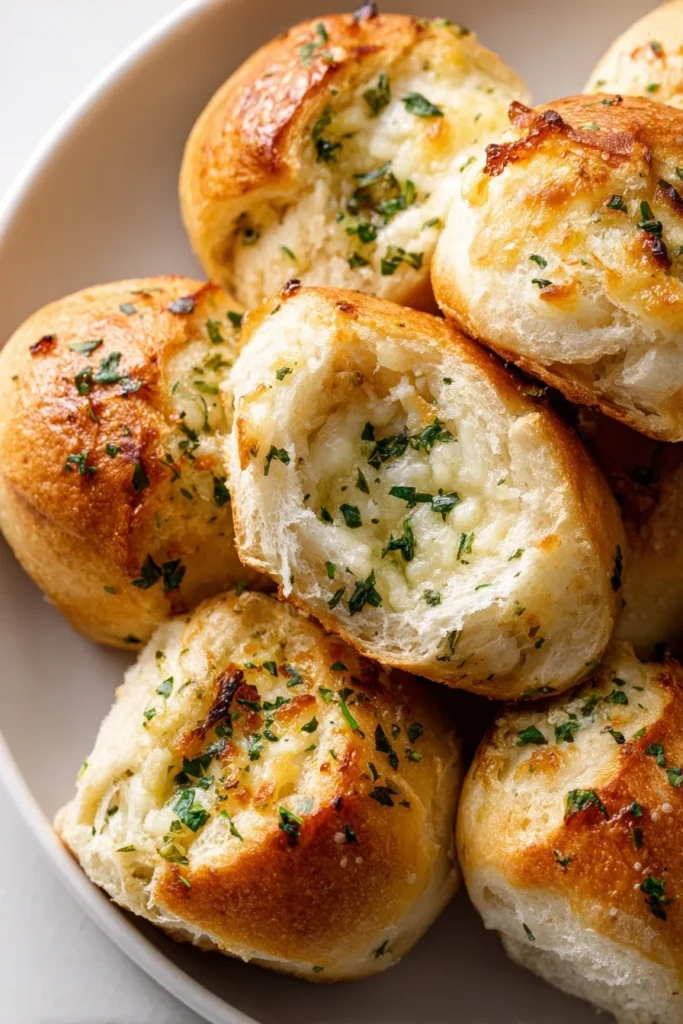
- Prepare the baking pan. Lightly butter the bottom and sides of a 9×13-inch baking pan. Use softened butter and spread it evenly. This prevents sticking and helps create golden, crispy bottoms.
- Make the garlic butter for the dough. Melt the butter in a small saucepan over medium heat. Add the minced garlic. Cook for 1-2 minutes until the garlic is fragrant and sizzling. Remove from heat. Let it cool slightly while you measure other ingredients.
- Combine the dry ingredients. Add the flour, chopped parsley, sugar, instant yeast, and salt to a stand mixer bowl. Whisk briefly to distribute the yeast evenly. This prevents clumps of yeast that create uneven rising.
- Add wet ingredients and knead. Pour in the warmed milk, room temperature egg, and cooled garlic butter. Attach the dough hook. Knead on low speed for 10-12 minutes. The dough should look smooth and feel soft and tacky. It shouldn’t stick to your fingers but should feel slightly moist.
- Adjust consistency if needed. If the dough is too sticky and won’t form a ball, add flour 1 tablespoon at a time. If it’s too dry and crumbly, add milk 1 teaspoon at a time. Proper consistency is crucial for fluffy rolls.
- Divide the dough into portions. Turn the dough out onto a clean surface. Cut it into 12 equal portions using a bench scraper or knife. Use a kitchen scale for accuracy—each piece should weigh about 67 grams. 🍞
- Shape into perfect balls. Cup your hand around each dough portion. Move your hand in a clockwise circular motion while applying gentle pressure. The dough will form a tight, smooth ball. Pinch the seam at the bottom to seal. Place in the prepared pan.
- Let the rolls rise. Arrange all 12 rolls in the buttered pan with space between them. Cover loosely with plastic wrap or a clean kitchen towel. Place in a warm spot. Let rise until doubled in size, about 1-2 hours. Don’t rush this step.
- Preheat and prepare for baking. Preheat your oven to 350°F (180°C). Beat one egg in a small bowl. Brush the egg wash gently over the tops of the risen rolls. This creates beautiful golden color.
- Bake the rolls. Bake for 20-30 minutes until the tops are deep golden brown. The internal temperature should reach 190°F if you have a thermometer. They’ll smell incredible!
- Make the finishing garlic butter. While rolls bake, melt butter in a small pot. Add minced garlic. Cook for 1-2 minutes until fragrant. Remove from heat. Stir in chopped parsley immediately.
- Brush and serve. Remove rolls from the oven. Immediately brush the tops generously with the garlic herb butter while they’re still hot. The butter soaks in beautifully. Sprinkle with flaky sea salt. Serve warm for best flavor and texture.
Essential Equipment for Homemade Garlic Bread Rolls
Here’s what you need to make these fluffy rolls turn out perfectly every time.
Stand Mixer with Dough Hook
Kneading dough by hand takes much longer and requires significant arm strength. A stand mixer develops gluten efficiently for the lightest, fluffiest texture in just 10 minutes.
Kitchen Scale
Weighing dough portions ensures uniform size so all rolls bake evenly. No more burnt edges with raw centers. Scales also improve accuracy when measuring flour by weight.
9×13-Inch Baking Pan
This standard size fits exactly 12 rolls with proper spacing. Metal pans conduct heat better than glass for evenly baked rolls with golden bottoms.
Instant-Read Thermometer
Accurate temperature readings prevent killing yeast with too-hot milk. An instant thermometer takes the guesswork out of critical temperature steps in bread baking.
KitchenAid Professional Stand Mixer (PREMIUM)
Restaurant-quality mixers handle stiff bread dough effortlessly without overheating. The powerful motor kneads consistently while you prep other ingredients, making bread baking more efficient.
Bread Lame or Sharp Knife (PREMIUM)
Professional bakers use lames to score dough cleanly without dragging. The razor-sharp blade creates decorative patterns and helps rolls expand evenly during baking.
What to Serve With Homemade Garlic Bread Rolls
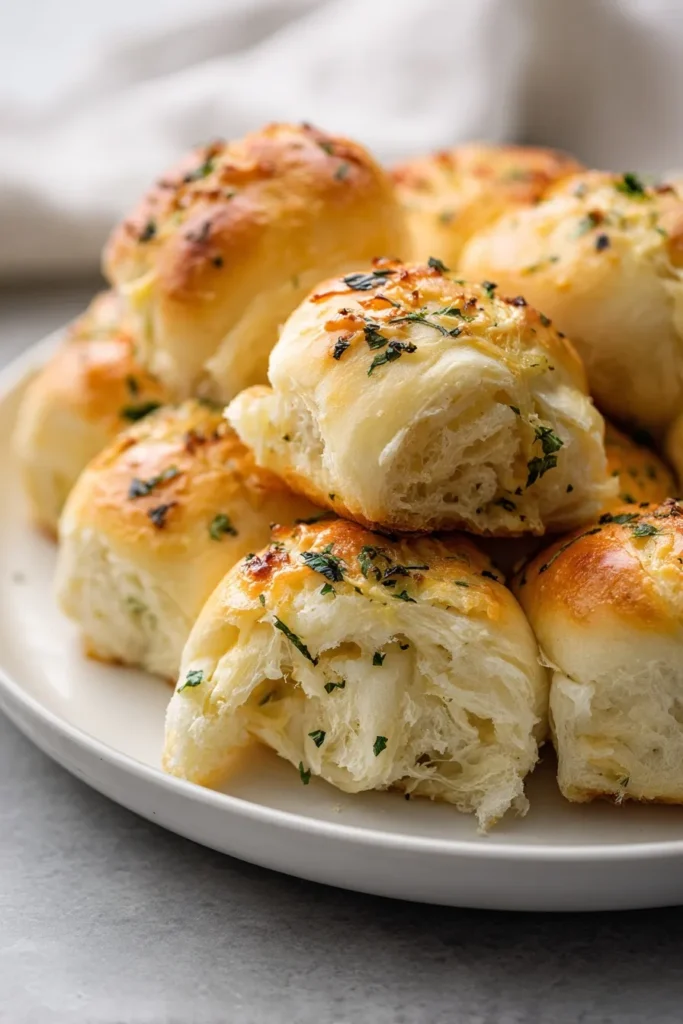
Looking for the perfect main dishes to pair with these buttery garlic rolls?
Serve with my Traditional Thanksgiving Stuffing Recipe for the ultimate holiday feast. The garlic rolls soak up gravy beautifully while complementing savory stuffing.
Pasta dishes like spaghetti, lasagna, or fettuccine alfredo pair perfectly with garlic bread. The rolls mop up every drop of sauce from your plate. Keep a basket warm and refill it throughout dinner.
Soups and stews need crusty bread for dunking—these soft rolls work wonderfully. Tomato soup, minestrone, or French onion soup all benefit from garlicky bread on the side. The butter melts into hot soup deliciously.
Try my Homemade Garlic Bread with Sliced Bread Recipe for a quicker alternative when you don’t have time for yeast rolls. Both versions work for Italian dinner nights.
Grilled meats like steak, chicken, or pork chops need good bread alongside them. The garlic butter complements charred, savory flavors perfectly. Serve rolls warm from the oven as guests sit down.
Salads benefit from substantial bread to make them more filling. Caesar salad, Greek salad, or simple garden salads become complete meals with hearty garlic rolls on the side.
My 30 Minute Dinner Rolls Recipe So Soft Fluffy offers a faster option for weeknights. Both recipes use similar techniques for foolproof results.
Storage and Reheating Guide
Room Temperature Storage
Store baked rolls in an airtight container or ziplock bag at room temperature for 2-3 days. They taste best the day they’re made but remain soft for several days when properly stored.
Refrigerator Storage
Don’t refrigerate baked rolls—refrigeration accelerates staling and makes bread dry faster. Room temperature storage keeps them softer longer than the fridge does.
Freezer Storage
Freeze completely cooled rolls in airtight containers or freezer bags for up to 1 month. Thaw at room temperature for 1-2 hours before reheating. Freezing preserves freshness beautifully.
Make-Ahead Instructions
Shape rolls and place in the buttered pan. Cover tightly with plastic wrap. Refrigerate overnight. The next morning, let them rise at room temperature until doubled, about 2-3 hours. Then bake as directed.
Reheating Instructions
Cover rolls with foil and bake at 350°F for 10-15 minutes until warmed through. Alternatively, microwave individual rolls for 20-30 seconds. Brush with extra garlic butter after reheating for maximum flavor.
Recipe Variations
Want to switch things up for different flavors or occasions?
Cheesy Garlic Rolls
Add 1/4 cup shredded Parmesan cheese to the dough during kneading. Sprinkle more Parmesan over the tops before baking. The cheese adds savory depth and creates crispy, golden tops.
Herb Garlic Rolls
Mix 1 tablespoon fresh rosemary and 1 tablespoon fresh thyme into the dough along with parsley. Use the same herbs in the finishing butter. These work beautifully for Italian-themed dinners.
Plain Dinner Rolls
Omit all garlic completely for classic buttery dinner rolls. Replace garlic butter with plain melted butter. These versatile rolls work for any meal where garlic would be too strong.
Whole Wheat Garlic Rolls
Replace 1 cup all-purpose flour with whole wheat flour for heartier texture. The rolls will be slightly denser but more nutritious. Add an extra tablespoon of milk if the dough seems dry.
Pull-Apart Garlic Bread
Try my Homemade Garlic Rolls Perfection technique and arrange rolls in a circular bundt pan. Drizzle garlic butter between each roll before baking for pull-apart bread.
Mini Garlic Roll Sliders
Divide dough into 24 smaller portions instead of 12. Bake in two 9×9 pans for 15-18 minutes. These mini rolls work perfectly for slider sandwiches or appetizer spreads.
Pro Tips & Tricks
Curious about the insider secrets to making bakery-quality garlic rolls at home?
• Use a kitchen scale to measure flour and divide dough—it’s the #1 tip for consistent results 🧄
• Warm your milk to exactly 110°F using a thermometer—too hot kills yeast completely
• Don’t rush the rising time—properly risen dough creates the fluffiest texture
• Knead until dough passes the windowpane test—stretch a small piece thin without tearing
• Spray hands with cooking spray when shaping sticky dough to prevent it from sticking to fingers
• Brush with garlic butter immediately after baking—hot rolls absorb butter beautifully
• Shape uniform rolls so they all bake evenly without some being burnt and others raw
• Create a warm rising environment by turning your oven to 200°F for 1 minute, then turning it off
• Cover loosely during rising—tight covering prevents proper air circulation
• Brush with egg wash before baking for the glossiest, most golden tops ✨
• Add flaky sea salt right after brushing with garlic butter for sophisticated flavor contrast
Frequently Asked Questions
Q: Can you make garlic bread rolls ahead of time?
Yes! Shape the rolls and place in the pan. Cover tightly with plastic wrap and refrigerate overnight. The next day, let them rise at room temperature for 2-3 hours until doubled, then bake as directed.
Q: How long do homemade garlic rolls stay fresh?
These rolls stay soft and delicious for 2-3 days when stored in an airtight container at room temperature. Freeze for longer storage up to 1 month. Avoid refrigerating as it accelerates staling.
Q: Can I use active dry yeast instead of instant yeast?
Yes, but you must activate it first. Dissolve the active dry yeast in the warm milk with a pinch of sugar. Let it sit for 5-10 minutes until foamy before proceeding with the recipe.
Q: Why are my garlic rolls dense and not fluffy?
Common causes include using too much flour, expired yeast, not kneading long enough, or rushing the rising time. Make sure the dough doubles in size before baking for the fluffiest texture.
Q: Can I make these rolls without a stand mixer?
Yes, but kneading by hand takes longer—about 15-20 minutes of vigorous kneading. The dough should feel smooth, elastic, and slightly tacky when properly kneaded. It’s much easier with a mixer.
Q: Can I freeze unbaked garlic roll dough?
Yes! Shape the rolls, freeze on a baking sheet until solid, then transfer to freezer bags. When ready to bake, thaw overnight in the fridge, let rise until doubled, then bake as directed.
Q: What can I substitute for fresh parsley?
Use fresh thyme, oregano, or basil instead. Dried parsley also works—use about 1 teaspoon total. Fresh herbs taste significantly better but dried herbs work in a pinch.
Q: How do I know when the rolls are done baking?
The tops should be deep golden brown and the internal temperature should reach 190°F. They’ll also sound hollow when tapped on the bottom. Don’t underbake or they’ll be doughy inside.
Q: What to serve with garlic bread rolls?
Serve with pasta, soups, stews, or grilled meats for the perfect pairing. My Traditional Thanksgiving Stuffing pairs beautifully with these rolls for holiday feasts.
Ready to Bake These Amazing Rolls?
These homemade garlic bread rolls deliver restaurant-quality results in your own kitchen—perfect for impressing guests at any gathering. Your family will think you bought them from an expensive bakery when they actually cost just a few dollars to make. The double garlic hit and soft, fluffy texture make them absolutely irresistible.
The make-ahead options mean you can prep the night before and bake fresh when needed. These rolls work beautifully for holidays, dinner parties, potlucks, or simply elevating a weeknight pasta dinner to something special.
📌 Don’t forget to save this homemade garlic bread rolls recipe to your Bread Recipes or Thanksgiving Sides board on Pinterest! Trust me, you’ll want to come back to this one for every special meal.







