
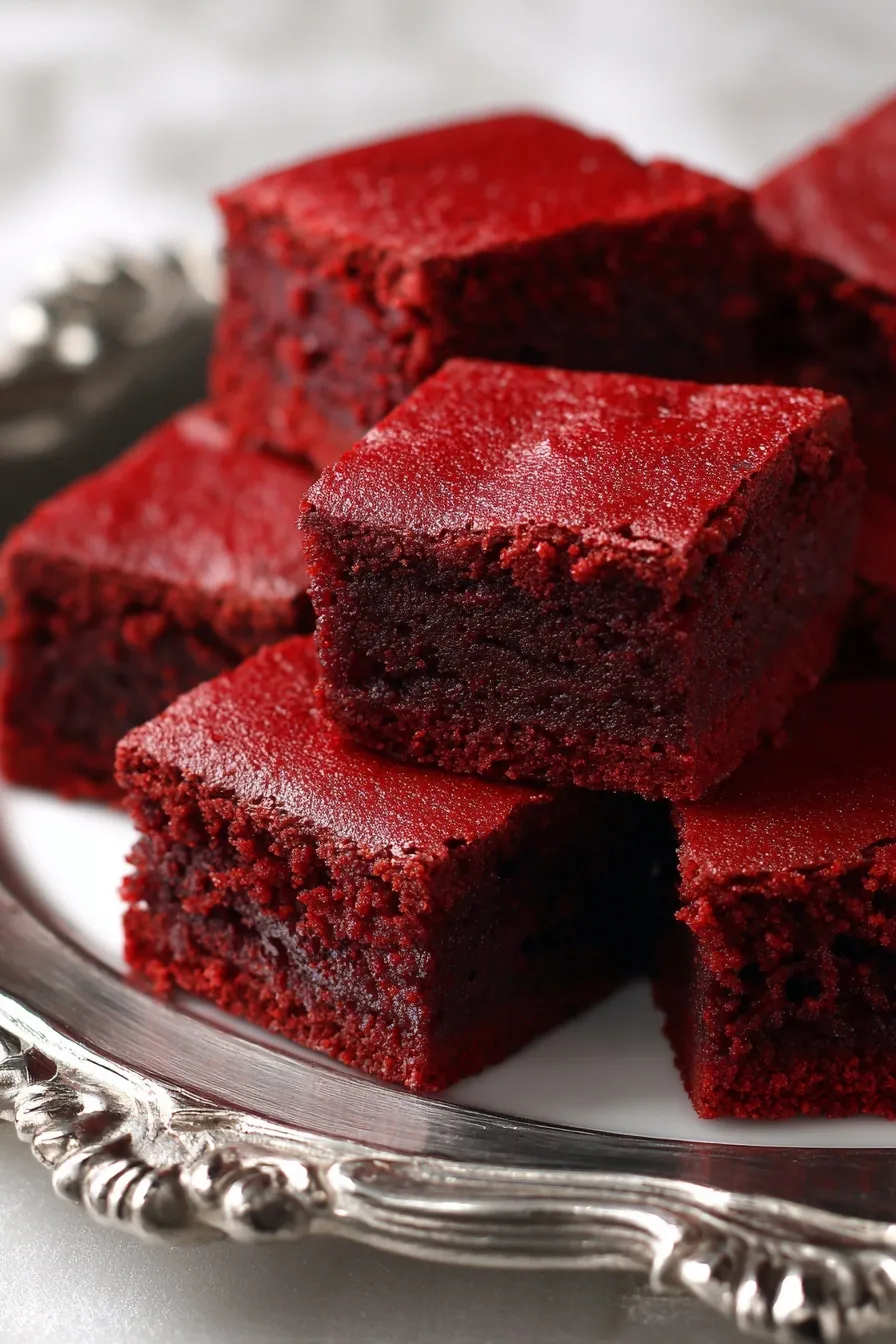
Red velvet brownies topped with cream cheese frosting are the ultimate Valentine’s Day showstopper! These fudgy, vibrant red brownies combine rich chocolate flavor with that signature red velvet taste you crave.
Since you’re here, make sure to check out these related recipes:
- Red Velvet Cake Balls
- Red Velvet Crinkle Cookies
- Valentine Oreo Cookies
- Chocolate Covered Strawberry Cookies
- Heart Shaped Chocolate Chip Cookies
Why These Red Velvet Brownies Work
Ever crave brownies that look as stunning as they taste? These red velvet brownies deliver that perfect fudgy texture with gorgeous deep red color that makes every bite feel special.
What makes this recipe stand out from the rest?
- Milk chocolate base creates fudgier texture than cocoa alone
- No buttermilk needed unlike traditional red velvet cakes
- Glossy crackly top from melted butter and chocolate
- Tangy cream cheese frosting balances the rich chocolate perfectly
Ingredients
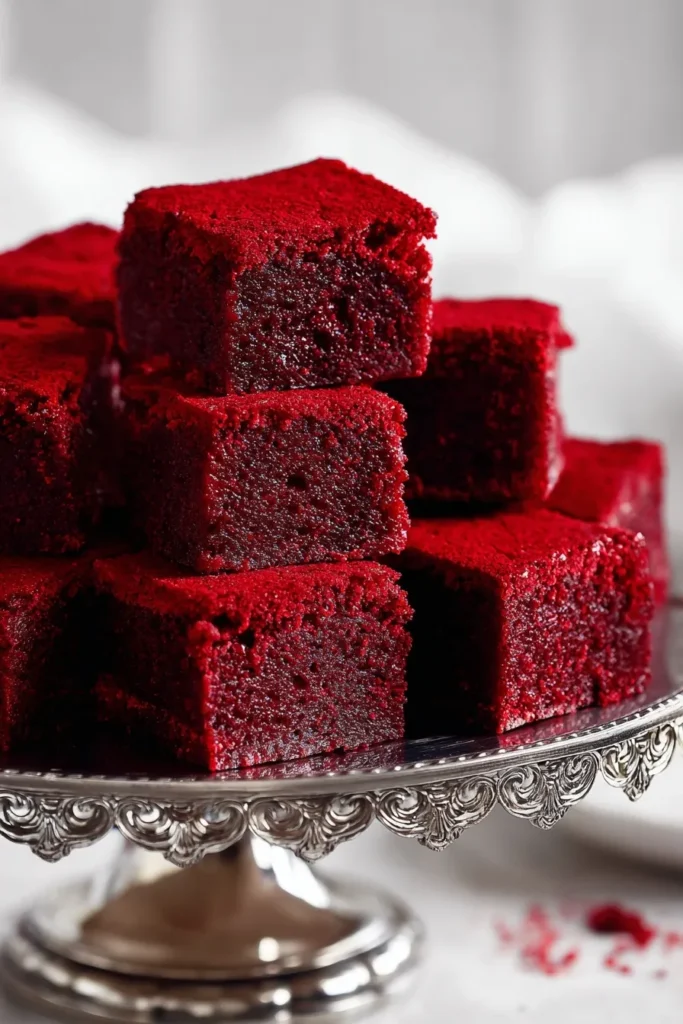
Ready to see what creates these bakery-worthy brownies?
For the red velvet brownies:
- 2 1/4 sticks (18 tablespoons) unsalted butter, cut into chunks
- 3 1/2 cups milk chocolate chips (Ghirardelli works perfectly)
- 5 large eggs, room temperature
- 1/2 cup granulated white sugar
- 1 1/4 cups packed light brown sugar
- 1 teaspoon fine sea salt
- 1 1/4 teaspoons alcohol-free vanilla extract
- 2 tablespoons red gel food coloring
- 2 cups all-purpose flour
- 1 teaspoon baking powder
- 3 tablespoons unsweetened cocoa powder
For the cream cheese frosting:
- 4 oz full-fat cream cheese, softened to room temperature
- 5 tablespoons unsalted butter, room temperature
- 1/8 teaspoon fine sea salt
- 1 teaspoon alcohol-free vanilla extract
- 2-3 cups confectioners’ sugar (powdered sugar)
- 1-2 tablespoons heavy cream or milk
Key ingredient notes:
High-quality milk chocolate chips create that signature fudgy texture and rich flavor that regular cocoa powder alone can’t achieve. Ghirardelli brand melts smoothly and creates the glossy sheen on top.
Red gel food coloring works better than liquid since it creates vibrant color without adding extra moisture to the batter. You’ll need about 2 tablespoons for that classic red velvet hue.
Step-by-Step Instructions
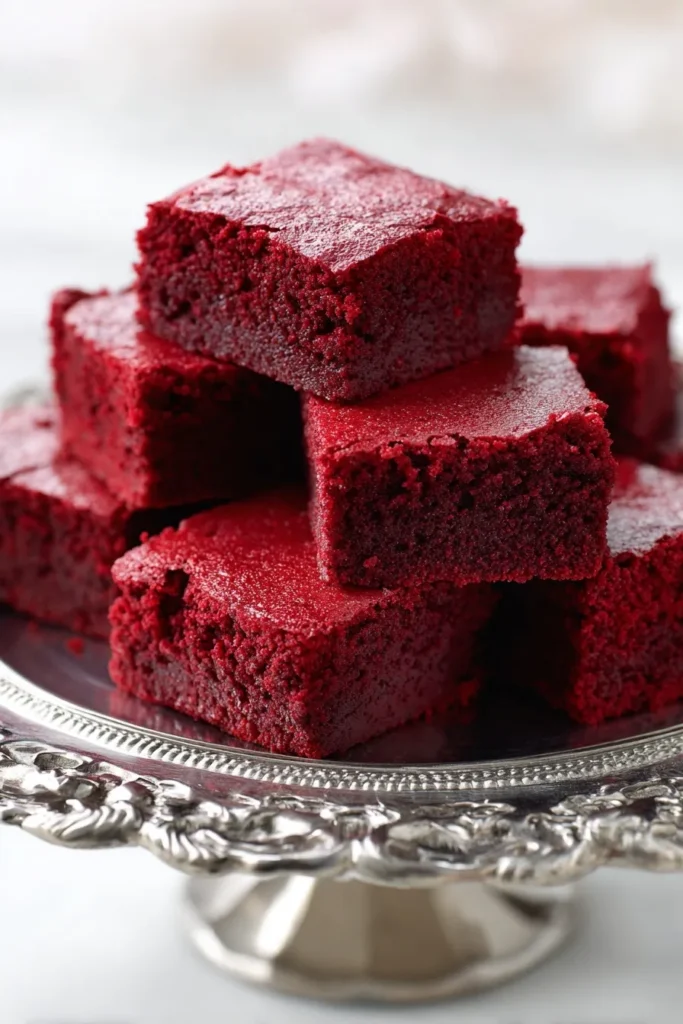
1. Preheat and prep by heating oven to 350°F and lining a 9×13-inch baking pan with parchment paper or aluminum foil lightly greased with vegetable shortening.
2. Melt chocolate mixture in a microwave-safe bowl with butter in 30-second intervals, stirring between each, until completely smooth. Let cool to room temperature.
3. Whisk egg mixture by combining eggs, both sugars, salt, and vanilla in a large bowl. Beat with a whisk until light and fluffy.
4. Add food coloring by whisking the red gel coloring into the egg mixture until evenly distributed and vibrant red color appears throughout.
5. Combine wet ingredients by slowly whisking the cooled chocolate mixture into the egg mixture until completely smooth and glossy. Don’t add hot chocolate or eggs will curdle.
6. Mix dry ingredients by adding flour, baking powder, salt, and cocoa powder directly to the wet mixture. Stir with a rubber spatula just until no white streaks remain.
7. Pour and spread the thick red velvet batter into your prepared pan, using an offset spatula to spread evenly into all corners.
8. Bake for 40 minutes until a toothpick inserted in the center comes out with just a few moist crumbs attached. Don’t overbake or brownies will be dry.
9. Cool completely by letting the pan rest on a wire rack for 15 minutes, then refrigerate covered until completely cooled before frosting.
10. Make frosting by beating cream cheese, butter, vanilla, salt, powdered sugar, and cream with a mixer on medium-high speed until light and fluffy.
11. Frost brownies using an offset spatula to spread cream cheese frosting evenly over cooled brownies, or pipe decorative swirls with a piping bag.
12. Chill and serve by refrigerating frosted brownies until ready to serve, then letting them come to room temperature 30 minutes before cutting.
Essential Equipment
9×13 Baking Pan
A heavy-duty aluminum pan distributes heat evenly and prevents edge burning. Light-colored metal pans work best for preventing over-browned bottoms on these brownies.
Microwave-Safe Mixing Bowl (PREMIUM)
A large glass bowl allows you to melt chocolate safely and mix the entire batter in one vessel. Glass heats evenly in the microwave without creating hot spots.
Offset Spatula
An angled blade makes spreading thick brownie batter and cream cheese frosting effortless and smooth. The offset handle keeps your knuckles out of the frosting.
What to Serve With Red Velvet Brownies
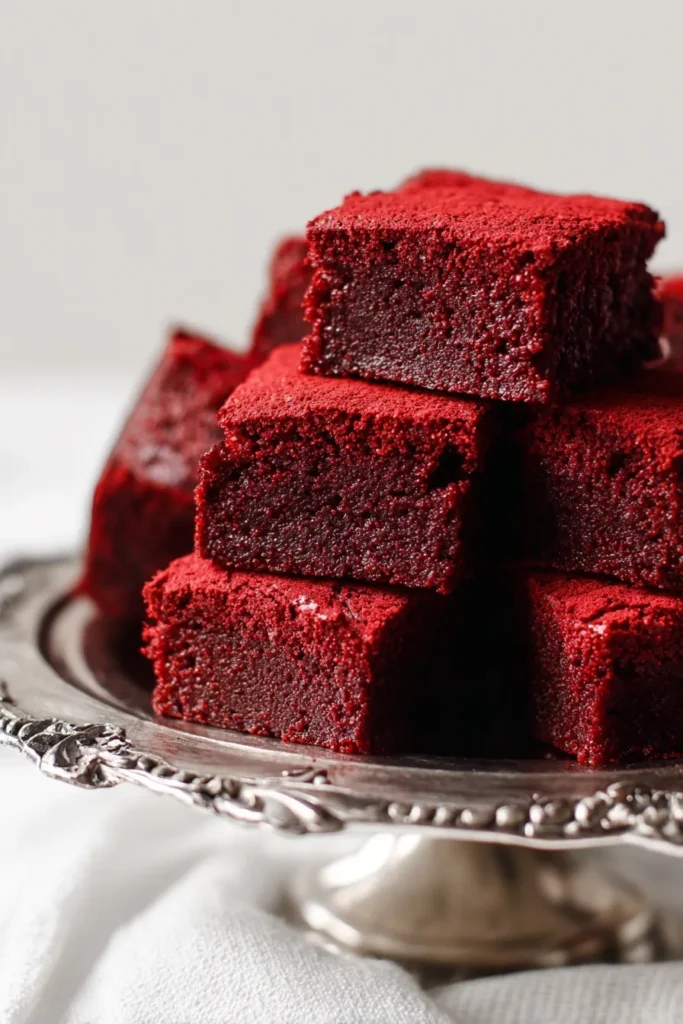
Looking for ways to create a complete Valentine’s dessert spread?
Serve these alongside White Chocolate Raspberry Bundt Cake and Strawberry Kiss Cookies for a pink and red themed dessert table that wows guests.
For birthday parties, pair with Funfetti Cake and Sugar Cookie Cheesecake to create variety without repeating flavors.
Cut brownies into heart shapes using cookie cutters for adorable Valentine’s treats, then top each one with a chocolate heart candy for extra flair.
Storage and Reheating Guide
Refrigerator Storage
Store frosted red velvet brownies in airtight containers in the refrigerator for up to 2 weeks. The cream cheese frosting requires refrigeration for food safety and freshness.
Freezer Storage
Freeze unfrosted brownies wrapped tightly in plastic wrap then aluminum foil for up to 3 months. Thaw overnight in refrigerator before frosting and serving.
Serving Instructions
Remove brownies from refrigerator 30 minutes before serving for softer texture at room temperature. Cold brownies taste good but room temperature brownies taste better.
Recipe Variations
Want to customize these brownies for different occasions?
Heart-shaped version: After chilling brownies, use heart-shaped cookie cutters to create individual servings topped with chocolate heart candies for Valentine’s Day treats.
Birthday party style: Skip the red food coloring and add rainbow sprinkles to the batter for funfetti-style brownies with cream cheese frosting.
Chocolate lover’s dream: Add 1 cup white chocolate chips to the batter before baking for extra chocolate chunks throughout.
Pro Tips & Tricks
Want bakery-quality results every single time?
Cool chocolate completely before adding to eggs because hot chocolate will cook the eggs and create scrambled bits in your batter.
Don’t overbake since brownies continue cooking as they cool on the pan. Slightly underdone centers create that perfect fudgy texture.
Chill before frosting because warm brownies will melt the cream cheese frosting and create a messy disaster instead of smooth topping.
Use room temperature ingredients for frosting so cream cheese and butter blend smoothly without lumps or curdled texture.
Frequently Asked Questions
Can you make red velvet brownies without food coloring?
Yes, but they won’t have that signature vibrant red color. The brownies will be chocolate brown instead. Red gel food coloring creates the classic red velvet appearance.
Why are my red velvet brownies dry?
Overbaking is the most common cause of dry brownies. Remove them when a toothpick has moist crumbs, not clean. They’ll continue cooking as they cool.
Can you freeze red velvet brownies with frosting?
It’s best to freeze brownies unfrosted, then add cream cheese frosting after thawing. Frosting can become watery and separate when frozen then thawed.
What makes red velvet brownies different from regular brownies?
Red velvet brownies use milk chocolate instead of just cocoa powder, creating a unique flavor profile. They’re also topped with tangy cream cheese frosting instead of chocolate frosting.
How do you cut clean brownie squares?
Chill brownies completely before cutting. Use a sharp knife dipped in hot water and wiped clean between each cut for neat edges.
Can you make these in an 8×8 pan?
Yes! Adjust the recipe to half the ingredients for an 8×8 pan. Baking time will be similar, around 35-40 minutes depending on your oven.
Why You’ll Love This Recipe
Ready to make brownies that look professional and taste incredible? These red velvet brownies combine fudgy texture with stunning presentation that makes every occasion feel special.
The best part is how the cream cheese frosting balances the rich chocolate perfectly. One bite and you’ll understand why red velvet and cream cheese are a match made in dessert heaven.
Make a batch this weekend and watch them disappear before you can say “Valentine’s Day!”
📌 Save this red velvet brownies recipe for February – they’re guaranteed showstoppers!
Best Red Velvet Brownies
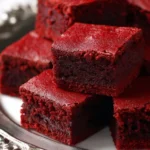
Red velvet brownies topped with cream cheese frosting are the ultimate Valentine's Day showstopper! These fudgy, vibrant red brownies combine rich chocolate flavor with that signature red velvet taste you crave.
- Milk chocolate base creates fudgier texture than cocoa alone
- No buttermilk needed unlike traditional red velvet cakes
- Glossy crackly top from melted butter and chocolate
- Tangy cream cheese frosting balances the rich chocolate perfectly
- 2 1/4 sticks (18 tablespoons) unsalted butter, cut into chunks
- 3 1/2 cups milk chocolate chips (Ghirardelli works perfectly)
- 5 large eggs, room temperature
- 1/2 cup granulated white sugar
- 1 1/4 cups packed light brown sugar
- 1 teaspoon fine sea salt
- 1 1/4 teaspoons alcohol-free vanilla extract
- 2 tablespoons red gel food coloring
- 2 cups all-purpose flour
- 1 teaspoon baking powder
- 3 tablespoons unsweetened cocoa powder
- 4 oz full-fat cream cheese, softened to room temperature
- 5 tablespoons unsalted butter, room temperature
- 1/8 teaspoon fine sea salt
- 1 teaspoon alcohol-free vanilla extract
- 2-3 cups confectioners’ sugar (powdered sugar)
- 1-2 tablespoons heavy cream or milk
- Preheat and prep by heating oven to 350°F and lining a 9×13-inch baking pan with parchment paper or aluminum foil lightly greased with vegetable shortening.
- Melt chocolate mixture in a microwave-safe bowl with butter in 30-second intervals, stirring between each, until completely smooth. Let cool to room temperature.
- Whisk egg mixture by combining eggs, both sugars, salt, and vanilla in a large bowl. Beat with a whisk until light and fluffy.
- Add food coloring by whisking the red gel coloring into the egg mixture until evenly distributed and vibrant red color appears throughout.
- Combine wet ingredients by slowly whisking the cooled chocolate mixture into the egg mixture until completely smooth and glossy. Don’t add hot chocolate or eggs will curdle.
- Mix dry ingredients by adding flour, baking powder, salt, and cocoa powder directly to the wet mixture. Stir with a rubber spatula just until no white streaks remain.
- Pour and spread the thick red velvet batter into your prepared pan, using an offset spatula to spread evenly into all corners.
- Bake for 40 minutes until a toothpick inserted in the center comes out with just a few moist crumbs attached. Don’t overbake or brownies will be dry.
- Cool completely by letting the pan rest on a wire rack for 15 minutes, then refrigerate covered until completely cooled before frosting.
- Make frosting by beating cream cheese, butter, vanilla, salt, powdered sugar, and cream with a mixer on medium-high speed until light and fluffy.
- Frost brownies using an offset spatula to spread cream cheese frosting evenly over cooled brownies, or pipe decorative swirls with a piping bag.
- Chill and serve by refrigerating frosted brownies until ready to serve, then letting them come to room temperature 30 minutes before cutting.







