
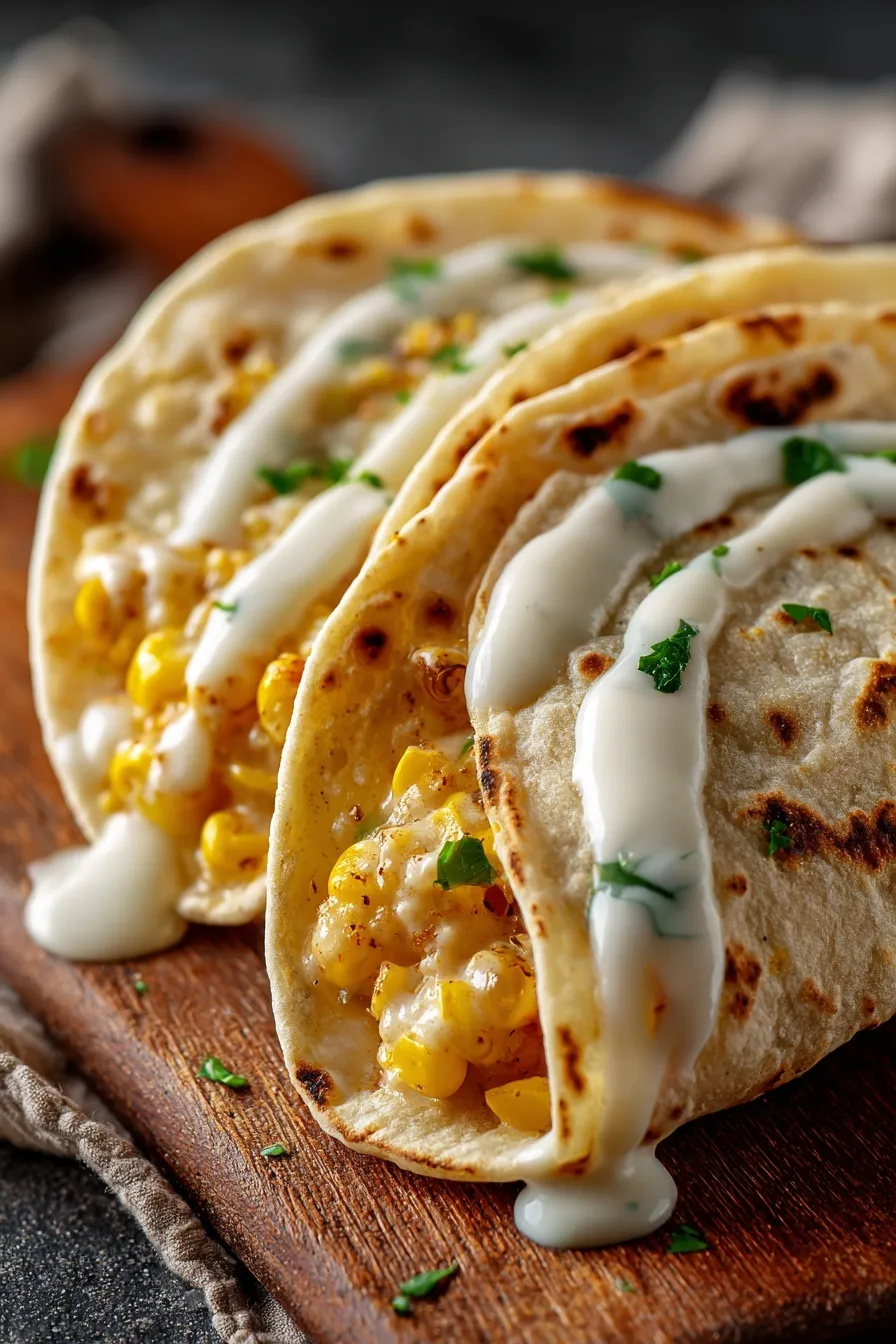
These cheesy garlic chicken wraps are loaded with tender chicken, melted cheese, and creamy garlic sauce! 🧄 Ready in just 25 minutes, these crispy, golden wraps make the perfect quick dinner, satisfying lunch, or meal prep solution. Whether you’re using leftover rotisserie chicken or cooking fresh, this foolproof recipe delivers restaurant-quality comfort food that disappears in minutes every single time!
Since you’re here, make sure to check out these related recipes:
- Easy Buffalo Chicken Wraps
- Thai Peanut Chicken Wraps
- California Turkey Club Wraps
- Crispy Chicken Caesar Sandwich
- Chicken Cordon Bleu Swiss Cheese Sauce
Why This Cheesy Garlic Chicken Wraps Recipe Works
Ever wonder why takeout wraps taste better than the ones you make at home?
The secret is the creamy garlic sauce combined with pan-searing the assembled wraps for that crispy, golden exterior. These cheesy garlic chicken wraps use a combination of cream cheese, mayonnaise, and fresh garlic to create an incredibly flavorful coating that keeps the chicken moist. The double-cheese method—sprinkling cheese on the tortilla before adding filling, then adding more cheese on top—creates layers of melty goodness that hold everything together perfectly.
Here’s what makes this recipe special:
- Creamy garlic sauce: The combination of cream cheese, mayo, and fresh garlic creates restaurant-quality flavor at home
- Crispy exterior, gooey interior: Pan-searing transforms soft tortillas into golden, crunchy wraps with melted cheese inside
- Versatile protein base: Works perfectly with leftover rotisserie chicken, meal-prepped chicken, or freshly cooked breasts
- Minimal cleanup: Everything comes together in one skillet for easy weeknight cooking
The combination of sharp cheddar and stretchy mozzarella creates that perfect cheese pull everyone loves. Cooking the wraps seam-side down first seals them shut and prevents filling from escaping. The garlic sauce acts as both a flavor booster and a moisture barrier that keeps the tortillas from getting soggy.
Ingredients
Want to know the secret to wraps that stay together instead of falling apart?
The key is using cream cheese in your garlic sauce—it acts as a “glue” that binds everything together while adding richness. Here’s everything you need for the best cheesy garlic chicken wraps recipe:
For the Garlic Sauce:
- 4 ounces cream cheese, softened to room temperature
- ¼ cup mayonnaise (light or regular)
- 3 cloves garlic, minced (or 1 teaspoon garlic powder)
- 1 teaspoon Italian seasoning
- ¼ teaspoon salt
- ¼ teaspoon black pepper, freshly ground
For the Wraps:
- 2 cups cooked chicken, shredded or diced (rotisserie works great)
- 4 large flour tortillas (10-inch burrito size)
- 1 cup shredded mozzarella cheese
- 1 cup shredded cheddar cheese
- 2 tablespoons butter or olive oil (for cooking)
- 2 tablespoons fresh parsley, chopped (optional garnish)
- ¼ teaspoon onion powder (optional, for extra flavor)
The softened cream cheese is crucial—cold cream cheese won’t mix smoothly into the sauce. Rotisserie chicken saves massive time, but leftover grilled, baked, or poached chicken works beautifully too. Using both mozzarella and cheddar creates the perfect balance of stretch and flavor.
Step-by-Step Instructions
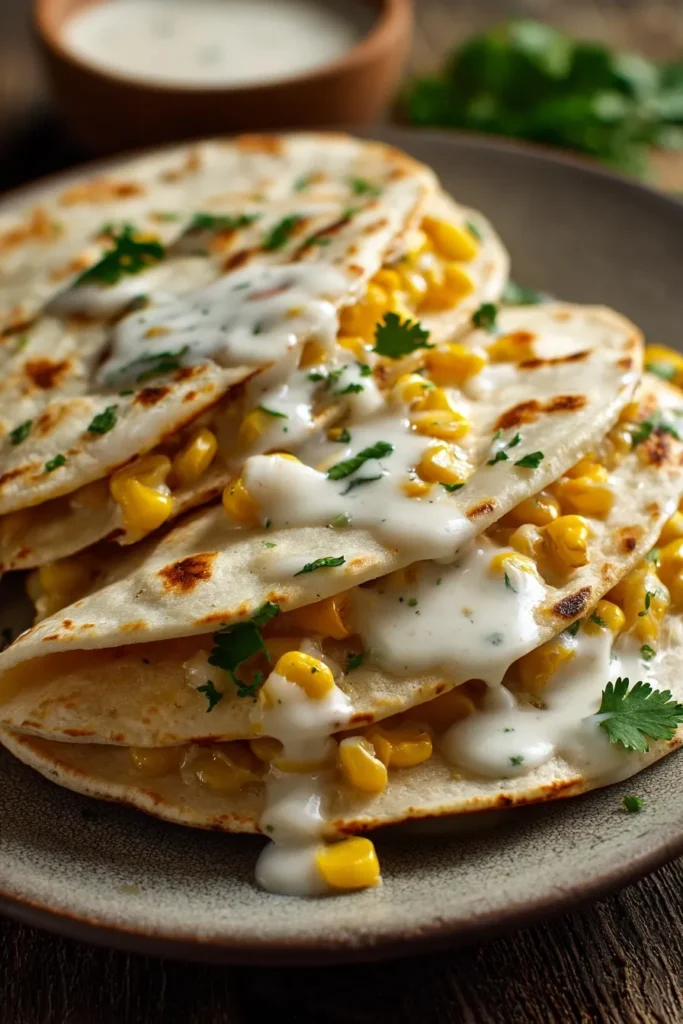
Follow these foolproof steps for perfect cheesy garlic chicken wraps every time:
- Make the creamy garlic sauce. In a medium mixing bowl, combine softened cream cheese, mayonnaise, minced garlic, Italian seasoning, salt, and black pepper. Mix with a fork or whisk until completely smooth and creamy. The sauce should be spreadable but thick enough to cling to the chicken.
- Prepare the chicken filling. If using rotisserie chicken, shred or dice it into bite-sized pieces. Place chicken in a large bowl and add half of the garlic sauce (reserve the other half for spreading on tortillas). Toss until chicken is completely coated in the creamy garlic mixture.
- Warm the tortillas. Microwave tortillas wrapped in a damp paper towel for 20-30 seconds until pliable and warm. This prevents cracking when you fold them. Alternatively, warm individually in a dry skillet for 15 seconds per side.
- Assemble the first layer. Lay one warm tortilla flat on a clean surface. Spread 1-2 tablespoons of the reserved garlic sauce in a line down the center of the tortilla, leaving about 2 inches clear at the top and bottom edges.
- Add cheese and chicken. Sprinkle about 2 tablespoons of mozzarella cheese directly on the garlic sauce—this acts as a “glue layer.” Add approximately ½ cup of the chicken mixture on top of the cheese layer, keeping it in a compact line down the center.
- Top with more cheese. Sprinkle 2 tablespoons each of mozzarella and cheddar cheese on top of the chicken. This double-cheese technique ensures gooey, melted goodness in every bite. Add a pinch of chopped parsley if using.
- Fold and roll tightly. Fold the left and right sides of the tortilla toward the center, covering the edges of the filling. Then, starting from the bottom (closest to you), tightly roll the tortilla away from you, keeping the sides tucked in as you roll. The wrap should be snug but not so tight that filling squeezes out.
- Heat the skillet. Place a large non-stick skillet over medium heat. Add 1 tablespoon butter or brush with olive oil. Let it melt and coat the bottom of the pan evenly.
- Cook the wraps seam-side down. Place assembled wraps seam-side down in the hot skillet. This seals them shut and prevents unrolling. Cook undisturbed for 3-4 minutes until the bottom is golden brown and crispy. Press gently with a spatula to ensure even contact with the pan.
- Flip and finish cooking. Carefully flip wraps using a spatula and cook the second side for 2-3 minutes until golden brown and crispy. Cover with a lid during the last minute to help melt the cheese thoroughly. The wraps are done when both sides are crispy and the cheese is melted and gooey inside. Let rest for 2 minutes, then slice in half diagonally and serve warm.
Essential Equipment for Cheesy Garlic Chicken Wraps
Large Non-Stick Skillet (12-Inch)
A spacious skillet allows you to cook 2-3 wraps at once without overcrowding. Quality non-stick coating prevents sticking and ensures even browning on both sides.
Silicone Spatula and Turner
Heat-resistant silicone tools won’t scratch your non-stick pan while flipping delicate wraps. A wide turner makes flipping wraps easy without breaking them apart.
Medium Mixing Bowls (Set of 2)
One bowl for mixing the garlic sauce and another for coating the chicken. Glass or stainless steel bowls won’t retain garlic odors from previous uses.
Box Grater or Food Processor (PREMIUM)
Restaurant-quality graters or food processors shred cheese quickly and evenly for the best melting results. Freshly shredded cheese melts better than pre-shredded varieties that contain anti-caking agents.
Microwave-Safe Plate and Paper Towels
Essential for warming tortillas properly so they don’t crack when folded. Damp paper towels create steam that makes tortillas perfectly pliable.
Kitchen Tongs (PREMIUM)
Professional stainless steel tongs with silicone tips provide the control needed to flip wraps without tearing. The spring-loaded design reduces hand fatigue when cooking multiple batches.
What to Serve With Cheesy Garlic Chicken Wraps
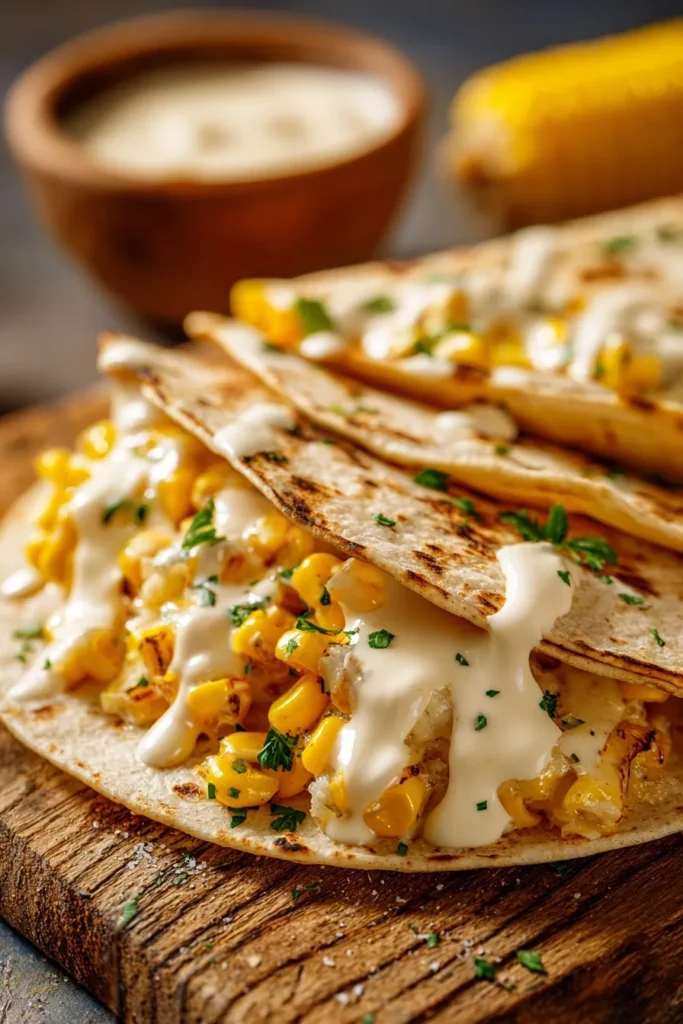
Looking for the perfect sides to complete your meal?
Serve these cheesy garlic chicken wraps with a crisp garden salad dressed with balsamic vinaigrette for freshness and crunch. The acidic dressing cuts through the rich, creamy wraps beautifully. Sweet potato fries add natural sweetness and extra vegetables to balance the savory garlic and cheese.
Try pairing with my Fresh Spring Salad with Herb Vinaigrette for a restaurant-quality meal at home. The bright herbs and citrus dressing provide a refreshing contrast. Tortilla chips with salsa or guacamole create a Tex-Mex inspired spread that everyone loves.
Coleslaw with a tangy dressing adds crunch and helps cleanse your palate between bites. Roasted vegetables like broccoli, Brussels sprouts, or asparagus provide nutrients and complement the garlic flavors. For dipping sauces, try my Quick Homemade Enchilada Sauce or ranch dressing.
Corn on the cob or Mexican street corn (elotes) makes an excellent summer side dish pairing. A simple tomato and cucumber salad with lemon dressing keeps things light and fresh. Try my Easy Frito Corn Salad for a crowd-pleasing side that comes together in minutes.
Storage and Reheating Guide
Refrigerator Storage
Store wrapped cheesy garlic chicken wraps in aluminum foil or airtight containers for up to 3 days in the refrigerator. The foil helps retain moisture while preventing the wraps from getting too soggy. Store individually so you can grab one quickly for lunch without unwrapping the entire batch.
Freezer Storage
Freeze uncooked assembled wraps for up to 2 months for best results. Wrap individually in plastic wrap, then place in freezer-safe bags. When ready to eat, thaw overnight in the refrigerator, then cook as directed in the recipe instructions.
Reheating Instructions
The best method is reheating in a skillet over medium-low heat for 3-4 minutes per side until warmed through and crispy again. This restores that golden, crunchy exterior perfectly. For quick reheating, microwave on 50% power for 1-2 minutes, though the tortilla won’t be as crispy. Air fryer at 350°F for 5-7 minutes works beautifully for restoring crispiness.
Pro Storage Tips
- Let wraps cool completely before wrapping for storage to prevent steam from making them soggy
- Don’t stack warm wraps directly on top of each other—use parchment paper between layers
- The garlic sauce can be made 2-3 days ahead and stored separately in an airtight container
Recipe Variations
Want to switch things up with this cheesy garlic chicken wraps recipe?
Buffalo Chicken Garlic Wraps
Add 3 tablespoons buffalo sauce to the chicken mixture and use pepper jack cheese instead of cheddar. Serve with ranch or blue cheese dressing for dipping. Try the technique from my Easy Buffalo Chicken Wraps for extra spicy kick!
Italian Herb Chicken Wraps
Add 2 tablespoons fresh basil and 1 tablespoon fresh oregano to the garlic sauce. Include sun-dried tomatoes and use mozzarella and Parmesan cheese. Serve with marinara sauce on the side for dipping.
BBQ Ranch Chicken Wraps
Replace half the garlic sauce with ranch dressing and add 2 tablespoons BBQ sauce to the chicken. Use sharp cheddar and Monterey Jack cheese. This sweet-savory combination is incredibly addictive!
Mediterranean Chicken Wraps
Add crumbled feta cheese, diced tomatoes, sliced olives, and fresh spinach to the chicken mixture. Use whole wheat tortillas for extra fiber. Drizzle with tzatziki sauce before rolling for authentic Greek flavor.
Spicy Cajun Chicken Wraps
Season chicken with Cajun seasoning instead of Italian seasoning and add diced jalapeños to the filling. Use pepper jack cheese for extra heat. Perfect for spice lovers who want bold, Louisiana-style flavor!
Bacon Ranch Chicken Wraps
Add 4 strips of cooked, crumbled halal-certified turkey bacon to the chicken mixture. Mix ranch seasoning into the garlic sauce for extra flavor. This variation tastes like a loaded baked potato in wrap form!
Pro Tips & Tricks
Curious about the insider secrets to perfect cheesy garlic chicken wraps?
- Soften cream cheese properly: Leave it at room temperature for 30 minutes before mixing. Cold cream cheese creates lumpy sauce that won’t spread smoothly on tortillas.
- Use fresh garlic for best flavor: Fresh minced garlic creates a more vibrant, punchy flavor than garlic powder. If using powder, reduce to 1 teaspoon total to avoid bitter aftertaste.
- Don’t overfill the wraps: More filling seems tempting, but overstuffed wraps burst open during cooking. Stick to ½ cup filling maximum per wrap for perfect results.
- Shred your own cheese: Pre-shredded cheese contains anti-caking agents that prevent smooth melting. Freshly shredded cheese from a block melts into that perfect gooey texture everyone loves.
- Press wraps gently while cooking: Use a spatula to press wraps against the pan surface for even browning and maximum crispiness. Don’t press too hard or filling squeezes out.
- Cover during the last minute: Placing a lid on the skillet during the final minute creates steam that melts cheese thoroughly without overcooking the tortilla.
- Let wraps rest before cutting: Wait 2-3 minutes after cooking before slicing in half. This allows the cheese to set slightly, preventing it from oozing out everywhere.
- Control your heat: Medium heat is perfect—too high burns tortillas before cheese melts; too low makes wraps soggy instead of crispy. Find that sweet spot between 325-350°F.
Frequently Asked Questions
Q: Can you make cheesy garlic chicken wraps ahead of time?
Yes! Assemble wraps completely and refrigerate for up to 24 hours before cooking. When ready to eat, cook them fresh in a skillet as directed. For longer storage, freeze uncooked wraps for up to 2 months wrapped individually in plastic wrap.
Q: How long do chicken wraps last in the fridge?
Cooked cheesy garlic chicken wraps last up to 3 days refrigerated in foil or airtight containers. They’re best within the first 48 hours when the tortillas maintain some texture. Reheat in a skillet or air fryer to restore crispiness.
Q: Can you freeze garlic chicken wraps?
Absolutely! Freeze uncooked assembled wraps for best results—they taste fresh-made when cooked from frozen or thawed. Wrap individually in plastic wrap, then place in freezer bags for up to 2 months of storage. This makes meal prep incredibly efficient.
Q: What to serve with cheesy chicken wraps?
Serve with garden salad, sweet potato fries, or coleslaw for a complete meal. Try my Wholesome Grilled Corn Salad for a fresh summer side. Ranch dressing, marinara, or garlic aioli are perfect dipping sauces.
Q: How do you make chicken wraps less soggy?
Use softened but not melted cream cheese in the sauce and don’t add too much liquid. Cook wraps in a hot skillet to create that crispy exterior that acts as a moisture barrier. Store properly wrapped to prevent condensation.
Q: What’s the best way to reheat chicken wraps?
Reheat in a skillet over medium-low heat for 3-4 minutes per side until warmed through and crispy. Air fryer at 350°F for 5-7 minutes also works beautifully. Avoid microwaving if possible—it makes tortillas rubbery and tough.
Q: Can I substitute ingredients in garlic chicken wraps?
Use Greek yogurt instead of mayonnaise for tangier, lighter sauce. Try different cheeses like pepper jack, Swiss, or provolone for variety. Swap chicken for turkey, shrimp, or even crispy tofu for different protein options.
Q: How many servings does this recipe make?
This recipe makes 4 large wraps, serving 2-4 people depending on appetite and what sides you serve. Each wrap is quite substantial with about ½ cup filling. Double the recipe easily for larger families or meal prep purposes.
Q: Why is my cheese not melting properly?
You may be using pre-shredded cheese that contains anti-caking additives preventing proper melting. Use freshly shredded cheese from a block for best results. Also, covering the pan during the last minute creates steam that helps melt cheese thoroughly.
Q: What toppings go with garlic chicken wraps?
Top with fresh parsley, diced tomatoes, shredded lettuce, or sliced avocado after cooking. Drizzle with ranch, hot sauce, or garlic aioli. For crunch, add crispy onions or crushed tortilla chips on top.
Q: How do I prevent wraps from unrolling?
Always cook wraps seam-side down first to seal them shut with heat. Roll tightly but not so tight that filling squeezes out. The cream cheese in the sauce acts as “glue” that helps hold everything together.
Q: Can you make these wraps in the air fryer?
Yes! Spray assembled wraps with cooking oil and air fry at 375°F for 6-8 minutes, flipping halfway through. They’ll be slightly crispier than skillet-cooked versions. Work in batches to avoid overcrowding the basket.
Ready for Your New Favorite Dinner?
These cheesy garlic chicken wraps transform simple ingredients into restaurant-quality comfort food you can make at home in just 25 minutes. The combination of creamy garlic sauce, tender chicken, and melted cheese wrapped in a crispy golden tortilla creates irresistible flavor and texture in every single bite.
Whether you’re using leftover rotisserie chicken for a quick weeknight dinner, meal prepping for the week ahead, or looking for a satisfying lunch solution, this foolproof recipe delivers delicious results every time. The crispy exterior with gooey cheese interior makes these wraps taste like indulgent takeout without leaving your kitchen.
Save this recipe for your next quick dinner! Leave a comment below and let me know what variation you tried—did you go buffalo style or keep it classic? Share with friends who need an easy, impressive meal that actually tastes incredible. 💕







