
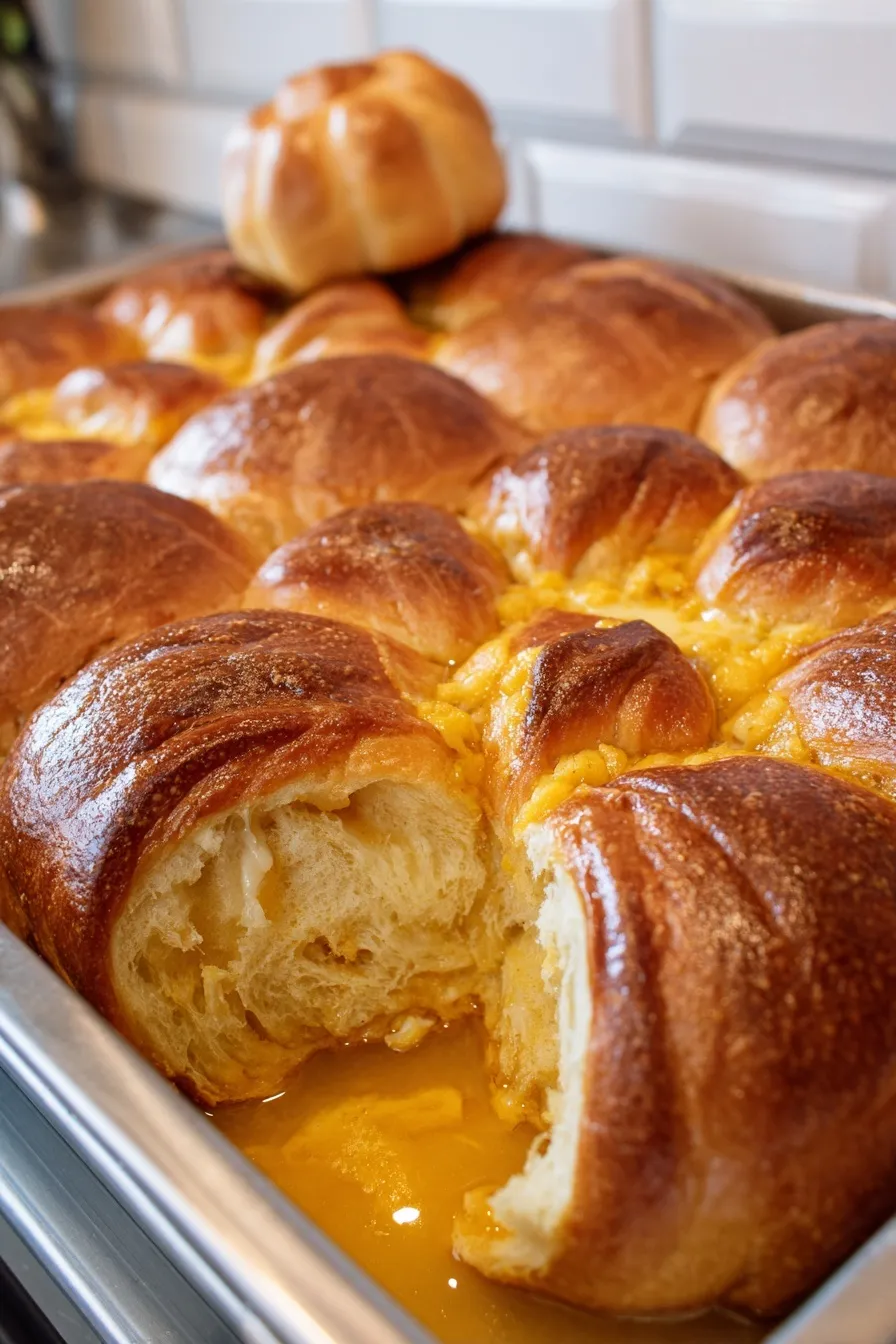
Adorable pumpkin-shaped pastries stuffed with cream cheese and pumpkin goodness!
Since you are here, make sure to check out these amazing fall treats:
- Pumpkin Shaped Crescent Rolls
- Easy Pumpkin Pie Twists Recipe Fall Pastry
- Pumpkin Cream Cheese Danish
- Pumpkin Cream Cheese Swirl Muffins
- Easy Watermelon Tajin Skewers
Note: This recipe is naturally halal-compliant with standard ingredients.
Y’all, can we take a moment to appreciate how ridiculously cute these little crescent pumpkins are? We’re talking about flaky pastry shaped like actual pumpkins, stuffed with creamy, tangy cream cheese AND spiced pumpkin filling. It’s like someone took all the best parts of fall and wrapped them in buttery crescent roll dough.
The genius here is using kitchen twine to create those perfect pumpkin ridges—your guests will think you’re some kind of pastry wizard when these come out looking like tiny works of art. But between you and me? They’re way easier than they look, and the payoff is absolutely worth the few extra minutes of assembly time! 🙂
Ingredients
The Foundation
- 1 tube (8 ounces) refrigerated crescent roll dough
Cream Cheese Filling
- 5 ounces cream cheese, softened (Room temperature is key!)
- 2 tablespoons granulated sugar
- 1 teaspoon pure vanilla extract (alcohol-free)
Pumpkin Pie Filling
- ¾ cup pumpkin puree (NOT pumpkin pie filling)
- 1 tablespoon cornstarch
- 2 tablespoons light brown sugar, packed
- 2 tablespoons granulated sugar
- ¾ teaspoon ground cinnamon
- ¼ teaspoon ground ginger
- ¼ teaspoon ground nutmeg
- ⅛ teaspoon ground allspice
- 1 large egg yolk
- ½ teaspoon pure vanilla extract (alcohol-free)
For Assembly & Finishing
- 2½ tablespoons melted butter
- Kitchen twine (This is what creates the magic!)
- Pretzel sticks (For the stems)
Pro tip: That cornstarch in the pumpkin filling isn’t optional—it prevents the filling from being too wet and making your pastry soggy. Science for the win!
Instructions
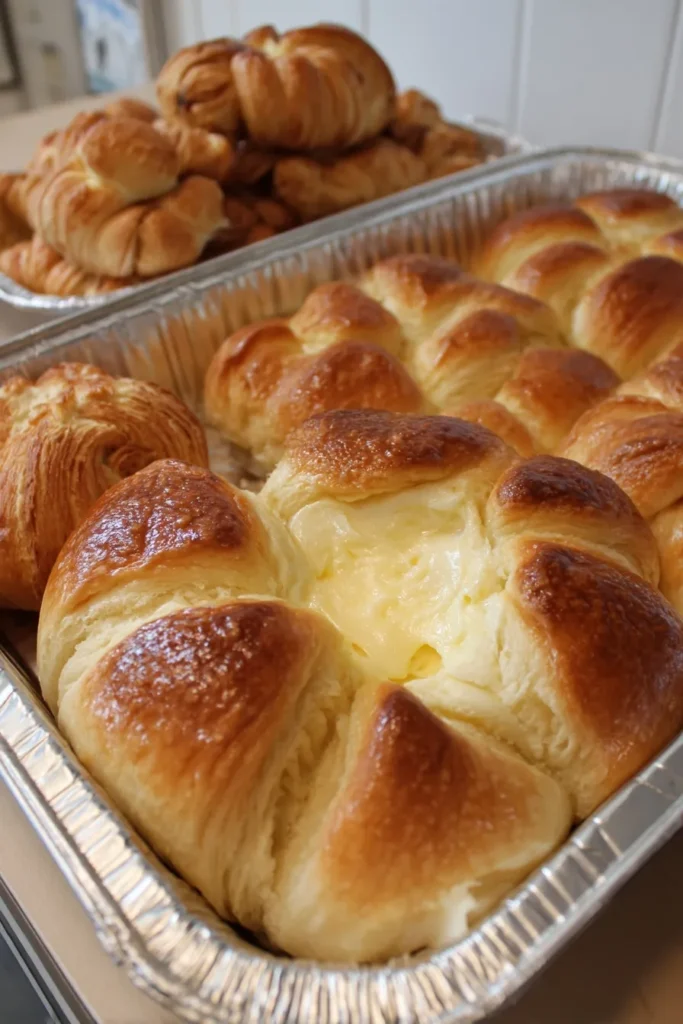
Step 1: Prep Your Pumpkin
Drain the pumpkin puree by placing it between several layers of paper towels and gently pressing to remove excess moisture. Let it sit for a few minutes—this step prevents soggy pastries.
Preheat oven to 375°F and line a baking sheet with parchment paper.
Step 2: Make the Fillings
For pumpkin filling: In a bowl, whisk together drained pumpkin, egg yolk, both sugars, cornstarch, and all the spices until smooth. Set aside.
For cream cheese filling: In another bowl, beat softened cream cheese, sugar, and vanilla until smooth and fluffy. This should be completely lump-free.
Step 3: Prep the Dough
Unroll crescent roll dough and separate into 4 rectangles. Pinch perforations together to seal, then cut each rectangle in half to make 8 squares total.
Step 4: Assemble the Magic
Gently stretch each dough square slightly. Place 1 heaping tablespoon cream cheese filling in the center, then top with 1 tablespoon pumpkin filling.
Gather all four corners and pinch together tightly to form a ball, making sure edges are completely sealed. No filling should peek out!
Step 5: Create Pumpkin Shapes
Here’s where it gets fun! Wrap each dough ball with kitchen twine, dividing it into 8 sections like a real pumpkin. Tie loosely—the dough needs room to expand as it bakes.
Place seam-side down on your prepared baking sheet.
Step 6: Bake to Golden Perfection
Brush each pumpkin with melted butter and bake for 18-22 minutes until golden brown and gorgeous.
Step 7: The Final Touch
Cool for a few minutes, then carefully snip and remove twine. Insert pretzel sticks into the tops for stems, and prepare to watch people’s faces light up!
Why These Are Absolutely Brilliant
Instagram-worthy: These look like they belong in a fancy bakery window, but you made them in your kitchen!
Double filling delight: Cream cheese adds richness while pumpkin pie filling brings all those cozy fall spices.
Make-ahead friendly: Assemble them earlier in the day and bake when ready to serve.
Crowd-pleaser: Even people who claim they don’t like pumpkin love these because the flavors are perfectly balanced.
Pro Tips for Pumpkin Perfection
Room temperature cream cheese: Cold cream cheese creates lumps. Let it sit out for about an hour before using.
Seal completely: Any gaps in the dough will cause filling to leak out during baking. Pinch those seams tight!
Loose twine: Tie just snug enough to create indentations, but not so tight that it cuts through the expanding dough.
Watch the timing: Golden brown is perfect—any darker and the delicate pastry becomes tough.
Stem alternatives: No pretzel sticks? Use pecan halves, cinnamon sticks, or even small pieces of celery for stems.
Creative Variations to Try
Apple version: Replace pumpkin with finely diced apples tossed with cinnamon and a bit of cornstarch.
Chocolate twist: Add mini chocolate chips to the cream cheese filling for a surprise.
Maple upgrade: Replace vanilla in both fillings with maple extract for deeper fall flavor.
Nuts about it: Fold chopped pecans into the pumpkin filling for extra texture.
Complete FAQ
Can I make these ahead of time?
Assemble completely and refrigerate up to 4 hours before baking. They may need an extra 1-2 minutes in the oven if baking from cold.
What if I don’t have kitchen twine?
Use a butter knife to gently press lines into the dough balls to create pumpkin segments. Won’t be quite as dramatic, but still adorable.
Can I freeze these?
Yes! Freeze baked and cooled pastries for up to 3 months. Thaw and warm gently in a 300°F oven before serving.
My filling leaked out—what went wrong?
Either the dough wasn’t sealed properly or there was too much filling. Use a generous tablespoon of each filling, but don’t overstuff.
Can I use store-bought pumpkin pie filling?
You can, but skip the sugars and egg yolk since pie filling is already sweetened and thickened. The flavor won’t be quite as fresh, though.
These crescent pumpkins prove that sometimes the most impressive desserts come from the simplest ideas executed with a little creativity. They’re what happens when you combine convenience with charm, and honestly, they might just become your new favorite fall tradition. Your kitchen will smell amazing, your guests will be impressed, and you’ll feel like a total baking rockstar!







