
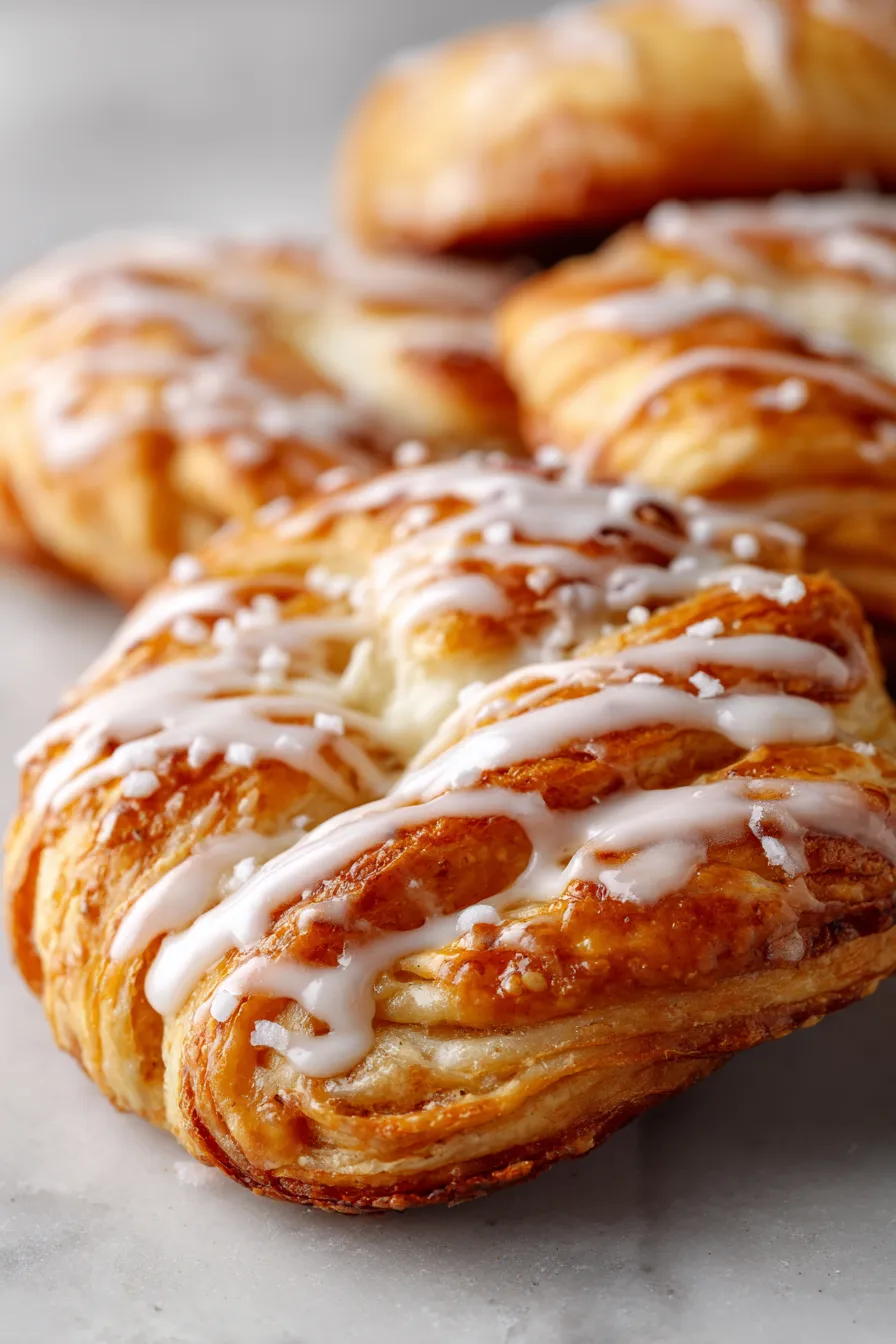
Flaky puff pastry meets rich cream cheese and spiced pumpkin in this irresistible fall treat that’s foolproof every single time!
These absolutely incredible pumpkin cream cheese danishes transform simple store-bought puff pastry into bakery-quality pastries that will have everyone asking for your secret. In my years of professional baking, I’ve learned that the most impressive treats often use the smartest shortcuts – and these danishes prove exactly that.
During my restaurant days, I discovered that the secret to perfect danishes isn’t complicated techniques, but rather understanding how flavors balance and textures complement each other. After testing this recipe countless times with my family and neighbors (including my friend Sarah’s notoriously picky eight-year-old), I can confidently say this is the easiest way to create stunning fall pastries at home.
Why This Recipe Works Every Single Time
The magic happens when you combine three essential elements: buttery puff pastry that crisps perfectly, a tangy cream cheese base that doesn’t curdle, and pumpkin filling that’s properly seasoned without being overwhelming. My culinary training taught me that reducing the pumpkin puree slightly concentrates the flavor – a restaurant trick that makes all the difference.
When I first developed this recipe, I was inspired by those expensive bakery danishes that cost $4 each. After some experimenting in my own kitchen, I realized I could create something even better using ingredients from any grocery store. The key is getting the ratios exactly right, which took me several attempts to perfect.
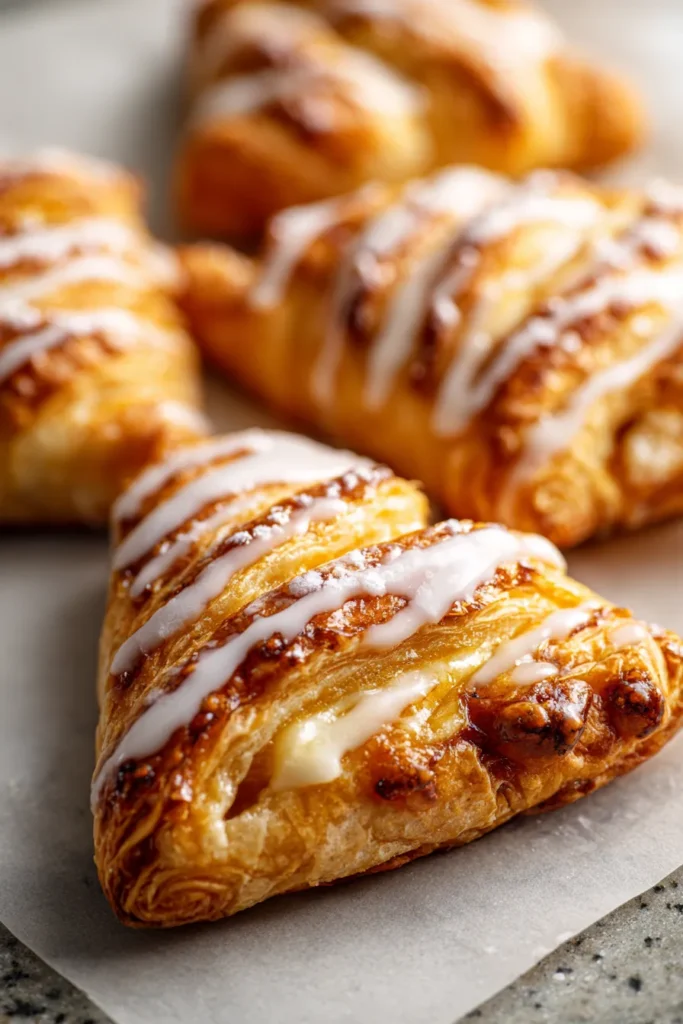
Essential Ingredients for Perfect Danishes
For the Cream Cheese Filling:
- 8 oz cream cheese, softened to room temperature
- 1/3 cup granulated sugar
- 1 large egg yolk
- 1 teaspoon vanilla extract
For the Pumpkin Filling:
- 3/4 cup pumpkin puree (not pumpkin pie filling)
- 1/4 cup light brown sugar, packed
- 1/2 teaspoon cinnamon
- 1/4 teaspoon nutmeg
- 1/8 teaspoon ground ginger
- Pinch of salt
For Assembly:
- 2 sheets frozen puff pastry, thawed
- 1 egg beaten with 2 tablespoons water (for egg wash)
- 1 cup powdered sugar
- 2-3 tablespoons milk
- 1/2 teaspoon vanilla extract
Step-by-Step Instructions for Bakery-Quality Results
Prep Your Fillings First
Make the Cream Cheese Base: In my experience, the smoothest filling comes from beating softened cream cheese with sugar until completely lump-free – about 3 minutes with a stand mixer. Add the egg yolk and vanilla, mixing just until combined. Over-mixing can make the filling too thin.
Create the Pumpkin Mixture: Here’s where my restaurant background comes in handy – I learned to enhance pumpkin flavor by cooking it briefly in a skillet. Heat the pumpkin puree in a non-stick pan over medium heat for 5-7 minutes, stirring constantly, until it darkens slightly and reduces by about one-third. This concentrates the flavor dramatically. Cool completely before adding brown sugar and spices.
Shape Your Danishes Like a Pro
Prepare the Pastry: Working with one sheet at a time (keep the other refrigerated), roll puff pastry on a lightly floured surface to about 12×12 inches. Cut into 6 equal rectangles – I use a sharp knife and try to make clean cuts to help the pastry rise evenly.
The Assembly Secret: Place rectangles on parchment-lined baking sheets. Score a border about 1/2 inch from the edges without cutting all the way through. This creates a rim that contains the filling perfectly.
Professional Filling Technique
Add about 1 1/2 tablespoons cream cheese mixture to the center of each rectangle, staying within the scored border. Top with 1 tablespoon pumpkin filling. I use a toothpick to create a gentle swirl pattern – this looks beautiful and ensures every bite has both flavors.
Brush the borders with egg wash for that gorgeous golden color. This step makes the difference between homemade-looking and bakery-quality appearance.
Baking for Perfect Results Every Time
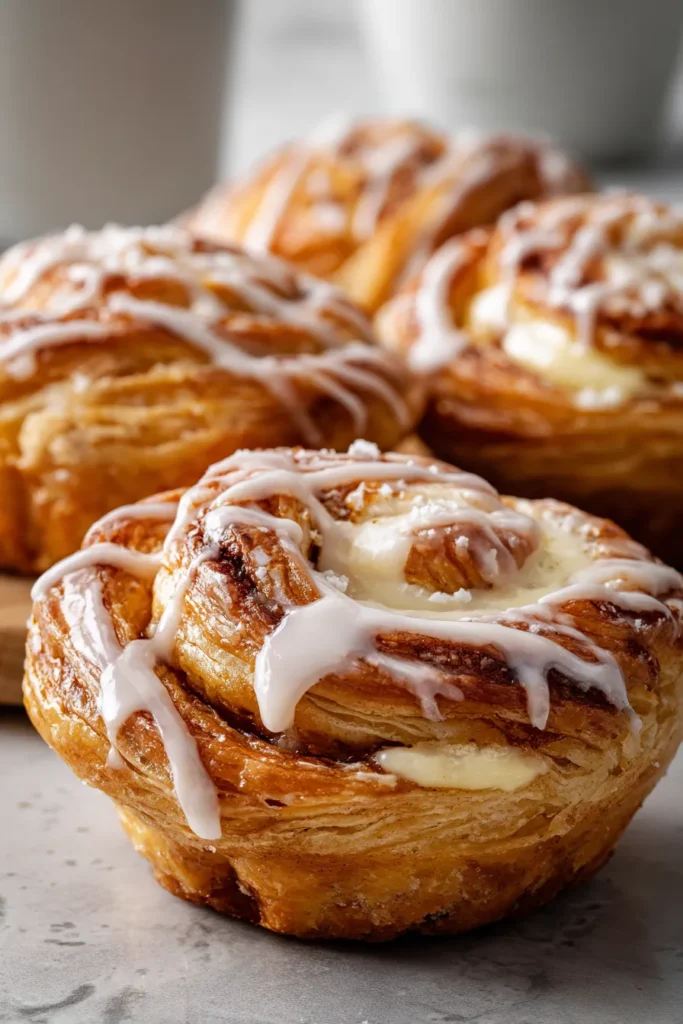
Preheat your oven to 400°F and bake for 15-18 minutes until the pastry is golden brown and puffed. The filling should be set but still creamy. My chef mentor always said to trust your eyes over the timer – when the edges are deeply golden, they’re ready.
While the danishes cool for about 10 minutes, whisk together powdered sugar, milk, and vanilla for the glaze. The consistency should coat the back of a spoon but still drizzle easily.
Make-Ahead Magic for Busy Mornings
One of my favorite aspects of this recipe is how well it adapts to busy schedules. You can assemble the danishes completely, cover with plastic wrap, and refrigerate overnight. Just add 2-3 extra minutes to the baking time.
For longer storage, freeze assembled danishes on a baking sheet, then transfer to freezer bags once solid. Bake directly from frozen, adding 5-7 minutes to the cooking time. This trick has saved me countless times when hosting unexpected brunch guests.
Expert Tips for Guaranteed Success
Temperature Matters: Ensure your cream cheese is truly softened – it should give easily when pressed. Cold cream cheese creates lumpy filling that won’t spread smoothly.
Don’t Overfill: I’ve learned from experience that less is more with danish fillings. Too much filling leads to messy overflow and soggy bottoms.
Sharp Cuts: Use a sharp knife for clean puff pastry cuts. Dull knives compress the layers and prevent proper rising.
Egg Wash Coverage: Don’t skip brushing the entire exposed pastry surface. This creates an even golden color and prevents pale spots.
Seasonal Variations Worth Trying
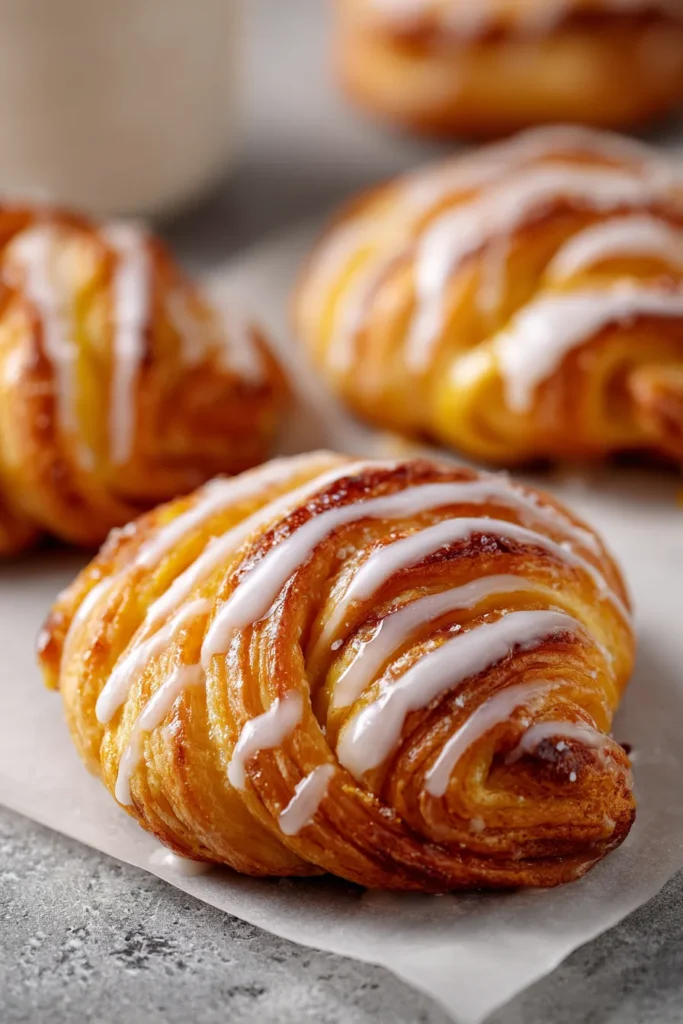
My readers have shared dozens of delicious adaptations over the years. Try substituting the pumpkin with sweet potato puree and cinnamon for a different fall flavor, or add maple syrup instead of brown sugar for extra autumn warmth.
For holiday entertaining, I sometimes add a sprinkle of crystallized ginger to the pumpkin filling or substitute cream cheese with mascarpone for an even richer taste.
Storage and Serving Suggestions
Store covered danishes in the refrigerator for up to 4 days. While they’re delicious cold, I prefer warming them in a 300°F oven for 8-10 minutes to restore the pastry’s crispness.
These pair beautifully with coffee drinks or fall-spiced lattes. For brunch gatherings, serve alongside fresh fruit and simple egg dishes.
Troubleshooting Common Issues
Soggy Bottoms: This usually happens when the oven isn’t hot enough or the pastry wasn’t thawed properly. Ensure your oven reaches 400°F before baking.
Filling Overflow: If your filling leaks during baking, you’ve likely overfilled or didn’t create a proper border. Use a lighter hand with fillings next time.
Uneven Browning: Rotate your baking sheets halfway through cooking and ensure they’re positioned in the center of your oven.
Perfect Occasions for These Danishes
From my years of hosting family gatherings, I’ve discovered these danishes shine brightest during autumn celebrations. They’re impressive enough for holiday entertaining yet simple enough for weekday treats.
I first made these for my daughter’s school bake sale, and they sold out within the first hour. The combination of familiar flavors and beautiful presentation makes them irresistible to both kids and adults.
Frequently Asked Questions
Can I use homemade puff pastry? Absolutely! If you’re making pastry from scratch, just ensure it’s properly chilled before rolling and cutting.
What if I don’t have pumpkin pie spice? Mix 1/2 teaspoon cinnamon, 1/4 teaspoon nutmeg, 1/8 teaspoon ginger, and a pinch of cloves for the perfect blend.
Can I make these dairy-free? Use dairy-free cream cheese and plant-based milk for the glaze. The texture will be slightly different but still delicious.
How do I know when they’re properly baked? The pastry should be deep golden brown and sound hollow when tapped gently. The filling should be set but still slightly jiggly in the center.
Can I freeze the baked danishes? Yes! Cool completely, then freeze for up to 3 months. Thaw overnight and reheat in a 300°F oven for best results.
These pumpkin cream cheese danishes represent everything I love about fall baking – they’re comforting, beautiful, and surprisingly achievable for home bakers. The combination of my professional techniques with accessible ingredients means you can create bakery-quality results in your own kitchen. Whether you’re treating your family to something special or impressing guests at your next gathering, these danishes deliver every single time.







