
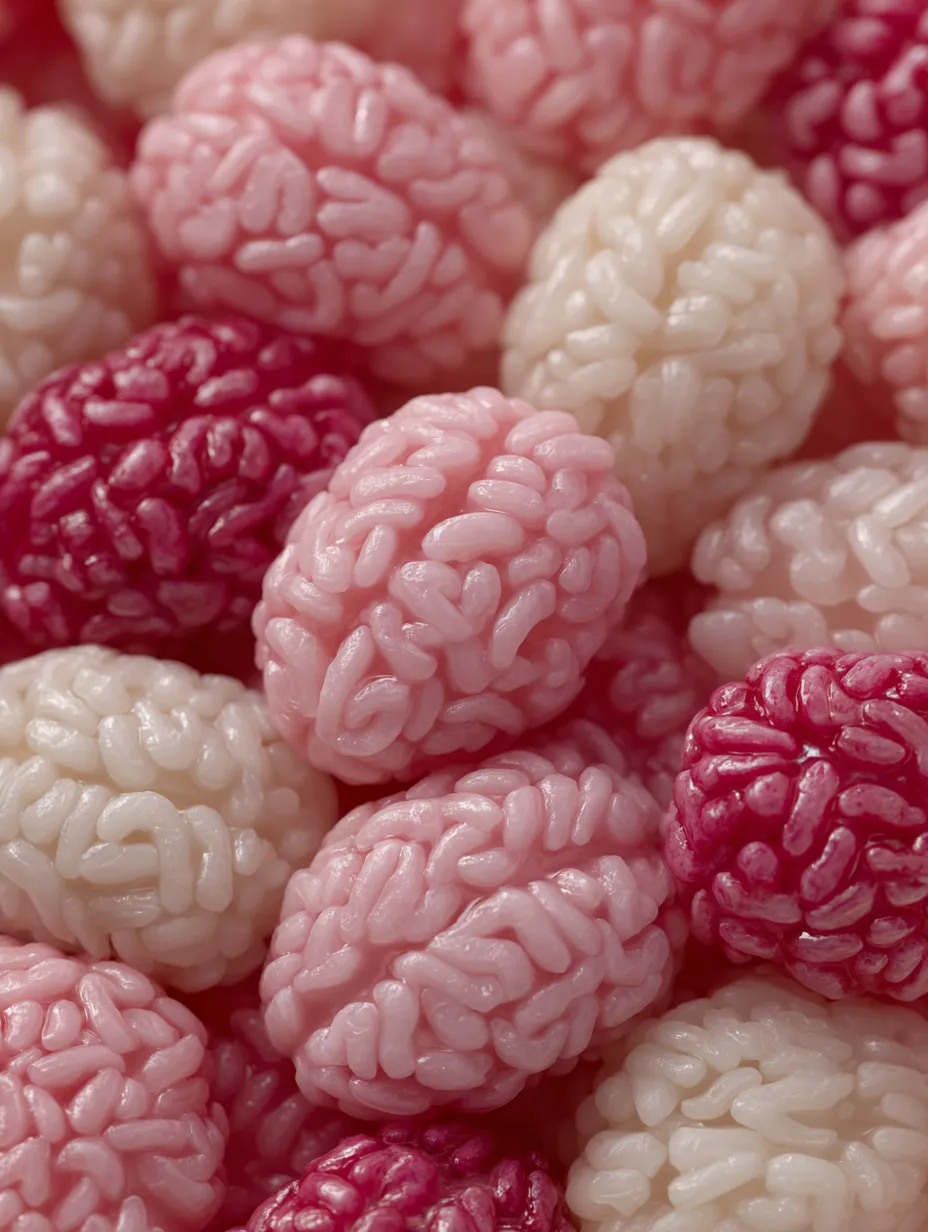
Halloween party coming up and need something that’ll make everyone go “ewww!” in the best way possible? These realistic brain treats are about to become your secret weapon for the spookiest celebration ever.
I first discovered this technique during my restaurant days when we were tasked with creating seriously creepy Halloween desserts. After perfecting the method through countless family parties (and witnessing kids’ delighted screams), I can confidently say these marshmallow brain treats deliver maximum fear factor with minimal effort.
Trust me – when I served these at my daughter’s Halloween party last year, three moms immediately asked for the recipe while their kids were simultaneously fascinated and grossed out. Exactly what you want from a Halloween treat! 🙂
Why These Halloween Brains Are Going Viral
These aren’t your average Rice Krispies treats. The secret lies in the double-melt technique I learned from a pastry chef who specialized in theatrical desserts. By using the bain-marie method instead of microwave melting, you get that perfectly smooth, workable texture that holds its brain-like shape.
What makes them irresistible:
- Crispy-chewy texture that’s incredibly satisfying
- Realistic appearance that genuinely surprises guests
- Kid-friendly ingredients everyone recognizes
- Make-ahead friendly for busy party planning
- Budget-friendly using pantry staples
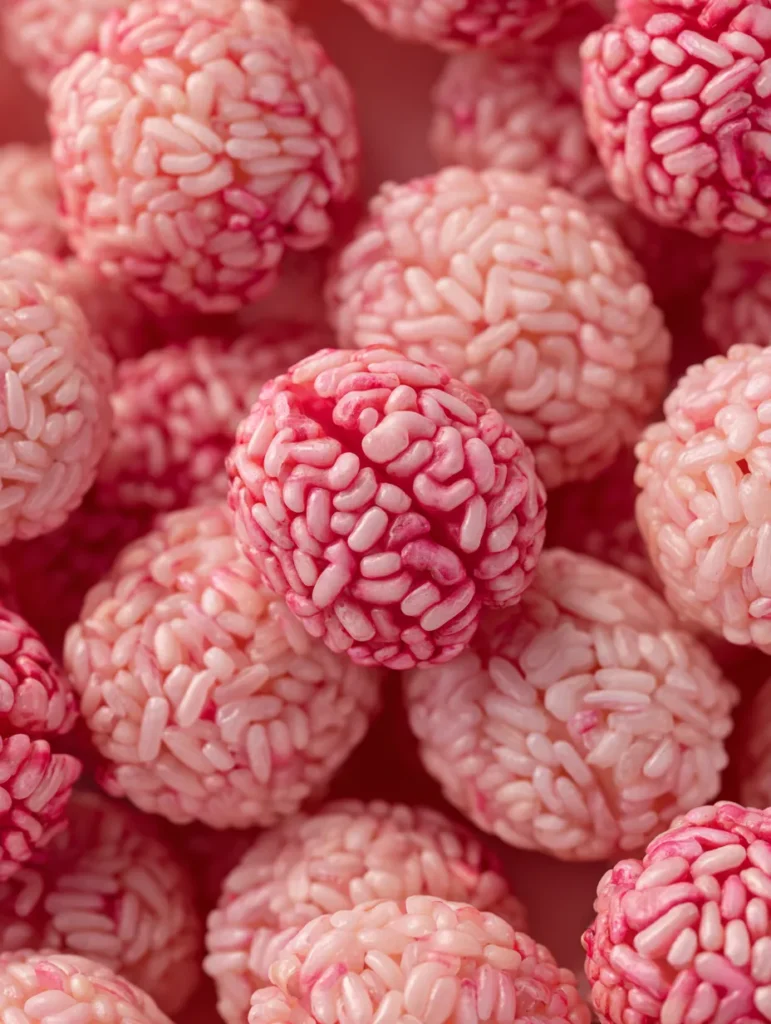
Essential Ingredients for Perfect Brain Treats
For the Base (Makes 14 Brain Treats):
- 3 tablespoons unsalted butter
- 3 cups mini marshmallows (or 30 regular marshmallows)
- 1/2 teaspoon salt
- 3 cups Rice Krispies cereal
- Red food coloring
Pro tip from my professional kitchen days: Pink marshmallows actually work better than white ones – they give a more authentic “flesh” tone that’s genuinely unsettling!
Professional Kitchen Techniques for Success
Setting Up Your Double Boiler
This technique comes straight from my culinary school training. A proper bain-marie gives you complete temperature control – no scorched marshmallows or lumpy texture.
Step 1: Create Your Bain-Marie
- Fill small saucepan with 1/2 cup water
- Bring to gentle simmer (not rolling boil)
- Place heatproof bowl on top, ensuring bottom doesn’t touch water
Why this matters: Direct heat can seize marshmallows instantly. The gentle steam heat melts them into silk-smooth perfection.
The Professional Melting Method
Step 2: Master the Melt
- Add butter and marshmallows to bowl
- Whisk continuously for 2-4 minutes
- Watch for smooth, glossy paste consistency
- Remove from heat immediately when smooth
During my restaurant years, I learned that timing is everything with marshmallow work. Too little heat and they won’t melt properly; too much and they become impossible to work with.
Creating Realistic Brain Texture
The Color Psychology
Step 3: Perfect the Color
- Remove bowl from heat (use oven mitts!)
- Whisk in salt first
- Add food coloring drop by drop
- Aim for deep pinkish-red, not bright red
I’ve tested dozens of color combinations over the years. The key is building color gradually – you want “fresh brain” not “cartoon brain.”
Critical Mixing Technique
Step 4: Speed Assembly
- Pour cereal into large mixing bowl
- Add hot marshmallow mixture immediately
- Mix frantically while mixture is still hot
- Work fast – you have maybe 60 seconds before it firms up
This is where my professional kitchen experience really shows. In commercial kitchens, we call this “hot assembly” – the window where everything has to happen perfectly or you start over.
Shaping Professional-Looking Brains
Hand-Shaping Mastery
Step 5: Sculpt Like a Pro
- Oil hands generously (prevents sticking)
- Form mixture into oval shapes, about egg-sized
- Work while mixture is still warm and pliable
- Create natural, irregular brain shapes
Real talk: Perfect ovals look fake. Slightly lopsided, organic shapes look disturbingly realistic. I learned this from a cake decorator who specialized in medical training models!
Adding Realistic Details
Step 6: Create the Brain Folds
- Use butter knife edge to create center “split”
- Press gently to create natural indentations
- Don’t overthink it – real brains aren’t symmetrical
Step 7: Vein Work (The Game-Changer)
- Dip toothpick in food coloring
- Draw branching lines from center outward
- Create irregular, organic patterns
- Less is more – subtle veining looks more realistic
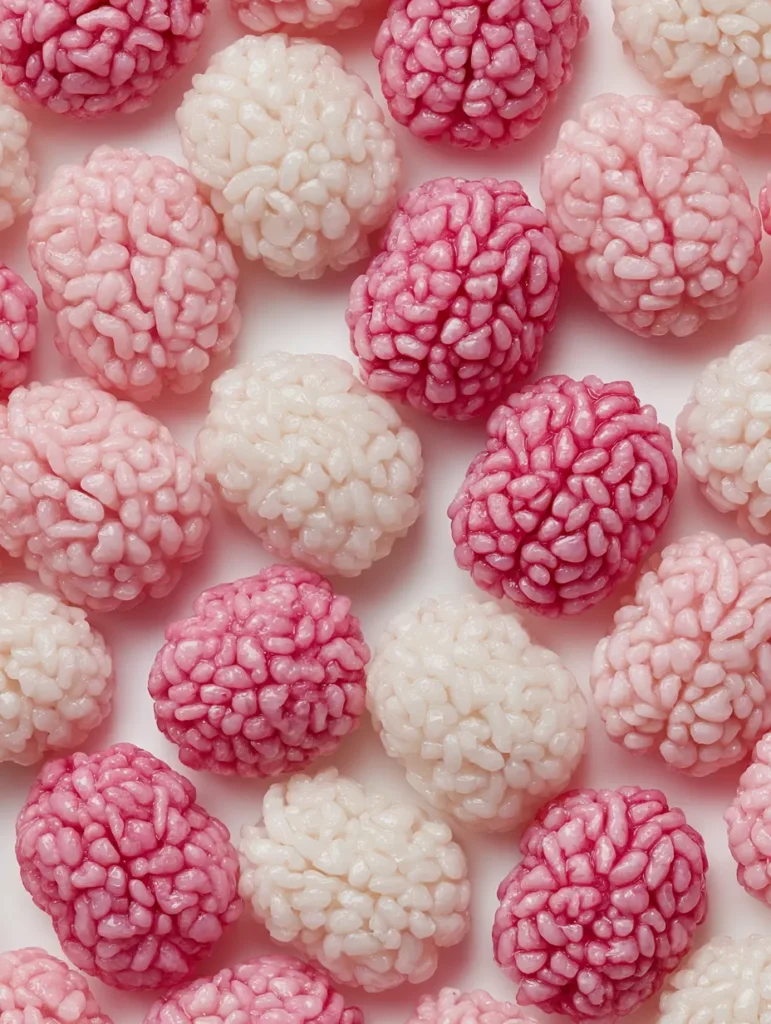
Storage and Make-Ahead Strategy
These treats are perfect for busy party planning. Store in airtight containers for up to one week – though trust me, they’ll disappear much faster!
Make-ahead tips:
- Shape brains up to 3 days early
- Add vein details day of party for maximum impact
- Store at room temperature (refrigeration makes them too firm)
For Halloween parties, I actually recommend making these the night before. They firm up beautifully overnight and hold their shape perfectly for serving.
Ingredient Substitutions That Actually Work
During my years of adapting recipes for dietary restrictions, I’ve tested every possible variation:
Butter alternatives: Perfect vegan butter works identically to dairy butter
Salt options: If using salted butter, skip the extra salt entirely
Cereal swaps: Generic crispy rice cereal works perfectly (save money without sacrificing quality)
Marshmallow notes: Mini marshmallows melt faster and more evenly than regular-sized
Serving These at Halloween Parties
I’ve served these at countless Halloween gatherings, and the presentation is everything. Arrange them on a dark platter, maybe add some fake cobwebs around the edges, and watch people’s faces!
Perfect pairings:
- Spooky orange cinnamon iced tea
- Easy Halloween ice cream floats
- Energizing matcha smoothie bowls (for the health-conscious parents!)
Troubleshooting Common Problems
Mixture too sticky? Your marshmallows got too hot. Next time, remove from heat the moment they’re smooth.
Brains falling apart? You didn’t mix fast enough while the mixture was hot. The cereal needs to be completely coated while the marshmallow is still molten.
Color looks fake? Build your color gradually. Start with just 2-3 drops, then add more as needed.
Not holding shape? Oil your hands more generously and work while the mixture is still warm but not scorching hot.
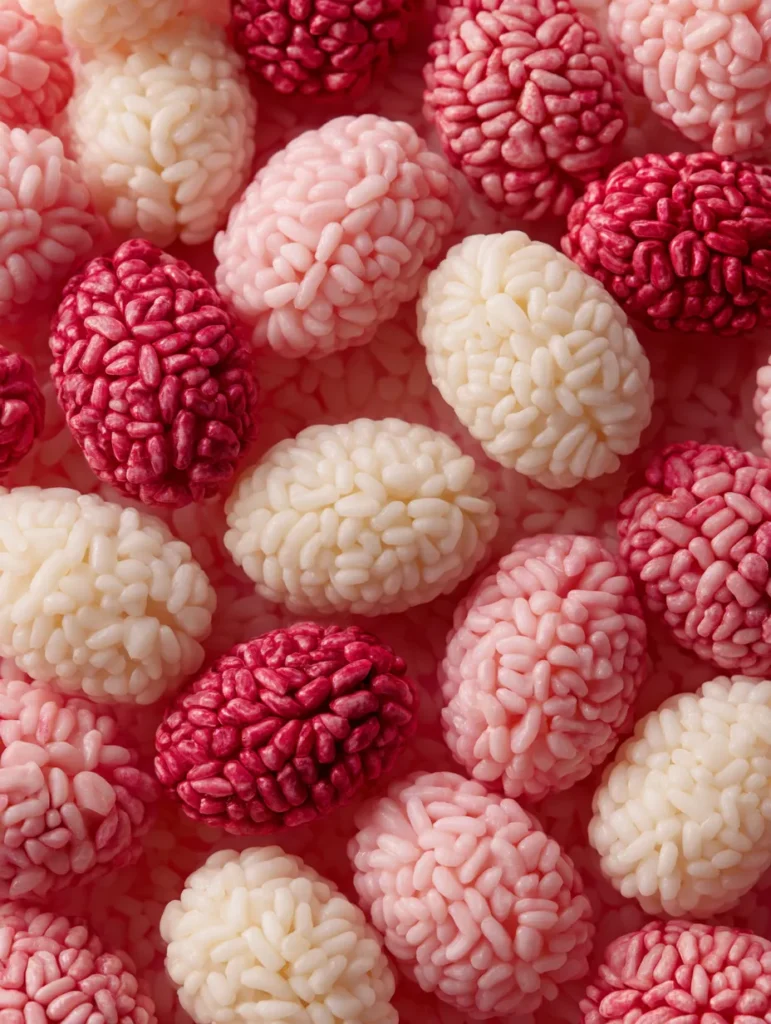
Why Kids (and Adults!) Love Making These
There’s something incredibly satisfying about the hands-on shaping process. During my daughter’s last Halloween party, we set up a “brain-making station” and every single kid wanted to create their own version.
The sensory experience is amazing – the warm, pliable texture, the satisfaction of creating something that looks genuinely creepy, the pride of making something “disgusting” that tastes amazing.
Plus, parents love that it’s essentially a dressed-up version of familiar Rice Krispies treats. No mystery ingredients, nothing scary for kids with sensitivities.
Advanced Techniques for Food Enthusiasts
Want to take these to the next level? Here are some professional pastry techniques I’ve adapted:
Texture variation: Add chopped nuts for “brain matter” texture
Color gradients: Create ombre effects with varying food coloring intensity
Size variations: Make “baby brains” using tablespoon-sized portions
Flavor enhancement: Add a drop of vanilla extract for complexity
Perfect Halloween Party Timeline
Week before:
- Shop for ingredients
- Test recipe if trying for first time
2-3 days before:
- Make brain treats
- Store in airtight containers
Day of party:
- Add vein details with food coloring
- Arrange on serving platters
- Prepare complementary Halloween treats
This timeline has saved my sanity during countless Halloween parties. The key is doing the messy work when you have time to focus, then just adding finishing touches on party day.
Nutritional Benefits (Yes, Really!)
While these are definitely party treats, they’re actually not terrible nutrition-wise:
- Fortified cereal provides iron and B vitamins
- Marshmallows are fat-free (just sugar and gelatin)
- Minimal processed ingredients compared to store-bought Halloween candy
- Portion-controlled natural serving sizes
At 149 calories per brain, they’re reasonable for Halloween indulgence. Compare that to full-size candy bars!
Making Memories with Spooky Treats
Some of my favorite memories from hosting Halloween parties involve kids’ genuine reactions to these brain treats. The initial “eww!” followed immediately by “can I have another one?” never gets old.
Last year, my neighbor’s typically picky eight-year-old not only ate three of them but insisted on helping make more for her own family. When a picky eater requests the recipe, you know you’ve created something special!
These treats bridge the gap between genuinely spooky and actually delicious – which is exactly what every Halloween party needs.
Frequently Asked Questions
How long do Halloween brain treats last? Store in airtight containers at room temperature for up to one week. They actually improve in texture after 24 hours as flavors meld together.
Can I make these ahead for a party? Absolutely! Make the brains 2-3 days early and add the vein details the day of your party for maximum visual impact.
What if I don’t have red food coloring? Pink marshmallows work great on their own for a subtle brain color, or you can mix a tiny amount of cocoa powder for a more muted tone.
Are these safe for kids with allergies? Check your specific cereal brand, but most basic rice cereals are gluten-free. Always verify marshmallow ingredients for specific allergies.
Why do my brains keep falling apart? You need to mix the cereal with the marshmallow mixture while it’s still very hot, and shape them while the mixture is warm but not scalding. Work quickly!







