
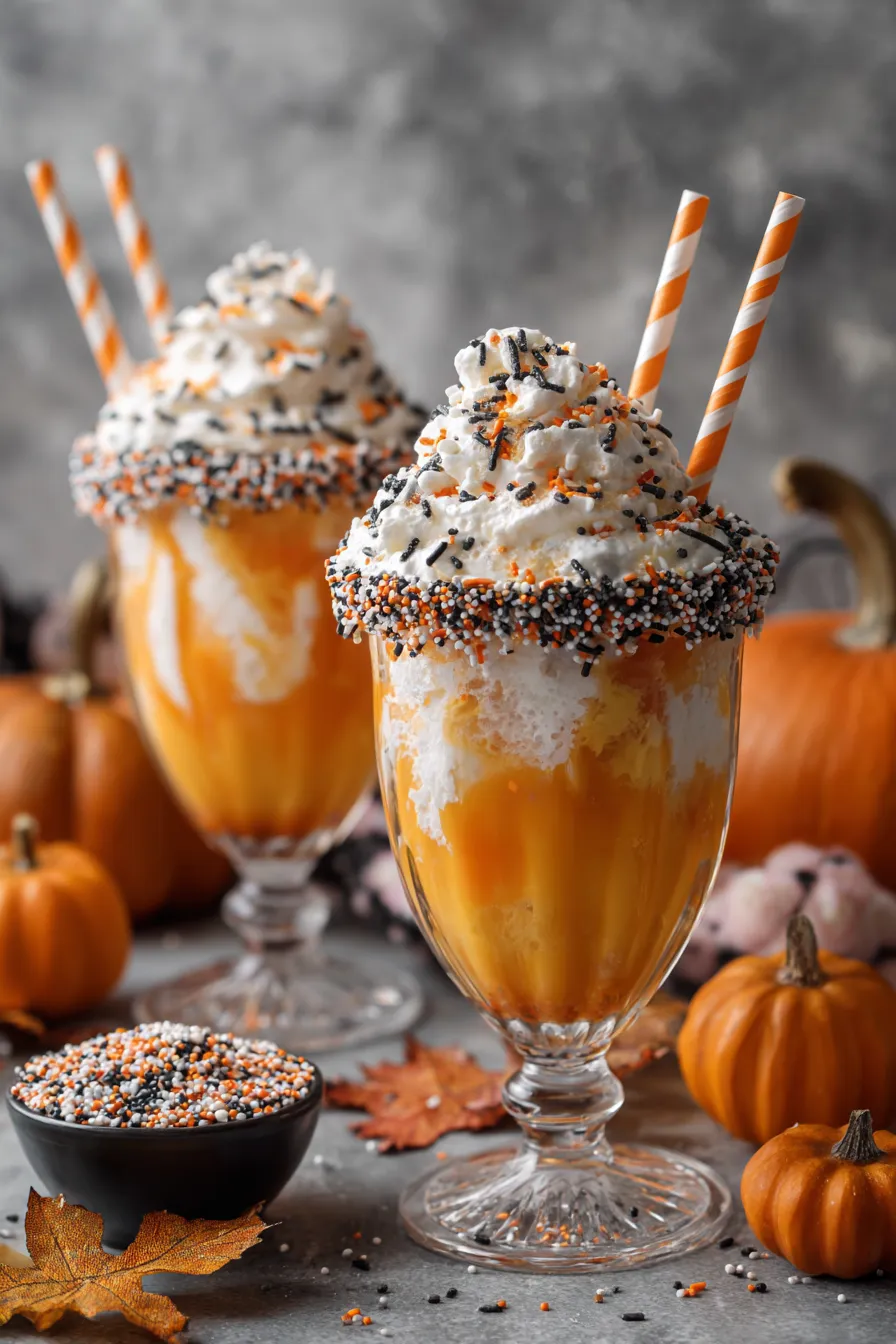
These wickedly delicious Halloween treats take just 5 minutes to create but deliver spine-tingling flavor that’ll have your party guests screaming for more!
Picture this: bubbling orange soda cascading over creamy vanilla ice cream while gummy worms peek through the fizzy foam. That’s exactly what happened when I first created these Halloween ice cream floats for my daughter’s costume party three years ago. As someone who’s spent years perfecting party recipes in professional kitchens, I can tell you that the secret to memorable holiday treats isn’t complexity – it’s creativity with simple ingredients.
What Makes These Halloween Floats Absolutely Perfect
These spooky ice cream floats hit every mark for busy parents planning Halloween festivities. During my restaurant days, I learned that the best party food combines visual impact with effortless execution, and these floats deliver both beautifully.
Why families love this recipe:
- Ready in under 5 minutes
- Uses common grocery store ingredients
- Kid-friendly and mess-free serving
- Easily scales for large groups
- Instagram-worthy presentation every time
The combination of fizzy soda and creamy ice cream creates that perfect nostalgic float experience, while the Halloween-themed decorations transform a simple treat into party magic.
Essential Ingredients for Spooky Success
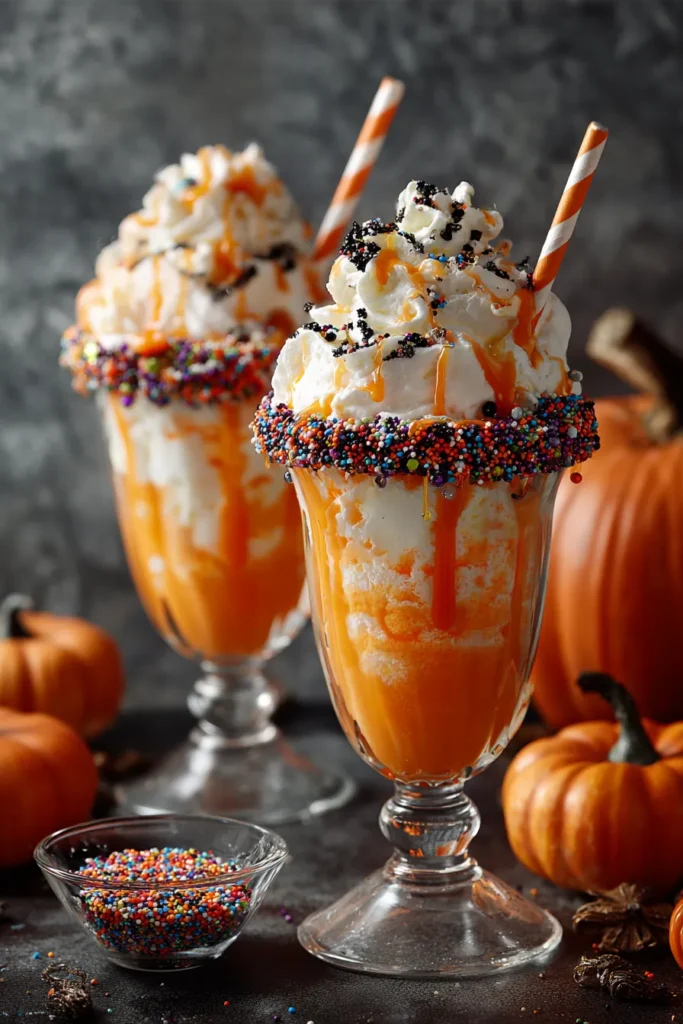
Quality ingredients make all the difference – here’s what you’ll need for the perfect Halloween float experience:
Base Ingredients:
- Vanilla ice cream (2 cups) – Premium brands create better texture
- Orange soda (2 cups) – Any brand works beautifully
- Root beer (optional, for variety) – Creates a “witches’ brew” effect
Spooky Decorations:
- Gummy worms – The classic Halloween float essential
- Whipped cream – For that “ghostly” foam effect
- Halloween sprinkles – Orange and black create perfect contrast
- Dry ice (optional) – For dramatic smoking effect
Pro tip from my restaurant experience: Always use cold glasses and chill your soda beforehand. This prevents excessive foaming and creates that perfect layered look that photographs beautifully.
Step-by-Step Halloween Float Creation
After making these floats for countless Halloween parties, I’ve perfected the technique for consistently gorgeous results:
Prep Your Spooky Station
Time: 2 minutes
Chill tall glasses in the freezer for 10 minutes before serving. This professional technique prevents the ice cream from melting too quickly and maintains that perfect creamy-to-fizzy ratio throughout the drinking experience.
Arrange your decorative elements on a tray – gummy worms, sprinkles, and whipped cream. Having everything within reach makes assembly effortless, especially when you’re serving a crowd.
Master the Perfect Scoop Technique
Time: 1 minute per float
Using a quality ice cream scoop, place 2-3 generous scoops of vanilla ice cream into each chilled glass. I learned this sizing technique during my years managing dessert stations – it’s the perfect ratio for both flavor and visual appeal.
Here’s the secret: Let the ice cream sit for 30 seconds before adding soda. This slight softening creates better integration with the carbonation.
Create the Magical Pour
Time: 1 minute
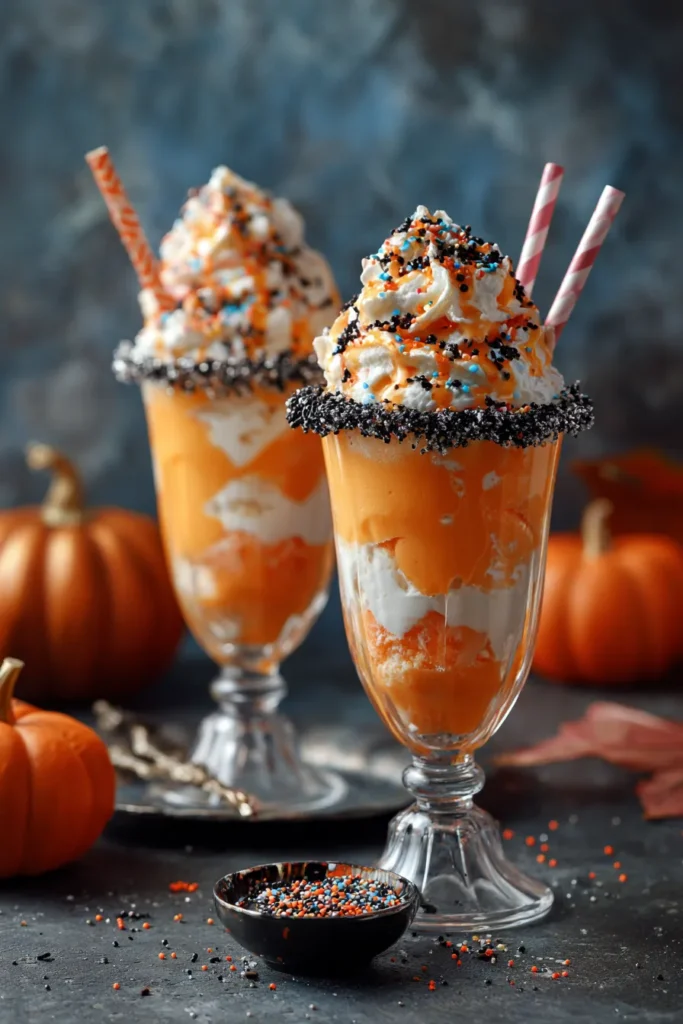
Slowly pour orange soda down the side of the glass, just like you’d pour a perfect lemonade. This gentle technique prevents excessive foam while creating those gorgeous bubbling layers that make these floats so photogenic.
Fill to about ¾ full, leaving room for toppings and natural foam expansion.
Add Your Spooky Finishing Touches
Time: 2 minutes
Top with a dollop of whipped cream, then carefully nestle gummy worms so they appear to be “swimming” through the float. Finish with Halloween sprinkles for that perfect festive sparkle.
Professional presentation tip: Add one gummy worm hanging over the glass rim – it creates an instantly recognizable Halloween silhouette that looks amazing in photos.
Creative Halloween Float Variations
During my years of holiday entertaining, I’ve discovered these crowd-pleasing variations that keep the party exciting:
Witches’ Brew Float
Replace orange soda with root beer and add purple food coloring to vanilla ice cream before scooping. The result? A mysteriously dark float that bubbles like a cauldron.
Ghostly Vanilla Float
Use clear lemon-lime soda with extra whipped cream and white chocolate shavings. Perfect for kids who prefer less intense flavors.
Blood Orange Terror
Combine orange soda with a splash of cranberry juice for a deeper, more sinister color that photographs beautifully under party lights.
Pumpkin Spice Magic
Add a small scoop of pumpkin-flavored ice cream alongside vanilla for that seasonal depth that adults absolutely love.
Expert Tips for Halloween Party Success
After hosting dozens of children’s Halloween parties, these strategies ensure flawless results every time:
Make-Ahead Strategy
Prepare glasses and decoration stations 2 hours before guests arrive. Pre-scoop ice cream onto parchment-lined trays and freeze until serving time. This restaurant-style prep makes party execution completely stress-free.
Crowd Control Method
Set up a “float station” where kids can customize their own treats. Provide small bowls of different gummy candies, sprinkles, and whipped cream. Everyone loves the interactive element!
Photography-Perfect Presentation
Serve in clear tall glasses on dark Halloween tablecloths. The contrast makes the orange colors pop beautifully in photos. Add battery-operated string lights underneath clear serving trays for an extra magical glow.
Budget-Friendly Bulk Approach
Buy generic orange soda in 2-liter bottles rather than individual cans – you’ll save 40% while having plenty for refills. Store-brand vanilla ice cream works perfectly and keeps costs reasonable for large groups.
Troubleshooting Common Float Fails
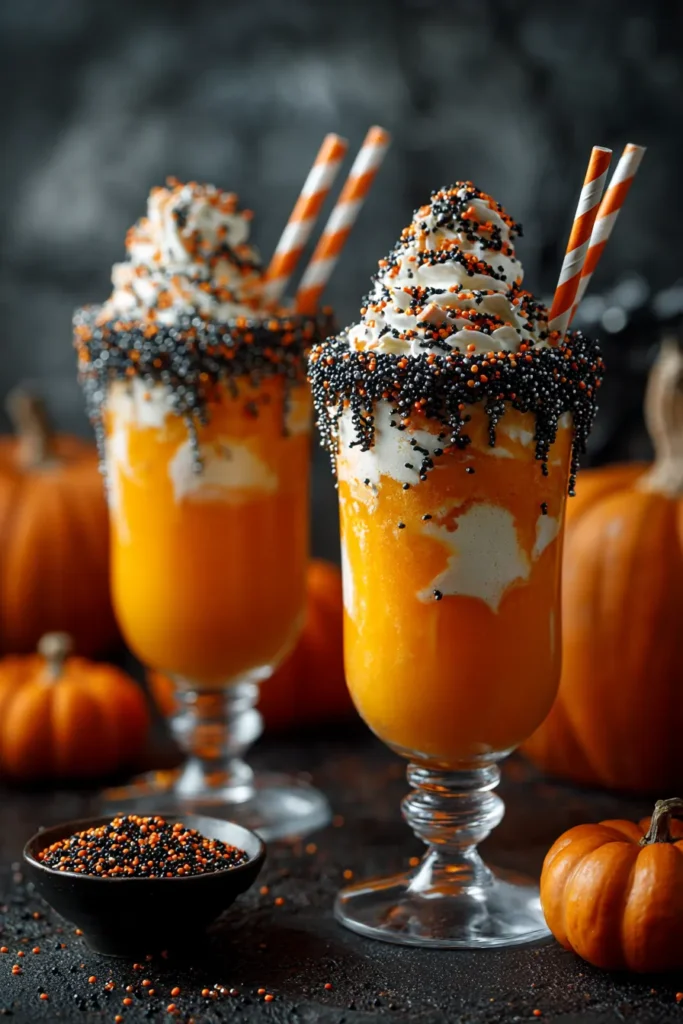
From my experience serving hundreds of these floats, here are the most common issues and quick fixes:
Excessive Foam Problems
Solution: Always pour soda slowly and use slightly softened ice cream. If foam becomes overwhelming, wait 60 seconds for settling before adding decorations.
Ice Cream Melting Too Fast
Solution: Pre-chill glasses and keep ice cream containers in the freezer until the exact moment of scooping. Consider using a high-quality ice cream with better temperature stability.
Decorations Sinking
Solution: Add gummy worms after the initial foam settles but before it completely disappears. They’ll “float” perfectly in that sweet spot between liquid and foam.
Nutritional Benefits and Dietary Adaptations
As someone who regularly accommodates dietary restrictions at family gatherings, here are proven alternatives:
Dairy-Free Halloween Magic
Substitute coconut or oat-based ice cream alternatives. Many brands now offer vanilla flavors that create identical texture and taste experiences.
Sugar-Conscious Options
Use diet orange soda and sugar-free vanilla ice cream. The flavor remains deliciously authentic while significantly reducing sugar content for health-conscious families.
Gluten-Free Assurance
Most standard ingredients are naturally gluten-free, but always verify gummy candy labels if serving guests with celiac disease.
Perfect Timing for Halloween Entertaining
Strategic timing makes these floats the party highlight rather than a last-minute scramble:
Pre-Party Preparation Timeline
- 2 hours before: Chill glasses and arrange decoration station
- 1 hour before: Pre-scoop ice cream onto freezer trays
- 30 minutes before: Set up serving area with all ingredients
- Serving time: Assembly takes just 2 minutes per float
Seasonal Shopping Strategy
Purchase Halloween decorating supplies in early October for best selection and pricing. Gummy worms and themed sprinkles often sell out closer to Halloween, especially in smaller communities.
Creating Instagram-Worthy Float Photos
These presentation tricks come from my food photography experience and guarantee stunning results:
Lighting Magic
Natural light works best, but warm LED string lights underneath serving glasses create enchanting effects for evening parties. Avoid harsh overhead fluorescents that wash out the vibrant orange colors.
Styling Secrets
Group floats in odd numbers (3 or 5) for more dynamic photos. Add props like plastic spiders, mini pumpkins, or festive appetizers in the background for context.
Action Shot Opportunities
Capture the moment soda hits ice cream – that initial bubbling reaction creates mesmerizing photos that perform excellently on social media.
Halloween Float FAQ
How far ahead can I make Halloween ice cream floats?
Ice cream floats should be assembled immediately before serving for optimal texture and carbonation. However, you can prep all ingredients and decorations up to 2 hours in advance.
What’s the best ice cream to soda ratio?
Use 2-3 scoops of ice cream per 6-8 ounces of soda. This creates the perfect balance of creaminess and fizz that doesn’t become too sweet or overwhelming.
Can I make these floats alcohol-friendly for adult parties?
Absolutely! Add 1-2 ounces of vanilla vodka or bourbon to adult versions. The alcohol complements the vanilla ice cream beautifully while maintaining the Halloween theme.
How do I prevent the float from overflowing?
Pour soda slowly down the glass side rather than directly onto ice cream. Fill glasses only ¾ full initially, allowing natural foam expansion without spillage.
What Halloween candy works best as decorations?
Gummy worms are classic, but chocolate elements like mini chocolate chips, Halloween-colored sprinkles, and small candy pieces all work beautifully for decoration.
Bottom Line: These effortless Halloween ice cream floats prove that the most memorable party treats don’t require complicated techniques or expensive ingredients. With just 5 minutes of assembly time and ingredients from any grocery store, you’ll create magical Halloween moments that kids and adults will remember long after the last decoration comes down.
The secret to perfect Halloween entertaining isn’t in elaborate preparation – it’s in choosing treats that deliver maximum wow factor with minimal stress. These floats accomplish exactly that while creating those precious family memories that make Halloween truly special.







