
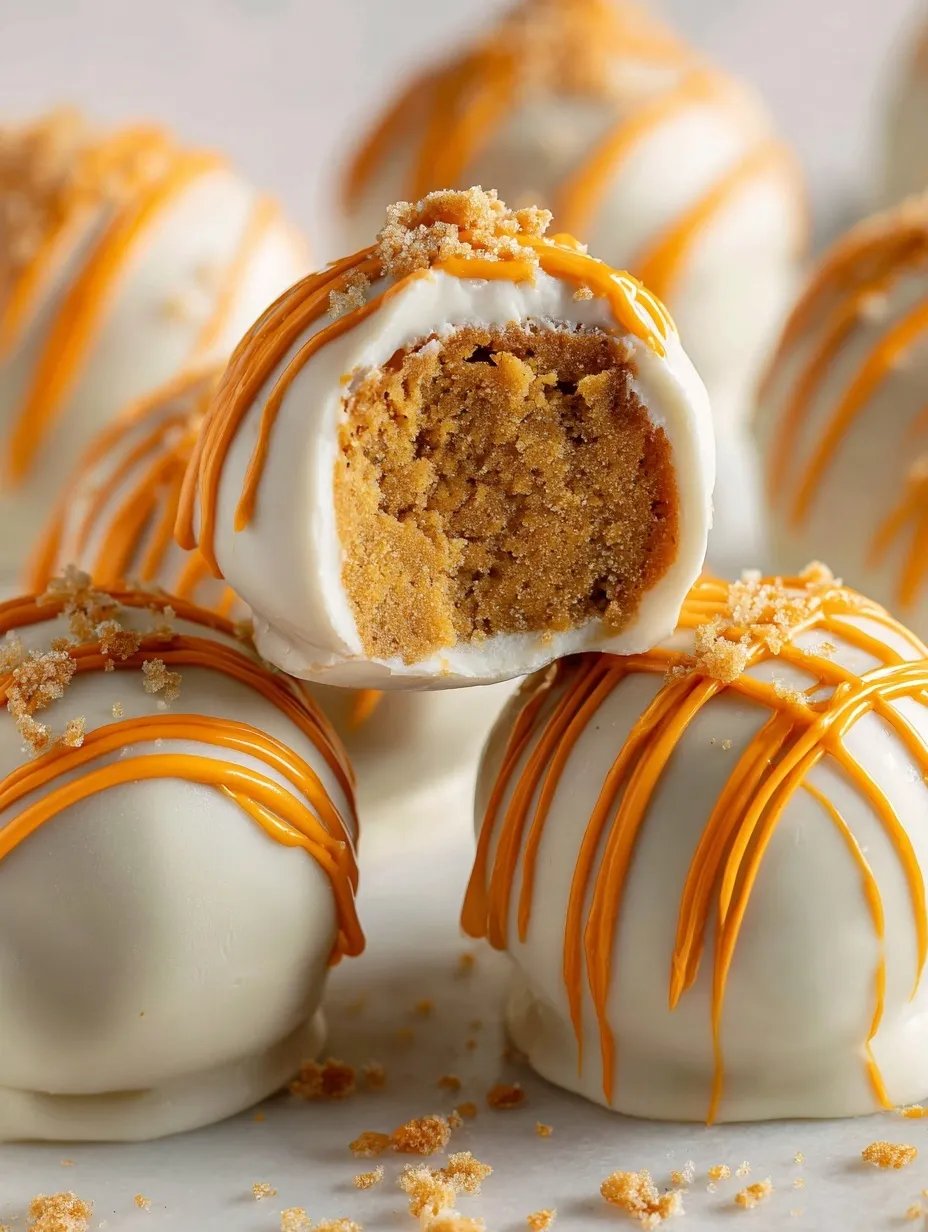
These little balls of pumpkin perfection are about to become your new fall obsession—and the perfect excuse to eat cake with your hands!
Looking for even more ideas? My Thanksgiving Sides Revolution cookbook has more than 25 elevated recipes. → Get instant access
Since you’re here, make sure to check out these amazing pumpkin treats:
- Baked Pumpkin Donuts with Maple Glaze
- Healthy Individual Pumpkin Cheesecakes
- Pumpkin Cookies with Cream Cheese Frosting
- Pumpkin Cream Cheese Swirl Muffins
- Viral Date Bark (Healthy Snickers Recipe)
Why These Cake Pops Are Pure Fall Magic
Let me tell you something—these pumpkin cake pops are dangerous. Like, “hide them from yourself” dangerous. They’re basically everything perfect about pumpkin spice cake condensed into bite-sized balls of heaven that you can pop in your mouth without any guilt about portion sizes. (Okay, maybe a little guilt, but who’s counting?)
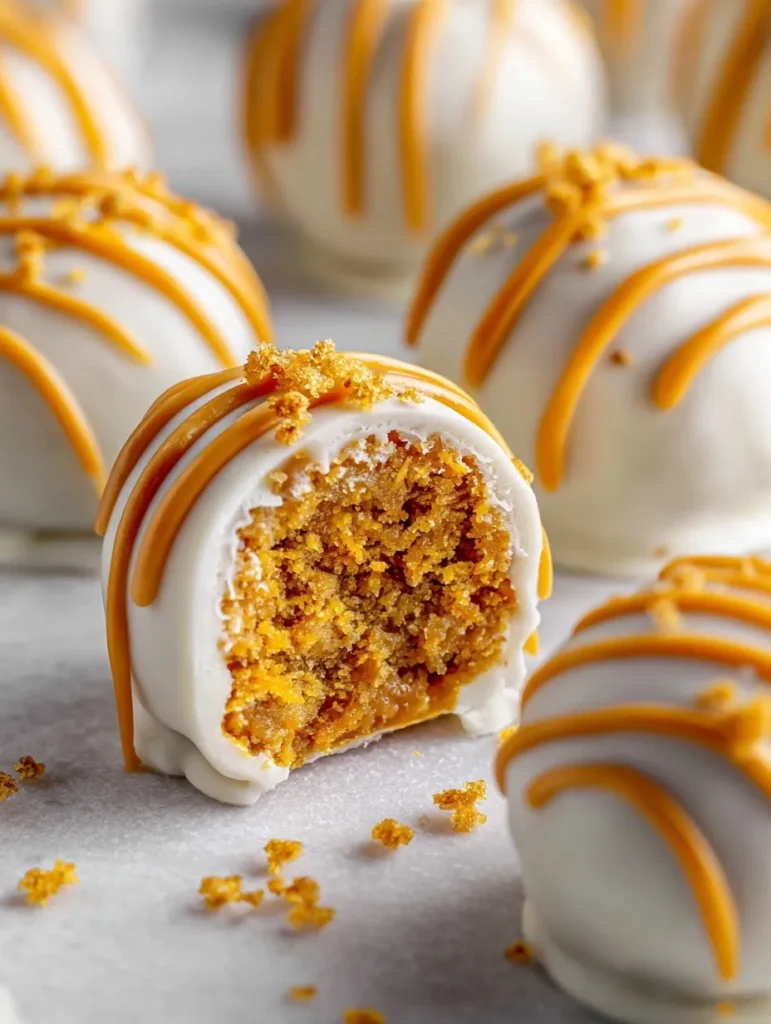
What makes these absolutely brilliant is the combination of moist, spiced pumpkin cake mixed with tangy cream cheese frosting, all wrapped up in a coating of smooth white chocolate. It’s like eating the world’s most perfect pumpkin cheesecake, but in a form that’s way more fun to eat and impossibly cute to look at.
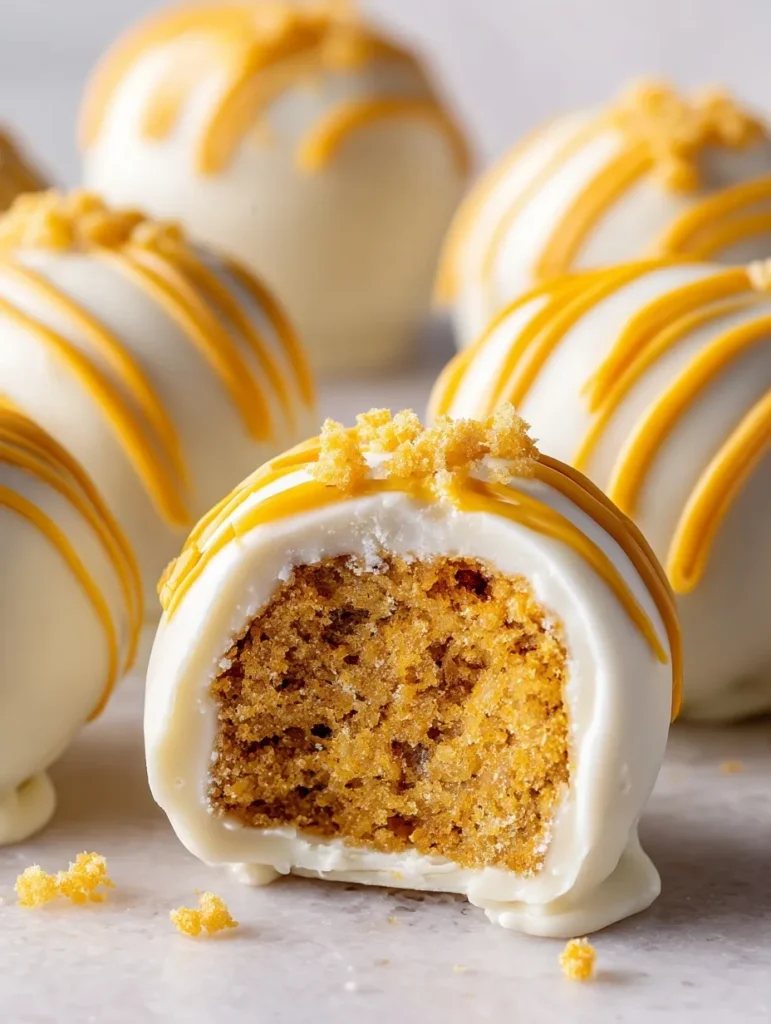
The texture is what gets me every time—that perfect balance of cake-y softness inside with the satisfying snap of chocolate coating. Plus, they’re ridiculously impressive looking for something that’s actually pretty simple to make. Your friends will think you’re some kind of baking wizard.
Everything You Need for Cake Pop Perfection
The Cake Foundation
- 1 batch pumpkin cake – Either homemade or your favorite box mix works perfectly
- This gives you about 24 perfect cake pops – Enough for sharing (or not sharing, no judgment)
Cream Cheese Frosting Magic
- 6 oz cream cheese, room temperature – Don’t skip the room temp part, trust me
- 6 tablespoons butter, softened – Again, room temperature is key
- 3 cups powdered sugar – The sweet foundation that holds everything together
The Coating That Makes Everything Better
- 12 oz white chocolate – Chips, bars, or baking chocolate all work
- Optional but amazing: Mini chocolate chips, chopped nuts, or cinnamon for sprinkling
Step-by-Step Cake Pop Creation
Building Your Pumpkin Base
Bake your pumpkin cake according to your favorite recipe or box instructions. Let it cool completely—I know waiting is torture when it smells this good, but patience pays off here.
While the cake cools, make your cream cheese frosting by beating together the cream cheese, butter, and powdered sugar until it’s light and fluffy. This should take about 3-4 minutes with an electric mixer.
The Crumbling Magic
Break your cooled cake into chunks and toss them in a large mixing bowl. Now comes the fun part—crumble that cake with your hands until it’s in fine, even pieces. Think of it as therapeutic cake destruction.
Pro tip: If you have any stubborn larger pieces, use a fork to break them down. You want a texture that’s fine enough to hold together but not so fine it becomes powder.
The Mixing Miracle
Add your cream cheese frosting to the crumbled cake and mix with a large spoon (or clean hands—it’s actually easier) until everything is thoroughly combined. The mixture should be moist enough to roll into balls that hold their shape but not so wet that it’s sticky and impossible to work with.
Roll into 1.5-inch balls using your hands. This is where things can get a bit messy, so have a damp towel nearby for wiping your hands clean between batches.
The Chilling Game Changer
Place your rolled balls on a parchment-lined baking sheet and pop them in the freezer for 10-15 minutes. This step is crucial—it firms them up so they won’t fall apart when you dip them in chocolate.
Chocolate Coating Perfection
Melt your white chocolate in a microwave-safe bowl, stirring every 30 seconds until smooth. You can also use a double boiler if you prefer—just keep it gentle.
Dip each chilled ball using a toothpick or fork to hold them. Let excess chocolate drip off, then place on parchment paper to set.
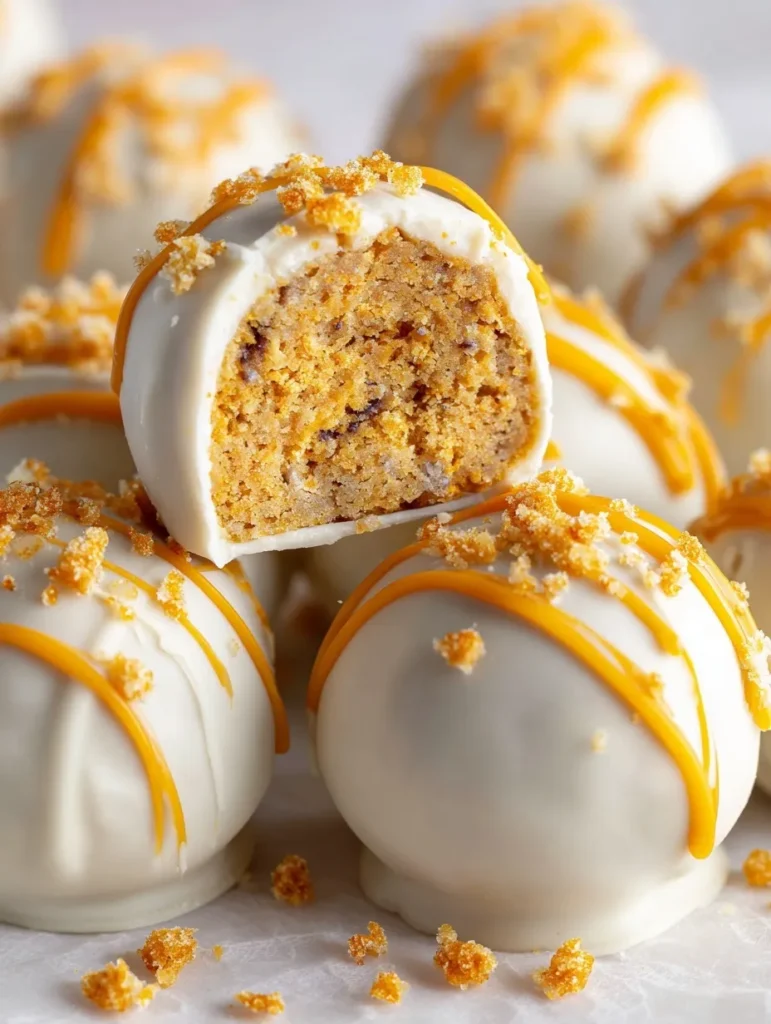
While the chocolate is still wet, add any toppings you want—mini chocolate chips, chopped pecans, or a sprinkle of cinnamon all work beautifully.
Pro Tips That Actually Matter
Keep your hands clean and dry during the rolling process. Wash and dry them periodically—wet hands make the mixture stick to you instead of forming nice balls.
Use a mini ice cream scoop for perfectly uniform cake balls. It’s not necessary, but it makes them look super professional.
Don’t skip the freezing step. Those few minutes in the freezer make the difference between cake pops that hold together beautifully and ones that fall apart in the chocolate.
Test your chocolate temperature by dipping a spoon in it. If it’s too hot, it’ll melt your cake balls. Let it cool slightly if needed.
Work in batches when coating. The chocolate stays workable longer, and you’re less likely to rush and make mistakes.
Creative Variations That’ll Blow Your Mind
Orange coating magic: Add a few drops of orange food coloring to your white chocolate for that perfect pumpkin color.
Spiced chocolate drizzle: Melt some dark chocolate with a pinch of cinnamon and drizzle over the white chocolate coating.
Maple twist: Replace some of the powdered sugar in the frosting with maple syrup for a deeper fall flavor.
Nutty perfection: Roll the finished pops in chopped toasted pecans or walnuts while the chocolate is still soft.
Mini pumpkin shapes: Use a pumpkin-shaped mold instead of rolling by hand for adorable shaped treats.
Storage Solutions That Work
Room temperature storage: Keep in an airtight container for up to 3 days. They actually taste better after a day as the flavors meld together.
Refrigerator storage: Up to a week in the fridge, but bring to room temperature before serving for the best texture.
Freezer friendly: These freeze beautifully for up to 3 months. Thaw in the fridge overnight before serving.
Gift-giving tip: Package in clear bags tied with fall ribbon, or arrange in a pretty box for the perfect homemade gift.
When These Save the Day
Fall parties: These are always the first thing to disappear from any dessert table.
Halloween treats: Perfect for trick-or-treaters who want something special, or for classroom parties.
Gift exchanges: Homemade cake pops feel so much more thoughtful than store-bought treats.
Weekend projects: Great for making with kids—they love the hands-on rolling and decorating parts.
Thanksgiving dessert: A lighter option alongside heavy pies that still feels festive and special.
Troubleshooting Common Issues
Mixture too dry: Add more frosting, a tablespoon at a time, until it holds together properly.
Mixture too wet: Add more cake crumbs, or chill the mixture for 30 minutes before rolling.
Chocolate too thick: Add a teaspoon of coconut oil or shortening to thin it out.
Balls falling apart: Make sure they’re well-chilled before dipping, and don’t make them too large.
Coating cracks: Your chocolate might be too hot, or the balls might not be cold enough.
Frequently Asked Questions
Can I make these ahead of time? Absolutely! The cake balls actually improve after sitting overnight. You can make them up to 3 days ahead and store covered at room temperature.
What if I don’t have cream cheese? You can use vanilla buttercream instead, but cream cheese frosting really complements the pumpkin flavor perfectly. It’s worth getting some if you can.
Can I use milk chocolate instead of white? Of course! Dark chocolate works great too. The white chocolate just makes the orange color pop more if you’re going for that autumn look.
How do I know if the mixture is the right consistency? You should be able to roll it into a ball that holds its shape without cracking, but it shouldn’t be so wet that it sticks to your hands excessively.
Can I add cake pop sticks? Yes! Dip the stick about 1/2 inch into melted chocolate, then insert into the ball. Chill for 10 minutes before coating with chocolate.
Here’s the Real Deal
These pumpkin cake pops are one of those recipes that look way more complicated than they actually are. The hardest part is waiting for the chocolate to set before you start sneaking tastes (and let’s be honest, you’re going to sneak tastes anyway).
What makes these special is how they capture everything we love about fall flavors in one perfect little bite. They’re sweet but not overwhelmingly so, spiced just right, and have that amazing cream cheese tang that keeps them from being one-dimensional.
Whether you’re making them for a party, as gifts, or just because you want to eat cake balls in your pajamas on a Sunday afternoon (no shame in that game), these little beauties deliver every single time. Fair warning though—once you start making these, people will expect them every fall. But honestly? That’s not such a bad problem to have! 🙂
Never serve boring sides again. My Thanksgiving Sides Revolution cookbook has more than 25 recipes to impress your guests. →Download now







