
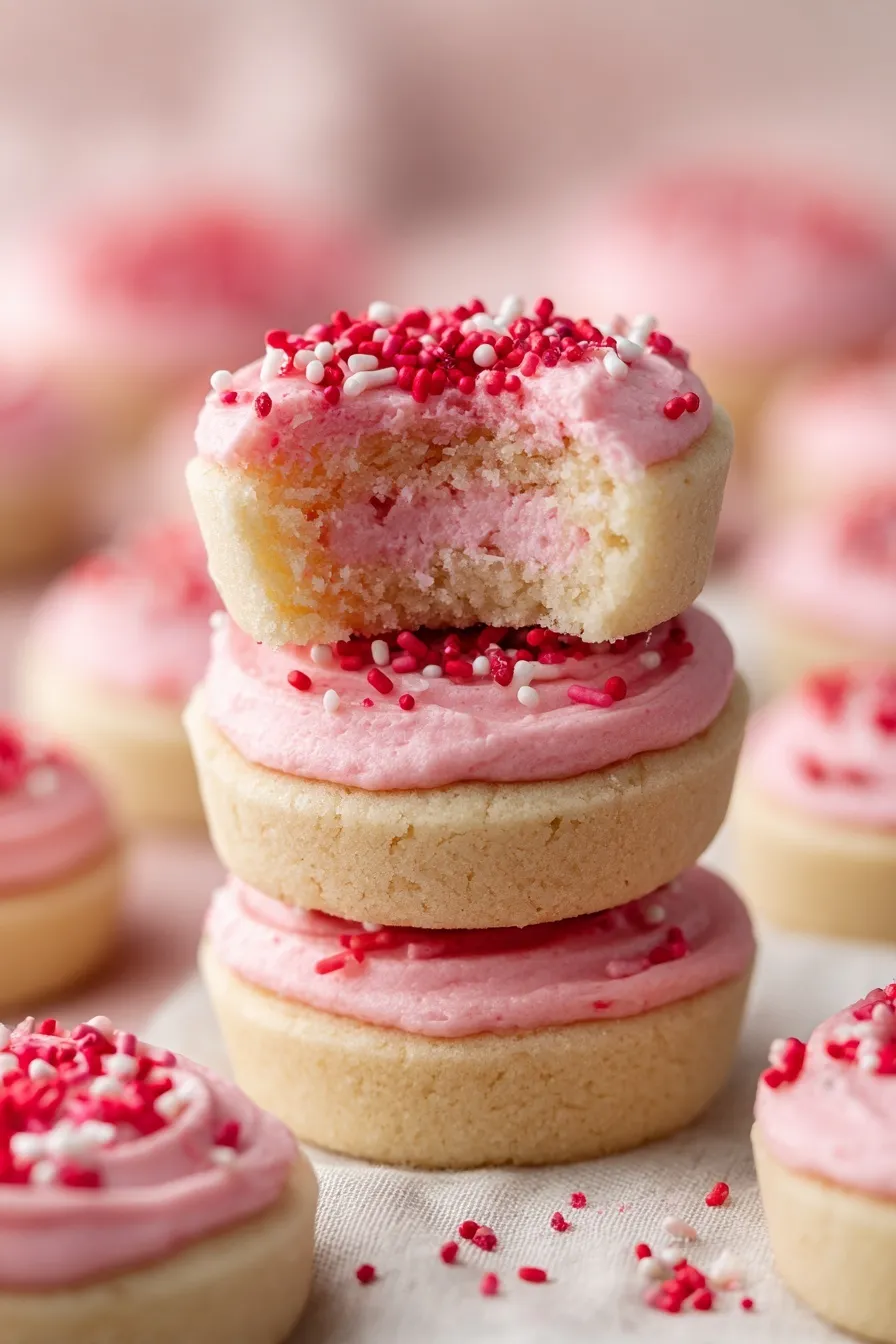
Sugar cookie cups filled with buttercream frosting are the cutest bite-sized treats you’ll ever make! Soft, chewy, and customizable for any celebration, these adorable cookies steal the show at parties.
Since you’re here, make sure to check out these related recipes:
- Cut Out Sugar Cookies
- Lofthouse Cookies
- Sprinkle Cookies
- Valentine Oreo Cookies
- Strawberry Crinkle Cookies
Why These Sugar Cookie Cups Work
Want adorable individual desserts that look bakery-perfect? These little cookie cups deliver soft sugar cookie texture with creamy frosting in every single bite.
What makes everyone request this recipe?
- Bite-sized cuteness perfect for parties
- Customizable colors match any holiday theme
- Simple to make with no special skills required
- Store-bought option for time-crunched bakers
Ingredients
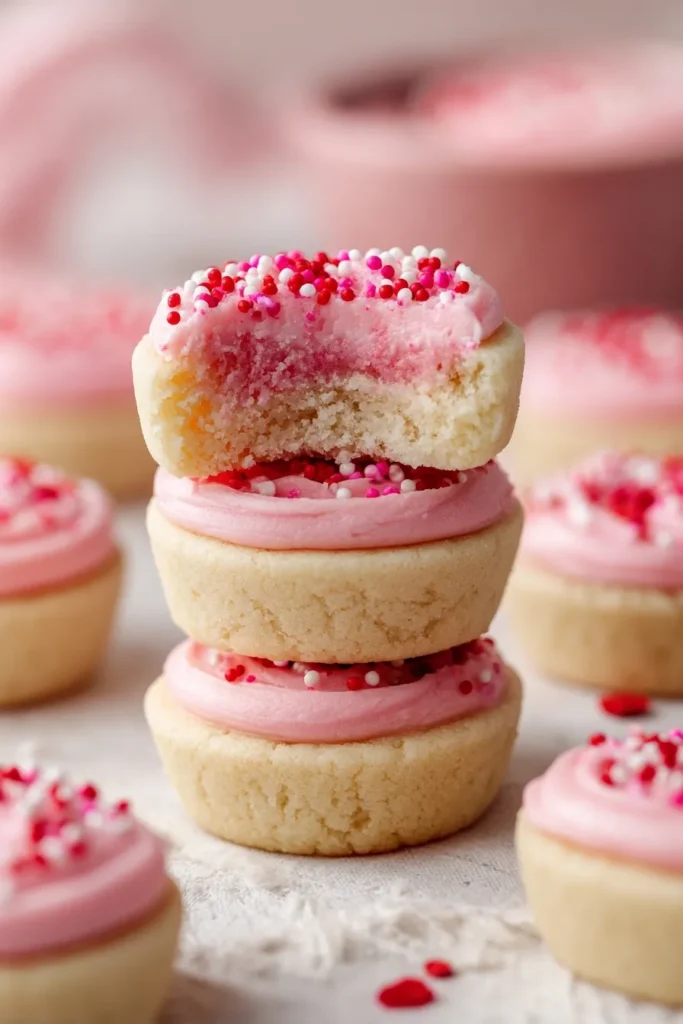
Ready to create these show-stopping little treats?
For the sugar cookie cups:
- 3/4 cup salted butter, softened to room temperature
- 3/4 cup granulated white sugar
- 1 large egg, room temperature
- 1 teaspoon alcohol-free vanilla extract
- 1/4 teaspoon almond extract (optional but delicious)
- 1/2 teaspoon baking powder
- 2 cups all-purpose flour
For the buttercream frosting:
- 1/4 cup (4 tablespoons) salted butter, softened
- 1 1/3 cups powdered sugar, sifted
- 1/2 teaspoon alcohol-free vanilla extract
- 1 tablespoon milk or heavy cream
- Food coloring (optional)
- Sprinkles (optional)
Key ingredient notes:
Room temperature butter creams properly with sugar and creates lighter, fluffier cookie texture. Cold butter won’t incorporate evenly and creates dense cookies.
Almond extract adds that signature bakery flavor you’ll recognize from your favorite sugar cookies. Start with 1/4 teaspoon since almond extract is potent.
Step-by-Step Instructions
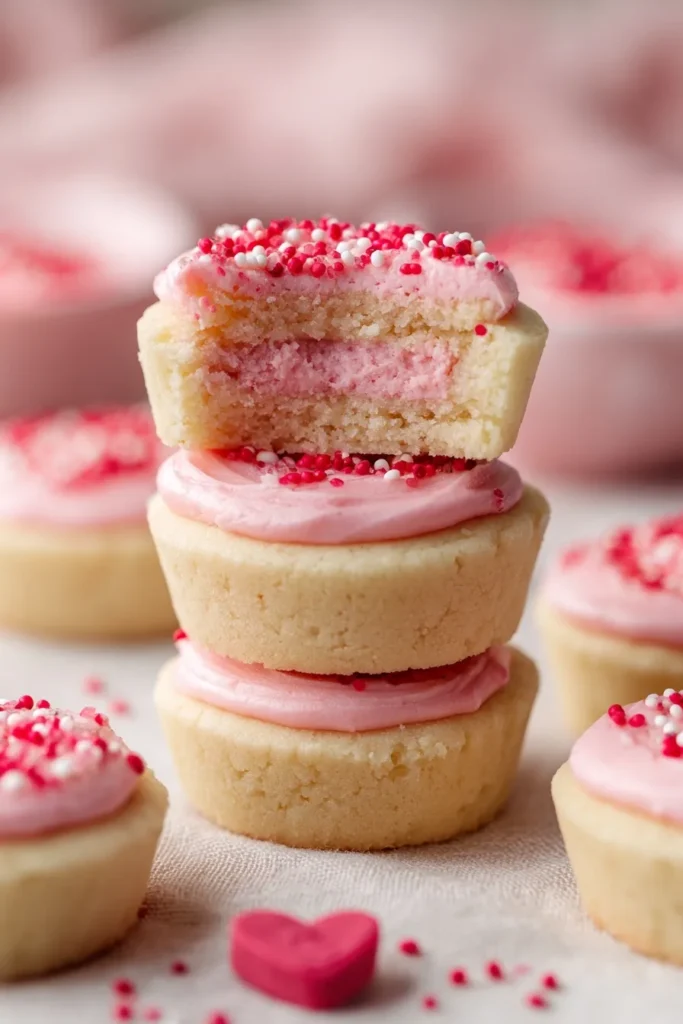
1. Preheat and prepare by heating oven to 350°F and greasing 36 mini muffin cups generously with cooking spray to prevent sticking.
2. Cream butter and sugar in a stand mixer bowl on medium speed for 2-3 minutes until light and fluffy with no sugar grains remaining.
3. Mix in egg and extracts by beating until completely incorporated and smooth. Scrape down bowl sides to ensure even mixing throughout.
4. Add dry ingredients by stirring in baking powder and flour on low speed just until combined. Don’t overmix or cookies become tough.
5. Scoop dough balls using a rounded tablespoon (about 1-inch diameter) and roll each portion into a smooth ball with your hands.
6. Place in muffin tins by putting one dough ball in each greased cup, then flatten gently with your fingers. Don’t form cup shapes yet.
7. Bake for 10 minutes until edges turn light golden brown. Centers may look slightly underdone but will set as they cool.
8. Create cups immediately by pressing the center of each hot cookie with a bottle cap or small measuring spoon to form the cup shape.
9. Cool for 5 minutes in the pan, then carefully remove to a wire cooling rack. Don’t let them cool completely in the pan or they’ll stick.
10. Make frosting by beating softened butter until smooth, then adding powdered sugar, vanilla, and milk gradually until light and fluffy.
11. Pipe frosting into cooled cookie cups using a piping bag or zip-top bag with the corner snipped off for easy filling.
12. Add sprinkles immediately before frosting sets for best adhesion. Store in airtight containers until ready to serve.
Essential Equipment
Mini Muffin Tin
A 24-cup mini muffin tin creates perfectly sized cookie cups every time. Non-stick coating helps but greasing is still essential for easy removal.
Bottle Cap or Small Measuring Spoon (PREMIUM)
A vanilla extract bottle cap works perfectly for pressing centers while cookies are hot. The right size creates ideal cups without breaking the edges.
Piping Bag or Zip-Top Bag
A disposable piping bag makes filling cookie cups neat and mess-free. Zip-top bags work great too when you snip off one corner.
What to Serve With Sugar Cookie Cups
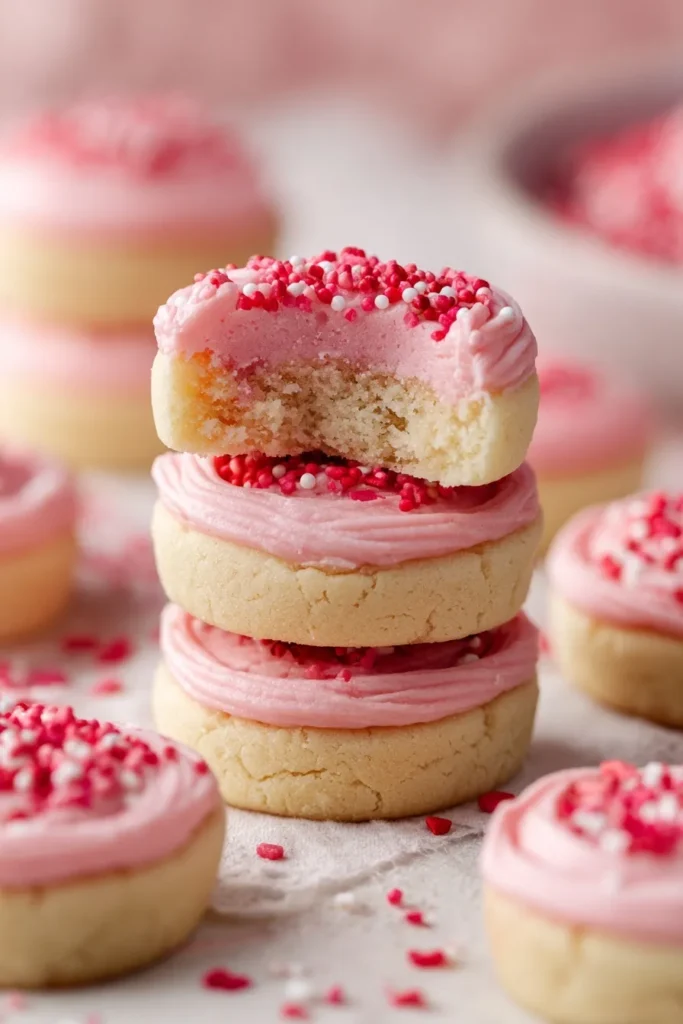
Planning a dessert table that wows every guest?
Arrange these alongside Red Velvet Cake Balls and Chocolate Covered Strawberry Cookies for variety without overwhelming your spread.
For Valentine’s Day parties, pair with Heart Shaped Chocolate Chip Cookies and Strawberry Cake Balls in pink and red colors.
Serve on tiered stands for maximum visual impact that makes your dessert table look professionally catered.
Storage and Reheating Guide
Room Temperature Storage
Store unfrosted cookie cups in airtight containers at room temperature for up to 4 days. Keep them sealed to maintain soft, chewy texture.
Refrigerator Storage
Store frosted cookie cups covered in the refrigerator for up to 5 days. Buttercream frosting stays fresh longer when kept cold.
Freezer Storage
Freeze fully assembled cookie cups on a baking sheet until solid, then transfer to freezer bags for up to 3 months. Thaw at room temperature.
Recipe Variations
Love customizing recipes for different celebrations?
Valentine’s version: Use pink frosting and heart-shaped sprinkles for adorable Valentine’s Day desserts everyone will love.
Birthday party style: Mix rainbow sprinkles into the cookie dough and top with colorful buttercream for festive birthday treats.
Store-bought shortcut: Use refrigerated sugar cookie dough and canned frosting when you’re short on time. Follow the same baking method for easy success.
Pro Tips & Tricks
Want professional-looking results every single time?
Press centers immediately after removing from oven because cookies firm up fast as they cool and won’t form cups properly.
Remove from pan quickly after 5 minutes of cooling to prevent sticking. Leaving them in the pan too long makes removal difficult.
Don’t form cups before baking by just flattening the dough balls. The cookies naturally puff up during baking then get pressed down.
Double the frosting if you want generous filling and decorative piping on top for special occasions or gift-giving.
Frequently Asked Questions
Can you make sugar cookie cups in regular muffin tins?
Yes, but baking time increases to 15-20 minutes for larger cups. Watch closely and remove when edges are golden brown.
Why do sugar cookie cups stick to the pan?
Not greasing the pan thoroughly causes sticking. Use generous cooking spray and remove cookies after only 5 minutes of cooling.
Can you freeze sugar cookie cups?
Absolutely! Freeze fully frosted cookies on a sheet until solid, then store in freezer bags for up to 3 months without quality loss.
What can you fill sugar cookie cups with besides frosting?
Try pudding, whipped cream, fresh fruit, ice cream, or Nutella for delicious variations on the classic frosting filling.
How do you prevent frosting from being too soft?
Add more powdered sugar for thicker consistency, or refrigerate frosting for 30 minutes before piping if your kitchen is warm.
Can you make the dough ahead of time?
Yes! Refrigerate unbaked dough wrapped tightly for up to 3 days. Let come to room temperature before scooping and baking.
Why You’ll Love This Recipe
Ready to make the cutest desserts you’ve ever served? These sugar cookie cups combine adorable presentation with delicious flavor that makes everyone smile.
The best part is how versatile they are for any celebration. Change the frosting color and sprinkles to match birthdays, holidays, or baby showers instantly.
Make a batch this weekend and watch them disappear!
📌 Save this sugar cookie cups recipe for your next party – they’re guaranteed crowd-pleasers!
Easy Sugar Cookie Cups

Sugar cookie cups filled with buttercream frosting are the cutest bite-sized treats you'll ever make! Soft, chewy, and customizable for any celebration, these adorable cookies steal the show at parties.
- Bite-sized cuteness perfect for parties
- Customizable colors match any holiday theme
- Simple to make with no special skills required
- Store-bought option for time-crunched bakers
- 3/4 cup salted butter, softened to room temperature
- 3/4 cup granulated white sugar
- 1 large egg, room temperature
- 1 teaspoon alcohol-free vanilla extract
- 1/4 teaspoon almond extract (optional but delicious)
- 1/2 teaspoon baking powder
- 2 cups all-purpose flour
- 1/4 cup (4 tablespoons) salted butter, softened
- 1 1/3 cups powdered sugar, sifted
- 1/2 teaspoon alcohol-free vanilla extract
- 1 tablespoon milk or heavy cream
- Food coloring (optional)
- Sprinkles (optional)
- Preheat and prepare by heating oven to 350°F and greasing 36 mini muffin cups generously with cooking spray to prevent sticking.
- Cream butter and sugar in a stand mixer bowl on medium speed for 2-3 minutes until light and fluffy with no sugar grains remaining.
- Mix in egg and extracts by beating until completely incorporated and smooth. Scrape down bowl sides to ensure even mixing throughout.
- Add dry ingredients by stirring in baking powder and flour on low speed just until combined. Don’t overmix or cookies become tough.
- Scoop dough balls using a rounded tablespoon (about 1-inch diameter) and roll each portion into a smooth ball with your hands.
- Place in muffin tins by putting one dough ball in each greased cup, then flatten gently with your fingers. Don’t form cup shapes yet.
- Bake for 10 minutes until edges turn light golden brown. Centers may look slightly underdone but will set as they cool.
- Create cups immediately by pressing the center of each hot cookie with a bottle cap or small measuring spoon to form the cup shape.
- Cool for 5 minutes in the pan, then carefully remove to a wire cooling rack. Don’t let them cool completely in the pan or they’ll stick.
- Make frosting by beating softened butter until smooth, then adding powdered sugar, vanilla, and milk gradually until light and fluffy.
- Pipe frosting into cooled cookie cups using a piping bag or zip-top bag with the corner snipped off for easy filling.
- Add sprinkles immediately before frosting sets for best adhesion. Store in airtight containers until ready to serve.







